Ecosyste.ms: Awesome
An open API service indexing awesome lists of open source software.
https://github.com/PixeyeHQ/actors.unity
🚀Actors is a framework empowering developers to make better games faster on Unity.
https://github.com/PixeyeHQ/actors.unity
actors ecs ecs-signals entity entity-component-architecture entity-component-system game-framework innovation management pooling-gameobjects unity unity-editor unity-engine unity-framework unity-scripts unity3d unity3d-framework workflow
Last synced: about 1 month ago
JSON representation
🚀Actors is a framework empowering developers to make better games faster on Unity.
- Host: GitHub
- URL: https://github.com/PixeyeHQ/actors.unity
- Owner: PixeyeHQ
- License: mit
- Created: 2017-10-21T21:38:01.000Z (over 6 years ago)
- Default Branch: master
- Last Pushed: 2023-07-05T08:56:17.000Z (12 months ago)
- Last Synced: 2024-02-05T14:59:26.865Z (4 months ago)
- Topics: actors, ecs, ecs-signals, entity, entity-component-architecture, entity-component-system, game-framework, innovation, management, pooling-gameobjects, unity, unity-editor, unity-engine, unity-framework, unity-scripts, unity3d, unity3d-framework, workflow
- Language: C#
- Homepage:
- Size: 147 MB
- Stars: 719
- Watchers: 43
- Forks: 75
- Open Issues: 3
-
Metadata Files:
- Readme: README.md
- Changelog: Changelog.md
- License: LICENSE
Lists
- awesome-stars - actors.unity
- anything_about_game - actors
- awesome-unity3d - actors.unity - Actors is a framework empowering developers to make better games faster on Unity. (Open Source Repositories / ECS Framework)
- awesome - PixeyeHQ/actors.unity - 🚀Actors is a framework empowering developers to make better games faster on Unity. (C\#)
README
[](https://twitter.com/PixeyeHQ)
[](http://discord.pixeye.games)
[](https://github.com/dimmpixeye/Actors-Unity3d-Framework/blob/master/LICENSE)
[](https://openupm.com/packages/com.pixeye.ecs/)
[](https://github.com/PixeyeHQ/actors.unity/stargazers)
#### Actors is a framework empowering developers to make better games faster on Unity.
#### [Due our shifting from Unity, not actively supported]
## ⭐ Why Actors ?
The framework favors simplicity and doesn't try to "abstract away" Unity workflows bringing first-class support for combining ECS with classic Unity component system.
- Deterministic workflow.
- ECS with clean syntax and no codegen.
- ECS integration with Unity gameobjects via Actor components.
- Logic Layers.
- Object Pooling.
- Multiscene editing.
- Reactive variables.
- Fast coroutines working in any class.
- Update methods working in any class.
| [How To Install](#HowToInstall) - [Projects](#Gallery) - [About](#About) - [Changelog](https://github.com/PixeyeHQ/actors.unity/blob/develop/Changelog.md)|
:----------------------------------------------------------: |
## 📖 ECS Overview
**🔖 Entities** are containers for components. Entity ID is represented by ent structure.
**💬 How to create an entity?**
```csharp
// Bare entity
ent e = Entity.Create();
```
Entities can hold information about unity objects as well!
```csharp
// New entity with a new GO ( GameObject ).
// The GO prefab will be taken from the Resources folder by string ID.
ent e = Entity.Create("Obj Fluffy Unicorn");
// Access to the transform of Obj Fluffy Unicorn gameobject.
e.transform.position = new Vector3(0,0,0) ;
```
You can pool gameobject by adding ```true``` variable in the end of the method.
```csharp
public GameObject prefabFluffyUnicorn;
// New entity with a new GO ( GameObject ).
// The GO will be created from the provided prefab.
// The GO will be pooled.
ent e = Entity.Create(prefabFluffyUnicorn, true);
// Access to the transform of Obj Fluffy Unicorn gameobject.
e.transform.position = new Vector3(0,0,0) ;
```
```csharp
// New entity with a new GO ( GameObject ).
// The GO prefab will be taken from the Resources folder by string ID.
// The GO will be pooled.
ent e = Entity.Create("Obj Fluffy Unicorn", true);
// Access to the transform of Obj Fluffy Unicorn gameobject.
e.transform.position = new Vector3(0,0,0) ;
```
Entity API is layer specific. You will find more info about layers below. If you want to create an entity on a different layer you need to use slightly different approach:
```csharp
// we use LayerApp API to create entity inside of the LayerApp.
ent e = LayerApp.Entity.Create("Obj Fluffy Unicorn", true);
// Access to the transform of Obj Fluffy Unicorn gameobject.
e.transform.position = new Vector3(0,0,0) ;
```
**🔖 Components** are containers for data.
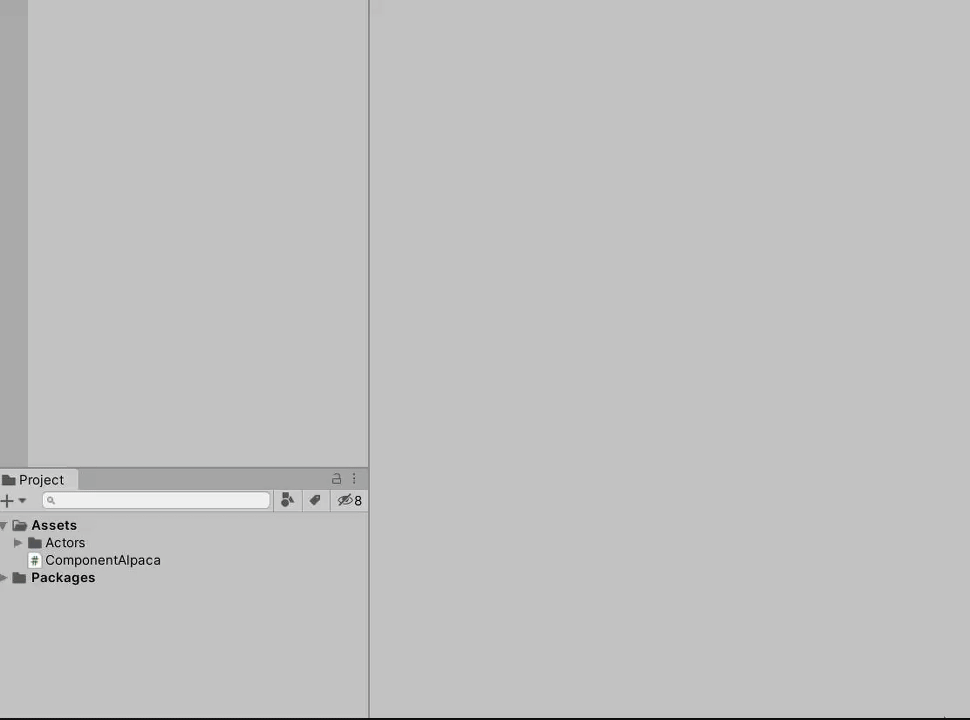
```csharp
sealed class ComponentAlpaca
{
public int fluffiness;
}
```
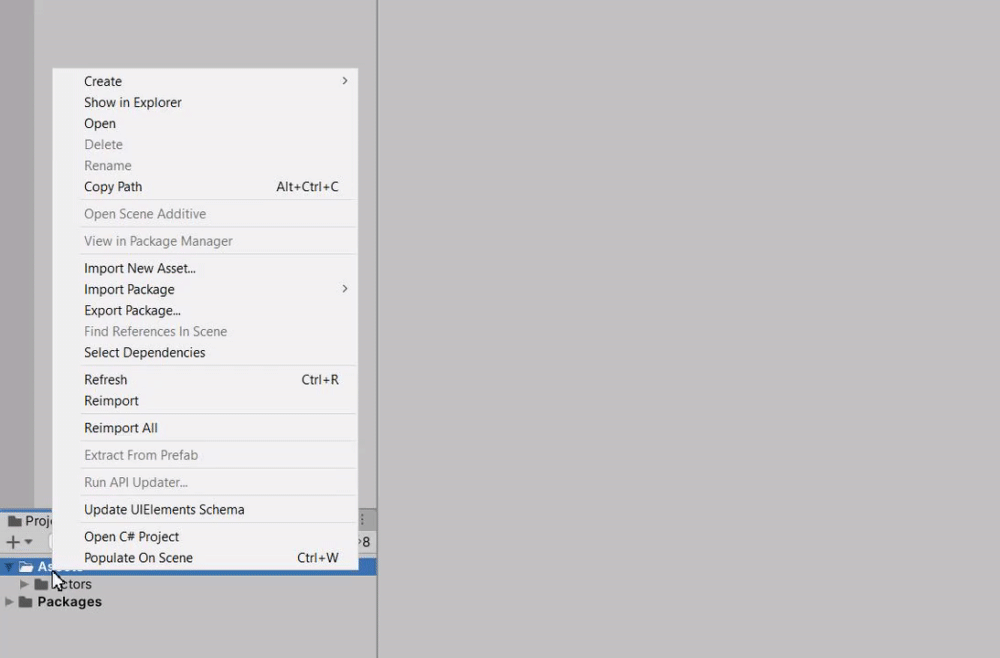
To create a new component right click in project window and select Create->Actors->ECS Component
> 💡 *For comfortable workflow a component is created together with special helper class. While you can live without that helper all examples are provided with use of it.*
**💬 How to add components?**
There are several ways to add components depending on the context of your code.
In case you want to setup your new entity use ```Set``` method. Use ```Set``` method only with newly created entities.
```csharp
public void SomeMethod()
{
ent e = Entity.Create("Obj Bunny");
// Add components
var cCute = e.Set();
var cJumping = e.Set();
var cConsumable = e.Set();
var cPoo = e.Set();
// Component Cute
cCute.attractivness = float.PositiveInfinity;
// Component Jumping
cJumping.power = 100;
}
```
Use ```Get``` method when you unsure if entity has particular component. This method will check and add component if it doesn't exist.
```csharp
public void SomeMethod()
{
// where e is some entity.
// Add components
var cCute = e.Get();
var cJumping = e.Get();
var cConsumable = e.Get();
var cPoo = e.Get();
// Component Cute
cCute.attractivness = float.PositiveInfinity;
// Component Jumping
cJumping.power = 100;
}
```
**🔖 Systems** in Actors are called **Processors**. Processors execute game logic with **groups**. Groups are containers for entities filtered by components mask.
```csharp
public class ProcessorAlpaca : Processor, ITick
{
// All entities that have ComponentAlpaca will be in this group.
readonly Group alpacas = default;
public void Tick(float dt)
{
// iterate through entities in the group
foreach (var alpaca in alpacas)
{
// retrieve a component
var cAlpaca = alpaca.ComponentAlpaca();
}
}
}
```
To create a new processor right click in project window and select Create->Actors->ECS Processor.
**🔖 Layers** are containers for your **processors** and entry point of the scene. You can think about layers as **ECS worlds**, but they are much more then that. In fact, everything in Actors controlled by layers. Every unity scene must hold no more than one layer.
```csharp
using Pixeye.Actors;
public class LayerGame : Layer
{
protected override void Setup()
{
// the order affects on execution
Add();
Add();
Add();
}
}
```
To create a new layer right click in project window and select Create->Actors->Layer

## 📖 Scenes Overview
The framework favors multiscene architecture in Unity. The concept is simple: you have one main scene that can be only changed for another scene and subscenes that can be added/removed when needed. Normally scene will have a logic layer of the framework. This will be explained further.
> 💡 *The main (or it's also called active in Unity) scene name font style is bold inside the Hierarchy window.*
* **Scene API**
* **SceneMain**: API for changing the main scene.
* **SceneSub** : API for adding/removing a subscenes.
```csharp
public class ProcessorAlpaca : Processor, ITick
{
public void Tick(float dt)
{
// Example of how to change the main scene.
if (Input.GetKeyDown(KeyCode.Alpha1))
SceneMain.ChangeTo(1); // by index
if (Input.GetKeyDown(KeyCode.Alpha2))
SceneMain.ChangeTo("Scene Alpaca Fields"); // by name
// Example of how to work with subscenes.
if (Input.GetKeyDown(KeyCode.Alpha1))
{
SceneSub.Add("Alpaca Shop"); // by name
SceneSub.Add(2); // by index
}
if (Input.GetKeyDown(KeyCode.Alpha2))
{
SceneSub.Remove("Alpaca Shop"); // by name
SceneSub.Remove(2); // by index
}
}
}
```
> 💡 *Don't forget to add scene in the build settings of your game.*
Note that you can have **only one** copy of each scene. In case you try to add scene twice the framework will ignore the call.
## 📖 Layers Overview
As already said, layers are very important part of the framework. Each layer represents a unity scene and holds several important modules of the framework. When the layer is removed or changed everything that is inside of the layer will be cleaned up. Another important thing is that *any* **actor** or **monocached** components will start working *only* after initialization and setup of the layer. The concepts of **actor** and **monocached** will be discussed further.
* **Public Layer Modules**
* **Engine** : Core module that controls all other updates.
* **ECS** : API for specific ECS stuff like events.
* **Entity** : API for creating new entities on the layer.
* **Actor** : API for creating new actors on the layer.
* **Observer** : Reactive observer for any variable.
* **Time** : API for custom timing on the layer.
* **Obj** : API for instantiating prefabs on the layer.
* **Private Layer Modules**
* **Pool** : Module that controls GameObject pooling.
* **Signals** : Module that controls signals, a global event dispatcher.
* **Routines** : Module that controls routines, custom coroutines.
* **Who are aware of Layers?**
* **Processors** : Created in the layer and get the reference of it.
* **Monocached** : Base monobehavior classes in the framework. They get the reference of a layer when initialized.
* **Actors** : Inherited from monocache class. They represent entity view.
### 📘 Obj
**Obj** is a module that controls gameobject instantiating. Entities and actors with prefabs are created through **obj** module.
**💬 How to instantiate gameobjects?**
**🔖 From string:** the prefab will be taken from your resources folder. You provide the path. The result will be cached so next time you use the string it will take prefab from the cache. Transform of the created gameobject will be returned.
```csharp
Obj.Create("Obj Alpaca");
```
**🔖 From prefab**: you directly provide a prefab. Transform of the created gameobject will be returned.
```csharp
GameObject PrefabAlpaca;
Obj.Create(PrefabAlpaca);
```
**🔖 Pooling gameobjects**: you can take a gameobject from a pool. Transform of the created gameobject will be returned.
// create new gameobject from prefab.
```csharp
Obj.Create(Pool.Entities,"Obj Alpaca");
```
**💬 How to release gameobjects?**
```csharp
var transform = Obj.Create("Obj Alpaca");
transform.gameObject.Release();
```
In case you used pool you must provide the pool ID.
```csharp
var transform = Obj.Create(Pool.Entities, "Obj Alpaca");
transform.gameObject.Release(Pool.Entities);
```
> 💡 *You don't need to manually release gameobjects created by entities/actors. Those objects are controlled by entities and will be released with them. You also don't need to define pool id in the entity.Release method as entity already knows if it is pooled.*
### 📘 Time
**Time** is a module that controls time flow. Each **layer** has it's own time and timescale.
```csharp
public class ProcessorAlpaca : Processor, ITick
{
public void Tick(float dt)
{
if (Input.GetKeyDown(KeyCode.Space))
Time.scale = 0.5f;
}
}
```
### 📘 Engine
**Engine** is a centralized update processor based on Unity update. Think of it as a one Unity update that controls them all. Engine work inside of a **layer** and will be stopped if the layer they work on would be destroyed. You are not forced to use custom updates but every processor and framework module work via engine.
Why use this module?
- You can use it outside monobehavior classes.
- Delta variable right inside of your update method.
- Better performance then using plain unity update method. ( You would never encounter performance issues with that though. )
**💬 How to use custom updates?**
First, you need to add a special interface for using updates.
* **ITick**: Normal Updates
* **ITickFixed**: Fixed Updates
* **ITickLate**: Late Updates
If you are using those interfaces with processors then this is all you need to provide.
```csharp
public class ProcessorAlpaca : Processor, ITick, ITickFixed
{
public void Tick(float dt)
{
}
public void TickFixed(float dt)
{
}
}
```
In case you are using custom class or monocached/actor class you will need to manually add your object to the engine.
```csharp
public class ActorAlpaca : Actor, ITick
{
protected override void HandleEnable() => Engine.Add(this); // add this to ticks.
protected override void HandleDisable() => Engine.Remove(this); // remove this from ticks.
public void Tick(float dt)
{
}
}
```
> 💡 *Don't forget to remove update from engine when object is destroyed/deactivated.*
### 📘 Observers
**Observers** allows to handle changes of a variable. It's very handy for working with UI but can be used in game logic too. Routines work inside of a **layer** and will be stopped if the layer they work on would be destroyed.
**💬 How to use observers?**
You need to register the variable you are looking on and the callback.
```csharp
public class ProcessorAlpaca : Processor, ITick
{
public int level;
public ProcessorAlpaca()
{
Observer.Add(this, x => x.level,levelNext => Debug.Log($"Alpaca's level has changed {levelNext}!"));
}
public void Tick(float dt)
{
if (Input.GetKeyDown(KeyCode.A))
{
level++;
}
}
}
```
> 💡 *Processors, Actors, and Monocached objects know about the layer and can directly access Observer.*
In case you are working out of Processor, Actor, or Monocached scope you can access Observer by pointing to a specific layer. Note that layer must be active.
```csharp
// Take Observer of the LayerApp. This is just an example.
Layer.Observer.Add(this, x => x.level,
levelNext => Debug.Log($"Alpaca's level has changed {levelNext}!"));
```
**💬 How to release observers?**
Observers work inside of ECS so when you register a new observer you will get an **entity** of the observer.
To release observer all you have to do is to release the provided entity.
```csharp
public int level;
public ent levelObserver;
public ProcessorAlpaca()
{
levelObserver = Observer.Add(this, x => x.level,
levelNext => Debug.Log($"Alpaca's level has changed {levelNext}!"));
}
public void Tick(float dt)
{
if (Input.GetKeyDown(KeyCode.A))
{
levelObserver.Release();
}
}
```
**💬 How to add comparers?**
In order to check values, comparers are provided. If you want to check *custom* type you need a custom comparer.
```csharp
// custom value
public struct AlpacaPower
{
public int power;
}
// comparer
sealed class EqualityAlpacaPower : IEqualityComparer
{
internal static EqualityAlpacaPower Default = new EqualityAlpacaPower();
[MethodImpl(MethodImplOptions.AggressiveInlining)]
public bool Equals(AlpacaPower x, AlpacaPower y)
{
return x.power == y.power;
}
[MethodImpl(MethodImplOptions.AggressiveInlining)]
public int GetHashCode(AlpacaPower obj)
{
return obj.power;
}
}
```
Once, somewhere at the very beginning of your game register the comparer. Note that comparer **must** be provided **before** you start observing the value.
```csharp
Comparers.Add(EqualityAlpacaPower.Default);
```
Now you can use your custom values!
```csharp
public class ProcessorAlpaca : Processor, ITick
{
public AlpacaPower alpacaPower;
public ProcessorAlpaca()
{
Observer.Add(this, x => alpacaPower,
alpacaPowerNext => Debug.Log($"Alpaca's level has changed {alpacaPowerNext.power}!"));
}
public void Tick(float dt)
{
if (Input.GetKeyDown(KeyCode.A))
{
alpacaPower.power++;
}
}
}
```
🔖 Comparers for types added by default:
* **float**
* **int**
* **byte**
* **bool**
* **ent**
* **Vector2**
* **Vector3**
* **Vector4**
* **Color**
* **Rect**
* **Bounds**
* **Quaternion**
* **Color32**
* **Vector2Int**
* **Vector3Int**
* **RangeInt**
* **RectInt**
* **BoundsInt**
### 📘 Buffers
**Buffers** are iterators for structs. Buffers perform simple actions that don't require composition and ECS stuff. Buffers designed to be fast and despite their dynamic nature, they don't copy structs every time buffer grows. Instead, buffer uses an array of indexes to refer to the struct.
**💬 How to use buffers?**
Create new struct. I prefer to call them segments.
```csharp
public struct SegmentShoot
{
public Transform obj;
public Vector3 position;
public float speed;
}
```
Register new buffer via layer setup.
```csharp
using Pixeye.Actors;
public class LayerGame : Layer
{
protected override void Setup()
{
// the order affects on execution
Add(); // we will use this processor for our buffer.
Add>(); // register new buffer.
}
}
```
Add a new segment to the buffer.
```csharp
ref var segShoot = ref Layer.GetBuffer().Add();
segShoot.obj = bullet;
segShoot.position = position;
segShoot.speed = 10f;
```
If you need to cache the pointer to the segment in the buffer than use slightly different method:
```csharp
var pointer = 0;
ref var segShoot = ref Layer.GetBuffer().Add(out pointer);
segShoot.obj = bullet;
segShoot.position = position;
segShoot.speed = 10f;
```
Use Processor to work with your buffer. You are not forced to use processors but it's a convenient way.
```csharp
public class ProcessorShoot : Processor, ITick
{
public void Tick(float dt)
{
var shoots = Layer.GetBuffer(); // receive buffer.
foreach (var pointer in shoots) // remember that we get a pointer, not the element of the buffer.
{
ref var source = ref shoots[pointer];
ref var position = ref source.position;
position.x += source.speed * dt;
if (position.x >= 100)
{
shoots.RemoveAt(pointer); // remove buffer element by pointer.
}
}
}
}
```
> 💡 Remember that you receive pointer when iterating buffers. Use the pointer both to get struct or to remove struct from the buffer.
> 💡 Custom particles or objects that are created and destroyed a lot are ideal candidates for buffers.
### 📘 Routines
**Routines** are custom coroutines that can work outside of Unity scope and more performant than native Unity coroutines.
Routines work inside of a **layer** and will be stopped if the layer they work on would be destroyed. Routines have similar to Coroutines API so it will be very easy to start using them.
There are two types of routines:
* **Scaled** : These routines are affected by layer's time scale.
* **Unscaled**: These routines are not affected by layer's time scale.
```csharp
public class ProcessorAlpaca : Processor, ITick
{
IEnumerator CoHangWithAlpaca()
{
yield return Layer.Wait(2.0f);
yield return Layer.WaitFrame;
Debug.Log("Stop hanging around");
}
public void Tick(float dt)
{
if (Input.GetKeyDown(KeyCode.Alpha1))
{
var routine = Layer.Run(CoHangWithAlpaca()); // run routine and get routine call.
routine.Stop(); // stop the routine
routine = Layer.RunUnscaled(CoHangWithAlpaca()); // run routine that ignores time scale.
}
}
}
```
**🔖 Wait for** are delayed actions based on coroutines.
```csharp
if (Input.GetKeyDown(KeyCode.Alpha1))
{
Layer.WaitFor(1.0f, () => { Debug.Log("Hello!"); });
}
```
**🔖 Wait** is used to wait for a period of time or to finish another routine.
```csharp
IEnumerator CoWorld()
{
yield return Layer.Run(CoHello()).Wait();
Debug.Log("World !");
}
IEnumerator CoHello()
{
Debug.Log("Hello");
yield return Layer.Wait(1.0f);
}
```
## 📖 Monocached Overview
**Monocached** classes are basic monobehavior classes in the world of Actors. They are intialized **after** the layer and use special Setup method for Awaking. It's better to create monocomponents inherited from monocached.
**💬 How to use monocached?**
```csharp
public class MonoAlpaca : Monocached
{
// use instead of the start method.
protected override void Setup()
{
}
// use instead of the enable method.
protected override void HandleEnable()
{
}
// use instead of the disable method.
protected override void HandleDisable()
{
}
}
```
> 💡 Actors will be initialized after the layer.
## 📖 Actor Overview
The **Actor** is a monobehavior class inherited from the monocached that allows communicating between unity game objects and ecs. Most of the time you will inherit from actors when defining new objects.
The actor class is for setting your entity. You can use it as view class if you like MVC patterns and define logic inside of the actor.
**💬 How to use actors?**
```csharp
public class ActorAlpaca : Actor
{
// you are not forced to use attribute.
[FoldoutGroup("Components", true)]
public ComponentHealth componentHealth;
public ComponentDamager componentDamager;
// use instead of the start method to initialize the entity.
protected override void Setup()
{
entity.Set(componentHealth);
entity.Set(componentDamager);
}
}
```
> 💡 Actors will be initialized after the layer.
Actor in the inspector
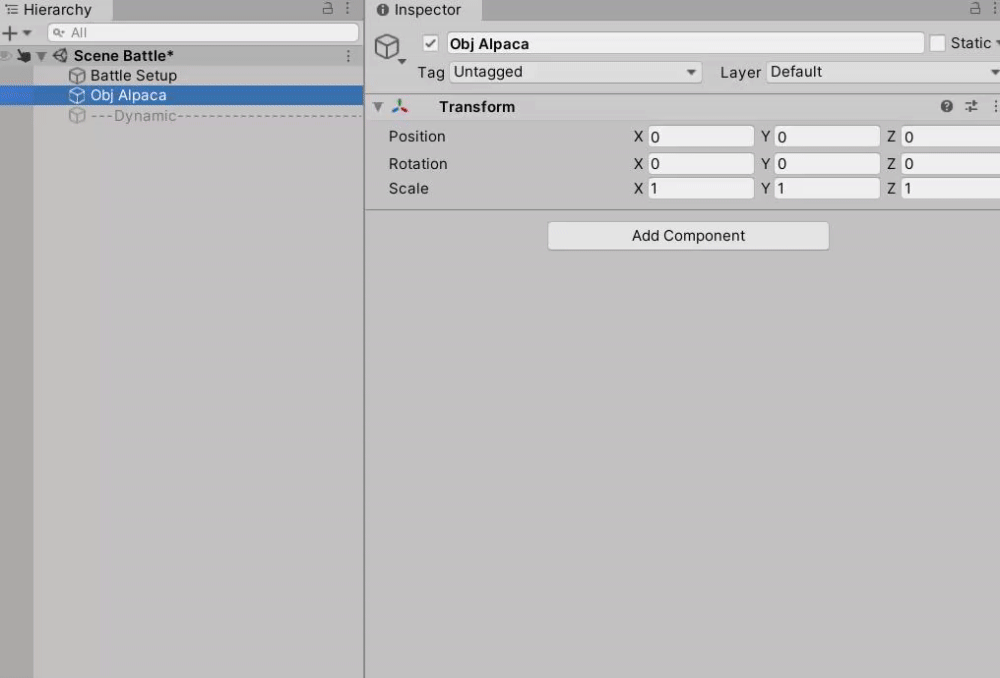
**🔖 IsPooled**
Actors on scene may be pooled. To do this you need to toggle ```IsPooled``` variable in the actor's inspector panel.
> 💡 Pooled actors must be unity prefabs. This won't work for plain objects in the scene.
## 📖 Advanced
### 📘 ECS entity childs
You can child an entity. Child entities will be released along with the parent.
```csharp
var e = Entity.Create();
var eChild = Entity.Create();
eChild.SetParent(e);
// you can remove the parent from a child.
eChild.Unparent();
```
### 📘 ECS moving entities to another layer
You can move entities to different layers. This is a relatively complex operation where entity will be removed from the current layer ECS systems and migrated to the new layer ECS. If an entity is with gameobject then gameobject will be moved to the layer's scene.
```csharp
// assuming we create alpaca in the LayerGame
var e = Entity.Create("Obj Alpaca");
e.MoveTo();
```
### 📘 ECS Events
You can perform actions when entities are added or removed from the groups.
**💬 How to use ecs events?**
You need to use the HandleEcsEvents method and iterate through added/removed stack of the group.
```csharp
public class ProcessorTest : Processor, ITick
{
Group objects;
public override void HandleEcsEvents()
{
foreach (var e in objects.added)
{
Debug.Log($"{e} was added!");
}
foreach (var e in objects.removed)
{
Debug.Log($"{e} was removed!");
}
}
public void Tick(float dt)
{
if (Input.GetKeyDown(KeyCode.Space))
{
var entity = Entity.Create();
entity.Set();
}
if (Input.GetKeyDown(KeyCode.Q))
{
if (objects.length > 0)
objects[0].Release();
}
}
}
```
### 📘 ECS Signals
**ECS Signals** are special events that are send through all processors on the layer. This is a very powerful concept and I don't recommend to use it until you really understand what are you doing. These events can be *changed* or even stopped on their route.
**💬 How they work?**
Ecs signals are deterministic and sent in order. See example below:
```csharp
public class LayerBattle : Layer
{
protected override void Setup()
{
Add(); // receive the event ( second receiver )
Add(); // send the event.
Add(); // receive the event ( first receiver )
}
}
```
**💬 How to subscribe on ecs signal?**
Inherit from ```Processor```. T type is your event.
```csharp
public class ProcessorReceiverA : Processor
{
public override void ReceiveEcs(ref SignalGameStarted signal, ref bool stopSignal)
{
Debug.Log(signal.message);
stopSignal = true; // you can stop signal from moving on to the next processor.
}
}
```
**💬 How to send ecs signal?**
```csharp
public class ProcessorSender : Processor, ITick
{
public void Tick(float dt)
{
if (Input.GetKeyDown(KeyCode.Space))
{
SignalGameStarted signal;
signal.message = "hello world";
Ecs.Send(signal);
}
}
}
```
### 📘 Signals
**Signals** are pub/sub message system.
**💬 How to add signals?**
Inherit your class from IReceive interface and add signal to the layer.
```csharp
public class ActorAlpaca : Actor, IReceive
{
// add signal to layer that actor belongs to.
protected override void HandleEnable() => Layer.AddSignal(this);
// remove signal from layer when actor is disabled/destroyed.
protected override void HandleDisable() => Layer.RemoveSignal(this);
public void HandleSignal(in SignalGameStarted arg)
{
Debug.Log(arg.message);
}
}
```
**💬 How to send signals?**
```csharp
public class ProcessorAlpaca : Processor, ITick
{
public void Tick(float dt)
{
// will send a signal to the layer where ProcessorAlpaca registered.
if (Input.GetKeyDown(KeyCode.Space))
{
SignalGameStarted signal;
signal.message = "hello world!";
Layer.Send(signal);
}
// will send a signal to all layers.
if (Input.GetKeyDown(KeyCode.Q))
{
SignalGameStarted signal;
signal.message = "hello world!";
Every.Layer.Send(signal);
}
}
}
```
### 📘 Box
Box is a small wrapper to take assets from the resources foler.
**🔖 Box.Load** is used to load asset as Resources.Load.
```csharp
var data = Box.Load("Data Hero Alpaca");
var sprites = Box.LoadAll("Tex Hero Alpaca"); // take elements from array.
```
**🔖 Box.Get** is used to load and cache asset. When you load the asset for the first time it will be saved in dictionary. Next time you will get it from the dict.
```csharp
Box.Get("Data Hero Alpaca");
```
### 📘 Group Bindings
You can bind a group with an id and later get this group by this id. This is very useful when you need to work with several groups and want to filter them. For example you would want to raycast against entities that are in a group of allies and a group of objects.
**💬 How to bind a group?**
You should use a special bind attribute.
```csharp
const int tagPlayers = 0; // just an example
[Bind(tagPlayers)]
Group players;
public void Tick(float dt)
{
var group = Ecs.Group(tagPlayer); // get a group by id.
}
```
> 💡 Note that group bindings refer to the layer where group was registered.
### 📘 Settings
You can cusotomize some parametres through the SettingsFramework.json. If you don't have one just create it inside of your resources folder.
```json
{
"//": "Vsync",
"Vsync": 0,
"//": "Fixed FPS, 50 by default",
"FpsPhysics": 50,
"//": "FPS, -1 for fast as possible",
"Fps": -1,
"//": "How much entities do you need at start",
"SizeEntities": 5000,
"//": "Amount of component types. Must be multiple of 32",
"SizeComponents": 128,
"//": "Namespace for your components. Remove if you don't use namespaces",
"Namespace": "Pixeye.Source",
"//": "Extra Debug ( works only in the debug mode )",
"DebugNames": false,
"//": "Plugins. Put them in Rersources folder",
"Plugins": [
],
"//": "Pause on losing focus",
"PauseOnFocusLost": true
}
```
## 📖 How to Install
#### Git Installation
- Open the manifest.json file of your Unity project.
- Add ```"com.pixeye.ecs": "https://github.com/PixeyeHQ/actors.unity.git"```
#### OpenUPM Installation
The package is available on the [openupm registry](https://openupm.com). It's recommended to install it via [openupm-cli](https://github.com/openupm/openupm-cli).
```
openupm add com.pixeye.ecs
```
#### Manual Installation
- Download latest package from the [Release](https://github.com/PixeyeHQ/actors.unity/releases) section
- Import ```actors.unitypackage``` to your Unity Project
#### How To Update
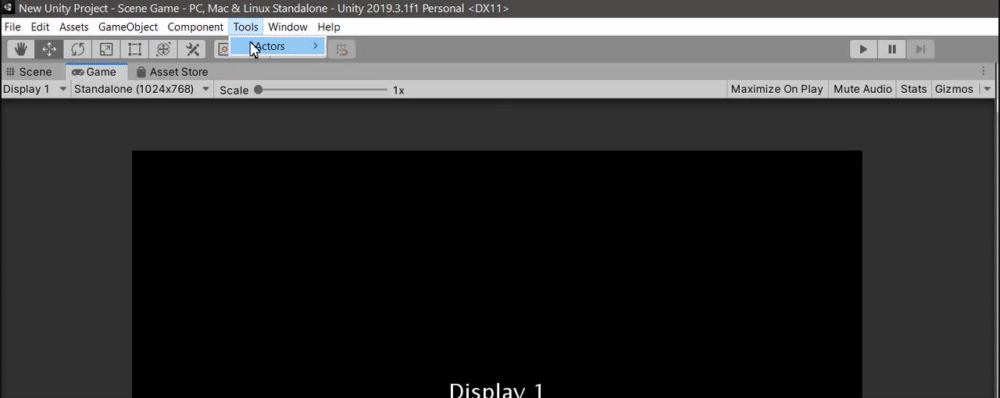
Press Tools->Actors->Update Actors to get a new update.
> 💡 *If you install via **OpenUPM** registry, you can update the package using the Unity package manager.*
## 📖 Gallery
This is a list of known projects that uses Actors by far. If you want to add a project, feel free to contact me :)
#### Until We Die | [Steam](https://store.steampowered.com/app/1197570/Until_We_Die/)
[](https://store.steampowered.com/app/1197570/Until_We_Die/)
#### Snake Demo | [Github link](https://github.com/PixeyeHQ/actors.unity.snake)
#### Rocket Science Snake Demo | [Github link](https://github.com/Gavolot/Actors3RocketScienceSnakeGame)
#### Actors Benchmark | [Github link](https://github.com/PixeyeHQ/actors.unity.benchmark)
#### 2D Roguelike Actors | [Github link](https://github.com/Allexeee/2D-Roguelike-Actors)
## 📖 About
### 💬 How to help
- Spread the word about Actors.
- Make games with Actors! :)
- Share your demos and examples with Actors.
- Help with docs translation & proofreading.
- Become member of our friendly [Discord Community](https://discord.com/invite/Szv4eTA).
### 💬 Credits
Developed by Dmitry Mitrofanov and every direct or indirect contributors to the GitHub.
Recurring contributors (2020): Dmitry Mitrofanov @PixeyeHQ, Alex Ohezin @Allexeee.
### 📘 License
Actors is licensed under the MIT License, see LICENSE for more information.