Ecosyste.ms: Awesome
An open API service indexing awesome lists of open source software.
https://github.com/ines/course-starter-python
👩🏫🐍 Starter repo for building interactive Python courses
https://github.com/ines/course-starter-python
binder gatsby gatsbyjs jupyter online-course python
Last synced: 11 days ago
JSON representation
👩🏫🐍 Starter repo for building interactive Python courses
- Host: GitHub
- URL: https://github.com/ines/course-starter-python
- Owner: ines
- License: mit
- Created: 2019-04-18T06:36:10.000Z (about 5 years ago)
- Default Branch: master
- Last Pushed: 2020-03-03T11:51:42.000Z (over 4 years ago)
- Last Synced: 2024-03-01T14:34:09.580Z (4 months ago)
- Topics: binder, gatsby, gatsbyjs, jupyter, online-course, python
- Language: CSS
- Homepage: https://course-starter-python.netlify.com
- Size: 1.58 MB
- Stars: 501
- Watchers: 17
- Forks: 118
- Open Issues: 18
-
Metadata Files:
- Readme: README.md
- License: LICENSE
Lists
- awesome-stars - ines/course-starter-python - 👩🏫🐍 Starter repo for building interactive Python courses (CSS)
- awesome-stars - ines/course-starter-python - 👩🏫🐍 Starter repo for building interactive Python courses (CSS)
- awesome-stars - course-starter-python - 👩🏫🐍 Starter repo for building interactive Python courses (CSS)
- my-awesome-stars - ines/course-starter-python - 👩🏫🐍 Starter repo for building interactive Python courses (CSS)
README
# Online course starter: Python
This is a starter repo based on the
[course framework](https://github.com/ines/spacy-course) I developed for my
[spaCy course](https://course.spacy.io). The front-end is powered by
[Gatsby](http://gatsbyjs.org/) and [Reveal.js](https://revealjs.com) and the
back-end code execution uses [Binder](https://mybinder.org) 💖
[](https://app.netlify.com/start/deploy?repository=https://github.com/ines/courser-starter-python)
[](https://course-starter-python.netlify.com)
## 📖 Documentation

Thanks to [@hfboyce](https://github.com/hfboyce) for contributing a super detailed guide on getting started with this course framework, adding exercises, slides and other content, and customizing the design. It also comes with a Dockerfile that takes care of the dependencies for you.
[➡️ **Read the documentation here**](https://ines.github.io/course-starter-python/)
## ✅ Quickstart
1. [Import](https://github.com/new/import) this repo, install it and make sure
the app is running locally.
2. Customize the [`meta.json`](meta.json) and
[`binder/requirements.txt`](binder/requirements.txt).
3. Build a [Binder](https://mybinder.org) from the `binder` branch of this repo.
4. Add content (chapters, exercises and slides) and optionally add separate
content license.
5. Customize the UI theme in [`theme.sass`](theme.sass) and update images in
[`static`](static) as needed.
6. Deploy the app, e.g. to [Netlify](https://netlify.com).
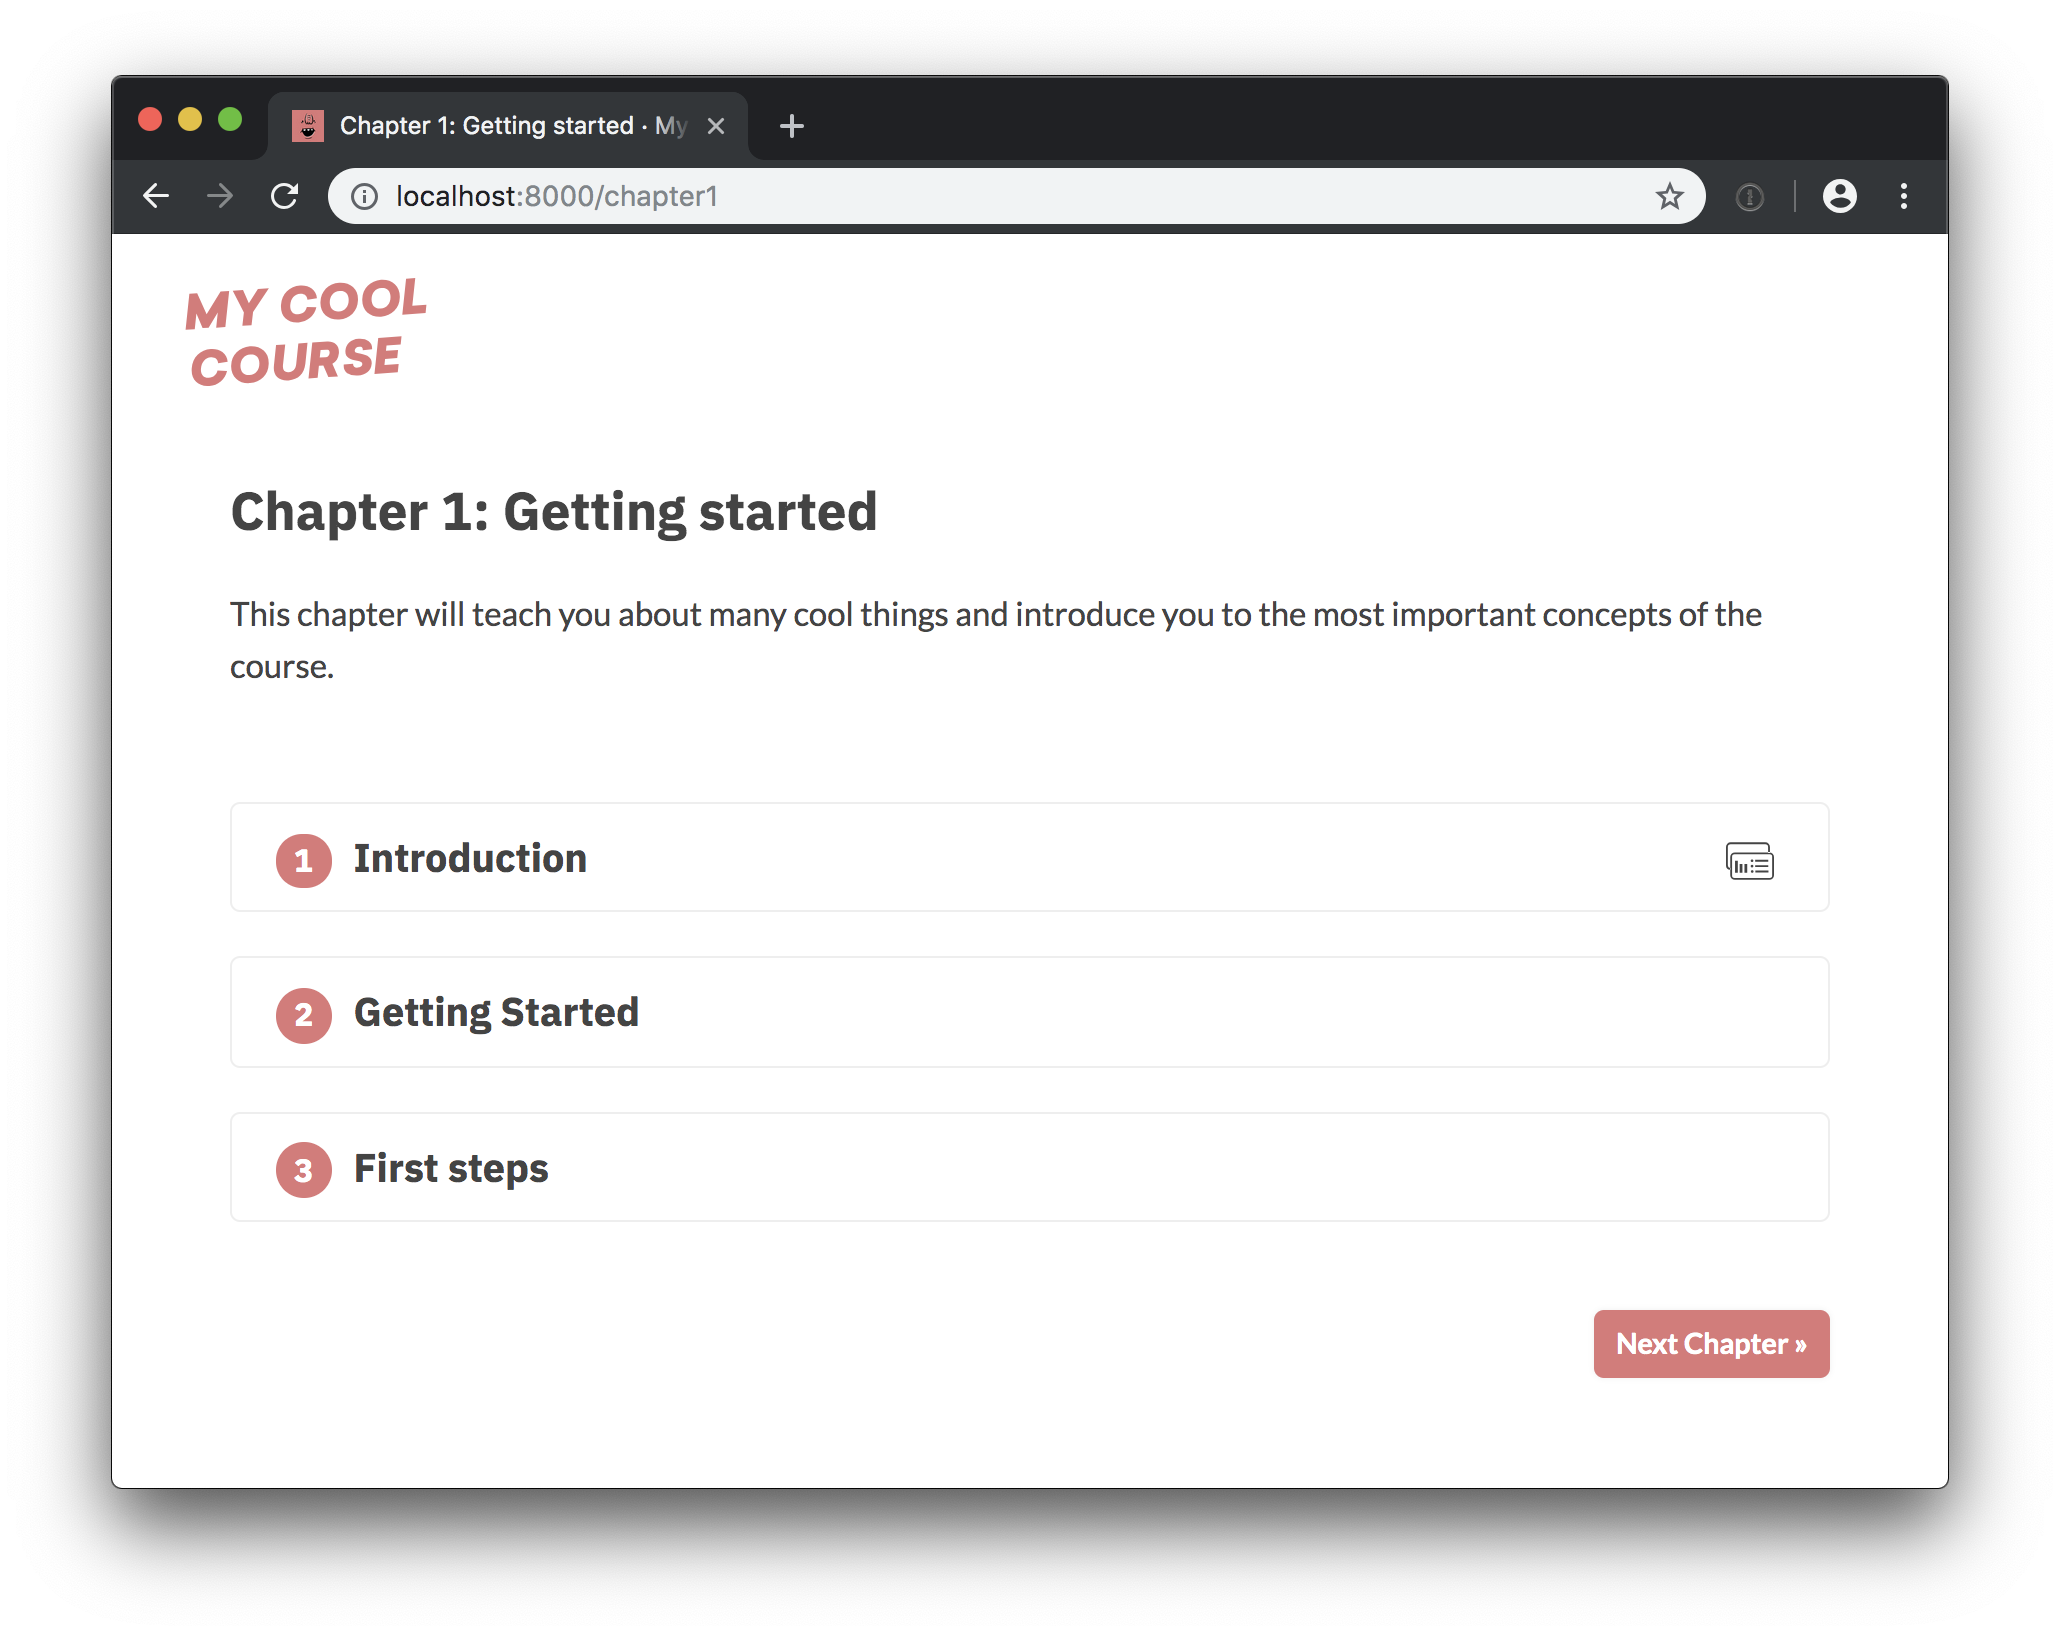
### Running the app
To start the local development server, install [Gatsby](https://gatsbyjs.org)
and then all other dependencies. This should serve up the app on
`localhost:8000`.
```bash
npm install -g gatsby-cli # Install Gatsby globally
npm install # Install dependencies
npm run dev # Run the development server
```
## 🎨 Customization
The app separates its source and content – so you usually shouldn't have to dig
into the JavaScript source to change things. The following points of
customization are available:
| Location | Description |
| ------------------------- | ------------------------------------------------------ |
| `meta.json` | General config settings, title, description etc. |
| `theme.sass` | Color theme. |
| `binder/requirements.txt` | Python requirements to install. |
| `chapters` | The chapters, one Markdown file per chapter. |
| `slides` | The slides, one Markdown file per slide deck. |
| `static` | Static assets like images, will be copied to the root. |
### `meta.json`
The following meta settings are available. **Note that you have to re-start
Gatsby to see the changes if you're editing it while the server is running.**
| Setting | Description |
| -------------------- | ------------------------------------------------------------------------------------------------------------------------------------------ |
| `courseId` | Unique ID of the course. Will be used when saving completed exercises to the browser's local storage. |
| `title` | The title of the course. |
| `slogan` | Course slogan, displayed in the page title on the front page. |
| `description` | Course description. Used for site meta and in footer. |
| `bio` | Author bio. Used in the footer. |
| `siteUrl` | URL of the deployed site (without trailing slash). |
| `twitter` | Author twitter handle, used in Twitter cards meta. |
| `fonts` | [Google Fonts](https://fonts.google.com) to load. Should be the font part of the URL in the embed string, e.g. `Lato:400,400i,700,700i`. |
| `testTemplate` | Template used to validate the answers. `${solution}` will be replaced with the user code and `${test}` with the contents of the test file. |
| `juniper.repo` | Repo to build on Binder in `user/repo` format. Usually the same as this repo. |
| `juniper.branch` | Branch to build. Ideally not `master`, so the image is not rebuilt every time you push. |
| `juniper.lang` | Code language for syntax highlighting. |
| `juniper.kernelType` | The name of the kernel to use. |
| `juniper.debug` | Logs additional debugging info to the console. |
| `showProfileImage` | Whether to show the profile image in the footer. If `true`, a file `static/profile.jpg` needs to be available. |
| `footerLinks` | List of objects with `"text"` and `"url"` to display as links in the footer. |
| `theme` | Currently only used for the progressive web app, e.g. as the theme color on mobile. For the UI theme, edit `theme.sass`. |
### Static assets
All files added to `/static` will become available at the root of the deployed
site. So `/static/image.jpg` can be referenced in your course as `/image.jpg`.
The following assets need to be available and can be customized:
| File | Description |
| ----------------- | -------------------------------------------------------- |
| `icon.png` | Custom [favicon](https://en.wikipedia.org/wiki/Favicon). |
| `logo.svg` | The course logo. |
| `profile.jpg` | Photo or profile image. |
| `social.jpg` | Social image, displayed in Twitter and Facebook cards. |
| `icon_check.svg` | "Check" icon displayed on "Mark as completed" button. |
| `icon_slides.svg` | Icon displayed in the corner of a slides exercise. |
## ✏️ Content
### File formats
#### Chapters
Chapters are placed in [`/chapters`](/chapters) and are Markdown files
consisting of `` components. They'll be turned into pages, e.g.
`/chapter1`. In their frontmatter block at the top of the file, they need to
specify `type: chapter`, as well as the following meta:
```yaml
---
title: The chapter title
description: The chapter description
prev: /chapter1 # exact path to previous chapter or null to not show a link
next: /chapter3 # exact path to next chapter or null to not show a link
id: 2 # unique identifier for chapter
type: chapter # important: this creates a standalone page from the chapter
---
```
#### Slides
Slides are placed in [`/slides`](/slides) and are markdown files consisting of
slide content, separated by `---`. They need to specify the following
frontmatter block at the top of the file:
```yaml
---
type: slides
---
```
The **first and last slide** use a special layout and will display the headline
in the center of the slide. **Speaker notes** (in this case, the script) can be
added at the end of a slide, prefixed by `Notes:`. They'll then be shown on the
right next to the slides. Here's an example slides file:
```markdown
---
type: slides
---
# Processing pipelines
Notes: This is a slide deck about processing pipelines.
---
# Next slide
- Some bullet points here
- And another bullet point

```
### Custom Elements
When using custom elements, make sure to place a newline between the
opening/closing tags and the children. Otherwise, Markdown content may not
render correctly.
#### ``
Container of a single exercise.
| Argument | Type | Description |
| ------------ | --------------- | -------------------------------------------------------------- |
| `id` | number / string | Unique exercise ID within chapter. |
| `title` | string | Exercise title. |
| `type` | string | Optional type. `"slides"` makes container wider and adds icon. |
| **children** | - | The contents of the exercise. |
```markdown
Content goes here...
```
#### ``
| Argument | Type | Description |
| ------------ | --------------- | -------------------------------------------------------------------------------------------- |
| `id` | number / string | Unique identifier of the code exercise. |
| `source` | string | Name of the source file (without file extension). Defaults to `exc_${id}` if not set. |
| `solution` | string | Name of the solution file (without file extension). Defaults to `solution_${id}` if not set. |
| `test` | string | Name of the test file (without file extension). Defaults to `test_${id}` if not set. |
| **children** | string | Optional hints displayed when the user clicks "Show hints". |
```markdown
This is a hint!
```
#### ``
Container to display slides interactively using Reveal.js and a Markdown file.
| Argument | Type | Description |
| -------- | ------ | --------------------------------------------- |
| `source` | string | Name of slides file (without file extension). |
```markdown
```
#### ``
Container for multiple-choice question.
| Argument | Type | Description |
| ------------ | --------------- | -------------------------------------------------------------------------------------------- |
| `id` | string / number | Optional unique ID. Can be used if more than one choice question is present in one exercise. |
| **children** | nodes | Only `` components for the options. |
```markdown
You have selected option one! This is not good.
Yay!
```
#### ``
A multiple-choice option.
| Argument | Type | Description |
| ------------ | ------ | ---------------------------------------------------------------------------------------------- |
| `text` | string | The option text to be displayed. Supports inline HTML. |
| `correct` | string | `"true"` if the option is the correct answer. |
| **children** | string | The text to be displayed if the option is selected (explaining why it's correct or incorrect). |
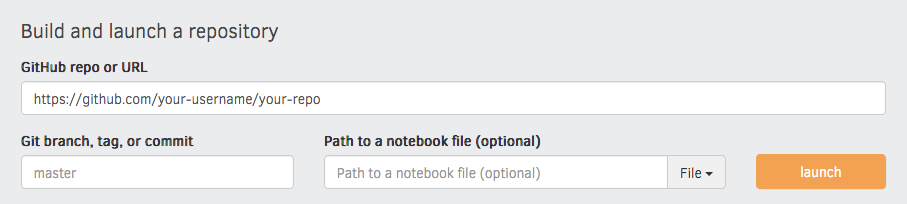
### Setting up Binder
The [`requirements.txt`](binder/requirements.txt) in the repository defines the
packages that are installed when building it with Binder. You can specify the
binder settings like repo, branch and kernel type in the `"juniper"` section of
the `meta.json`. I'd recommend running the very first build via the interface on
the [Binder website](https://mybinder.org), as this gives you a detailed build
log and feedback on whether everything worked as expected. Enter your repository
URL, click "launch" and wait for it to install the dependencies and build the
image.
### Adding tests
To validate the code when the user hits "Submit", we're currently using a
slightly hacky trick. Since the Python code is sent back to the kernel as a
string, we can manipulate it and add tests – for example, exercise
`exc_01_02_01.py` will be validated using `test_01_02_01.py` (if available). The
user code and test are combined using a string template. At the moment, the
`testTemplate` in the `meta.json` looks like this:
```
from wasabi import Printer
__msg__ = Printer()
__solution__ = """${solution}"""
${solution}
${test}
try:
test()
except AssertionError as e:
__msg__.fail(e)
```
If present, `${solution}` will be replaced with the string value of the
submitted user code. In this case, we're inserting it twice: once as a string so
we can check whether the submission includes something, and once as the code, so
we can actually run it and check the objects it creates. `${test}` is replaced
by the contents of the test file. It's also making
[`wasabi`](https://github.com/ines/wasabi)'s printer available as `__msg__`, so
we can easily print pretty messages in the tests. Finally, the `try`/`accept`
block checks if the test function raises an `AssertionError` and if so, displays
the error message. This also hides the full error traceback (which can easily
leak the correct answers).
A test file could then look like this:
```python
def test():
assert "spacy.load" in __solution__, "Are you calling spacy.load?"
assert nlp.meta["lang"] == "en", "Are you loading the correct model?"
assert nlp.meta["name"] == "core_web_sm", "Are you loading the correct model?"
assert "nlp(text)" in __solution__, "Are you processing the text correctly?"
assert "print(doc.text)" in __solution__, "Are you printing the Doc's text?"
__msg__.good(
"Well done! Now that you've practiced loading models, let's look at "
"some of their predictions."
)
```
The string answer is available as `__solution__`, and the test also has access
to the solution code.
---
For more details on how it all works behind the scenes, see
[the original course repo](https://github.com/ines/spacy-course).