Ecosyste.ms: Awesome
An open API service indexing awesome lists of open source software.
https://github.com/Bhavithiran97/LCM1602-14_LCD_Library
This LCD module can be connected using SPI or I2C protocol
https://github.com/Bhavithiran97/LCM1602-14_LCD_Library
Last synced: 2 months ago
JSON representation
This LCD module can be connected using SPI or I2C protocol
- Host: GitHub
- URL: https://github.com/Bhavithiran97/LCM1602-14_LCD_Library
- Owner: Bhavithiran97
- License: mit
- Created: 2021-02-03T03:07:58.000Z (over 3 years ago)
- Default Branch: main
- Last Pushed: 2021-11-22T00:31:18.000Z (over 2 years ago)
- Last Synced: 2024-01-29T20:37:20.511Z (5 months ago)
- Language: Python
- Size: 51.8 KB
- Stars: 11
- Watchers: 2
- Forks: 3
- Open Issues: 1
-
Metadata Files:
- Readme: README.md
- License: LICENSE
Lists
- awesome-micropython - LCM1602-14_LCD_Library - driver for AIP31068L [3.3 V I2C and SPI 1602 Serial Character LCDs](https://www.cytron.io/p-3v3-i2c-and-spi-1602-serial-character-lcd). (Libraries / Display)
README
# [LCM1602A-14 LCD](https://www.cytron.io/p-3v3-i2c-and-spi-1602-serial-character-lcd?tracking=b-py) MicroPython Library for [Pi Pico](https://www.cytron.io/p-raspberry-pi-pico?tracking=b-py)
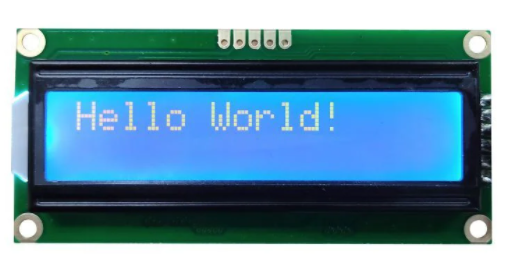
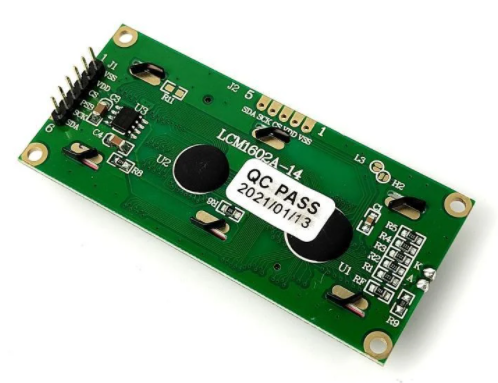
This library supports LCM1602A-14 LCD module I2C and SPI communication with Raspberry Pi Pico.

**The library file must be saved inside the Raspberry Pi Pico before uploading user's code**
## Add Library
Step 1: Download the library file (LCD_SPI.py or LCD_I2C.py)
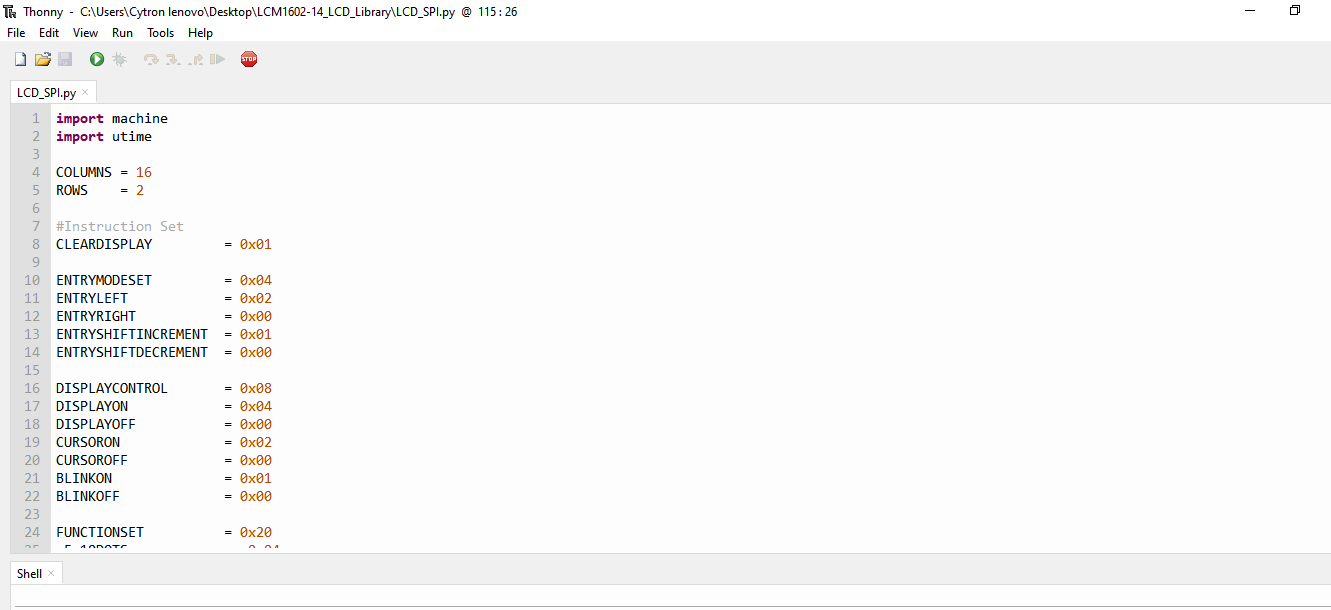
Step 2: Launch Thonny application and open the library file
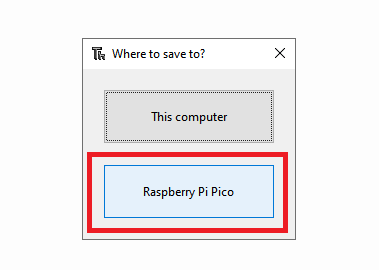
Step 3: Save the library file into the Pi Pico
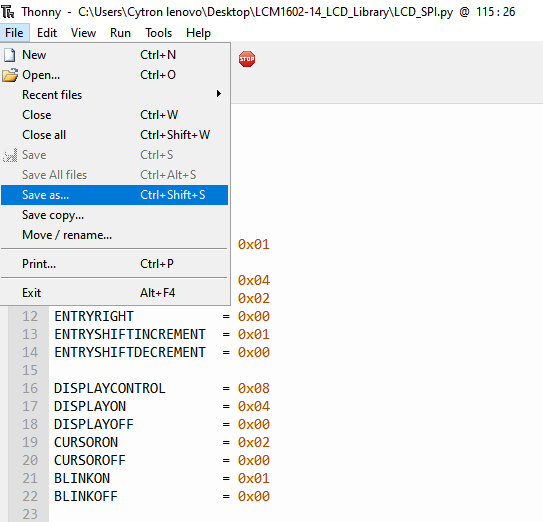
Step 4: Save the library with the same name you downloaded with (LCD_SPI.py or LCD_I2C.py) **Must add .py at the back**
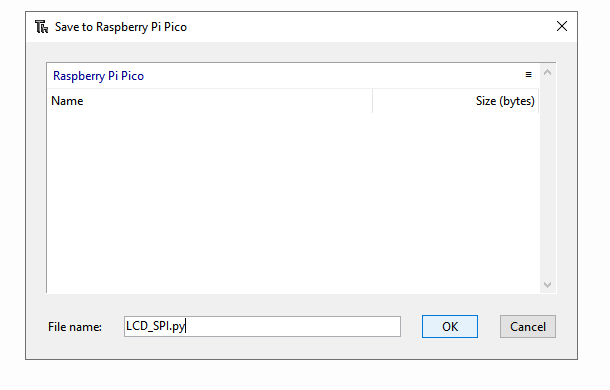
Click OK and the library is added to your Pi Pico
## Import LCD_SPI Library
- Import LCD_SPI library
`from LCD_SPI import *`
## Import LCD_I2C Library
- Import LCD_I2C library
`from LCD_I2C import *`
## Create Object for SPI
- Create object using the class
- Create LCD object with LCD's sck pin connected to PICO's sck pin 2, LCD's sda pin connected to Pico's tx pin 3
- Here we use tx, it is same as MOSI for SPI communication
`lcd = LCD(sck=2, tx=3, cs=5)`
## Create Object for I2C
- Create object using the class
- Create LCD object with LCD's sda pin connected to PICO's sda pin 2, LCD's sck pin connected to Pico's scl pin 3
`lcd = LCD(sda=2, scl=3)`
## Set cursor
- Set the cursor to a specific position
- First parameter sets the column, second parameter sets the row
- Set the cursor to column 0 (first column) and row 0 (first row)
`lcd.set_cursor(0,0) `
## On LCD Display
- Turn on the LCD Display without clearing the data
- Cursor and Blink is Off by default
`lcd.on()`
- Cursor On, Blink Off
`lcd.on(cursor=True, blink=False)`
- Cursor Off, Blink On
`lcd.on(cursor=False, blink=True) `
- Cursor On, Blink On
`lcd.on(cursor=True, blink=True) `
## Off LCD Display
- Turn off the LCD Display without clearing the data
`lcd.off() `
## Write to LCD Display
- Write string to the LCD
`lcd.write("Hello World")`
## Clear LCD Display
- Clear the data on the display
`lcd.clear() `