Ecosyste.ms: Awesome
An open API service indexing awesome lists of open source software.
https://github.com/crazypeace/v2ray_wss
V2ray v4.45.2,VLESS_WebSocket_TLS模式 / Vmess_WebSocket_TLS模式,极简一键脚本, CaddyV2前置解除TLS和path。支持带参数 域名 IP栈 UUID path 减少安装过程中的交互
https://github.com/crazypeace/v2ray_wss
caddy tls v2ray vless vmess websocket
Last synced: 3 months ago
JSON representation
V2ray v4.45.2,VLESS_WebSocket_TLS模式 / Vmess_WebSocket_TLS模式,极简一键脚本, CaddyV2前置解除TLS和path。支持带参数 域名 IP栈 UUID path 减少安装过程中的交互
- Host: GitHub
- URL: https://github.com/crazypeace/v2ray_wss
- Owner: crazypeace
- License: agpl-3.0
- Created: 2022-02-27T03:44:39.000Z (over 2 years ago)
- Default Branch: main
- Last Pushed: 2023-10-21T21:21:46.000Z (8 months ago)
- Last Synced: 2024-01-22T22:50:48.468Z (5 months ago)
- Topics: caddy, tls, v2ray, vless, vmess, websocket
- Language: Shell
- Homepage: https://zelikk.blogspot.com/2022/11/v2ray-vless-vmess-websocket-cdn-tls-caddy-v2.html
- Size: 168 KB
- Stars: 336
- Watchers: 5
- Forks: 103
- Open Issues: 12
-
Metadata Files:
- Readme: README.md
- License: LICENSE
Lists
- awesome-stars - crazypeace/v2ray_wss - V2ray v4.45.2,VLESS_WebSocket_TLS模式 / Vmess_WebSocket_TLS模式,极简一键脚本, CaddyV2前置解除TLS和path。支持带参数 域名 IP栈 UUID path 减少安装过程中的交互 (Shell)
README
重要更新记录 (点击展开)
# 2022-10-30
脚本把VLESS协议搭好后,会提示你要不要切换为Vmess协议。
直接回车默认为`不要切换`。输入`Y`再回车就会切换为Vmess协议,并显示链接和二维码。
本质上就是执行了一下下面这条命令而已。意思是把config.json文件中的vless替换为vmess
```
sed -i "s/vless/vmess/g" /usr/local/etc/v2ray/config.json
```
所以如果你想vmess换成vless,就用下面这条命令
```
sed -i "s/vmess/vless/g" /usr/local/etc/v2ray/config.json
```
当然每次换完要记得重启v2ray
```
service v2ray restart
```
# 2022-9-19
Hax / Woiden 站长时不时的把机器人验证调得很难,于是续期非常容易失败。
那么把搭梯子的脚本简单化
```
apt update && apt install -y curl && bash <(curl -L https://github.com/crazypeace/v2ray_wss/raw/main/install.sh) 你的域名 6 你的UUID 你的path
```
跑这条命令之前,把CDN关闭。跑完之后再把CDN打开。
这样搭出来的梯子,你的翻墙客户端节点信息不用改。
# 2022-9-8
本脚本指定安装V2ray v4.45.2 (v5之前的最后一个v4)
相关信息
https://github.com/v2fly/fhs-install-v2ray/issues/243
# 说明
这个一键脚本超级简单。有效语句11行(其中BBR 5行, 安装V2Ray 1行, 安装Caddy 5行)+Caddy配置文件18行(其中你需要修改4行)+V2Ray配置文件89行(其中你需要修改2行), 其它都是用来检验小白输入错误参数或者搭建条件不满足的。
你如果不放心开源的脚本,你可以自己执行那11行有效语句,再修改配置文件中的6行,也能达到一样的效果。
# 一键安装
```
apt update
apt install -y curl
```
```
bash <(curl -L https://github.com/crazypeace/v2ray_wss/raw/main/install.sh)
```
脚本中很大部分都是在校验用户的输入。其实照着下面的步骤自己配置就行了。
具体手搓步骤 (点击展开)
# 打开BBR
```
sed -i '/net.ipv4.tcp_congestion_control/d' /etc/sysctl.conf
sed -i '/net.core.default_qdisc/d' /etc/sysctl.conf
echo "net.ipv4.tcp_congestion_control = bbr" >>/etc/sysctl.conf
echo "net.core.default_qdisc = fq" >>/etc/sysctl.conf
sysctl -p >/dev/null 2>&1
```
# 安装V2ray v4.45.2
source: https://github.com/v2fly/fhs-install-v2ray
```
bash <(curl -L https://raw.githubusercontent.com/v2fly/fhs-install-v2ray/master/install-release.sh) --version 4.45.2
```
# 安装CaddyV2最新版本
source: https://caddyserver.com/docs/install#debian-ubuntu-raspbian
```
sudo apt install -y debian-keyring debian-archive-keyring apt-transport-https
curl -1sLf 'https://dl.cloudsmith.io/public/caddy/stable/gpg.key' | sudo gpg --dearmor -o /usr/share/keyrings/caddy-stable-archive-keyring.gpg
curl -1sLf 'https://dl.cloudsmith.io/public/caddy/stable/debian.deb.txt' | sudo tee /etc/apt/sources.list.d/caddy-stable.list
sudo apt update
sudo apt install caddy
```
如果已经装过了Caddy, 重装的时候脚本会问你
```
File '/usr/share/keyrings/caddy-stable-archive-keyring.gpg' exists. Overwrite? (y/N)
```
输入 y 回车。
# 配置 /usr/local/etc/v2ray/config.json
```
{ // VLESS + WebSocket + TLS
"log": {
"access": "/var/log/v2ray/access.log",
"error": "/var/log/v2ray/error.log",
"loglevel": "warning"
},
"inbounds": [
{
"listen": "127.0.0.1",
"port": 你的v2ray内部端口, // ***改这里
"protocol": "vless",
"settings": {
"clients": [
{
"id": "你的v2rayID", // ***改这里
"level": 1,
"alterId": 0
}
],
"decryption": "none"
},
"streamSettings": {
"network": "ws"
},
"sniffing": {
"enabled": true,
"destOverride": [
"http",
"tls"
]
}
}
],
"outbounds": [
{
"protocol": "freedom",
"settings": {
"domainStrategy": "UseIP"
},
"tag": "direct"
},
{
"protocol": "blackhole",
"settings": {},
"tag": "blocked"
}
],
"dns": {
"servers": [
"https+local://8.8.8.8/dns-query",
"8.8.8.8",
"1.1.1.1",
"localhost"
]
},
"routing": {
"domainStrategy": "IPOnDemand",
"rules": [
{
"type": "field",
"ip": [
"0.0.0.0/8",
"10.0.0.0/8",
"100.64.0.0/10",
"127.0.0.0/8",
"169.254.0.0/16",
"172.16.0.0/12",
"192.0.0.0/24",
"192.0.2.0/24",
"192.168.0.0/16",
"198.18.0.0/15",
"198.51.100.0/24",
"203.0.113.0/24",
"::1/128",
"fc00::/7",
"fe80::/10"
],
"outboundTag": "blocked"
},
{
"type": "field",
"protocol": [
"bittorrent"
],
"outboundTag": "blocked"
}
]
}
}
```
# 配置 /etc/caddy/Caddyfile
```
你的域名 # 改这里
{
tls [email protected]
encode gzip
handle_path /分流path { # 改这里
reverse_proxy localhost:你的v2ray内部端口 # 改这里
}
handle {
reverse_proxy https://你反代伪装的网站 { # 改这里
trusted_proxies 0.0.0.0/0
header_up Host {upstream_hostport}
}
}
}
```
如果想多用户使用,可以通过多path的方式
```
你的域名 # 改这里
{
tls [email protected]
encode gzip
@ws_path {
path /分流path1 # 改这里
path /分流path2 # 改这里
path /分流path3 # 改这里
}
handle @ws_path {
uri path_regexp /.* /
reverse_proxy localhost:你的v2ray内部端口 # 改这里
}
handle {
reverse_proxy https://你反代伪装的网站 { # 改这里
trusted_proxies 0.0.0.0/0
header_up Host {upstream_hostport}
}
}
}
```
可参考视频 https://www.youtube.com/watch?v=bfZh_eaYJLE&t=220s
# 如果是 IPv6 only 的小鸡,用 WARP 添加 IPv4 出站能力
```
bash <(curl -L git.io/warp.sh) 4
```
# Uninstall
```
bash <(curl -L https://raw.githubusercontent.com/v2fly/fhs-install-v2ray/master/install-release.sh) --remove
rm /etc/apt/sources.list.d/caddy-stable.list
apt remove -y caddy
```
# 私货
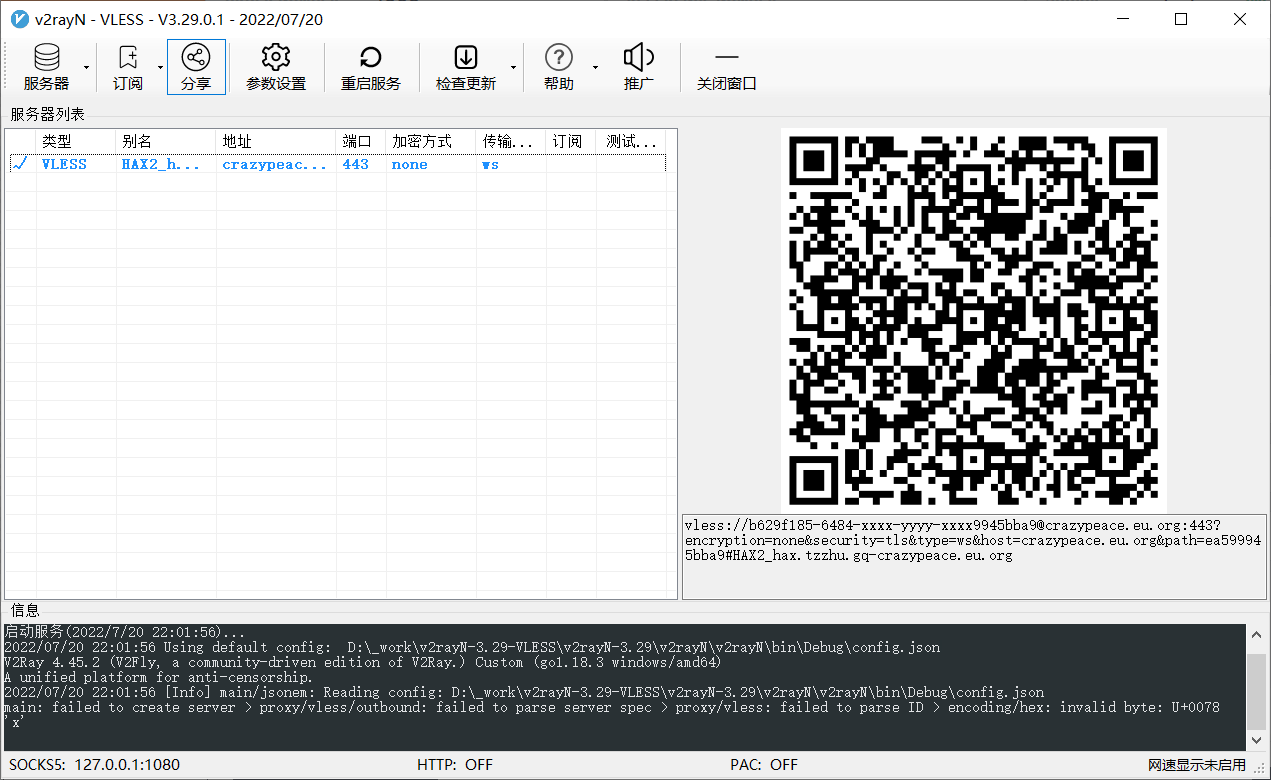
对于喜欢V2rayN PAC模式的朋友,欢迎使用支持VLESS链接导入功能的 [v2rayN-3.29-VLESS](https://github.com/crazypeace/v2rayN-3.29-VLESS)
# 带参数执行
如果你已经很熟悉了, 安装过程中的参数都确认没问题. 可以带参数使用本脚本, 跳过脚本中的各种校验.
```
bash <(curl -L https://github.com/crazypeace/v2ray_wss/raw/main/install.sh) [netstack] [UUID] [path]
```
其中
`domain` 你的域名
`netstask` 6 表示 IPv6入站, 最后会安装WARP获得IPv4出站
`UUID` 你的UUID
`path` 你的path,如果不输入,会从UUID自动生成
例如
```
bash <(curl -L https://github.com/crazypeace/v2ray_wss/raw/main/install.sh) abc.mydomain.com
bash <(curl -L https://github.com/crazypeace/v2ray_wss/raw/main/install.sh) abccba.ipv6d.my.id 6
bash <(curl -L https://github.com/crazypeace/v2ray_wss/raw/main/install.sh) abccba.ipv6d.my.id 6 486572e1-11d5-4e93-a41d-d4b9775870bd
bash <(curl -L https://github.com/crazypeace/v2ray_wss/raw/main/install.sh) abccba.ipv6d.my.id 6 486572e1-11d5-4e93-a41d-d4b9775870bd somepath
```
## 用你的STAR告诉我这个Repo对你有用 Welcome STARs! :)
[](https://starchart.cc/crazypeace/v2ray_wss)