https://github.com/0wain/egg-discordia
An attempt to provide egg support for the Discord API wrapper Discorida with Pterodactyl.
https://github.com/0wain/egg-discordia
discord discord-bot discordia egg lua pterodactyl pterodactyl-egg
Last synced: 2 months ago
JSON representation
An attempt to provide egg support for the Discord API wrapper Discorida with Pterodactyl.
- Host: GitHub
- URL: https://github.com/0wain/egg-discordia
- Owner: 0wain
- License: mit
- Created: 2020-10-31T13:20:16.000Z (over 4 years ago)
- Default Branch: main
- Last Pushed: 2021-02-22T02:52:15.000Z (over 4 years ago)
- Last Synced: 2025-01-27T22:49:08.450Z (4 months ago)
- Topics: discord, discord-bot, discordia, egg, lua, pterodactyl, pterodactyl-egg
- Homepage:
- Size: 42 KB
- Stars: 4
- Watchers: 1
- Forks: 0
- Open Issues: 0
-
Metadata Files:
- Readme: README.md
- Contributing: CONTRIBUTING.md
- License: LICENSE
- Code of conduct: CODE_OF_CONDUCT.md
Awesome Lists containing this project
README
# Discordia Pterodactyl Egg
An attempt to provide support for the Discord API wrapper Discorida: https://github.com/SinisterRectus/Discordia
# Warning:
I don't have much experience in this kind of thing and mostly just blindly dug through Discord messages from the Pterodactly Discord and read up on how other eggs work. There is very likely poor practice inside this. If you have more experience with this kind of thing I highly encourage you to make a pull request with improvements. Specifically I'm not too happy with having the `lit install {{SERVER_DEPS}};` in the startup command line and would much rather have it be done a better way.
# Installation & Configuration:
Installing an egg with Pterodactyl is pretty easy:
1. First you should download the [egg-discordia.json](https://github.com/owainjones74/egg-discordia/blob/main/egg-discordia.json) file.
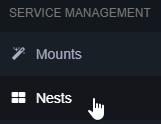
2. Next go to your Pterodactyl admin panel and navigate to nests at the bottom.

3. If you've not already, you will need to make a nest for the egg to go in. You can make a next by pressing the "Create New" button on the right side.

4. Now you've made your nest, you can press the "Import Egg" button on the right side.

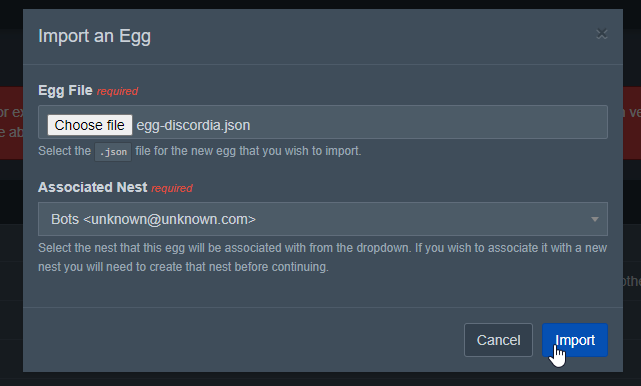
5. Upload the [egg-discordia.json](https://github.com/owainjones74/egg-discordia/blob/main/egg-discordia.json) file you downloaded in step 1 in the "Egg File" input and select the nest you made in step 3 as your "Associated Nest".

6. After pressing the "Import" button, you should now have successfully imported the egg into your panel. You should now be able to deploy a server with this egg.
When deploying a server using this egg (Or configuring one), you are given 2 configuration options:
**Discordia Lua File**
Each Discordia bot is different, and there is a wide range of standards for what the core file of your Discorida app should be called. This configuration option lets you input the name of the lua file that luvit should target when attempting to start the bot.
**Lit Packages**
Your Discorda bot may require a few dependencies to run. This could be anything from a websocket library to better cURL implementation. With this configuration option you are able to provide all the lit packages your bot can need. Ensure to separate each package with a space.