https://github.com/343max/dev-client-mac-tools
Expo Plugin to make your Expo Dev Client App work very nicely on macOS
https://github.com/343max/dev-client-mac-tools
developer-tools expo macos react-native
Last synced: about 1 year ago
JSON representation
Expo Plugin to make your Expo Dev Client App work very nicely on macOS
- Host: GitHub
- URL: https://github.com/343max/dev-client-mac-tools
- Owner: 343max
- Created: 2023-02-17T15:15:11.000Z (over 3 years ago)
- Default Branch: main
- Last Pushed: 2024-07-11T07:45:29.000Z (about 2 years ago)
- Last Synced: 2025-03-30T01:23:11.369Z (over 1 year ago)
- Topics: developer-tools, expo, macos, react-native
- Language: Objective-C
- Homepage: https://www.npmjs.com/package/dev-client-mac-tools
- Size: 5.93 MB
- Stars: 4
- Watchers: 4
- Forks: 0
- Open Issues: 0
-
Metadata Files:
- Readme: README.md
Awesome Lists containing this project
README
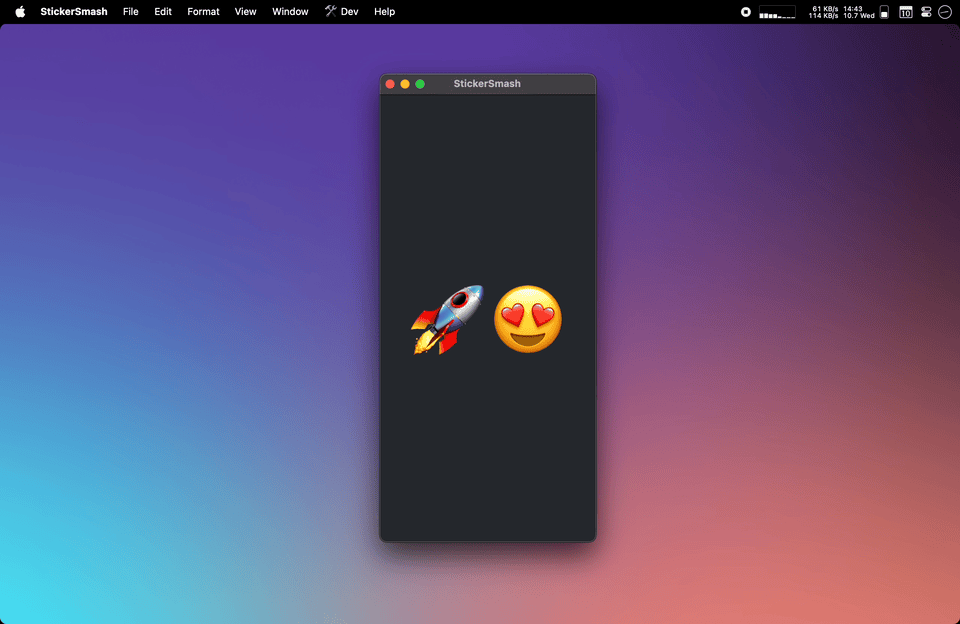
# Run your iOS expo dev client on your Mac
With [testflight-dev-deploy](https://github.com/343max/testflight-dev-deploy) developers can run expo dev client apps on their phones but also on their Macs. This makes it possible to develop expo apps on an Mac that hasn't installed Xcode at all: all you need are your javascript dev tools, an editor and the dev client app downloaded from TestFlight.
While this works it's not perfect: reloading the app, connecting to the debugger or opening the dev menu are possible but complicated.
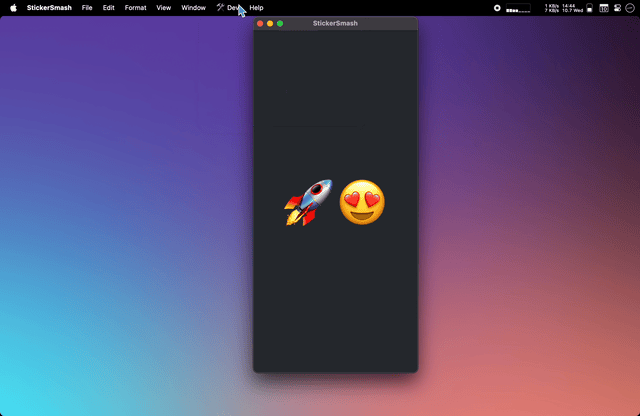
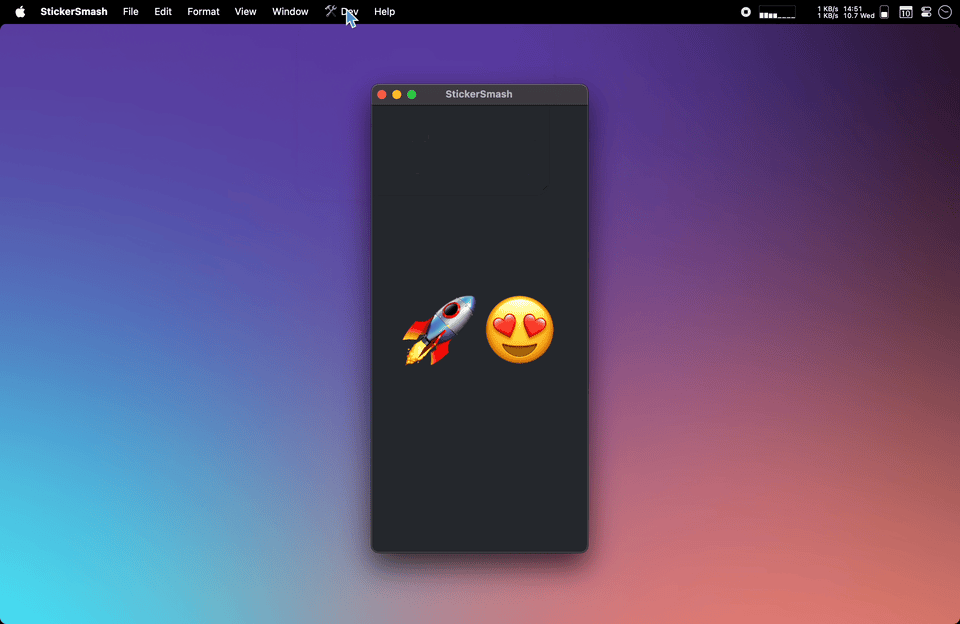
`mac-dev-tools` fixes these issues. It provides a Dev menu on your Mac with some handy tools:
# Commands
Toggle between dark and light mode

Reload the app
Show the Expo Dev Menu

Resize to preview common iPhone sizes
# Custom Commands
To add your own commands to the dev menu you need to call the `setCustomDevMenuItems` function. You should wrap the call in a `useEffect` hook to make sure it doesn't run on every render.
You can easily add shortcut keys or submenus.
Here is an example where it's wrapped in its own hook:
```ts
import { setCustomDevMenuItems } from "dev-client-mac-tools";
const useGenerateDevMenu = () => {
React.useEffect(() => {
setCustomDevMenuItems([
{
title: "Say Hello",
shortcut: "command-ctrl-alt-S",
action: () => {
console.log("Hello!");
},
},
{
title: "Menu with submenus",
subitems: [
{
title: "Entry 1",
action: () => {},
},
{
title: "Entry 2",
action: () => {},
},
],
},
]);
}, []);
};
```
In production builds this javascript code is still included but it doesn't do anything.
# Adding dev-client-mac-tools to your expo project
In order to use this plugin you need to configure your app in a way that allows in to be signed to run on your Mac first. I highly recommend using [testflight-dev-deploy](https://github.com/343max/testflight-dev-deploy) to do this is the easiest and most future proof way.
Next add `dev-client-mac-tools` using the expo cli.
```bash
expo install dev-client-mac-tools
```
The code injects itself into the debug build of the app so there is nothing you need to do. Just rebuild the app and run it on your Mac and you should see the menu.
By default the menu is only included in debug builds. In production builds the native code will automatically be compiled out.
(If you want to have tighter control when the menu is included and when not you can control it using the `KDR_ENABLED` preprocessor macro.)
# Installing the Dev Client App from TestFlight on your developers Mac
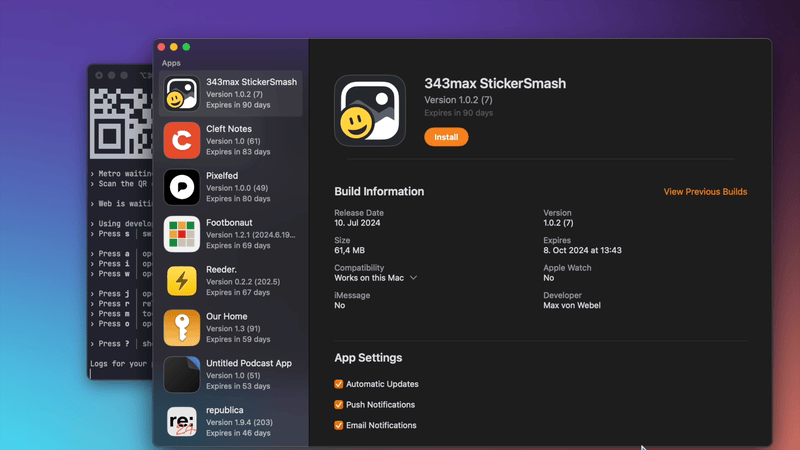
Installation of the Dev Client App takes seconds and is extremly simple. No Xcode install, no build, no Simulator runtime download.
# Updating the Dev Client App from TestFlight
Updating the Dev Client App is just one click or can even run automatically in the background.