https://github.com/4geeksacademy/react-hello-webapp
Professional Boilerplate for React Web Applications built by 4GeeksAcademy Students
https://github.com/4geeksacademy/react-hello-webapp
boilerplate context-api react react-boilerplate
Last synced: 9 months ago
JSON representation
Professional Boilerplate for React Web Applications built by 4GeeksAcademy Students
- Host: GitHub
- URL: https://github.com/4geeksacademy/react-hello-webapp
- Owner: 4GeeksAcademy
- Created: 2018-10-05T17:05:12.000Z (almost 8 years ago)
- Default Branch: master
- Last Pushed: 2025-01-08T19:29:59.000Z (over 1 year ago)
- Last Synced: 2025-01-30T20:03:03.817Z (over 1 year ago)
- Topics: boilerplate, context-api, react, react-boilerplate
- Language: JavaScript
- Homepage: https://react-hello-webapp-iota.now.sh
- Size: 4.61 MB
- Stars: 98
- Watchers: 6
- Forks: 1,736
- Open Issues: 0
-
Metadata Files:
- Readme: README.md
- Changelog: CHANGELOG.md
Awesome Lists containing this project
README
# WebApp Template with React JS
Used by 4Geeks.com and 4Geeks Academy students, this template helps to bootstrap your first multi-page web applications by integrating with React latest version, vercel deployments and [Vite](https://4geeks.com/lesson/intro-to-vite-module-bundler) for bundling.
### Getting stated:
> 📦 Make sure you are using at least node version 20.
1. Install the node package dependencies by typing: `$ npm install`
2. Create a .env file by typing `$ cp .env.example .env`
3. Start coding! and the vite dev server with live reload by typing: `$ npm run start`
### Styling
You can update the `./index.css` or create new `.css` files and import them into your current css or js files depending on your needs.
### Components
Add more files into your `./src/components` or styles folder as you need them and import them into your current files as needed.
💡Note: There is an example using the Context API inside `pages/demo.js`;
### Pages
Add more files into your `./js/pages` and import them in `./routes.jsx`.
Each page must match at least one route inside `routes.jsx`
### Centralized Store with useReducer
This template comes with a centralized & general state that's shared with all pages and compoentes, we call it "the store".
The file `./src/store.js` has a default structure for the store, we encourage you to change it and adapt it to your data needs (for example, if you are doing a `Todo list` you will probably have a array of todos here).
+ Learn [how the useReducer works](https://4geeks.com/lesson/optimize-react-components-usereducer).
+ Read more about [implementing a global state with Context API](https://4geeks.com/lesson/context-api)
+ Read more about [react hooks](https://content.breatheco.de/lesson/react-hooks-explained)
The store `Provider` for this context is already set on `./src/main.jsx`. You can access the store from any component using the `useGlobalReducer` hook to get the `store` and `dispatcher`. Check `/views/demo.js` to see a demo. Here is a smaller sample:
```jsx
import useGlobalReducer from "./src/hooks/useGlobalReducer";
const MyComponentSuper = () => {
//here you use the hook to get dispatcher and store
import { dispatch, store } = useGlobalReducer();
return
{/* you can use your actions or store inside the html */}
}
```
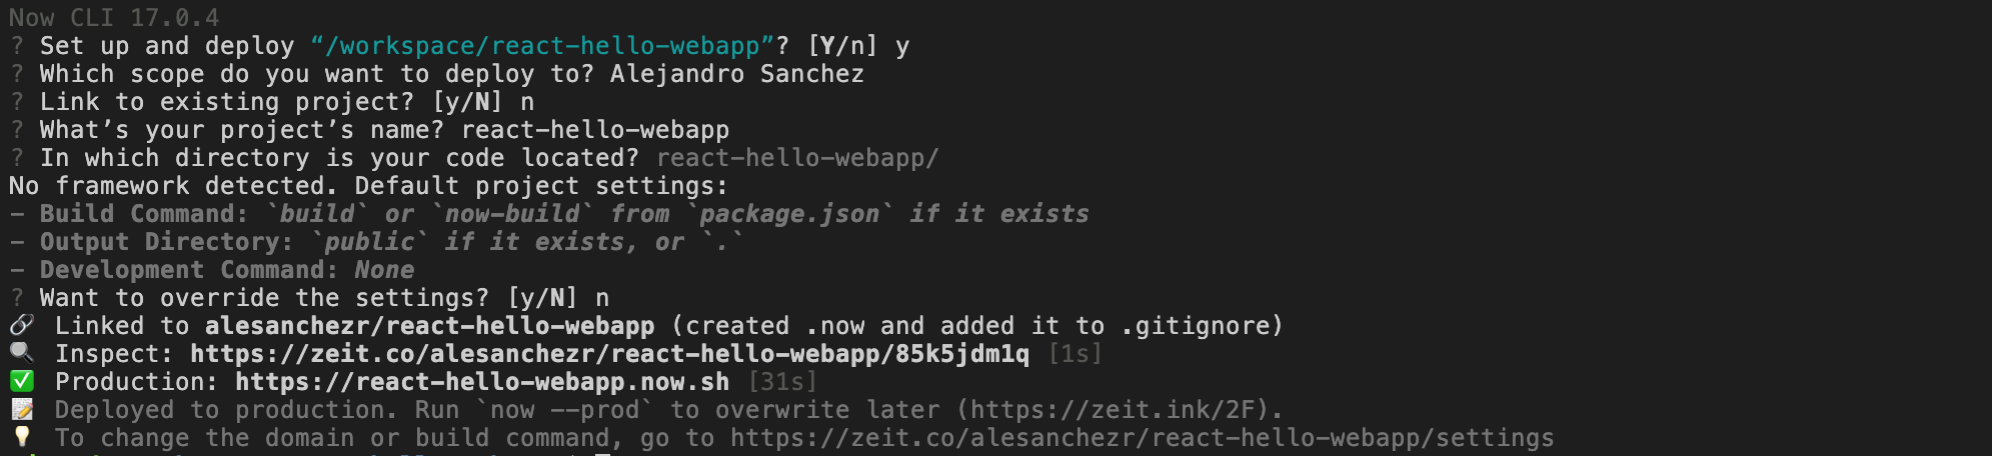
## Publish your website!
1. **Vercel:** The FREE recomended hosting provider is [vercel.com](https://vercel.com/), you can deploy in 1 minutes by typing the following 2 commands:
Login (you need to have an account):
```sh
$ npm i vercel -g && vercel login
```
Deploy:
```sh
$ vercel --prod
```
✎ Note: If you don't have an account just go to vercel.com, create a account and come back here.
## Contributors
This template was built as part of the 4Geeks Academy [Coding Bootcamp](https://4geeksacademy.com/us/coding-bootcamp) by [Alejandro Sanchez](https://twitter.com/alesanchezr) and many other contributors. Find out more about our [Full Stack Developer Course](https://4geeksacademy.com/us/coding-bootcamps/part-time-full-stack-developer), [Data Science Bootcamp](https://4geeksacademy.com/us/coding-bootcamps/datascience-machine-learning) and [CyberSecurity Bootcamp](https://4geeksacademy.com/us/coding-bootcamps/cybersecurity).