https://github.com/4kauanmota/customers-api
https://github.com/4kauanmota/customers-api
fastify mongodb nodejs prisma swagger typescript yarn
Last synced: 2 months ago
JSON representation
- Host: GitHub
- URL: https://github.com/4kauanmota/customers-api
- Owner: 4kauanmota
- Created: 2024-12-22T16:29:00.000Z (over 1 year ago)
- Default Branch: main
- Last Pushed: 2025-01-11T18:11:33.000Z (over 1 year ago)
- Last Synced: 2025-04-09T19:53:24.895Z (about 1 year ago)
- Topics: fastify, mongodb, nodejs, prisma, swagger, typescript, yarn
- Language: TypeScript
- Homepage:
- Size: 31.3 KB
- Stars: 0
- Watchers: 1
- Forks: 0
- Open Issues: 0
-
Metadata Files:
- Readme: README.md
Awesome Lists containing this project
README
 
# 📄 **Informations**
**This is my first API project using fastify, mongodb and prisma**
# ✨ **Features**
- CRUD
- Customer
- Create
- List
- Delete
- Update
# 💻 **Technologies**
- [TYPESCRIPT](https://www.typescriptlang.org/)
- [YARN](https://yarnpkg.com/)
- [VISUAL STUDIO CODE](https://code.visualstudio.com/)
- [FASTIFY](https://www.fastify.io/)
- [PRISMA](https://www.prisma.io/)
- [SWAGGER](https://swagger.io/)
- [NODE.JS](https://nodejs.org/)
- [MONGODB](https://www.mongodb.com/)
# ⚙️ **How to run**
### Requirements
- [GIT](https://git-scm.com/)
- [YARN](https://yarnpkg.com/)
- [NODE.JS](https://nodejs.org/en)
### Codes
- `git clone https://github.com/4kauanmota/customers-API.git`
- `yarn`
- `npx prisma generate`
- `yarn run dev`
|
### 1. Cloning project
First you will need to open the terminal in the folder where you want to clone this project, and then, you paste this code
```
git clone https://github.com/4kauanmota/devCalc-WEB
```
### 2. Installing dependencies
In the project folder terminal you should enter
```
yarn
```
to install project depedencies
### 3. Creating .env file
In the project folder, create a .env file and add the following:
```
DATABASE_URL="Your MongoDB url"
```
Replace **Your MongoDB URL** with the actual connection string for your MongoDB database.
### 4. Generating the Database Client
In the project folder terminal, run the following command:
```
npx prisma generate
```
This command generates the Prisma Client based on your schema and makes it ready for use in the project.
### 5. Running project
To run the project you just need to enter
```
yarn run dev
```
# 👀 **Preview**
**Click on the images to see a full video ;)**
### Desktop
[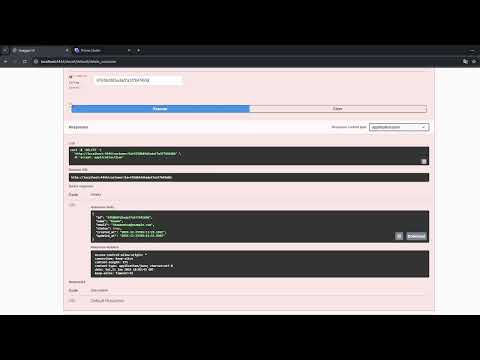](https://www.youtube.com/watch?v=3yMXbgJfxhY)
# 📝 **Author**
[Kauan Soares Mota](https://github.com/4kauanmota)