https://github.com/AlexanderZaytsev/react-native-i18n
React Native + i18n.js
https://github.com/AlexanderZaytsev/react-native-i18n
Last synced: 11 months ago
JSON representation
React Native + i18n.js
- Host: GitHub
- URL: https://github.com/AlexanderZaytsev/react-native-i18n
- Owner: AlexanderZaytsev
- License: mit
- Created: 2015-06-14T10:48:33.000Z (about 11 years ago)
- Default Branch: master
- Last Pushed: 2024-02-01T09:27:31.000Z (over 2 years ago)
- Last Synced: 2025-07-23T15:51:17.958Z (11 months ago)
- Language: Objective-C
- Size: 1.32 MB
- Stars: 2,176
- Watchers: 30
- Forks: 492
- Open Issues: 82
-
Metadata Files:
- Readme: README.md
- License: LICENSE.md
Awesome Lists containing this project
- awesome-react-native - react-native-i18n ★1778 - React Native + i18n.js~~ Deprecated for react-native-localize (Components / Internationalization)
- awesome-react-native - react-native-i18n ★1778 - React Native + i18n.js~~ Deprecated for react-native-localize (Components / Internationalization)
- awesome-react-native-native-modules - react-native-i18n ★1249
- ReactNativeMaterials - eact-native-i18n
- fucking-awesome-react-native - react-native-i18n ★1778 - React Native + i18n.js~~ Deprecated for react-native-localize (Components / Internationalization)
- awesome-react-native - react-native-i18n ★1778 - React Native + i18n.js~~ Deprecated for react-native-localize (Components / Internationalization)
- awesome-react-native - react-native-i18n ★1778 - React Native + i18n.js (Components / Internationalization)
- awesome-react-native-ui - react-native-i18n ★516 - React Native + i18n.js (Components / Internationalization)
README
# ⚠️ This package is deprecated
_This library is deprecated in favor of [react-native-localize](https://github.com/react-native-community/react-native-localize). You can use react-native-localize with [I18n-js](https://github.com/fnando/i18n-js) (but also with [react-intl](https://github.com/yahoo/react-intl), [react-i18next](https://github.com/i18next/react-i18next), etc. The choice is yours!)_

# react-native-i18n
Integrates [I18n.js](https://github.com/fnando/i18n-js) with React Native. Uses the user preferred locale as default.
## Installation
**Using yarn (recommended)**
`$ yarn add react-native-i18n`
**Using npm**
`$ npm install react-native-i18n --save`
## Automatic setup
After installing the npm package you need to link the native modules.
If you're using React-Native >= 0.29 just link the library with the command `react-native link react-native-i18n`.
If you're using React-Native < 0.29, install [rnpm](https://github.com/rnpm/rnpm) with the command `npm install -g rnpm` and then link the library with the command `rnpm link`.
If you're having any issue you can also try to install the library manually as follows.
## Automatic setup with Cocoapods
After installing the npm package, add the following line to your Podfile
```ruby
pod 'RNI18n', :path => '../node_modules/react-native-i18n'
```
and run
```
pod install
```
## Manual setup
### iOS
Add `RNI18n.xcodeproj` to **Libraries** and add `libRNI18n.a` to **Link Binary With Libraries** under **Build Phases**.
[More info and screenshots about how to do this is available in the React Native documentation](http://facebook.github.io/react-native/docs/linking-libraries-ios.html#content).
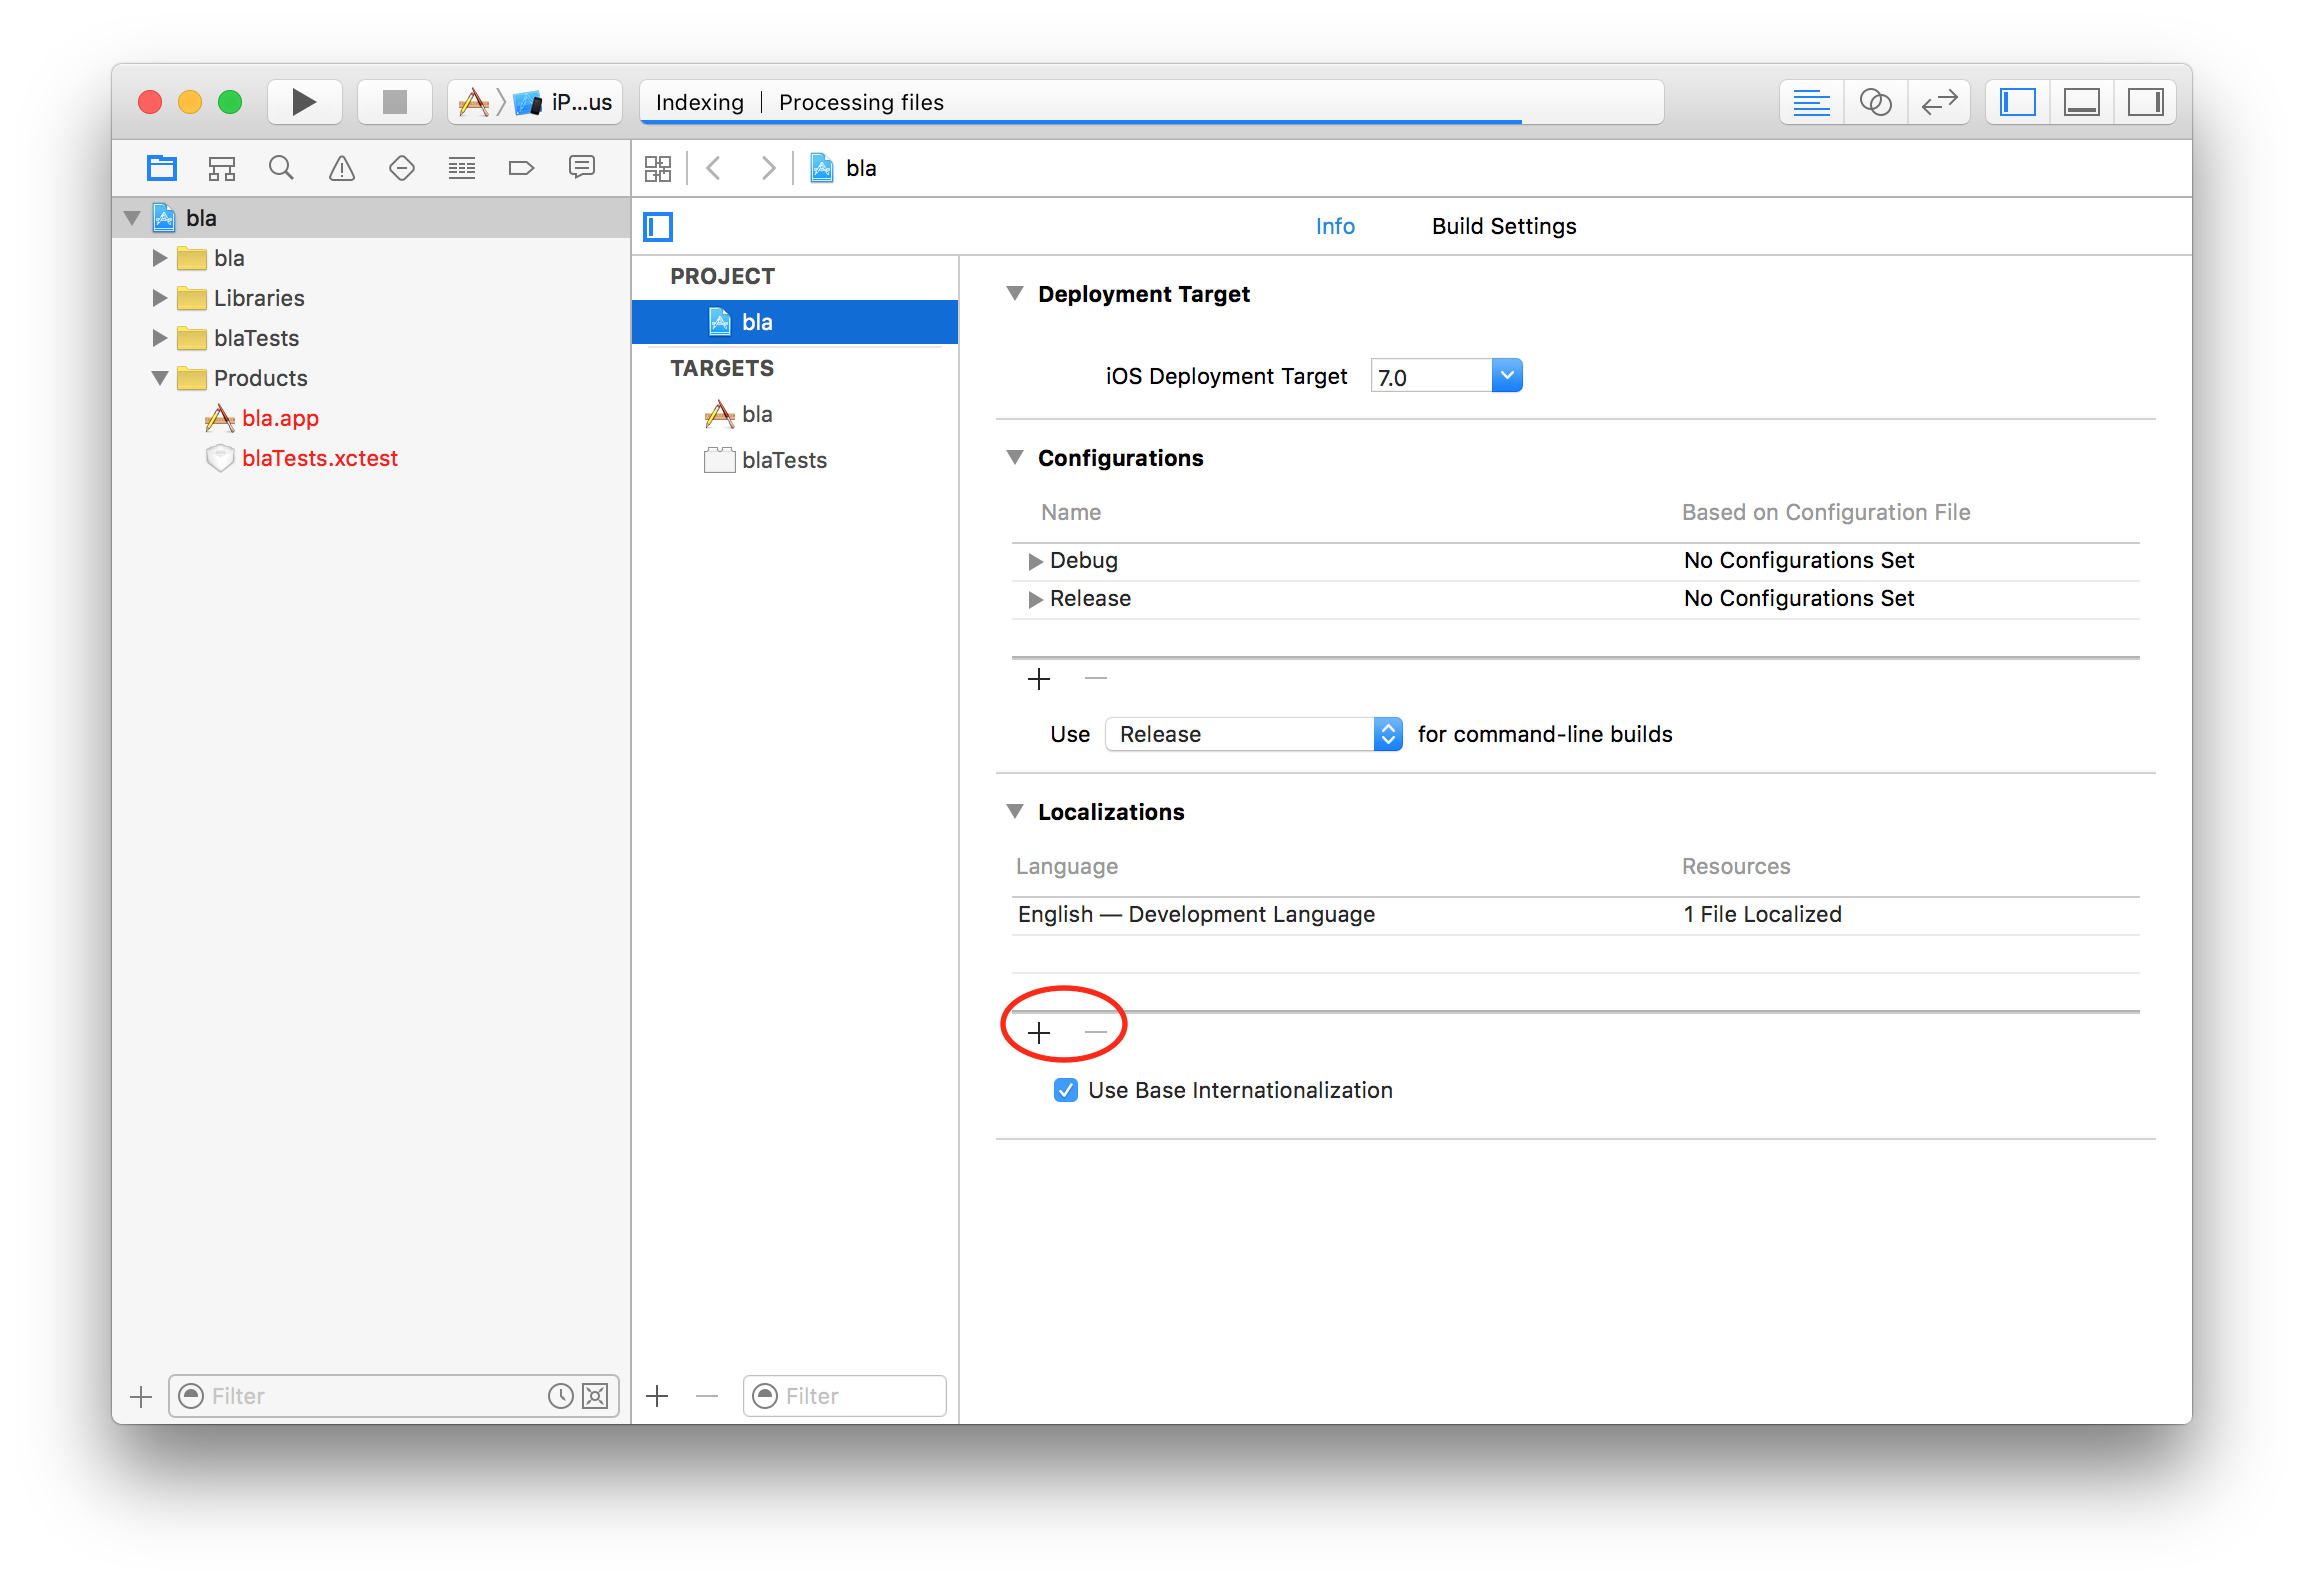
You also need to add the **localizations** you intend to support to your iOS project. To do that open your Xcode project:
```
$ open .xcodeproj
```
And add the localizations you will support as shown here:
### Android
Add `react-native-i18n` to your `./android/settings.gradle` file as follows:
```gradle
include ':app', ':react-native-i18n'
project(':react-native-i18n').projectDir = new File(rootProject.projectDir, '../node_modules/react-native-i18n/android')
```
Include it as dependency in `./android/app/build.gradle` file:
```gradle
dependencies {
// ...
compile project(':react-native-i18n')
}
```
Finally, you need to add the package to your MainApplication (`./android/app/src/main/java/your/bundle/MainApplication.java`):
```java
import com.AlexanderZaytsev.RNI18n.RNI18nPackage; // <-- Add to ReactNativeI18n to the imports
// ...
@Override
protected List getPackages() {
return Arrays.asList(
new MainReactPackage(),
// ...
new RNI18nPackage(), // <-- Add it to the packages list
);
}
// ...
```
After that, you will need to recompile your project with `react-native run-android`.
**⚠️ Important: You'll need to install Android build tools 27.0.3**
## Usage
```javascript
import I18n from 'react-native-i18n';
// OR const I18n = require('react-native-i18n').default
class Demo extends React.Component {
render() {
return {I18n.t('greeting')};
}
}
// Enable fallbacks if you want `en-US` and `en-GB` to fallback to `en`
I18n.fallbacks = true;
I18n.translations = {
en: {
greeting: 'Hi!',
},
fr: {
greeting: 'Bonjour!',
},
};
```
This will render `Hi!` for devices with the English locale, and `Bonjour!` for devices with the French locale.
## Usage with multiple location files
```javascript
// app/i18n/locales/en.js
export default {
greeting: 'Hi!'
};
// app/i18n/locales/fr.js
export default {
greeting: 'Bonjour!'
};
// app/i18n/i18n.js
import I18n from 'react-native-i18n';
import en from './locales/en';
import fr from './locales/fr';
I18n.fallbacks = true;
I18n.translations = {
en,
fr
};
export default I18n;
// usage in component
import I18n from 'app/i18n/i18n';
class Demo extends React.Component {
render () {
return (
{I18n.t('greeting')}
)
}
}
```
### Fallbacks
When fallbacks are enabled (which is generally recommended), `i18n.js` will try to look up translations in the following order (for a device with `en_US` locale):
- en-US
- en
**Note**: iOS 8 locales use underscored (`en_US`) but `i18n.js` locales are dasherized (`en-US`). This conversion is done automatically for you.
```javascript
I18n.fallbacks = true;
I18n.translations = {
en: {
greeting: 'Hi!',
},
'en-GB': {
greeting: 'Hi from the UK!',
},
};
```
For a device with a `en_GB` locale this will return `Hi from the UK!'`, for a device with a `en_US` locale it will return `Hi!`.
### Device's locales
You can get the user preferred locales with the `getLanguages` method:
```javascript
import { getLanguages } from 'react-native-i18n';
getLanguages().then(languages => {
console.log(languages); // ['en-US', 'en']
});
```
### I18n.js documentation
For more info about I18n.js methods (`localize`, `pluralize`, etc) and settings see [its documentation](https://github.com/fnando/i18n-js#setting-up).
## Licence
MIT