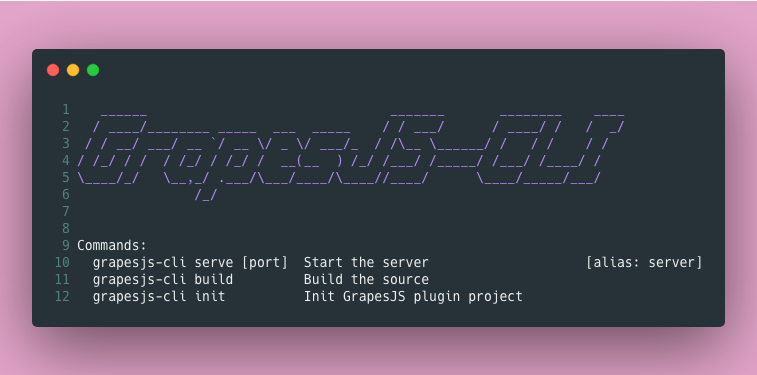
https://github.com/GrapesJS/cli
GrapesJS CLI helper for the development
https://github.com/GrapesJS/cli
Last synced: 7 months ago
JSON representation
GrapesJS CLI helper for the development
- Host: GitHub
- URL: https://github.com/GrapesJS/cli
- Owner: GrapesJS
- License: mit
- Created: 2019-09-16T20:41:53.000Z (over 6 years ago)
- Default Branch: master
- Last Pushed: 2024-10-25T21:05:18.000Z (over 1 year ago)
- Last Synced: 2024-11-14T11:02:33.991Z (about 1 year ago)
- Language: TypeScript
- Homepage:
- Size: 1.76 MB
- Stars: 103
- Watchers: 6
- Forks: 29
- Open Issues: 13
-
Metadata Files:
- Readme: README.md
- License: LICENSE
Awesome Lists containing this project
README
# GrapesJS CLI
[](https://www.npmjs.com/package/grapesjs-cli)

A simple CLI library for helping in GrapesJS plugin development.
The goal of this package is to avoid the hassle of setting up all the dependencies and configurations for the plugin development by centralizing and speeding up the necessary steps during the process.
* Fast project scaffolding
* No need to touch Babel and Webpack configurations
## Plugin from 0 to 100
Create a production-ready plugin in a few simple steps.
* Create a folder for your plugin and init some preliminary steps
```sh
mkdir grapesjs-my-plugin
cd grapesjs-my-plugin
npm init -y
git init
```
* Install the package
```sh
npm i -D grapesjs-cli
```
* Init your plugin project by following few steps
```sh
npx grapesjs-cli init
```
You can also skip all the questions with `-y` option or pass all the answers via options (to see all available options run `npx grapesjs-cli init --help`)
```sh
npx grapesjs-cli init -y --user=YOUR-GITHUB-USERNAME
```
* The command will scaffold the `src` directory and a bunch of other files inside your project. The `src/index.js` will be the entry point of your plugin. Before starting developing your plugin run the development server and open the printed URL (eg. the default is http://localhost:8080)
```sh
npx grapesjs-cli serve
```
If you need a custom port use the `-p` option
```sh
npx grapesjs-cli serve -p 8081
```
Under the hood we use `webpack-dev-server` and you can pass its option via CLI in this way
```sh
npx grapesjs-cli serve --devServer='{"https": true}'
```
* Once the development is finished you can build your plugin and generate the minified file ready for production
```sh
npx grapesjs-cli build
```
* Before publishing your package remember to complete your README.md file with all the available options, components, blocks and so on.
For a better user engagement create a simple live demo by using services like [JSFiddle](https://jsfiddle.net) [CodeSandbox](https://codesandbox.io) [CodePen](https://codepen.io) and link it in your README. To help you in this process we'll print all the necessary HTML/CSS/JS in your README, so it will be just a matter of copy-pasting on some of those services.
## Customization
### Customize webpack config
If you need to customize the webpack configuration, you can create `webpack.config.js` file in the root dir of your project and export a function, which should return the new configuration object. Check the example below.
```js
// YOUR-PROJECT-DIR/webpack.config.js
// config is the default configuration
export default ({ config }) => {
// This is how you can distinguish the `build` command from the `serve`
const isBuild = config.mode === 'production';
return {
...config,
module: {
rules: [ { /* extra rule */ }, ...config.module.rules ],
},
};
}
```
## Generic CLI usage
Show all available commands
```sh
grapesjs-cli
```
Show available options for a command
```sh
grapesjs-cli COMMAND --help
```
Run the command
```sh
grapesjs-cli COMMAND --OPT1 --OPT2=VALUE
```
## License
MIT