https://github.com/Labsmore/pyuscope
Python machine vision platform
https://github.com/Labsmore/pyuscope
Last synced: 5 days ago
JSON representation
Python machine vision platform
- Host: GitHub
- URL: https://github.com/Labsmore/pyuscope
- Owner: Labsmore
- License: bsd-2-clause
- Created: 2019-03-31T18:01:58.000Z (over 6 years ago)
- Default Branch: main
- Last Pushed: 2024-05-14T02:48:35.000Z (about 1 year ago)
- Last Synced: 2024-08-05T15:07:20.678Z (11 months ago)
- Language: JavaScript
- Homepage:
- Size: 8.31 MB
- Stars: 76
- Watchers: 5
- Forks: 17
- Open Issues: 109
-
Metadata Files:
- Readme: README.md
- License: LICENSE.txt
Awesome Lists containing this project
README
pyuscope controls digital microscopes using Python.
It primarily focuses on metallurgical microscopes with an emphasis on high resolution panoramas and advanced scripting.
Interested in purchasing a microscope? Please reach out to [email protected]
Features:
* Argus GUI for easy imaging
* Panoramic imaging including simple 2D and advanced 3D tracking
* Focus stacking
* HDR capture
* Chain batch jobs together
* Automatic panorama image stitching CloudStitch
* CLI applications for batch jobs
* Simple Python API for advanced applications
# Quick start
OS: we primarily test on Ubuntu 20.04 but other versions of Linux or MacOS might work
git clone --branch stable-latest https://github.com/Labsmore/pyuscope.git
If you'd like a basic setup:
./setup_ubuntu_20.04.sh
After rebooting your system you can launch with (auto detected microscope):
./app/argus.py
If you want to explicitly specify a microscope:
./app/argus.py --microscope mock
# Updating
Assuming you have no outstanding changes, do the following:
git pull --rebase
./setup_ubuntu_20.04.sh
# Supported hardware
Microscopes tend to be based on a GRBL motion controller + a Touptek USB camera. There are some older LinuxCNC and/or v4l flows but they aren't currently actively developed.
It's also possible to use the motion HAL / planner without gstreamer if you are ok launching from the CLI or writing your own GUI. Ex: we may add some basic SEM support this way
# User Guide
## Imaging
### Select lens configuration
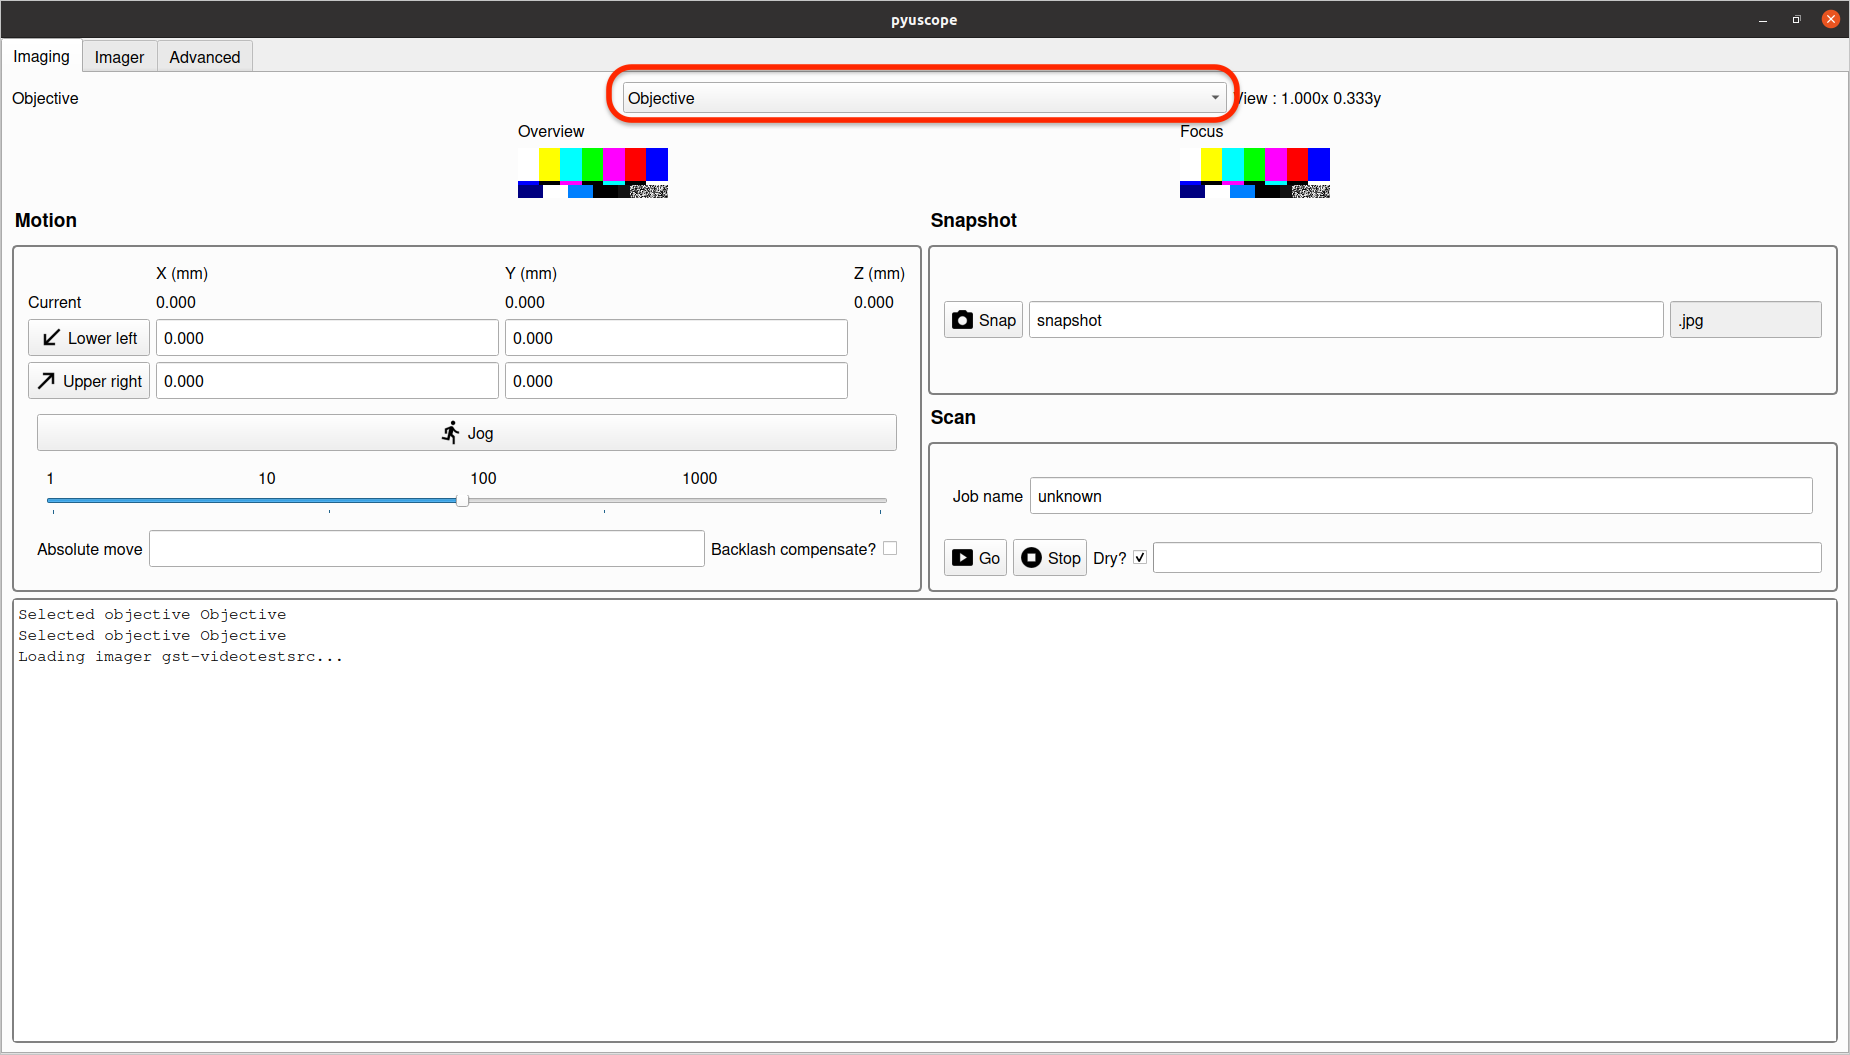
This dropdown displays a list of lens setups that exist in the configuration file used during application startup. Pick option that matches the lens currently being used to image.
This selection is required for correctly performing motion and imaging tasks and should be set when switching lenses, or performing any operations.
### Camera View and Focus View
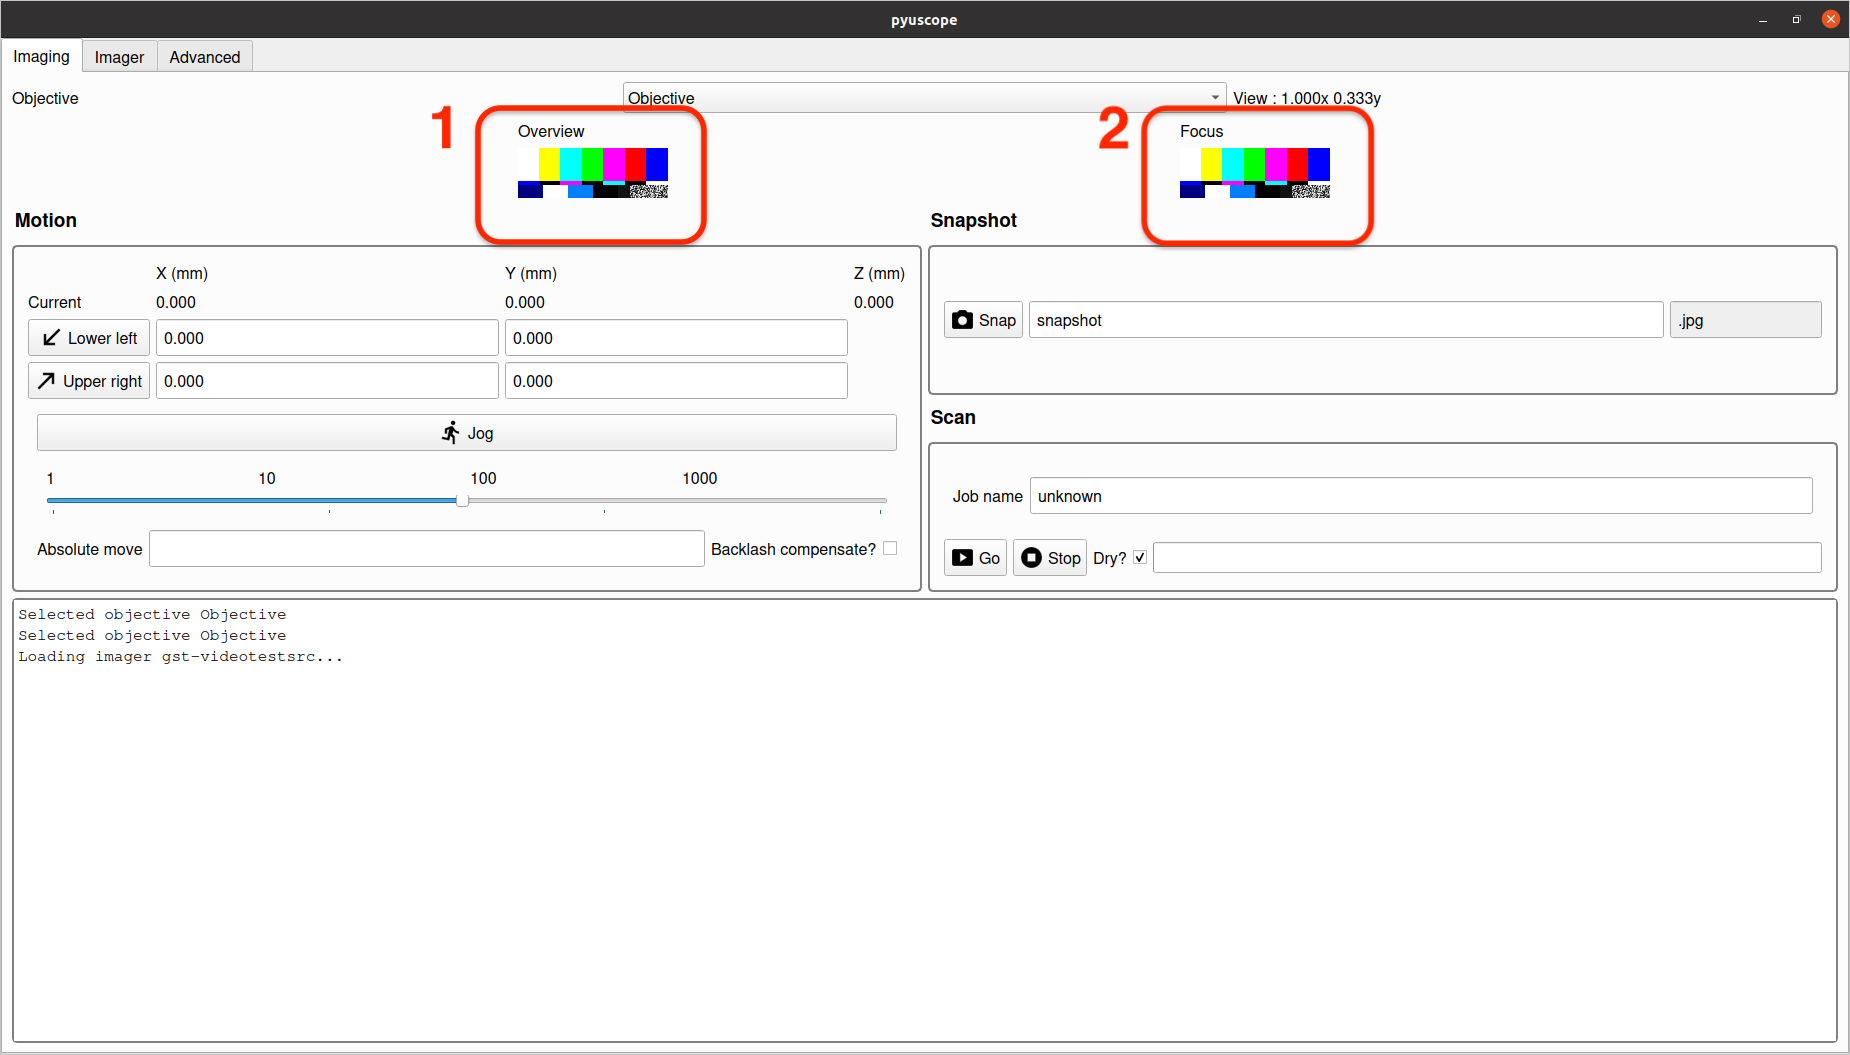
The view in section `1` provides a video feed from the camera.
The view in section `2` provides a magnified sub-area of the camera feed to aid in fine tuning focus. _Note:_ since this view is highly magnified, it may never appear completely sharp, and is intended to be a guide to maximum achievable sharpness.
### Motion Controls
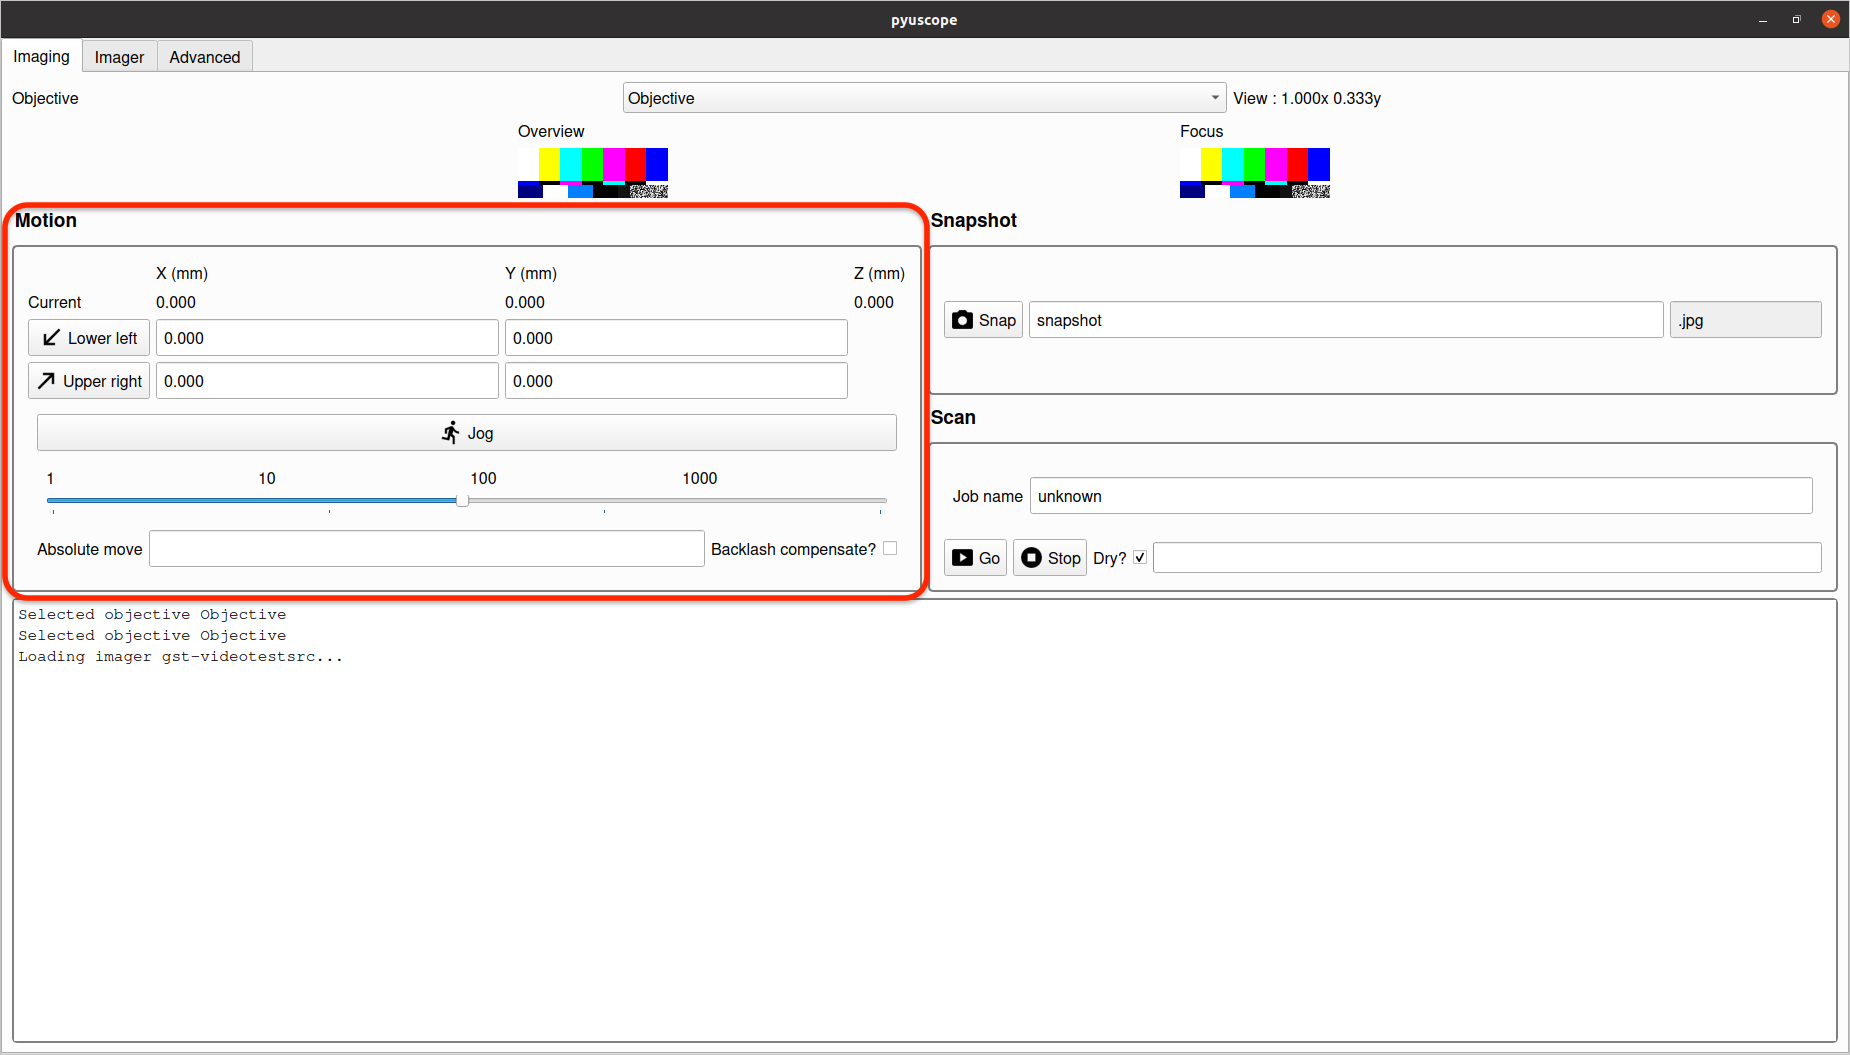
The `Motion` section provides controls to:
* Set the bounding box for scans.
* Enable `Jog` mode to move the microscope and in X, Y and Z directions.
#### `Jog` mode
Jog mode allows moving the microscope along the X, Y and Z axis.
Enter and exit `Jog` mode by toggling the "Jog" button.
The slider controls the speed and amount of each motion command. Use slider value `1` for fine grained motion, and increase the slider for a larger movement amount.
Enter `Jog` mode, by clicking the "Jog" button, then move the microscope via the following hotkeys:
* `A` and `D` for the X-axis motion
* `W` and `S` for the Y-axis motion
* `Q` and `E` for the Z-axis motion
* `Z` and `C` to change rate
* `F` to toggle fine mode
#### Set Scan Bounding Box Coordinates
The two buttons `Lower left` and `Upper right` provide coordinates to define the area for a scan. To set either, move the microscope to the desired location, and click the button to set the current coordinate as that point.
Note: depending on the configuration of your specific microscope, these points might be flipped (e.g. "Upper left" vs. "Lower left").
### Snapshot
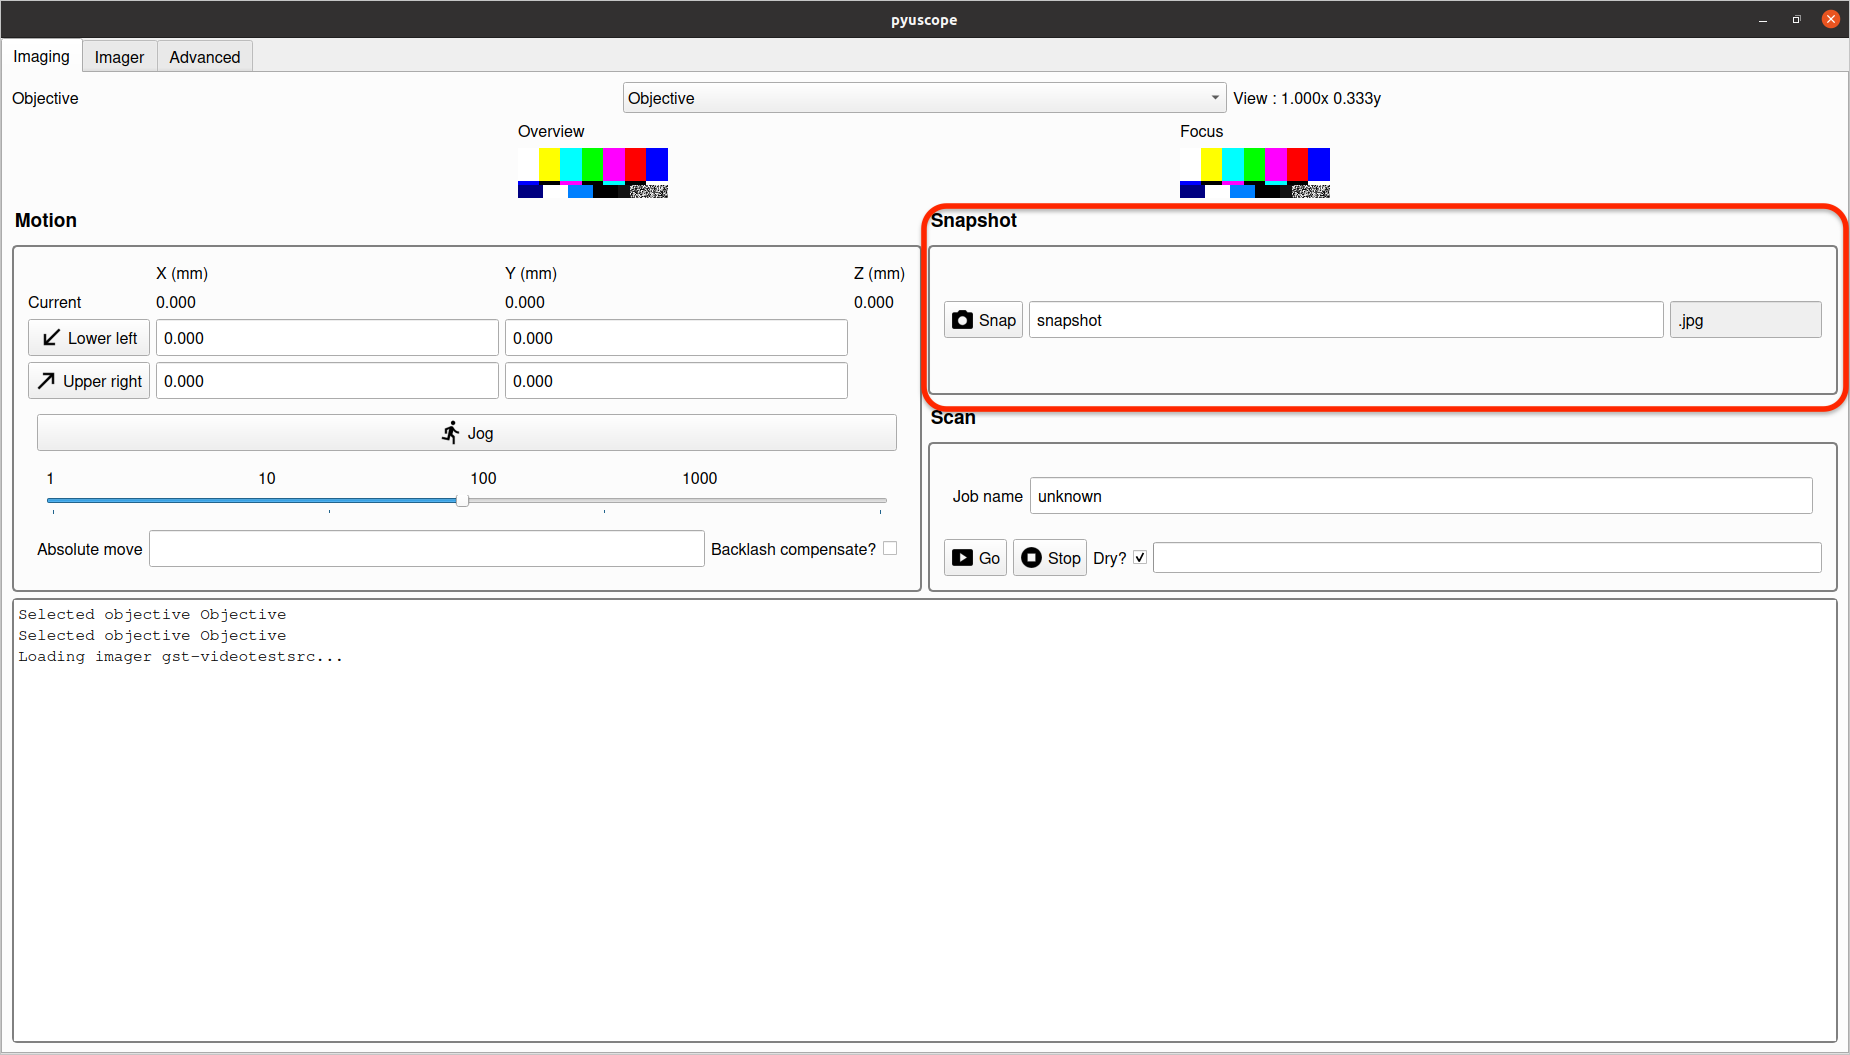
Snapshot saves the current image to the filename specified with a datetime postfix.
### Scan
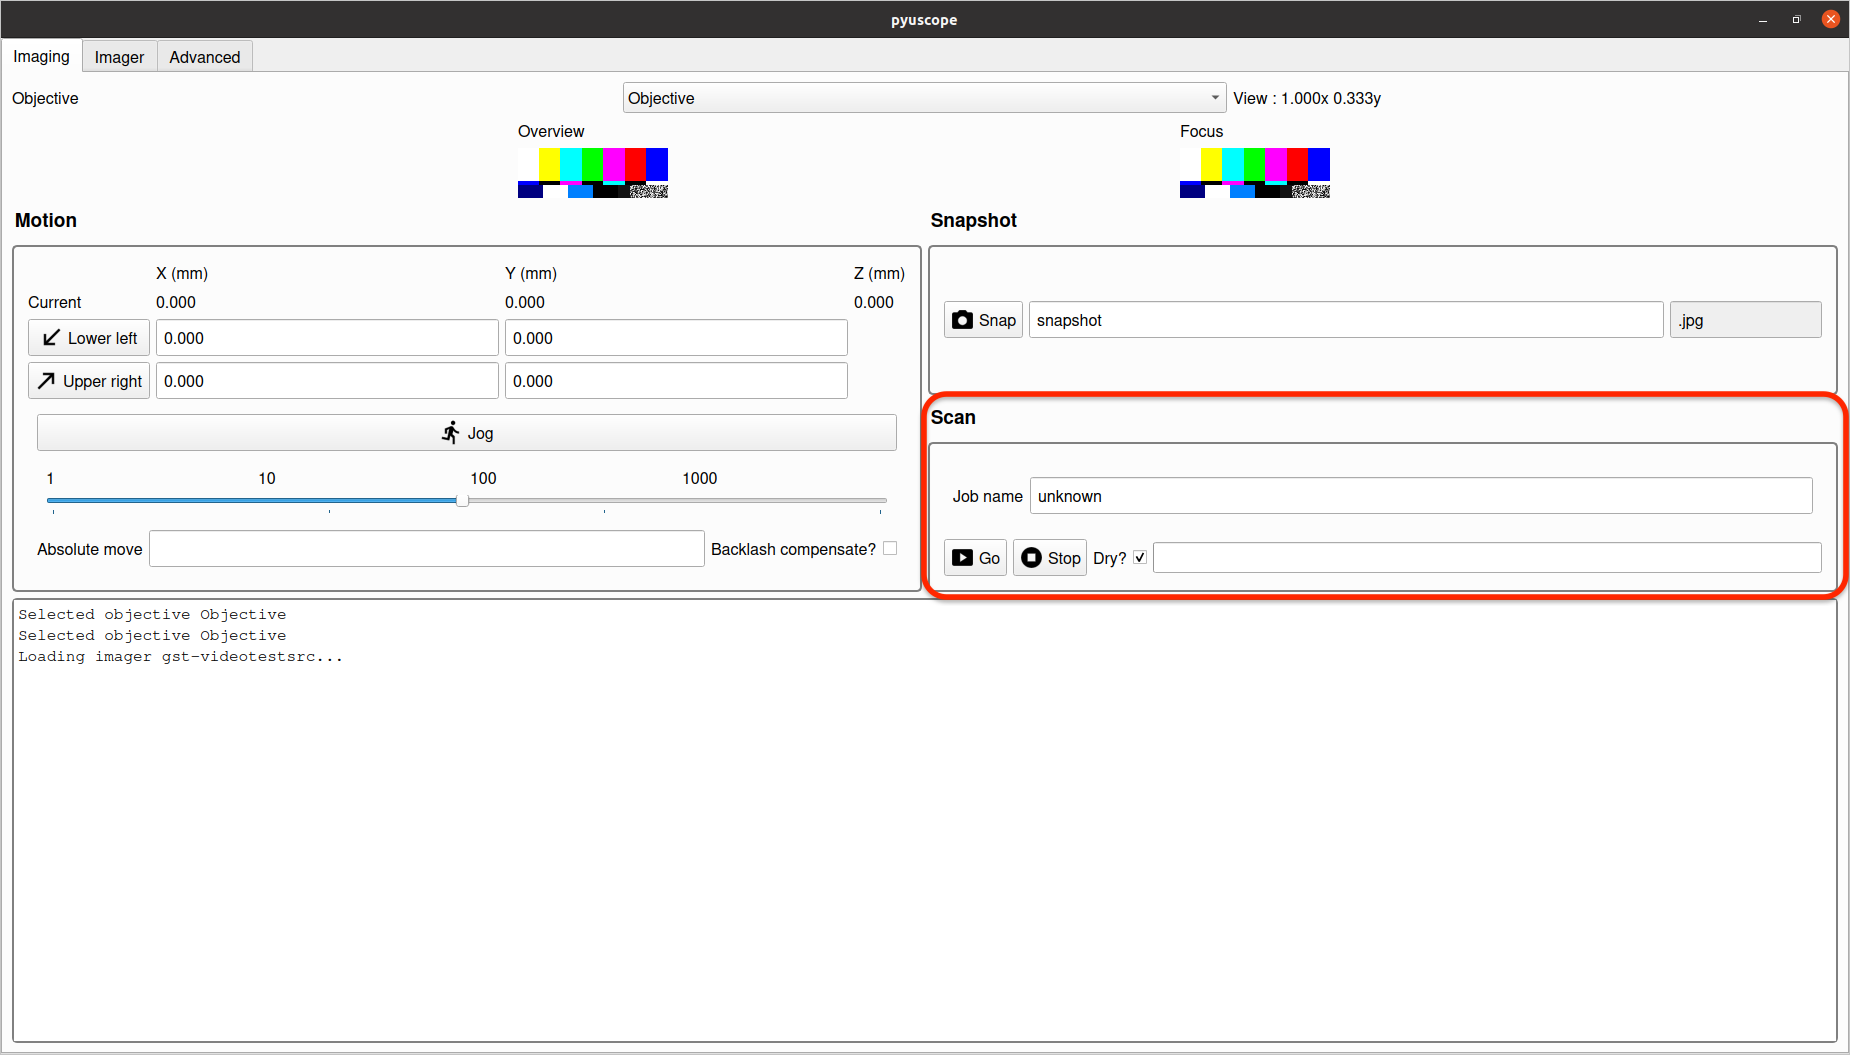
A scan performs a motion controlled capture over the area that has been defined by the bounding box points set in the "Motion" section.
If the `Dry` checkbox is selected, clicking `Go` will output the expected images that will be taken for the scan.
### Log output
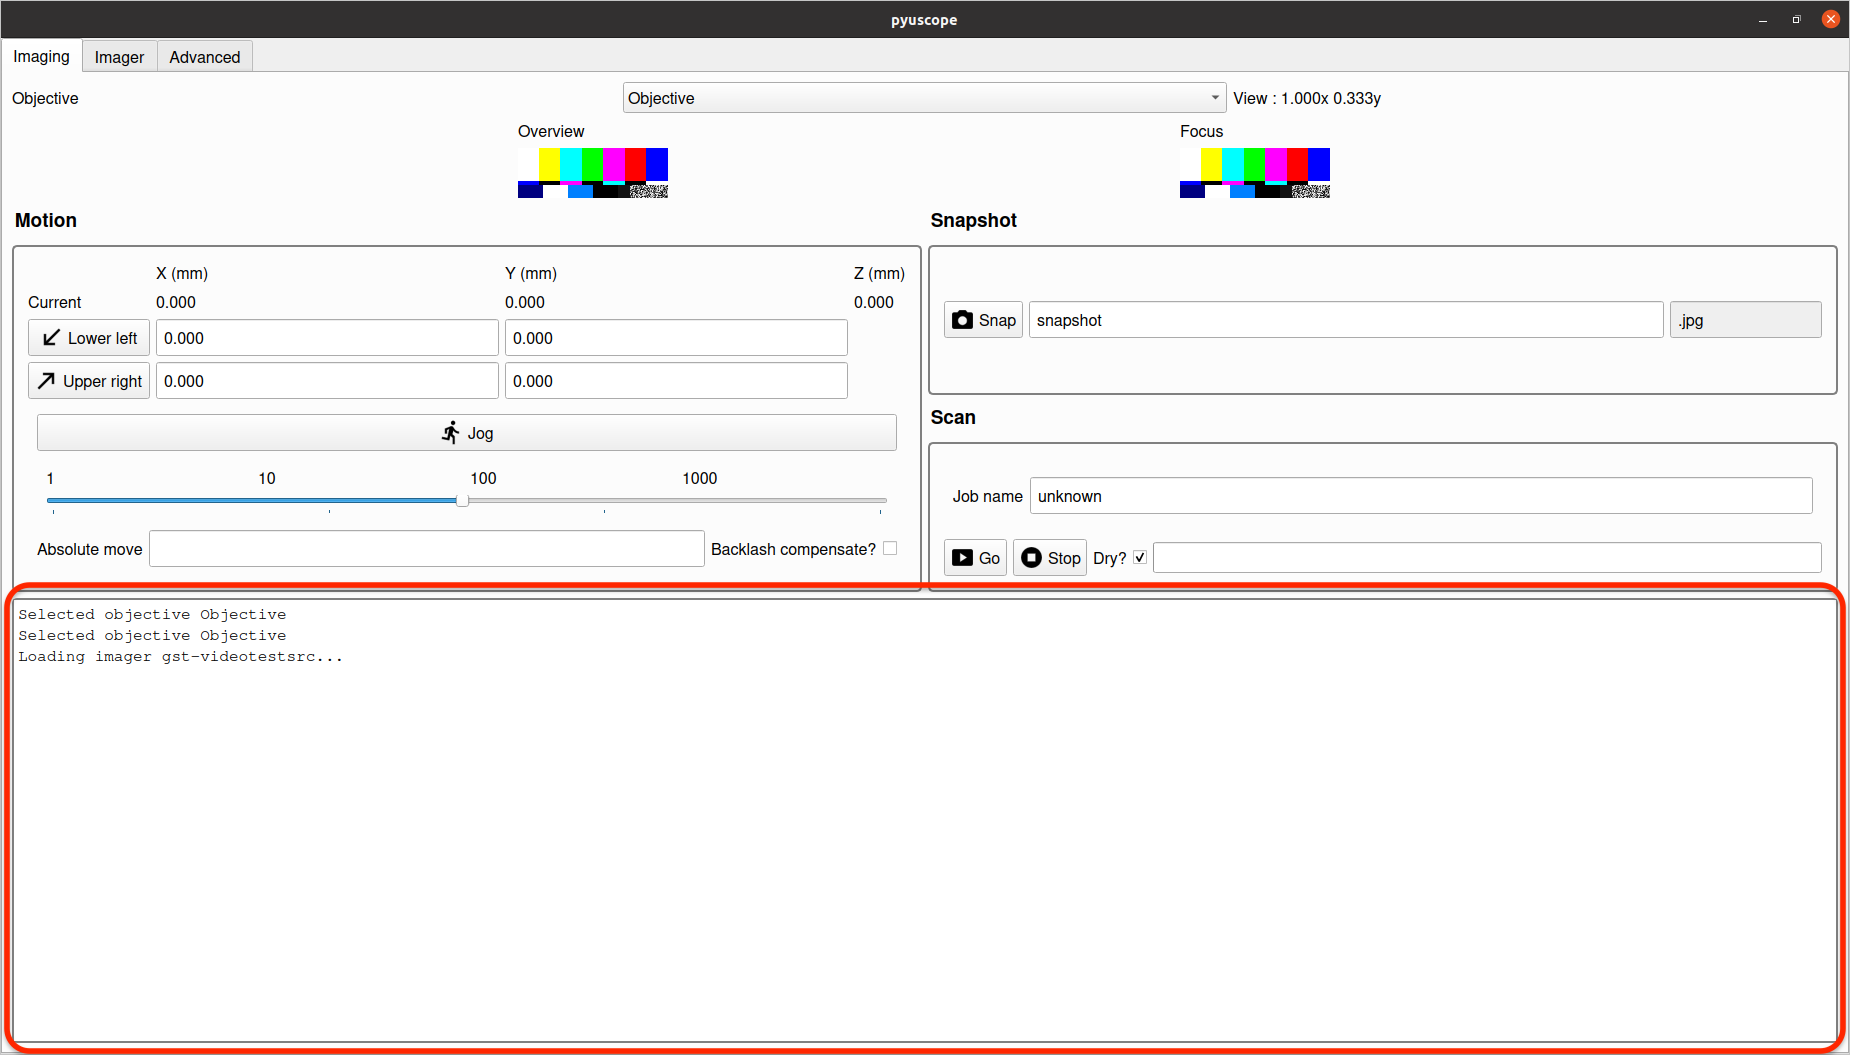
This area provides logging output and debug information.
# Why?
Originally I needed to support specialized hardware and wasn't enthusiastic to use Java for
MicroManager, the flagship FOSS microchip software.
In general the security and lab automation communities continue to revolve around Python which makes integrating
various instruments easy into my workflows.
# Version history
See VERSION.md