https://github.com/OpenLake/Photo-Sharing-App
Upload group photos, arrange them by faces using ML and share them with ease. 🤳🤖
https://github.com/OpenLake/Photo-Sharing-App
computer-vision django hacktoberfest ml python
Last synced: 4 months ago
JSON representation
Upload group photos, arrange them by faces using ML and share them with ease. 🤳🤖
- Host: GitHub
- URL: https://github.com/OpenLake/Photo-Sharing-App
- Owner: OpenLake
- Created: 2021-12-27T20:43:13.000Z (over 3 years ago)
- Default Branch: main
- Last Pushed: 2024-03-03T10:54:50.000Z (over 1 year ago)
- Last Synced: 2024-10-31T06:34:36.978Z (9 months ago)
- Topics: computer-vision, django, hacktoberfest, ml, python
- Language: HTML
- Homepage:
- Size: 19.3 MB
- Stars: 20
- Watchers: 3
- Forks: 12
- Open Issues: 1
-
Metadata Files:
- Readme: README.md
Awesome Lists containing this project
README
# Photo-Sharing-App
## About the Project
Photo Sharing App is a web app that allows a user to get group photos that include them without having to keep or sort through all of the photos, saving them time and
storage space. When a photo is uploaded, the app identifies the faces in it and arranges them according to the users who have been identified. Each identified user gets
a separate album with all their photos allowing them to get the photos they need seamlessly.
Upload group photos, arrange them by faces using ML and share them with ease. 🤳🤖
## Installation
- Option 1: Use the deployed version at: https://photo-organizer.herokuapp.com/
-----------------------------------------------------
- Option 2:
1. ### Setting up git:
- [Download and install the latest version of Git.](https://git-scm.com/downloads)
- (Optional) [Set your username in Git.](https://help.github.com/articles/setting-your-username-in-git)
- (Optional) [Set your commit email address in Git.](https://help.github.com/articles/setting-your-commit-email-address-in-git)
2. ### Cloning the Repo in your local machine
- Run ``git clone [email protected]:OpenLake/Photo-Sharing-App.git``
- ``cd Photo-Sharing-App``
- Make a virtual environment named .env ``python3 -m venv .env``
- Activate ``.env`` by ``source .env/bin/activate``
- Download the requirements ``pip install -r requirements.txt``
- Run ``cd backend``
- Run ``python3 manage.py makemigrations``
- Run ``python3 manage.py migrate``
- Run ``python3 manage.py runserver 8000``
- Go to http://127.0.0.1:8000/
- You are good to go! 🤘
## Usage

Landing Page

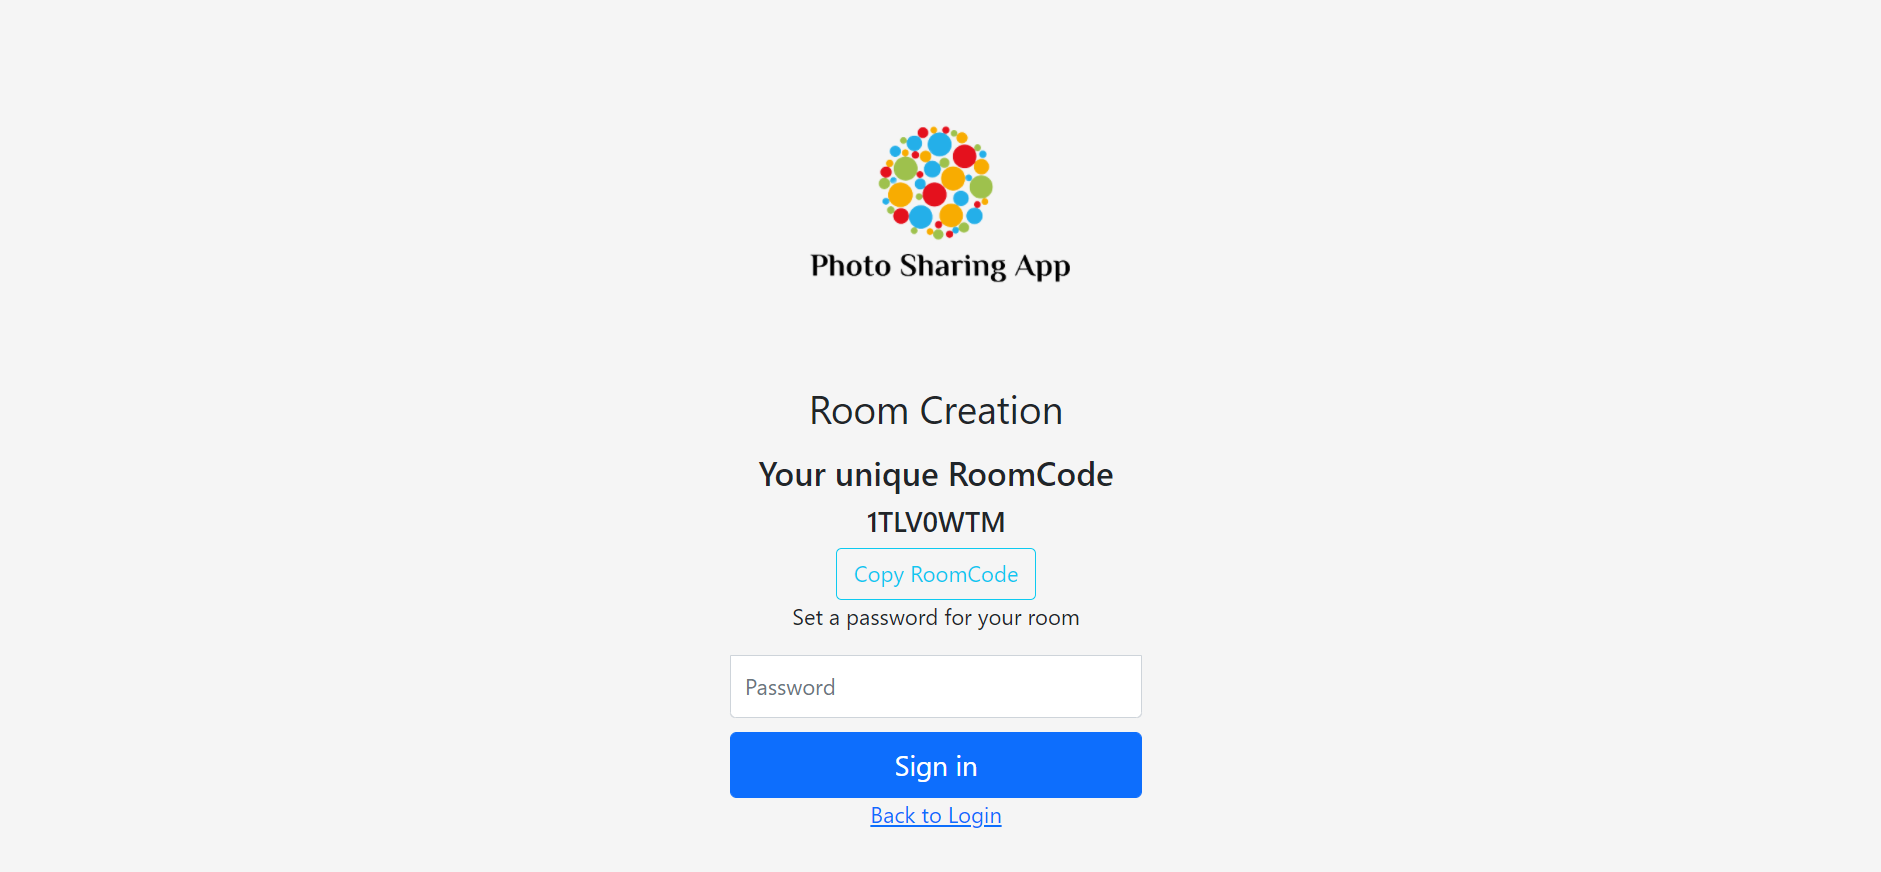
Room Creation Page

Here I have uploaded 6 images of Harry Potter cast.

After pressing "Process" we get these 3 albums of faces present in the photos we uploaded.

This is Ron Weasley a.k.a Rupert Grint's album. Out of the original 6 images he was present in just 4 and now we can download these pics indiviually or as a zip.
## How does it work?
When a user uploads a group photos and starts to "Process" it, the [Face Recognition](https://github.com/ageitgey/face_recognition) library detects all the faces present in the group image. After detecting the faces it reduces them into a 128 length vector. Now each image is represented by a vector of length 128. Once we have obtained the vectors the task that remains is to cluster them. This being an unsupervised clustering problem so I have used [DBSCAN](https://scikit-learn.org/stable/modules/generated/sklearn.cluster.DBSCAN.html). This method doesnt need to know the number of clusters beforehand. It divides all the images into clusters where each cluster belongs to a single person as the simmilarity between the images of the same person is more hence they get clustered closely. Now each cluster gets an indiviual album from where you can download the album or a single image indiviually.
## Frequently Asked Questions
**Q: I got Error: That port is already in use.**
A: It occurs because some process has occupied that port. You may kill the process using ``sudo fuser -k 8000/tcp`` or use a different port. For using a different port simply replace ``bash setup.sh`` with ``bash setup.sh ``. An example ``bash setup.sh 7000``. Now your app will successfully run on http://127.0.0.1:7000/