https://github.com/Pogodaanton/shtorm
The semi-automatic scriptable wiki-bot runner
https://github.com/Pogodaanton/shtorm
fandom-wiki mediawiki mediawiki-api mediawiki-bot nodemw wiki wikia-api wikipedia
Last synced: over 1 year ago
JSON representation
The semi-automatic scriptable wiki-bot runner
- Host: GitHub
- URL: https://github.com/Pogodaanton/shtorm
- Owner: Pogodaanton
- License: gpl-3.0
- Archived: true
- Created: 2019-04-06T09:30:22.000Z (about 7 years ago)
- Default Branch: master
- Last Pushed: 2022-09-28T13:11:07.000Z (over 3 years ago)
- Last Synced: 2025-01-19T00:35:19.952Z (over 1 year ago)
- Topics: fandom-wiki, mediawiki, mediawiki-api, mediawiki-bot, nodemw, wiki, wikia-api, wikipedia
- Language: JavaScript
- Homepage:
- Size: 6.63 MB
- Stars: 0
- Watchers: 2
- Forks: 0
- Open Issues: 48
-
Metadata Files:
- Readme: README.md
- License: LICENSE
Awesome Lists containing this project
README
# ⚡️ Shtorm - The semi-automatic scriptable wiki-bot runner
Wiki-Bots are made to aid the user in editing their wiki's contents. Some of them have complex GUIs which allow you to automate some, but not all tasks. On the other hand, raw editing APIs naturally make your code prone to bugs which could ultimately mess up your articles.
_Shtorm tries to solve the shortfalls of both methods, by providing a GUI, and the respective API, for monitoring your running bot scripts._
## Script-Client-Communication
The JavaScript API allows scripts to communicate with the client in the following ways:
- Expose startup-variables to the user allowing them to make multiple presets out of the same script _(e.g.: Two presets telling the script to go through two different categories)_
- Generate diffing and editing prompts _(e.g.: Checking changes the script made to an article)_
- Show the progress of pending tasks through the in-built progress bar
## Efficiency-First
The JavaScript API allows you to generate **diffing or editing prompts**, as well as a **progress-bar** for visually indicating the status of pending tasks.
Furthermore, scripts can expose multiple public variables, thus allowing users to **run the same script with different start values**.
## Multi-User-Capable
Since Shtorm is able to run multiple script instances simultaneously, a feature was added to grant multiple users the ability to run select tasks on their own. Thanks to the user-friendly interface one does not need programming knowledge to **use** the scripts.
> Note that Shtorm cannot guarantee fully sanitized user-input. It is the responsibility of the script authors to implement this in their code if they need to.
# Table of Contents
- [About](#⚡️-Shtorm---The-semi-automatic-scriptable-wiki-bot)
- [Demo Images](#Demo-Images)
- [Usage](#Usage)
- [Server](#Server)
- [Client](#Client)
- [Scripting API](#Scripting-API)
- [Environment and Custom Modules](#Environment-and-custom-modules)
- [Supported Languages](#Supported-languages)
- [Fundamentals in a Shtorm Script](#Fundamentals-in-a-Shtorm-script)
- [Globals](#Globals)
- [Installation](#Installation)
- [Create Config Files](#Create-config-files)
- [Build and Deploy](#Build-and-deploy)
- [Troubleshooting](#Troubleshooting)
- [Contributing](#Contributing)
- [License](#License)
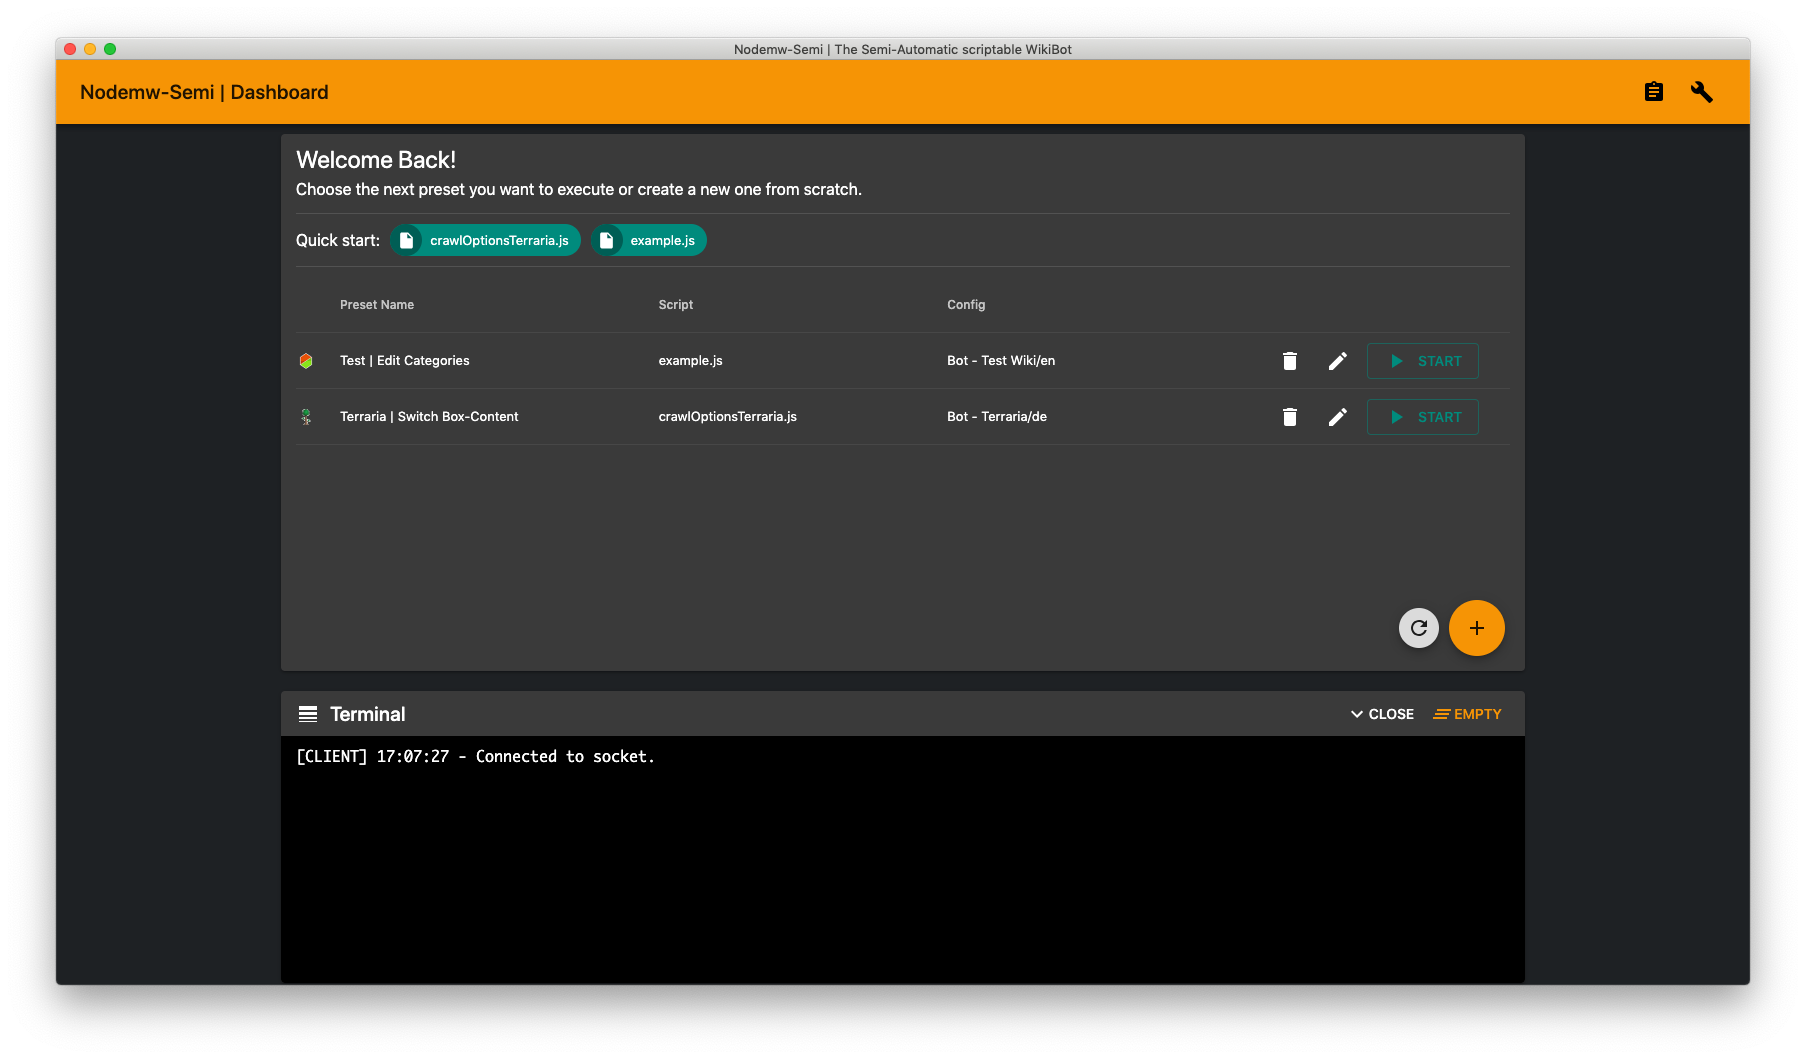
# Demo Images
# Usage
> For the installation instructions, head over to [Installation](#Installation)
## Server
There are two essential directories for the server: A folder containing each executable script and a folder for the server database.
Thus, the following arguments can be added when starting the server:
```sh
$ shtorm-server [scriptsDirPath] [databaseDirPath]
```
## Client
The first user will always be called "Admin" with the password "password".
Change this data **on first login** by heading over to "Users" and selecting "Admin".
- You can add and edit users in the section "Users"
- Add and edit bot configurations in the section "Bot Configs"
- Add and edit projects on the homepage
- Open or stop running tasks by pressing the clipboard icon in the upper right corner
## Scripting API
The server scans the _root scripts folder_ (the folder that is specified on server startup as an argument or in the config.json before compilation) for available `.js` files. It automatically interprets these files as executable scripts.
> For an example script take a look [here](https://github.com/Pogodaanton/shtorm/blob/master/packages/shtorm-server/scripts/example.js)
### Environment and Custom Modules
When a script is used, it is run in a [VM2](https://github.com/patriksimek/vm2) instance in a seperate node process. Shtorm allows this sandbox to read from an optional `node_modules` directory found in the _root scripts folder_. This allows you to **use any NPM module in your scripts**.
### Supported Languages
Currently, Shtorm only accepts JavaScript files. It is possible to add TypeScript support by compiling the files manually before using them in Shtorm.
### Fundamentals in a Shtorm Script
You have to export an object with two entries: `default` and `scriptOptions`.
```TypeScript
module.exports = {
default: () => new Promise((resolve, reject) => {}),
scriptOptions: [
{ type: string, name: string, value: string | number },
]
}
```
**`default`** is the first function that is executed when starting the script. It is strongly advised to return a Promise to keep the asynchronous workflow of the script. **Resolving** this promise will terminate the running process.
**`scriptOptions`** is an array containing public variables that can be defined in the client before starting the script. The script can read these options from a [global variable](#Globals).
### Globals
Each script file has the following global variables when run:
**`bot`**: [Nodemw](https://github.com/macbre/nodemw) preconfigured bot instance. Append "Async" to each asynchronous function if you want to recieve a promisified version of the function.
**`options`**: Object with public variables you defined in [`scriptOptions`](#Fundamentals-of-a-Shtorm-script). The entries are named after the `name` value in a scriptOptions object.
**`updateClient`**: A function that updates specific GUI elements in the client. It returns a resolve-only promise if you request a dialog.
```TypeScript
type updateClient = ({
/**
* Value of progress indicator read as percentage.
* 0 = indeterminate
*/
progress?: number,
/**
* Title describing what's happening currently
*/
progressMessage?: string,
/**
* An object which opens a dialog requiring user-input when defined
*/
dialog?: {
/**
* Code: Single code editor the user may edit
* Diff: Diff view with right-side editor marked as user-editable
* Prompt: Dialog with a custom message and OK/Cancel buttons
*/
type: "code" | "diff" | "prompt",
/**
* Title of the dialog or prompt message
*/
msg: string,
/**
* Predefined input
*/
code: string,
/**
* Language parameter for the code editor's syntax highlighter
*/
language: string = "xml",
/**
* Used in conjunction with `type: "diff"`.
* Predefined input in the right-side editor
*/
diffCode?: string,
}
}) => Promise;
```
# Installation
Shtorm is using [Lerna](https://lerna.js.org/) to manage its two main components - the server and the client.
You can find them in their respective folders inside of `packages`.
## Requirements
- Node.js (v10.15.3)
- yarn (optional; preferred)
## Download Shtorm
```bash
$ git clone https://github.com/Pogodaanton/shtorm.git && cd shtorm
```
## Install Dependencies
```bash
$ yarn
$ cd packages/shtorm-client && yarn
$ cd ../shtorm-server && yarn
$ cd ../../
```
## Create Config Files
You need to create a config file in the `src` directory of both `shtorm-server` and `shtorm-client`. Make a copy of the included `config.example.json`, rename it to `config.json` and edit its contents.
## Build and Deploy
```bash
$ yarn build
```
You will be able to find the newly generated items in `packages/shtorm-[server, client]/build`.
### Shtorm-Server
Shtorm-server generates OS specific executables which start a web-server on the port specified in config.json.
> Make sure to tunnel the port to an existing [NGINX](https://docs.nginx.com/nginx/admin-guide/web-server/reverse-proxy/) or [Apache](https://www.digitalocean.com/community/tutorials/how-to-use-apache-http-server-as-reverse-proxy-using-mod_proxy-extension) web-server via reverse proxying, as the server itself does not support SSL encryption. **Do not under any circumstances connect to the port directly in production**
### Shtorm-Client
The contents of this build directory can be directly uploaded to a static server of any kind.
## Troubleshooting
- Note that the code has not been tested on Windows yet
- Make sure to use the right node.js version (v10.15.3). [NVM](https://github.com/nvm-sh/nvm) might save your day...
- `Error: Node Sass does not yet support your current environment:` often means that an error occured during the installation of node-sass or that the system it has run on has been changed since its last use. Try removing `node_modules` in the directory `shtorm-client` and reinstall the dependencies.
> Feel free to create an [issue](https://github.com/Pogodaanton/shtorm/issues) if these advices couldn't solve your installation troubles.
# Contributing
> Looking for the [script development guide](#Scripting-API)?
Follow the general installation instructions [above](#Installation) and start the local development system afterwards instead of generating a production build.
```bash
$ yarn start
```
Improvements to the codebase are gladly welcomed. Please make sure to **always link an issue to your pull request**.
# License
GPL-3.0 - See [LICENSE](https://github.com/Pogodaanton/shtorm/blob/master/LICENSE) for more info.