https://github.com/Relrin/dotfiles
My dotfiles (vim/conky/etc.)
https://github.com/Relrin/dotfiles
bash config sublime vim
Last synced: 12 months ago
JSON representation
My dotfiles (vim/conky/etc.)
- Host: GitHub
- URL: https://github.com/Relrin/dotfiles
- Owner: Relrin
- License: bsd-3-clause
- Created: 2013-08-15T17:35:15.000Z (almost 13 years ago)
- Default Branch: master
- Last Pushed: 2024-03-01T23:19:32.000Z (over 2 years ago)
- Last Synced: 2024-11-15T06:11:48.783Z (over 1 year ago)
- Topics: bash, config, sublime, vim
- Language: Emacs Lisp
- Size: 2.66 MB
- Stars: 86
- Watchers: 11
- Forks: 78
- Open Issues: 0
-
Metadata Files:
- Readme: README.md
- License: LICENSE
Awesome Lists containing this project
README
# Dotfiles for VIM/Conky/etc.
## F.A.Q.
Q: What can I find here?
A: You can find here my settings for VIM/conky/etc. programms
Q: Can I use this for my own purposes?
A: Of course, you can use it easily
Q: Why do you use separate configs for VIM and NeoVIM instead of using a single file?
A: There are two main reasons:
- I wrote [an article](https://habr.com/ru/post/224979/) that explains how to setup Vim for Python development. In addition to it a certain group of developers would like to get an identical setup described in the article. So I kinda restricted in experimenting and changing the original `.vimrc` file
- With NeoVIM I can freely experimenting in the way that I would like. Also NeoVIM has a lot improvements in comparison to the original VIM, so I can get a better development experience when switching between different programming languages and environments
## How to install VIM settings
1) Installing VIM lastest version (skip this step, if already installed):
```bash
sudo add-apt-repository ppa:fcwu-tw/ppa
sudo apt-get update
sudo apt-get install vim
```
2) Install [powerline-fonts](https://github.com/Lokaltog/powerline-fonts) for vim-airline
3) Install Vundle plugin
```bash
git clone https://github.com/gmarik/Vundle.vim.git ~/.vim/bundle/Vundle.vim
```
4) Clone my repository somewhere and copy settings:
```bash
git clone https://github.com/Relrin/dotfiles.git ~/Downloads/dotfiles/
cp -r ~/Downloads/dotfiles/vim/* ~/.vim/
mv ~/Downloads/dotfiles/vim/.vimrc ~/
```
5) Run VIM and enter:
```bash
:PluginInstall
```
6) Restart VIM and get fun ;)
## How to install NeoVIM setting
Mostly based on the configuration from the [LazyVim](https://github.com/LazyVim/LazyVim) repository, but with adjusted settings for my own needs.
1) Install NeoVIM itself. Follow the instruction descibed [here](https://github.com/neovim/neovim/wiki/Installing-Neovim)
2) Install [Nerd fonts](https://www.nerdfonts.com/). Just pick any that you like the most. I personally prefer to use Caskaydia Cove Nerd Font.
3) Install [ripgrep](https://github.com/BurntSushi/ripgrep)
4) Install [lazygit](https://github.com/jesseduffield/lazygit)
5) Install latest Node.js (for LSP support).
6) Clone my repository and copy all the files to the nvim directory:
```bash
git clone https://github.com/Relrin/dotfiles.git ~/Downloads/dotfiles/
cp -r ~/Downloads/dotfiles/nvim/* ~/.config/nvim/
```
7) Run NeoVIM. On the first run it will install the required dependencies automatically for you.
8) Restart NeoVIM and get fun ;)
## How to install Sublime Text settings
1) Copy my settings for Sublime Text 3 into settings folder (but first of all don't forget to make a backup of old preferences):
```bash
git clone https://github.com/Relrin/dotfiles.git ~/Downloads/
# for example, Mac OS X using ~/Library/Application Support/Sublime Text 3/Packages/ folder
cd ~/Downloads/
cp -r ~/Downloads/dotfiles/sublime/Packages/* ~/Library/Application Support/Sublime Text 3/Packages/
```
2) Get list of packages from [requirements.txt](https://raw.githubusercontent.com/Relrin/dotfiles/master/sublime/requirements.txt) and install via [PackageControl](https://packagecontrol.io/)
3) Restart Sublime Text 3 and get fun ;)
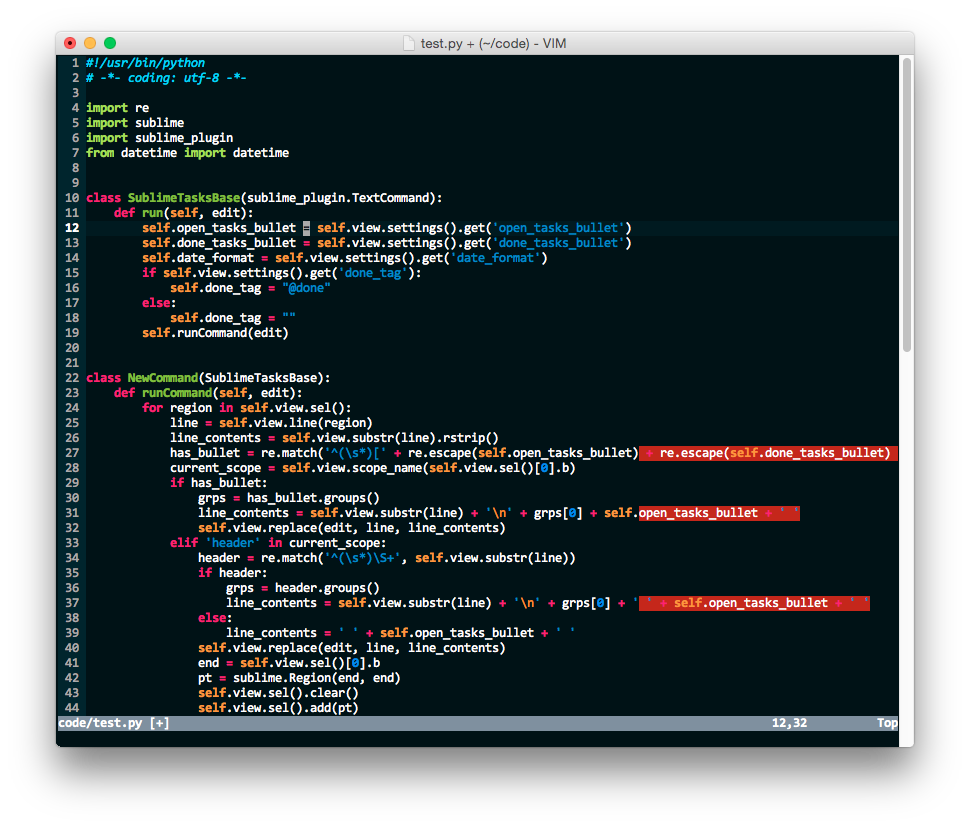
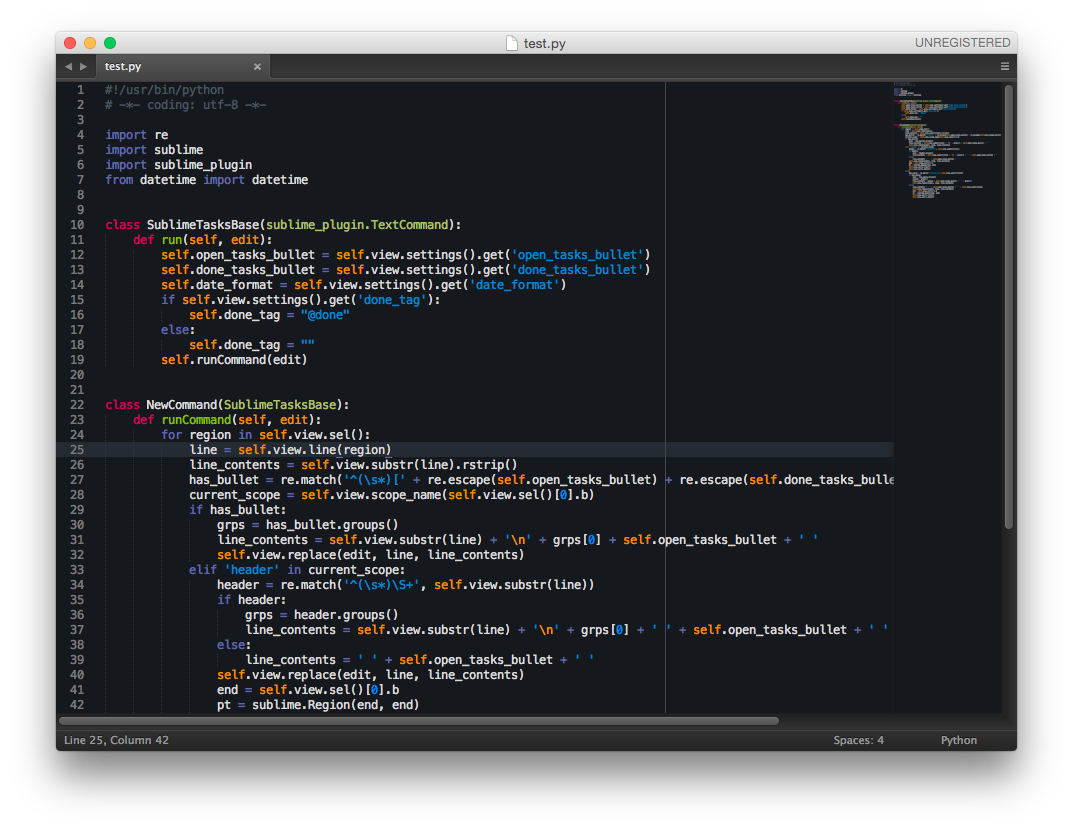
## Screenshots
VIM:
Sublime Text 3:
## Useful articles about setting up NeoVIM
- [A working Rust Environment with NeoVIM](https://blog.fyber.space/posts/2019-04-28-rust-environment.html)