https://github.com/adampaternostro/azure-deploy-vsts-on-vnet-app-service-environment
Shows how to use Visual Studio Team Services to deploy an application to an Application Service Environment that is on a VNET.
https://github.com/adampaternostro/azure-deploy-vsts-on-vnet-app-service-environment
azure azure-app-service azure-webapp continuous-deployment continuous-integration visual-studio-team-services
Last synced: 3 months ago
JSON representation
Shows how to use Visual Studio Team Services to deploy an application to an Application Service Environment that is on a VNET.
- Host: GitHub
- URL: https://github.com/adampaternostro/azure-deploy-vsts-on-vnet-app-service-environment
- Owner: AdamPaternostro
- Created: 2017-04-07T20:36:08.000Z (about 8 years ago)
- Default Branch: master
- Last Pushed: 2018-07-18T20:03:44.000Z (almost 7 years ago)
- Last Synced: 2025-01-31T04:32:13.953Z (4 months ago)
- Topics: azure, azure-app-service, azure-webapp, continuous-deployment, continuous-integration, visual-studio-team-services
- Size: 490 KB
- Stars: 3
- Watchers: 1
- Forks: 1
- Open Issues: 0
-
Metadata Files:
- Readme: README.md
Awesome Lists containing this project
README
# Overview
To release into an Azure Service Environment that has an Internal load balancer you need to create a VM in your VNET, install a release agent and deploy the code from there. VSTS is used for the build and release process, just part of the release process runs on a VM that is inside a particular VNET.
This will work for any deployment inside a VNET, this just demonstrates a website.
# Process flow
- Build definition runs
- Build definition publishes the website as a server artifact
- Release process runs
- Custom agent
- Deploys the Website into the ASE by downloading the artifacts from TFS
# VM
- Created a VM in the VNET (this machine does not need to be that large or fast: A1 Standard or A2/A3 – you can always resize)
- Enter a Windows Server VM (you can do Linux, these instructions are for Windows)
- A market place image: Visual Studio 2015 Community Edition with Azure SDK / Update 3
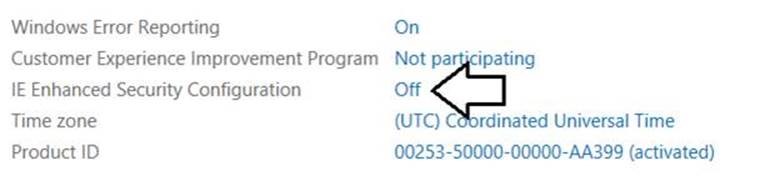
- Turned off IE Enhanced Security
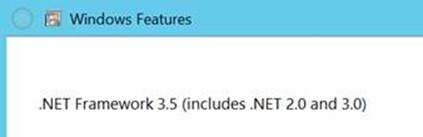
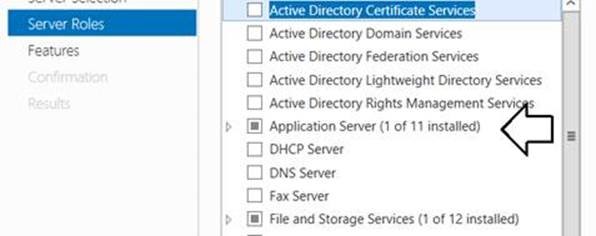
- Added the role .NET 3.5
- Installed Azure PowerShell SDK: https://azure.microsoft.com/en-us/downloads/ (not needed if part of VM)
- Set-Execution Policy to Unrestricted in PowerShell
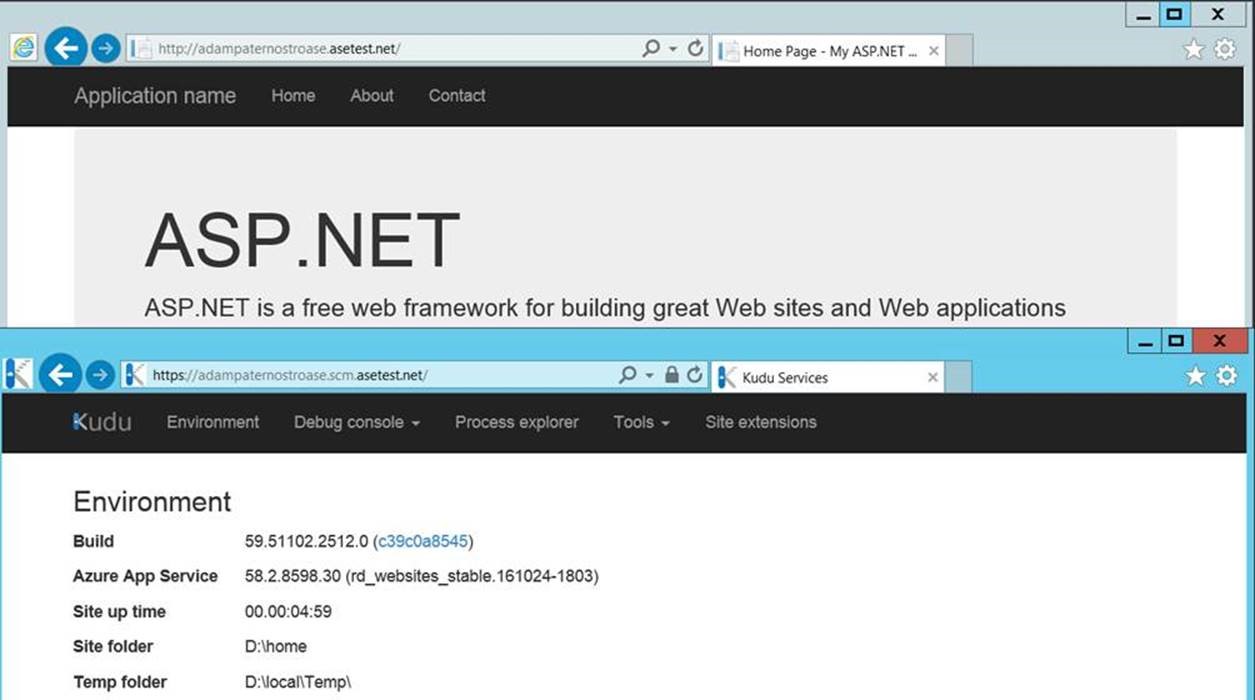
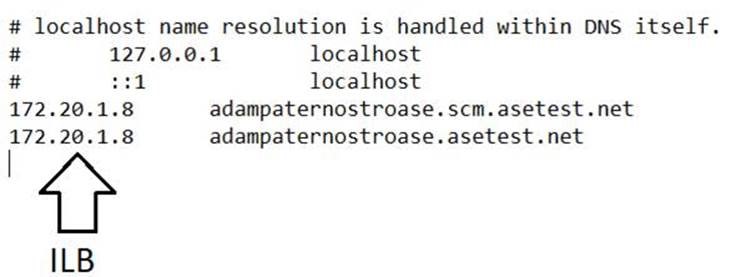
- Update the hosts file (this is not needed if you have proper DNS). You need both the site and the “scm” site. Tjhe "scm" site is the Azure Web App management site.
*** If you are not using an ASE, you can skip these steps. Some people use this article for deploying to a machine in a VNET and not necessary an ASE.
Put the IP address Internal Load Balancer of the ASE in here with your domain of your ASE.
C:\Windows\System32\drivers\etc\hosts (open Notepad in Admin mode)
Also, you need to import the self-signed SSL into MMC. Start MMC, add the certificates snap in, select computer account, right click on Trusted Root Certificate Authorities and import the PFX with your password.
- Install Visual Studio (not needed if part of VM)
- Reboot
# VSTS
- Create a release definition (NOTE: you might need to run the agent on the VM steps below to register)
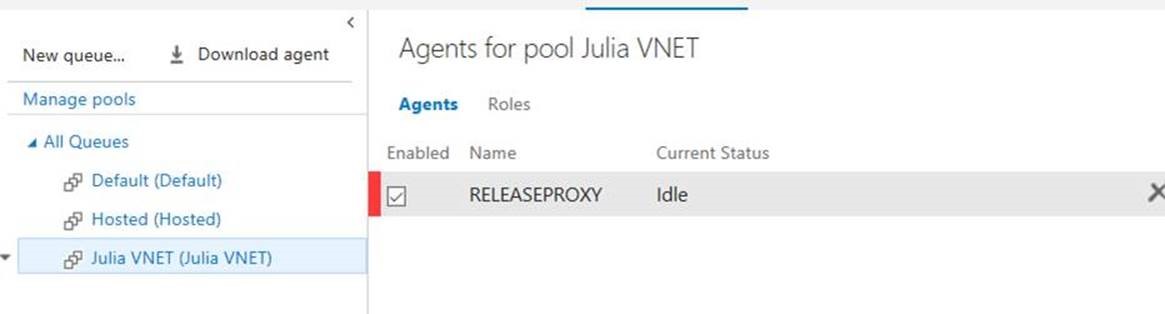
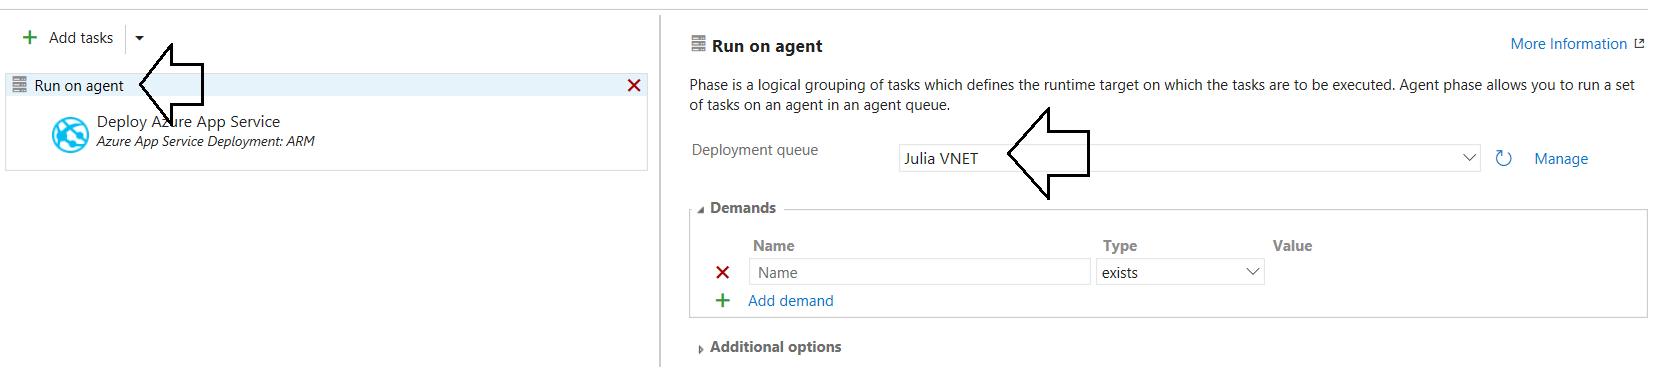
- Have a Agent which uses a new Agent pool. The agent poll is called “Julia VNET” since it will be on the VNET that the ASE is on.
Click the Manage link to create new agent (2nd screen shot)
- Deploy the web app (note the C:\VSTSRelease is from the PowerShell script)

NOTE: If you are using an self-signed SSL, you need this the "allowUntrusted" as an additional argument.
- Create a token: PAL Token: https://www.visualstudio.com/en-us/docs/setup-admin/team-services/use-personal-access-tokens-to-authenticate
# VM
- Login to the VM
- Login to VSTS
- Go the release definition and click the Manage agent link again
- Download the agent and follow the instructions to install. You have the PAT token, use that for Authentication.
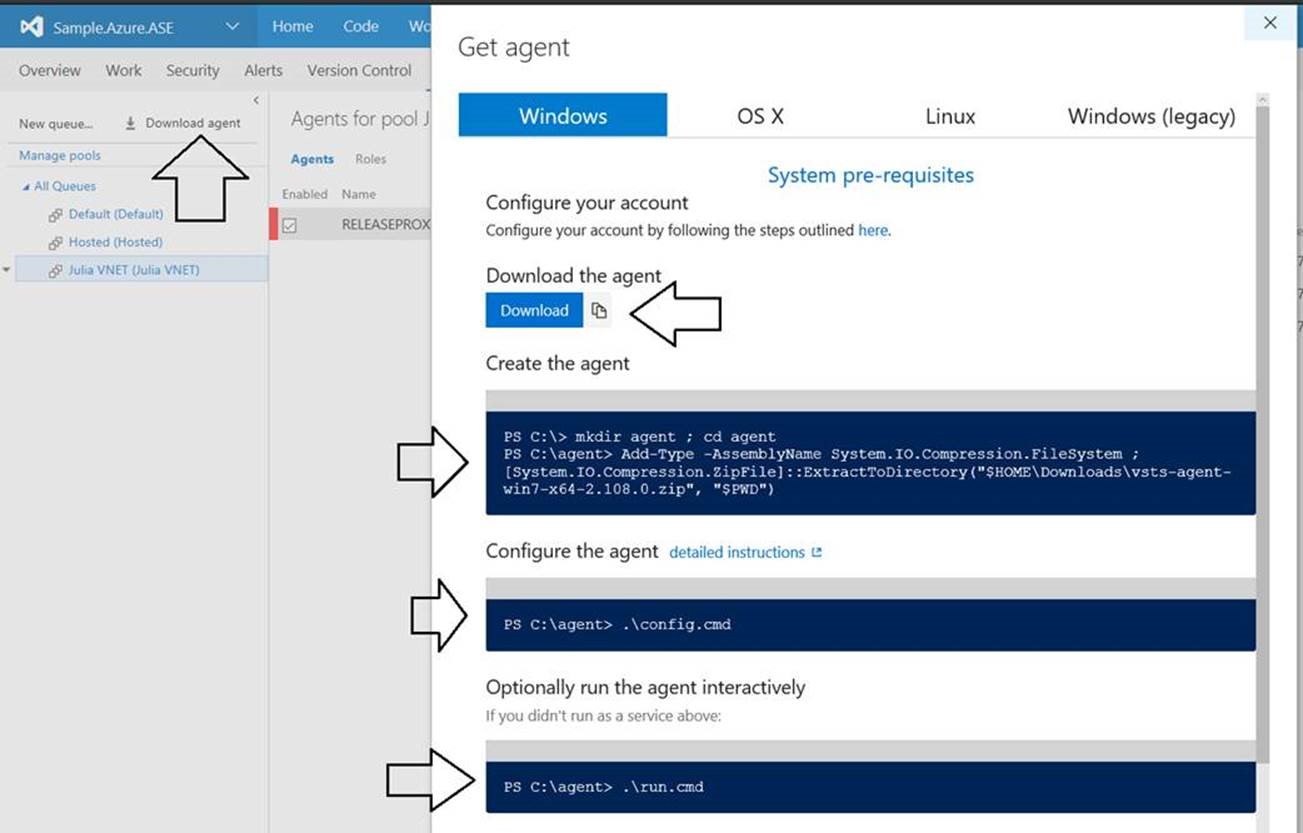
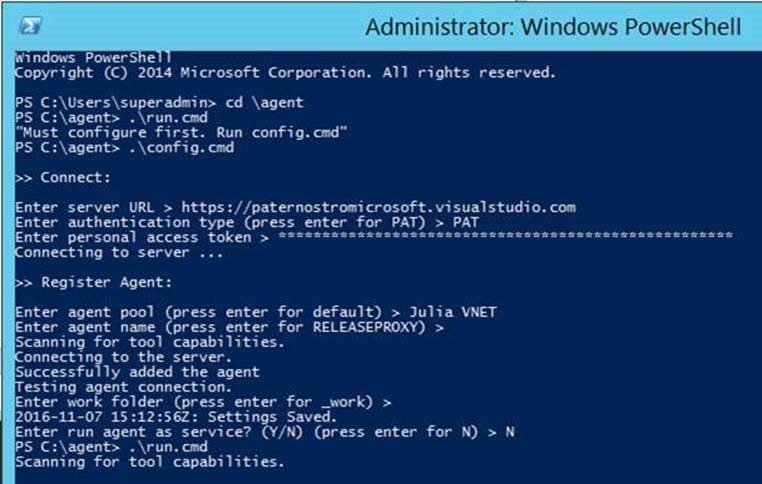
- Run the agent interactively: .\run.cmd for debugging purposes
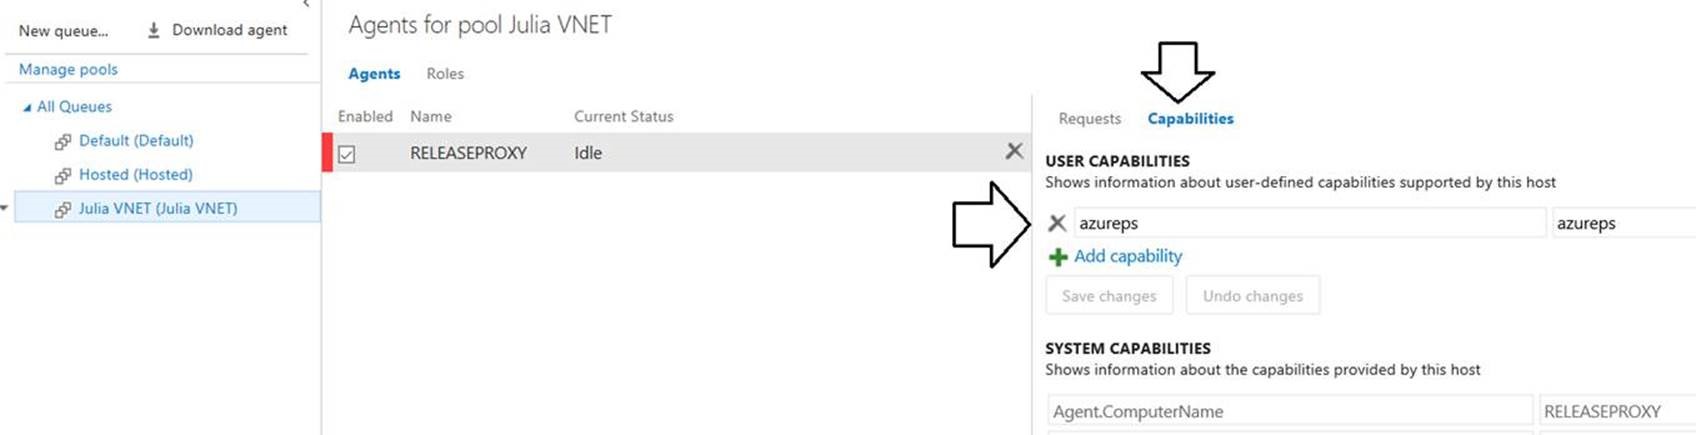
# VSTS
- Go to the agent again and enter the capability
If you look at your release definition it has demands (meaning certain items must be installed on the machine in order to be able to run the tasks you have selected). Not all tasks have this, so this is informational.
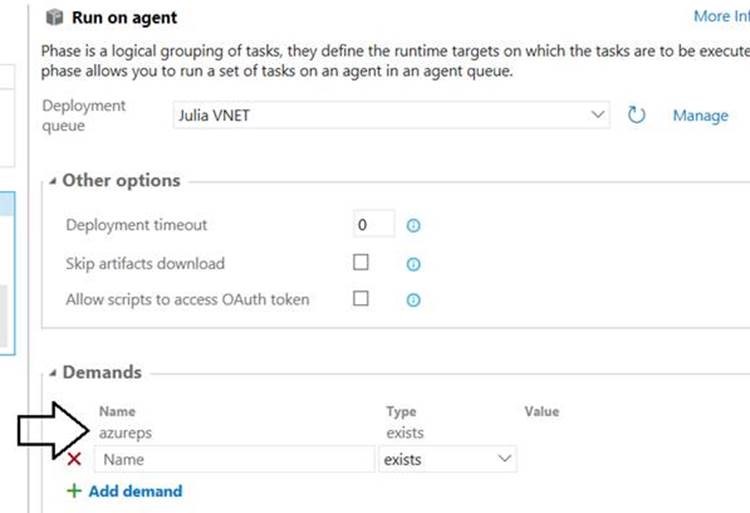
You should be able to run your release definition.

On the VM you should now see: