https://github.com/addleonel/anpr-arduino
Automatic Number Plate Recognition (ANPR ) using Arduino
https://github.com/addleonel/anpr-arduino
anpr arduino-uno computer-vision
Last synced: 4 months ago
JSON representation
Automatic Number Plate Recognition (ANPR ) using Arduino
- Host: GitHub
- URL: https://github.com/addleonel/anpr-arduino
- Owner: addleonel
- License: mit
- Created: 2023-08-04T14:35:06.000Z (almost 3 years ago)
- Default Branch: main
- Last Pushed: 2023-11-07T12:32:24.000Z (over 2 years ago)
- Last Synced: 2025-10-13T14:32:22.436Z (9 months ago)
- Topics: anpr, arduino-uno, computer-vision
- Language: Python
- Homepage:
- Size: 17.3 MB
- Stars: 13
- Watchers: 1
- Forks: 4
- Open Issues: 0
-
Metadata Files:
- Readme: README.md
- License: LICENSE
Awesome Lists containing this project
README
# ANPR with Arduino
Automatic license plate recognition with Arduino.
## Architecture
This project is made up of four environments:
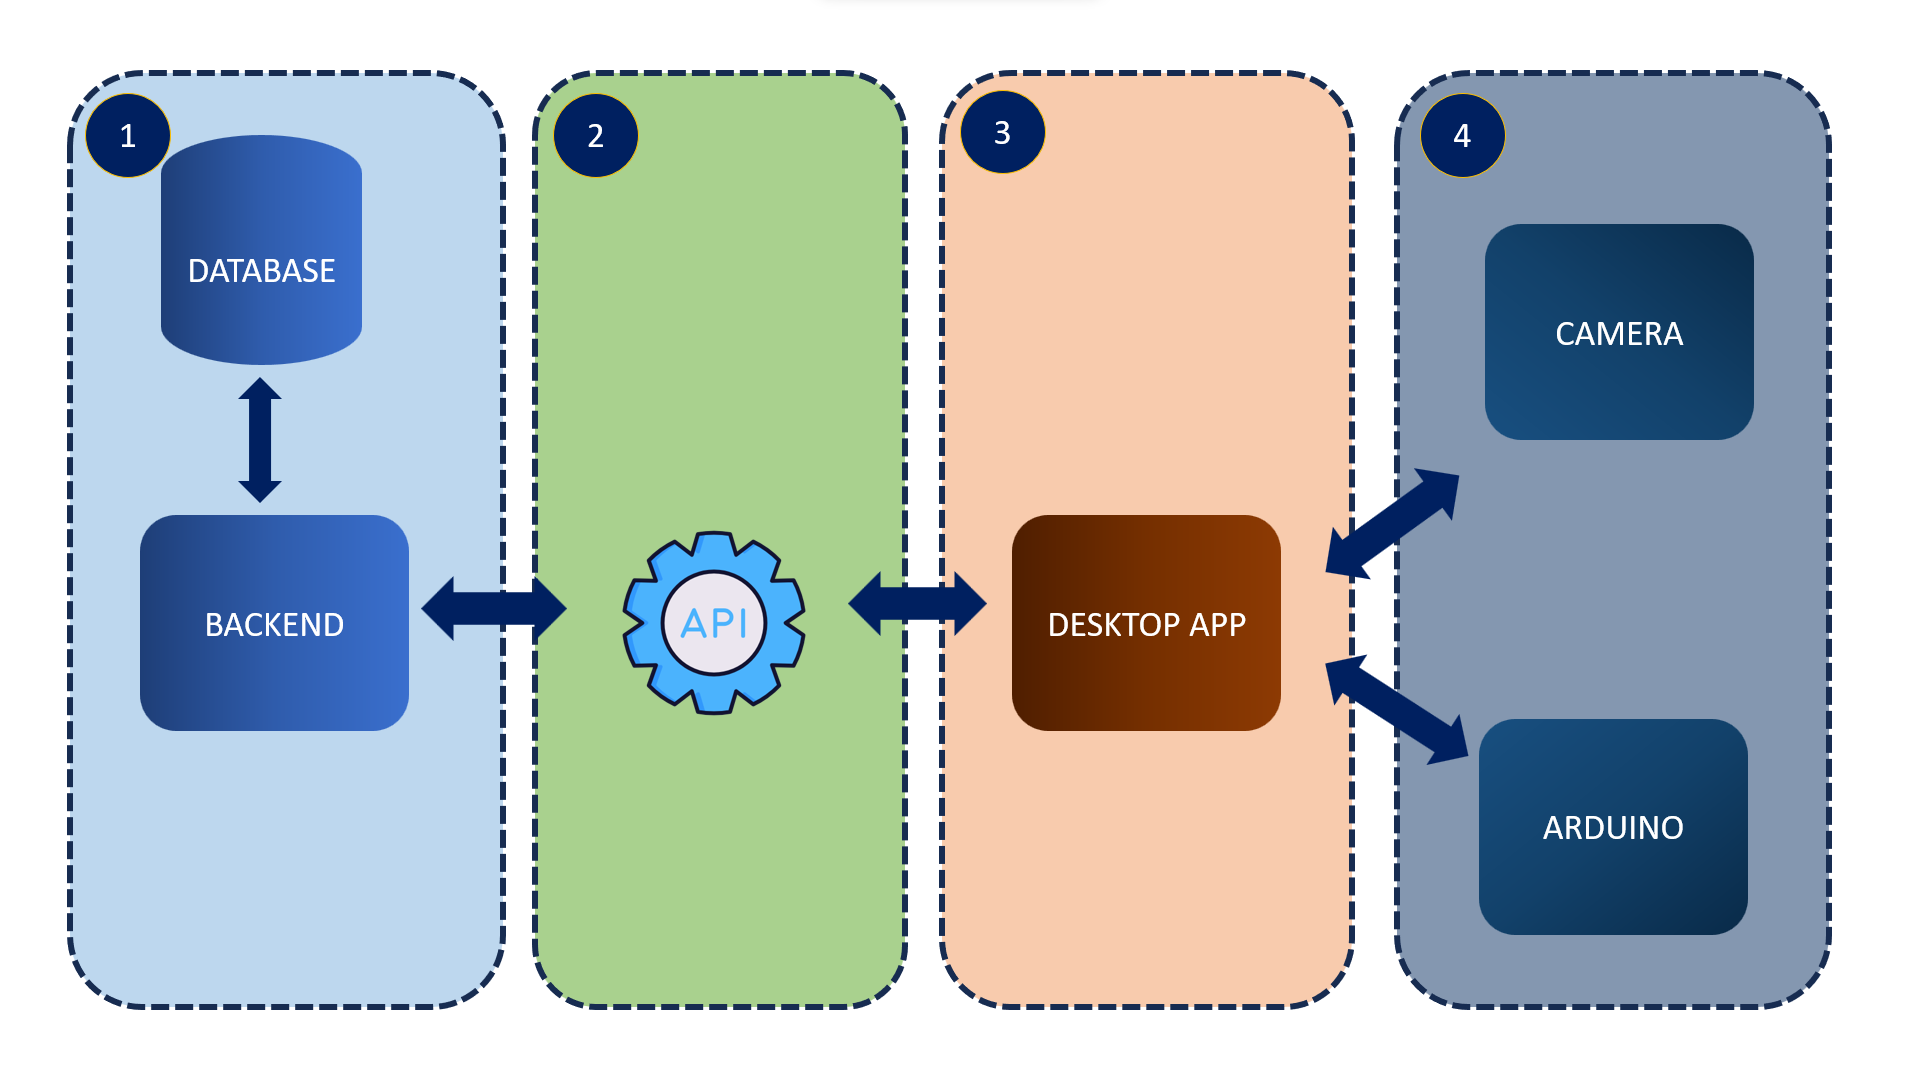
1. Database and back-end
2. API
3. Desktop application (a script executor)
4. Arduino and camera
## Requirements
### Database, back-end, and API
I recommend using a virtual environment. You can use `venv` or `conda`. Then you need to install the dependencies:
```bash
pip install -r requirements.txt
```
I'm using Django to run the server, so you need to run the migrations, makemigrations, and createasuperuser. You can do it with the following commands:
```bash
python manage.py migrate
python manage.py makemigrations
python manage.py createsuperuser
```
### Desktop application
Before running the desktop application you need to install tesseract. You can follow the instructions in [Tesseract installation](https://github.com/UB-Mannheim/tesseract/wiki).
Open the `engine.py` file (which is in the `massif` folder) and change `pytesseract.pytesseract.tesseract_cmd` according to your tesseract installation path. For example:
```python
pytesseract.pytesseract.tesseract_cmd = r'C:\Program Files\Tesseract-OCR\tesseract.exe'
```
### Arduino and camera
Run the Arduino IDE and open the FirmataStandard example (`File > Examples > Firmata > FirmataStandard`). Then upload it to the Arduino, Make sure to connect the Arduino first.
Make sure to connect the camera to the computer.
## How all components are connected
As we notice the database, server, API, and desktop application is almost ready to run, but before doing that we need to connect LEDs and sound sensor to the Arduino. The following diagram shows how all components are connected:
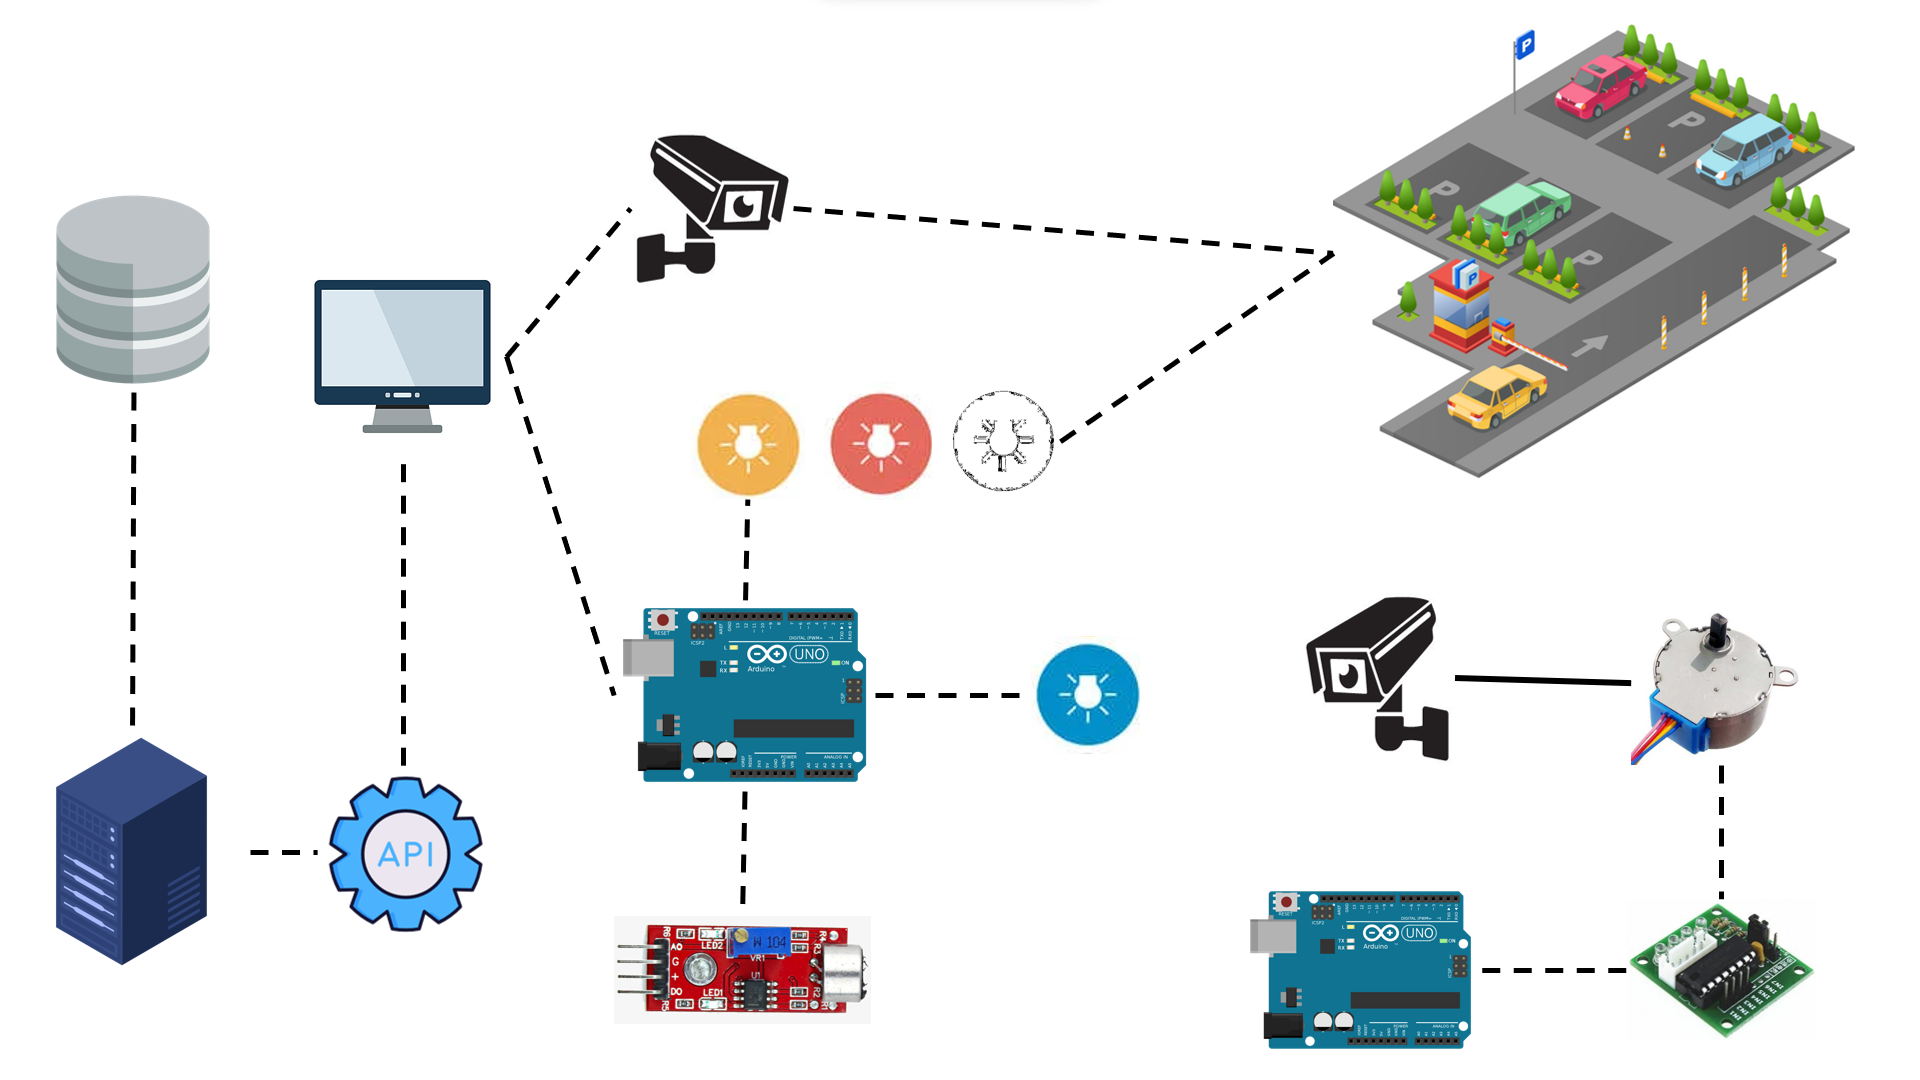
the LEDs are connected to pins 10, 11, 12, and 13. The sound sensor is connected to the pin A0. You can change the pins in the `controller.py` file:
```python
led_1 = board.get_pin('d:12:o')
led_2 = board.get_pin('d:11:o')
led_3 = board.get_pin('d:10:o')
sound_pin = board.get_pin('a:0:i') # Analog pin 0, input mode
led_4 = board.get_pin('d:13:o')
```
There are four colors of LEDs, each color is associated with a specific action:
| Variable | Color | Action |
| -------- | ------ | --------------------------------------------------------------------------------------------------------------------- |
| led_1 | Red | Indicates that the license plate is in the database and that it is on the wanted or banned list. |
| led_2 | White | It indicates that the license plate is in the database and that there are no problems due to any improper commission. |
| led_3 | Yellow | Indicates that it identified a license plate. Regardless of whether or not it is part of the database. |
| led_4 | Blue | Turn on when the sound sensor detects a sound. |
An extra feature is that camera rotates 180 degrees. to do that we need another Arduino, a Stepper motor, and a stepper motor driver. Finally, upload the following code to the new Arduino:
```cpp
#include
int stepsPerTurn=2048;
Stepper motor(stepsPerTurn, 8, 10, 9, 11);
int stepsPerTurnLoop = 512;
void setup() {
Serial.begin(9600);
motor.setSpeed(10);
}
void loop() {
motor.step(stepsPerTurnLoop);
delay(2000);
motor.step(-stepsPerTurnLoop);
delay(2000);
}
```
## How to run it
Then you can run the server:
```bash
python manage.py runserver
```
when the server is running make sure to connect the Arduino and the camera. You can run the desktop application which is located in the `massif` folder in another terminal:
```bash
python engine.py
```
## Results
The following video shows the results. An entertaining video about the project
[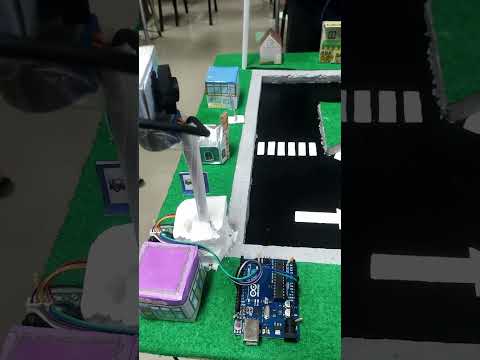](https://www.youtube.com/watch?v=7bi59xWkrVs) 