https://github.com/alexdaniel/sparky
Sparky is a continues integration server based on Sparrow/Sparrowdo ecosystem.
https://github.com/alexdaniel/sparky
Last synced: 5 months ago
JSON representation
Sparky is a continues integration server based on Sparrow/Sparrowdo ecosystem.
- Host: GitHub
- URL: https://github.com/alexdaniel/sparky
- Owner: AlexDaniel
- Created: 2017-10-27T14:42:28.000Z (over 8 years ago)
- Default Branch: master
- Last Pushed: 2017-10-27T14:44:36.000Z (over 8 years ago)
- Last Synced: 2025-04-10T01:16:39.068Z (about 1 year ago)
- Language: Perl 6
- Homepage:
- Size: 167 KB
- Stars: 0
- Watchers: 1
- Forks: 0
- Open Issues: 0
-
Metadata Files:
- Readme: README.md
- Changelog: Changes.md
Awesome Lists containing this project
README
# SYNOPSIS
Sparky is a continues integration server based on Sparrow/Sparrowdo ecosystem.
# Build status
[](https://travis-ci.org/melezhik/sparky)
# Sparky workflow in 4 lines:
$ sparkyd # run Sparky daemon to build your projects
$ perl6 bin/sparky-web.pl6 # run Sparky web ui to see build statuses and reports
$ nano ~/.sparky/projects/my-project/sparrowfile # write a build scenario
$ firefox 127.0.0.1:3000 # see what's happening
# Installation
$ sudo apt-get install sqlite3
$ git clone https://github.com/melezhik/sparky.git
$ cd sparky && zef install .
# Setup
First you should run database initialization script to populate database schema:
$ perl6 db-init.pl6
# Running daemon
Then you need to run the sparky daemon
$ sparkyd
* Sparky daemon traverses sub directories found at the project root directory.
* For every directory found initiate build process invoking sparky worker ( `sparky-runner.pl6` ).
* Sparky root directory default location is `~/.sparky/projects`.
* Once all the sub directories gets passed, sparky daemon sleeps for $timeout seconds.
* A timeout option allow to adjust a load to your system.
* You can change a timeout by applying `--timeout` parameter when running sparky daemon:
$ sparkyd --timeout=600 # sleep 10 minutes
* You can also set a timeout by using `SPARKY_TIMEOUT` environment variable:
$ SPARKY_TIMEOUT=30 sparkyd ...
Running sparky in daemonized mode.
At the moment sparky can't daemonize itself, as temporary workaround use linux `nohup` command:
$ nohup sparkyd &
Or you can look at systemd scripts located at `./systemd` directory.
# Running web ui
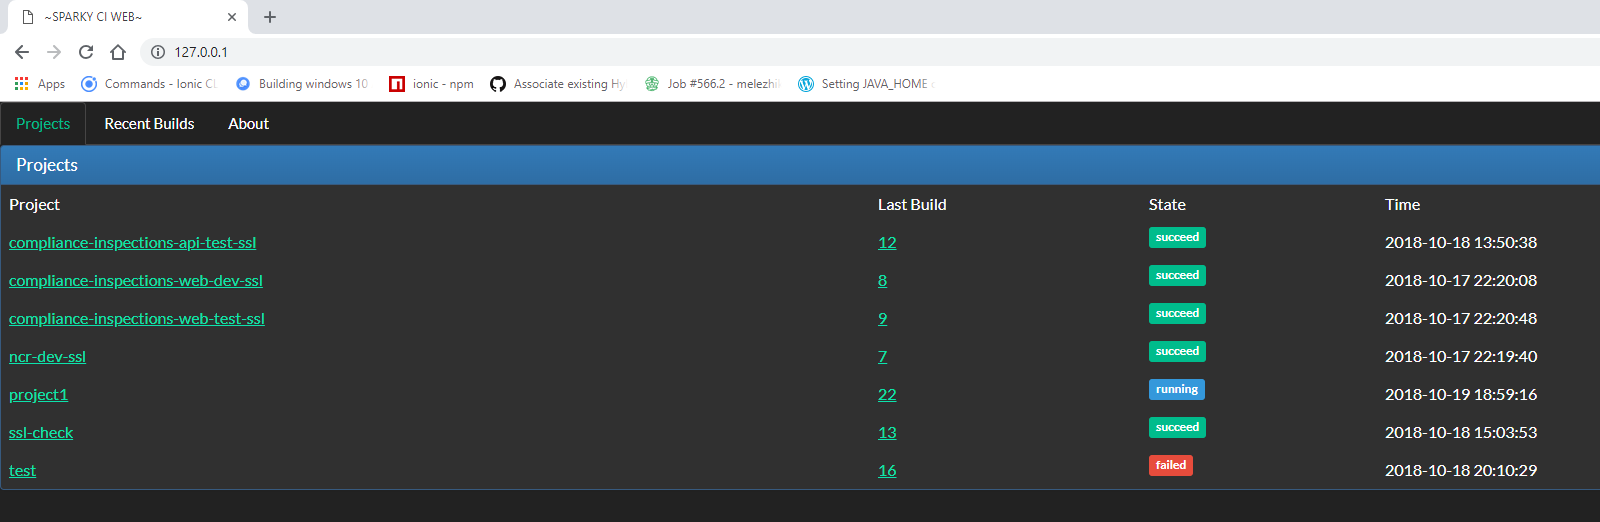
And finally sparky has simple web ui to show builds statuses and reports.
To run Sparky web ui launch `sparky-web.pl6` script from the `bin/` directory:
$ perl6 bin/sparky-web.pl6
This is [Bailador](https://github.com/Bailador/Bailador) application, so you can set any Bailador related options here.
For example:
BAILADOR=host:0.0.0.0,port:5000 perl6 bin/sparky-web.pl6
# Creating first sparky project
Sparky project is just a directory located at the sparky root directory:
$ mkdir ~/.sparky/projects/bailador-app
# Writting build scenario
Sparky is heavily based on Sparrowdo, so I encourage you to read [Sparrowdo docs](https://github.com/melezhik/sparrowdo)
_to know how to write Sparky scenarios_.
Here is a short example.
Say, we want to check out the Baildor source code from Git, install dependencies and then run unit tests:
$ nano ~/.sparky/projects/bailador-app/sparrowfile
package-install 'git';
git-scm 'https://github.com/Bailador/Bailador.git';
zef 'Path::Iterator';
zef '.', %( depsonly => True );
zef 'TAP::Harness';
bash 'prove6 -l', %(
debug => True,
envvars => %(
PATH => '/root/.rakudobrew/moar-master/install/share/perl6/site/bin:$PATH'
)
);
# Configure Sparky workers
By default the build scenario gets executed _on the same machine you run Sparky at_, but you can change this
to _any remote host_ setting Sparrowdo related parameters in the `sparky.yaml` file:
$ nano ~/.sparky/projects/bailador-app/sparky.yaml
sparrowdo:
host: '192.168.0.1'
ssh_private_key: /path/to/ssh_private/key.pem
ssh_user: sparky
no_index_update: true
You can read about the all [available parameters](https://github.com/melezhik/sparrowdo#sparrowdo-client-command-line-parameters) in Sparrowdo documentation.
# Purging old builds
To remove old build set `keep_builds` parameter in `sparky.yaml`:
$ nano ~/.sparky/projects/bailador-app/sparky.yaml
keep_builds: 10
That makes Sparky remove old build and only keep last `keep_builds` builds.
# Run by cron
It's possible to setup scheduler for Sparky builds, you should define `crontab` entry in sparky yaml file.
for example to run a build every hour at 30,50 or 55 minute say this:
$ nano ~/.sparky/projects/bailador-app/sparky.yaml
crontab: "30,50,55 * * * *"
Follow [Time::Crontab](https://github.com/ufobat/p6-time-crontab) documentation on crontab entries format.
# Disable project
You can disable project builds by setting `disable` option to true:
$ nano ~/.sparky/projects/bailador-app/sparky.yaml
disabled: true
It's handy when you start a new project and don't want to add it into build pipeline.
# Downstream projects
You can run downstream projects by setting `downstream` field at the upstream project `sparky.yaml` file:
$ nano ~/.sparky/projects/main/sparky.yaml
downstream: downstream-project
And the by setting `is_downstream` field to `true` at the downstream project `sparky.yaml` file:
$ nano ~/.sparky/projects/downstream-project/sparky.yaml
is_downstream: true
# Command line client
You can build the certain project using sparky command client called `sparky-runner.pl6`:
$ sparky-runner.pl6 --dir=~/.sparky/projects/bailador-app
Or just:
$ cd ~/.sparky/projects/bailador-app && sparky-runner.pl6
# Sparky runtime parameters
All this parameters could be overridden by command line ( `--root`, `--work-root` )
## Rood directory
This is sparky root directory, or directory where Sparky looks for the projects to get built:
~/.sparky/projects/
## Work directory
This is working directory where sparky might place some stuff, useless at the moment:
~/.sparky/work
# Sparrowdo runtime parameters
These parameters can't be overridden and should be treated as internal Sparrowdo stuff.
I list them here for documentation purposes only.
## SparrowRoot
`/opt/sparky-sparrowdo/$project`
## SparrowCwd
`/var/data/sparky/$project`
# Environment variables
## SPARKY_SKIP_CRON
You can disable cron check to run project forcefully, by setting `SPARKY_SKIP_CRON` environment variable:
$ export SPARKY_SKIP_CRON=1 && sparkyd
## SPARKY_ROOT
Sets the sparky root directory
## SPARKY_TIMEOUT
Sets timeout for sparky workers, see [Running daemon](#running-daemon) section.
# Running under other databases engines (MySQL, PostgreSQL)
By default Sparky uses sqlite as database engine, which makes it easy to use when developing.
However sqlite has limitation on transactions locking whole database when doing inserts/updates (Database Is Locked errors).
if you prefer other databases here is guideline.
## Create sparky configuration file
You should defined database engine and connection parameters, say we want to use MySQL:
$ nano ~/sparky.yaml
database:
engine: MySQL
host: $dbhost
port: $dbport
name: $dbname
user: $dbuser
pass: $dbpassword
For example:
database:
engine: mysql
host: "127.0.0.1"
port: 3306
name: sparky
user: sparky
pass: "123"
## Installs dependencies
Depending on platform it should be client needed for your database API, for example for Debian we have to:
$ sudo yum install mysql-client
## Creating database user, password and schema
DB init script will generate database schema, provided that user defined and sparky configuration file has access to
the database:
$ perl6 db-init.pl6
That is it, now sparky runs under MySQL!
# See also
[Bailador](https://github.com/Bailador/Bailador) - A light-weight route-based web application framework for Perl 6.
[Sparky-docker](https://github.com/melezhik/sparky-docker) - Run Sparky as Docker container.
# Author
Alexey Melezhik