https://github.com/altafjava/ocr-java-python-react
https://github.com/altafjava/ocr-java-python-react
Last synced: 2 months ago
JSON representation
- Host: GitHub
- URL: https://github.com/altafjava/ocr-java-python-react
- Owner: altafjava
- Created: 2020-12-05T07:05:34.000Z (over 5 years ago)
- Default Branch: master
- Last Pushed: 2020-12-05T14:39:43.000Z (over 5 years ago)
- Last Synced: 2025-03-02T11:49:29.764Z (over 1 year ago)
- Language: JavaScript
- Size: 450 KB
- Stars: 0
- Watchers: 2
- Forks: 0
- Open Issues: 0
-
Metadata Files:
- Readme: README.md
Awesome Lists containing this project
README
# OCR - Read text from Image
This is web application build on Spring as Backend, ReactJS as Frontend and used Python script to read text from Image.
## Screenshot
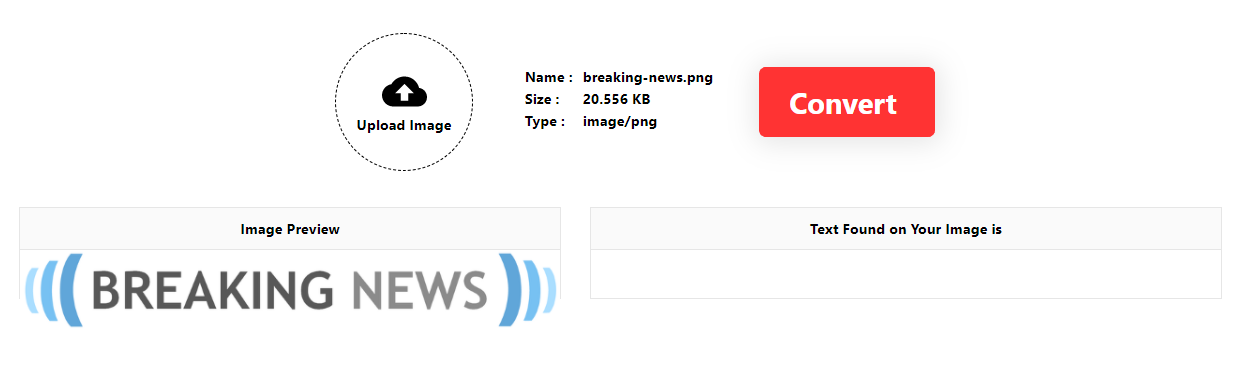
## Steps to convert file
- Upload any file from your local computer/mobile
- On the left panel, you uploaded image will be previewed
- Click on the Convert Button
- On the right panel, converted text will be displayed
## New Features!
- Currently we are accepting only JPG, PNG & GIF file only to convert
- Handling all possible errors
## Tech
OCR Backend part is simply created with the help of Spring Starter Project and Frontend part has been created with **_create-react-app_** command.
Below are the list of used maven dependency for Backend:
- [Lombok](https://mvnrepository.com/artifact/org.projectlombok/lombok) - Automatic Resource Management, automatic generation of getters, setters, equals, hashCode and toString, and more
- [Spring Boot Starter Web](https://mvnrepository.com/artifact/org.springframework.boot/spring-boot-starter-web) - Support for reading and writing CSV-encoded data via Jackson abstractions
Below are the list of used node dependency for Frontend:
- [Axios](https://www.npmjs.com/package/axios) - Promise based HTTP client for the browser and node.js
## Required software/library to run this project
- Must have intalled softwares like Java, Node, Python etc and should be present in path environment variable in your system.
- To read text from Image we need Python libraries **`OpenCV`** & **`PyTesseract`**
- Use this command to install OpenCV. `pip install opencv-python`
- Now install `Tesseract` software. Installing this software is mandatory.
If you are in Ubuntu use the following commands.
`sudo apt-get update`
`sudo apt-get install tesseact-ocr`
`sudo apt-get install libtesseract-dev`
- If you are in Windows then download the `Tesseract` software from [https://github.com/UB-Mannheim/tesseract/wiki](https://github.com/UB-Mannheim/tesseract/wiki) and install it.

- Now execute this command to install python library `pip install pytesseract`. This library uses the above **Tesseract** software.
- In Python script need to import `pytesseract`and set tesseract command to pytesseract by using the following code
`pytesseract.pytesseract.tesseract_cmd = 'tesseract.exe'`
- Here I am directly setting *tesseract.exe* because I have set `C:\Program Files\Tesseract-OCR`location into path environment variable. I you did not set the path env then you need to give the complete path location of `tesseract.exe` like this
`pytesseract.pytesseract.tesseract_cmd = 'C:\Program Files\Tesseract-OCR\tesseract.exe'`
- Finally, if you want to run this project then follow the **Development** section
## Development
Want to contribute? Great!
OCR uses Spring Boot Starter & CREATE-REACT-APP for fast developing.
Make a change in your file and instantaneously see your updates!
> To work in Backend part:
1. Clone the project from [https://github.com/altafjava/ocr-java-python-react.git](https://github.com/altafjava/ocr-java-python-react.git)
2. Open your favorite IDE(Eclipse, IntelliJ IDEA, VS Code) and import the project.
3. Here you can work in Backend part
> To work in Frontend part:
1. I shall recommend VSCode.
2. Open VSCode and goto _File->Open Folder_.
3. Goto the directory where you have cloned the project then choose the **_ui_** folder and open it.
4. Alternately you can simple open the terminal/command prompt upto the **_/ocr-java-python-react/ui/_** directory and type code .(dot). It will open the frontend project.
5. `npm install`
6. `npm start`
7. `npm run build`
8. As we know `npm run build` will create the minified version of the app which can be served as static website. And we also know that Spring Boot application can easily serve static pages if we put inside `src/main/resources/static` directory. Hence after building the React app we are copying the build files into `src/main/resources/static/` directory. For this use the below command.
9. `npm run copy-win`
> Now again go the the Backend project start the application. After starting open the browser and simply type this url [http://localhost:8080/](http://localhost:8080/). It will appear like the above screenshot. Now you know what to do.
## Building for source
For production release:
```sh
$
```
Generating pre-built zip archives for distribution:
```sh
$
```
## Todos
- Add Copy to clipboard
- Read text from other file formats
## License
None
**Free Software, Hell Yeah!**