https://github.com/amlannandy/placement-alerts
A Flask application consisting of a web scraper that scrapes data of the college website's placement notice periodically and alerts all subscribers via mail
https://github.com/amlannandy/placement-alerts
flask html postgresql python web-scraping
Last synced: 3 months ago
JSON representation
A Flask application consisting of a web scraper that scrapes data of the college website's placement notice periodically and alerts all subscribers via mail
- Host: GitHub
- URL: https://github.com/amlannandy/placement-alerts
- Owner: amlannandy
- Created: 2021-03-02T07:48:09.000Z (over 5 years ago)
- Default Branch: master
- Last Pushed: 2021-06-11T14:20:31.000Z (about 5 years ago)
- Last Synced: 2025-05-16T08:43:53.539Z (about 1 year ago)
- Topics: flask, html, postgresql, python, web-scraping
- Language: Python
- Homepage:
- Size: 55.7 KB
- Stars: 0
- Watchers: 1
- Forks: 0
- Open Issues: 0
-
Metadata Files:
- Readme: README.md
Awesome Lists containing this project
README
          # Placement Alerts

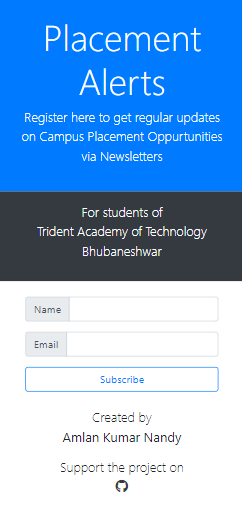
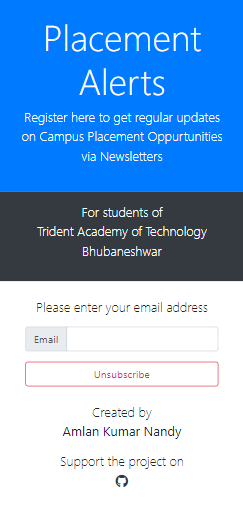
This is a web application made using Flask and PostgreSQL. It consists of a web scraper which scrapes data of the College website's placement notice every 24 hours, and if it finds a new notice up, it sends it as an email to all its subscribers.

You can subscribe to the service here

## Technology Stack

1. Flask - Core framework used to build the App

2. PostgreSQL - Serves as the database

3. BeautifulSoup - Used to scrape data off the college website

4. Sendinblue API - To send emails to the subscribers

5. Bootstrap CDN - For styling purpose

## Local Development Setup

Follow these steps to get the project running on your local machine.

**1. Fork and clone the repository.**

**2. Open terminal in the project directory.**

**3. Create a virtual environment using the following command**

```

virtualenv venv

```

**4. Activate the newly created virtual environment by using the following command**

For Linux/Mac

```

source venv/bin/activate

```

For Windows (Using Git Bash)

```

source venv/Scripts/activate

```

**5. Create a .env file and add the following values to it**

```

DATABASE_URL=

MAIL_PORT=587

MAIL_SERVER=smtp-relay.sendinblue.com

MAIL_USERNAME=

MAIL_PASSWORD=

MAIL_DEFAULT_SENDER=

ADMIN_PASSWORD=

```

Note - Instead of PostgreSQL, you can also use Flask's inbuilt SQLite database. In that case, set Database URI to

```

DATABASE_URL=sqlite:///db.sqlite3

```

**6. Create the tables by running this command**

```

python create_database.py

```

**7. Run the Application**

```

flask run

```

## Screenshots