https://github.com/ankitnewjobs/basic-azure-jenkins-example
This will guide you through the Jenkins Pipelines.
https://github.com/ankitnewjobs/basic-azure-jenkins-example
azure azure-devops azure-pipelines jenkins jenkins-pipeline
Last synced: 2 months ago
JSON representation
This will guide you through the Jenkins Pipelines.
- Host: GitHub
- URL: https://github.com/ankitnewjobs/basic-azure-jenkins-example
- Owner: ankitnewjobs
- Created: 2024-05-27T11:13:25.000Z (11 months ago)
- Default Branch: main
- Last Pushed: 2024-09-11T17:50:10.000Z (8 months ago)
- Last Synced: 2025-01-14T04:10:00.680Z (4 months ago)
- Topics: azure, azure-devops, azure-pipelines, jenkins, jenkins-pipeline
- Homepage:
- Size: 14.6 KB
- Stars: 0
- Watchers: 1
- Forks: 0
- Open Issues: 0
-
Metadata Files:
- Readme: README.md
Awesome Lists containing this project
README
# Basic-Azure-Jenkins-Example
# Jenkins-Zero-To-Hero
Open the Git Bash

Creating the SSH Connection
$ ssh -i /c/Users/ankit/Desktop/test-vm_key.pem [email protected]

### Install Jenkins.
Pre-Requisites:
- Java (JDK)
### Run the below commands to install Java and Jenkins
Install Java
```
sudo apt update
sudo apt install OpenJDK-11-jre
```
Verify Java is Installed
```
java -version
```

Now, you can proceed with installing Jenkins
```
curl -fsSL https://pkg.jenkins.io/debian/jenkins.io-2023.key | sudo tee \
/usr/share/keyrings/jenkins-keyring.asc > /dev/null
echo deb [signed-by=/usr/share/keyrings/jenkins-keyring.asc] \
https://pkg.jenkins.io/debian binary/ | sudo tee \
/etc/apt/sources.list.d/jenkins.list > /dev/null
sudo apt-get update
sudo apt-get install jenkins
```

**Note: ** By default, Jenkins will not be accessible to the external world due to AWS's inbound traffic restriction. Open port 8080 in the inbound traffic rules as shown below.
- VM > Network Setting > Click on
- Add Port Number 8080
- Add inbound traffic rules as shown in the image (you can just allow TCP 8080 as well, in my case, I allowed `All traffic`).

### Login to Jenkins using the below URL:
http://:8080 [You can get the -public-ip-address from your VM Overview page]
Note: If you are not interested in allowing `All Traffic` to your EC2 instance
1. Delete the inbound traffic rule for your instance
2. Edit the inbound traffic rule only to allow custom TCP port `8080`
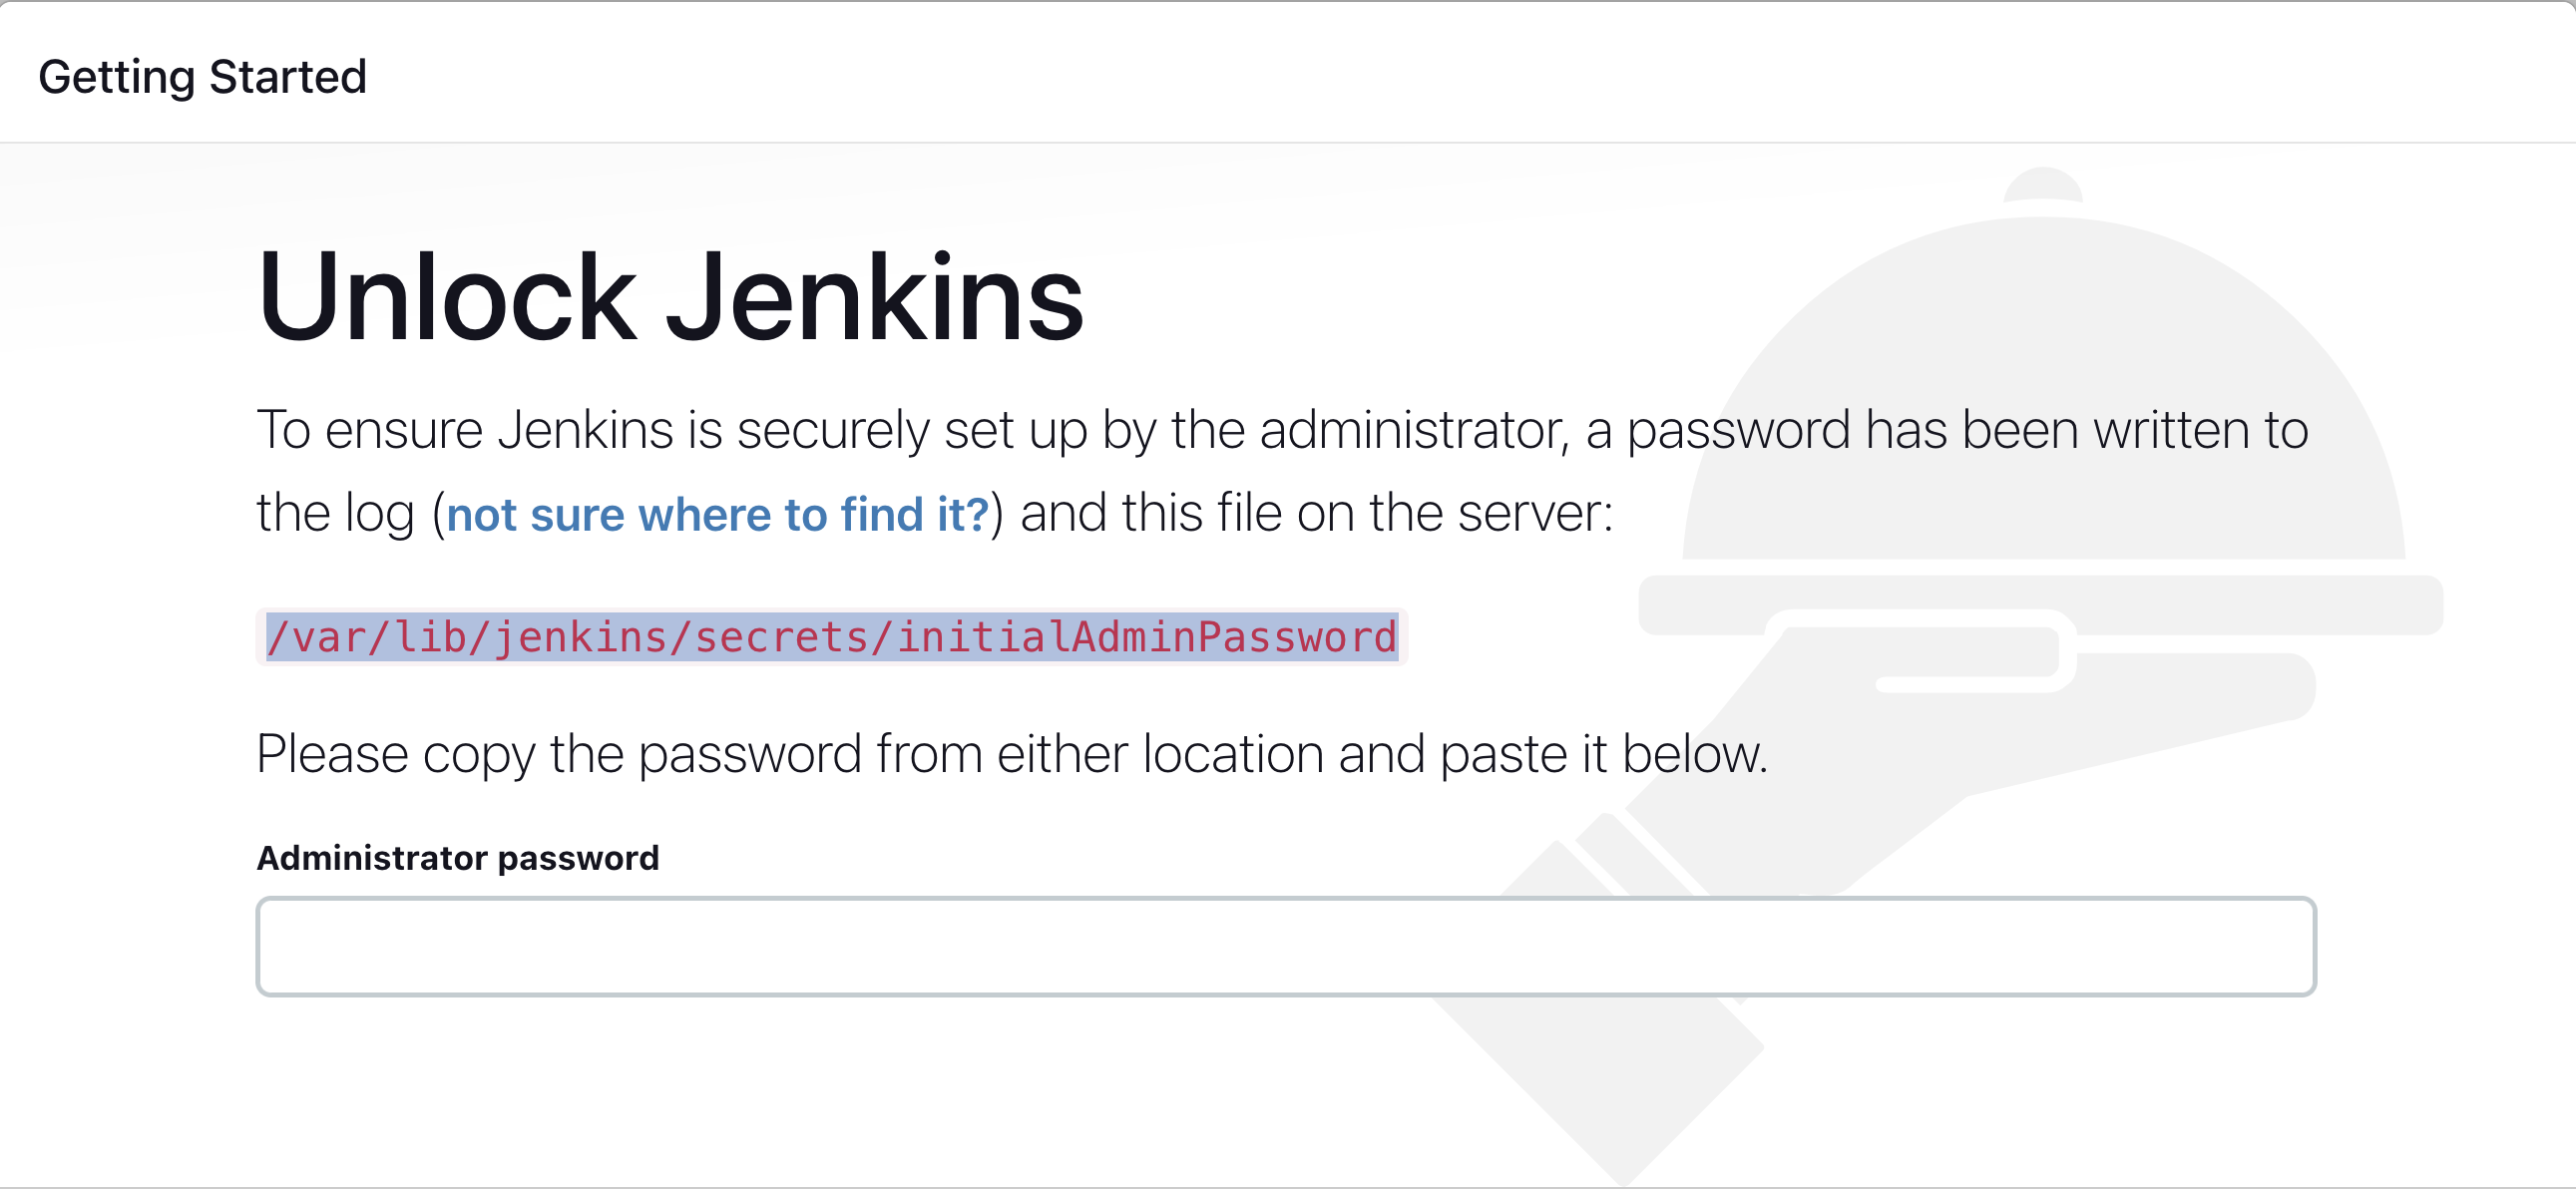
After you log in to Jenkins,
- Run the command to copy the Jenkins Admin Password - `sudo cat /var/lib/jenkins/secrets/initialAdminPassword`
- Enter the Administrator password
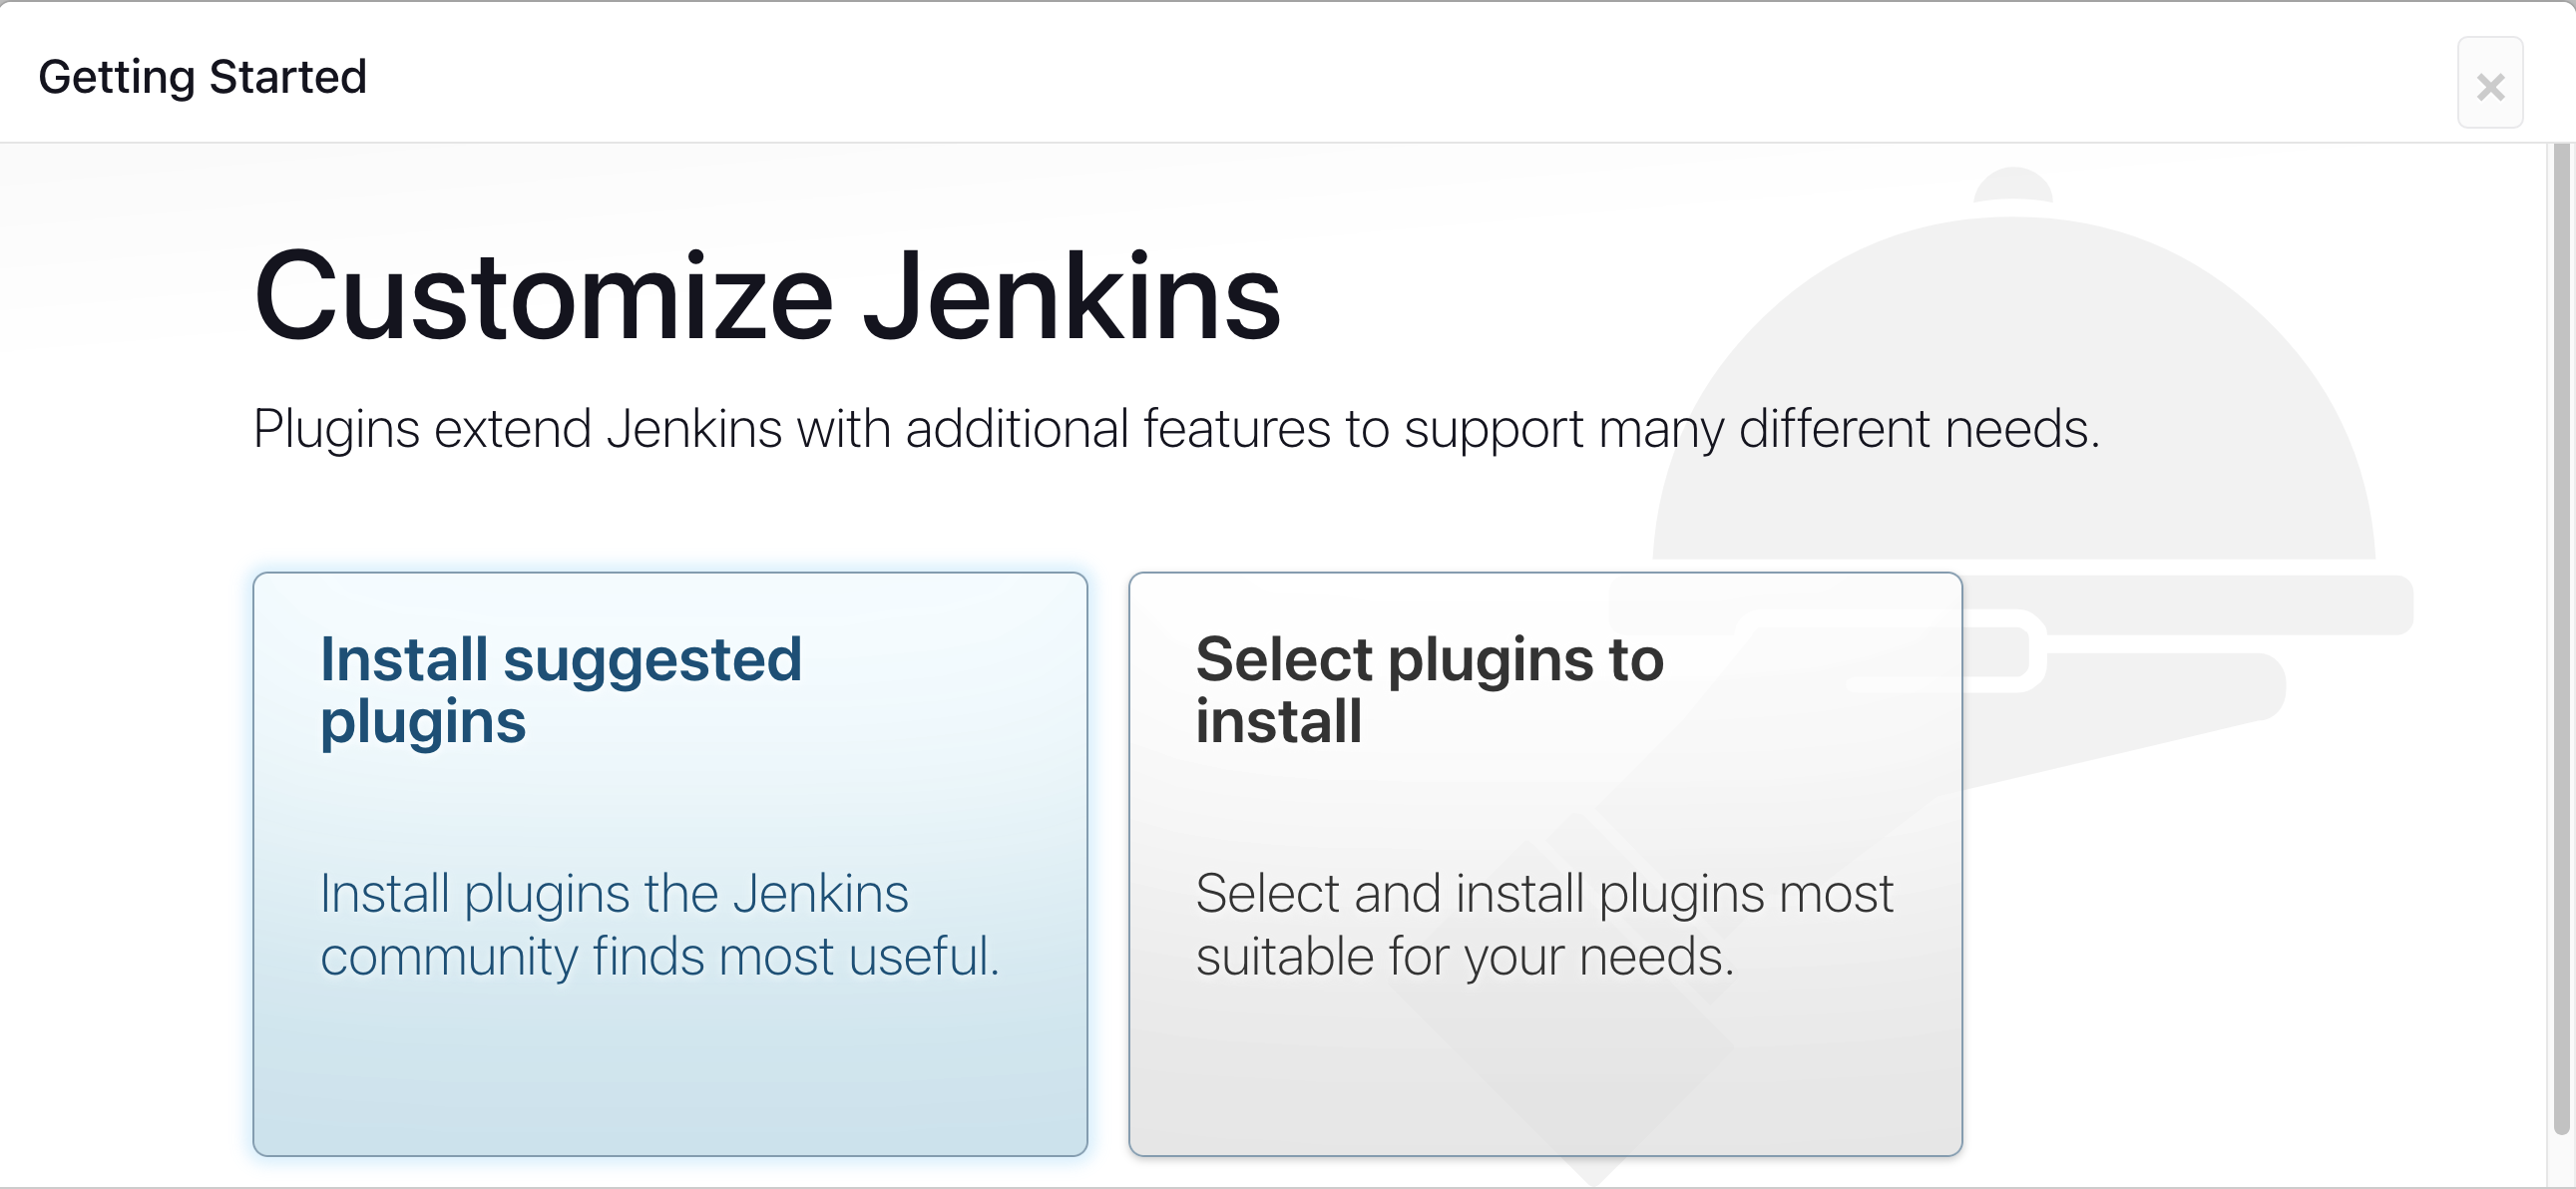
### Click on Install suggested plugins
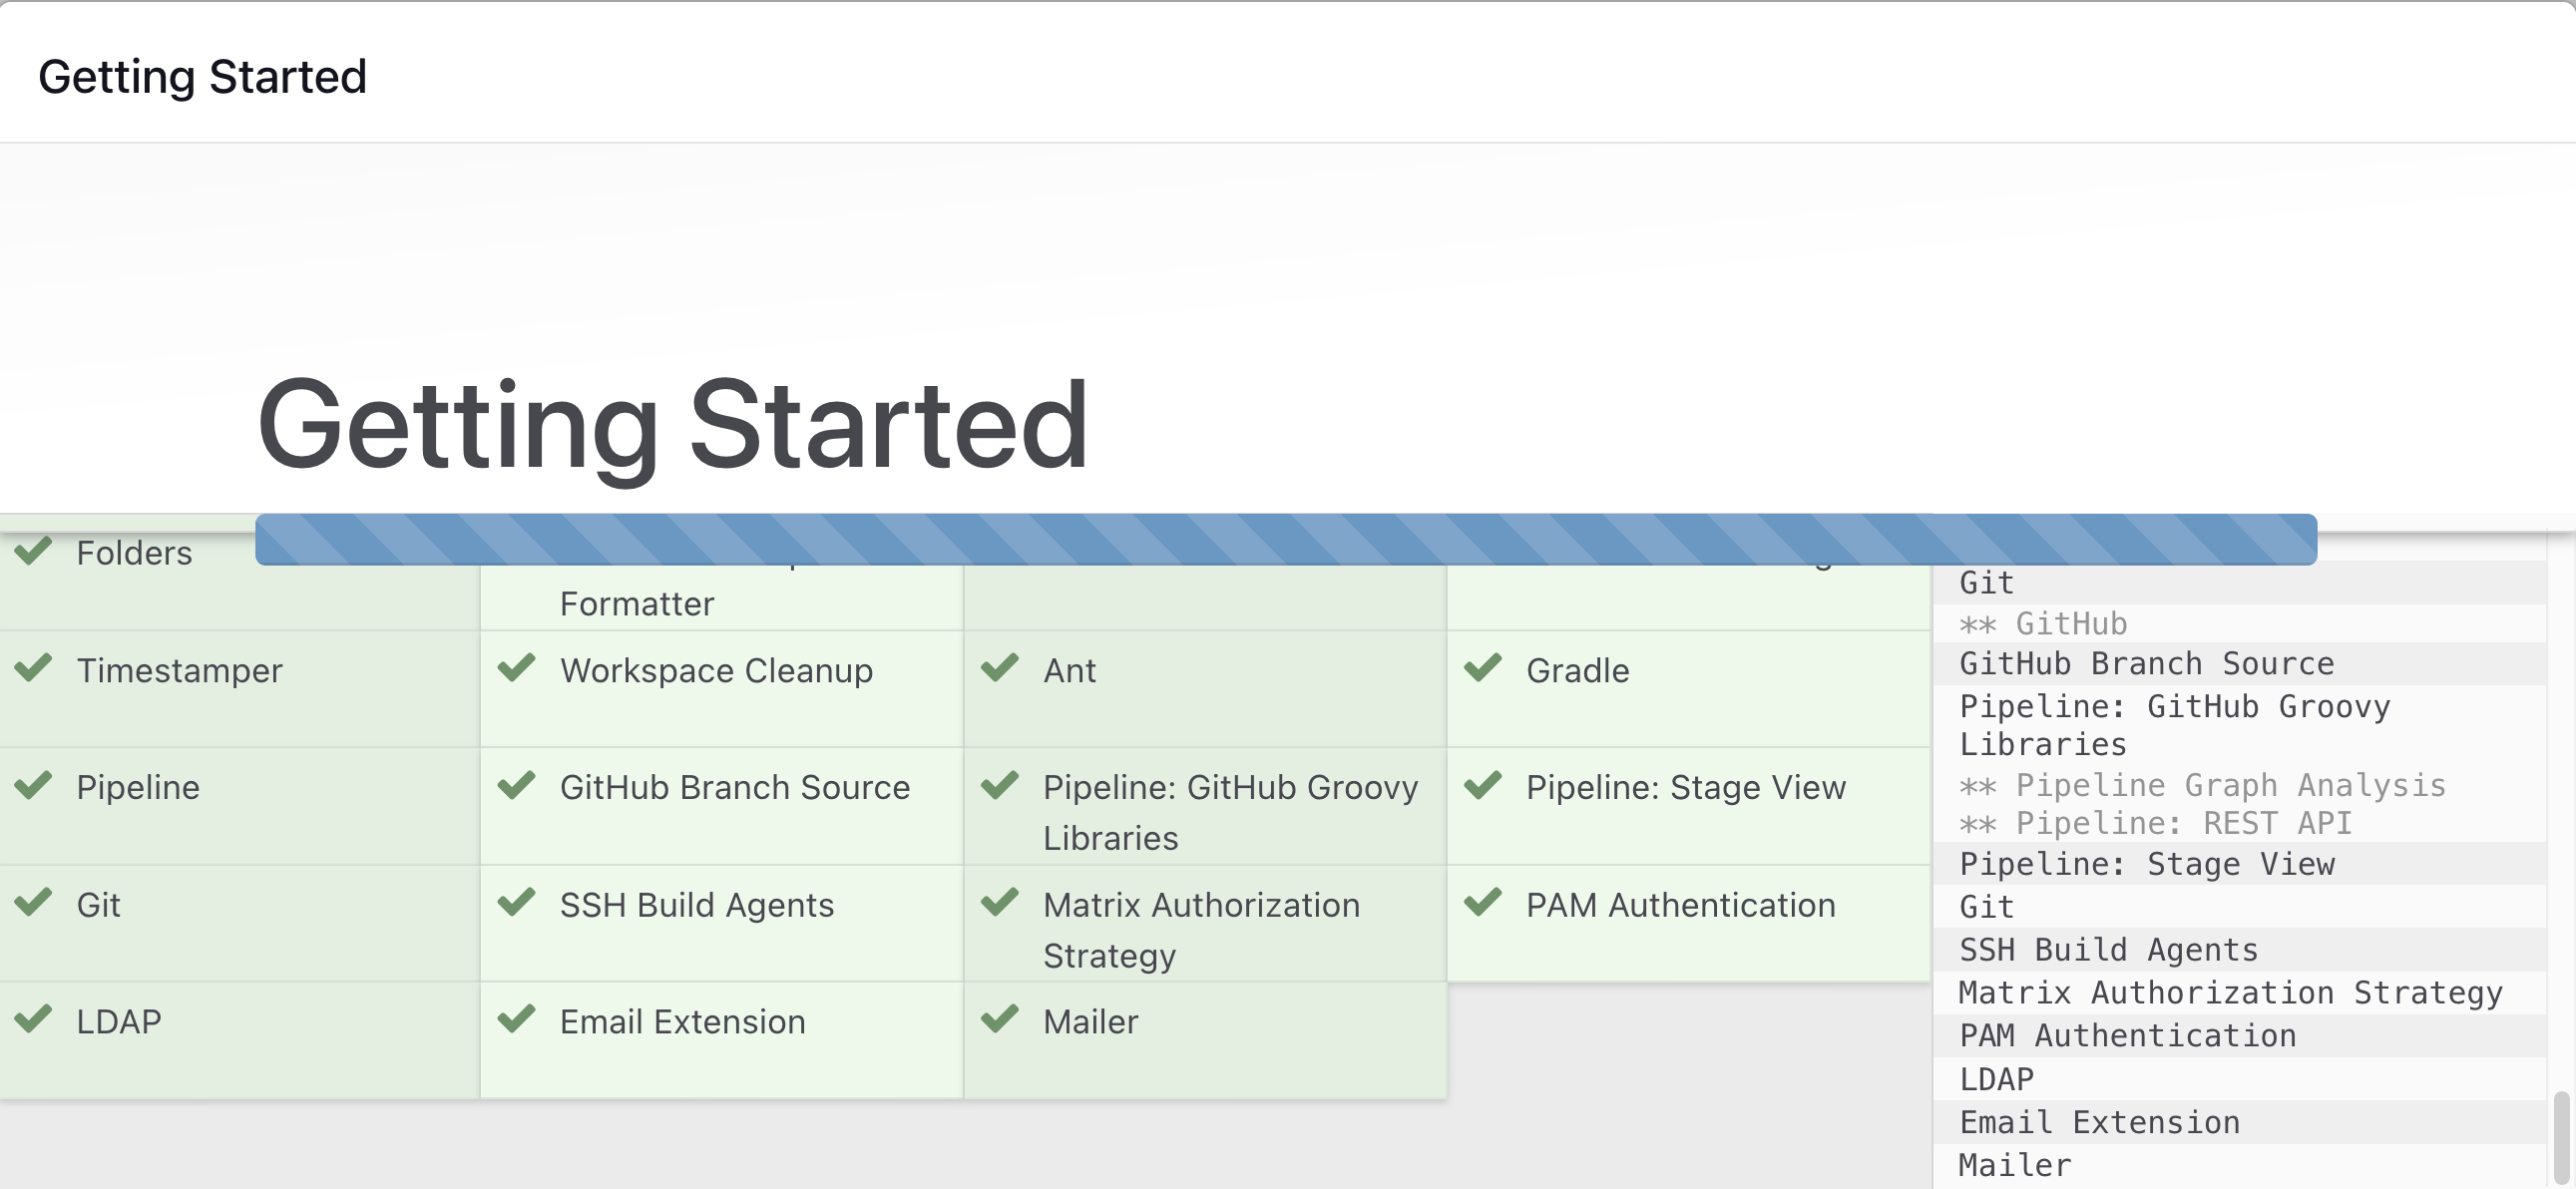
Wait for the Jenkins to Install suggested plugins
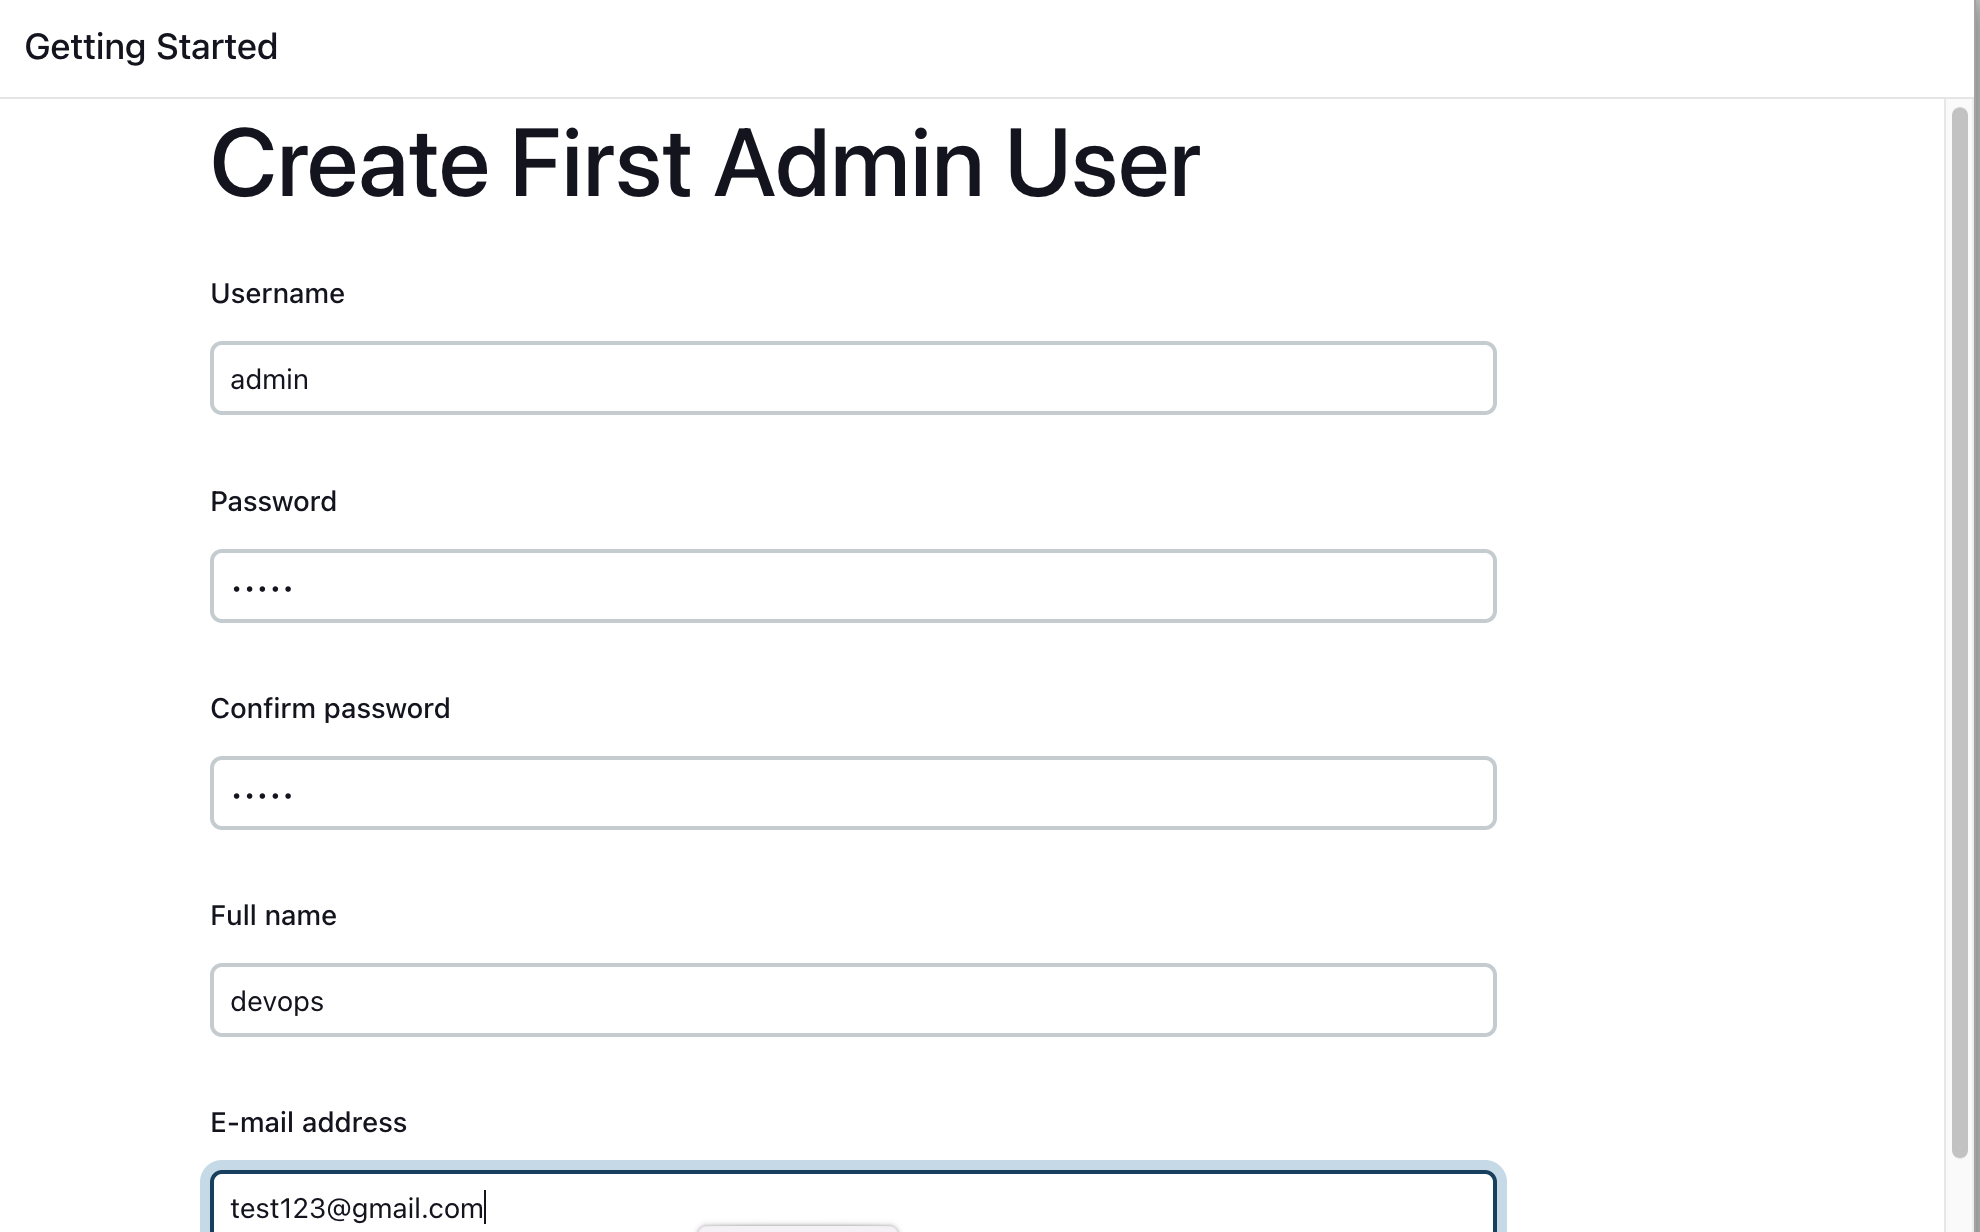
Create First Admin User or Skip the step [If you want to use this Jenkins instance for future use-cases as well, it is better to create an admin user]
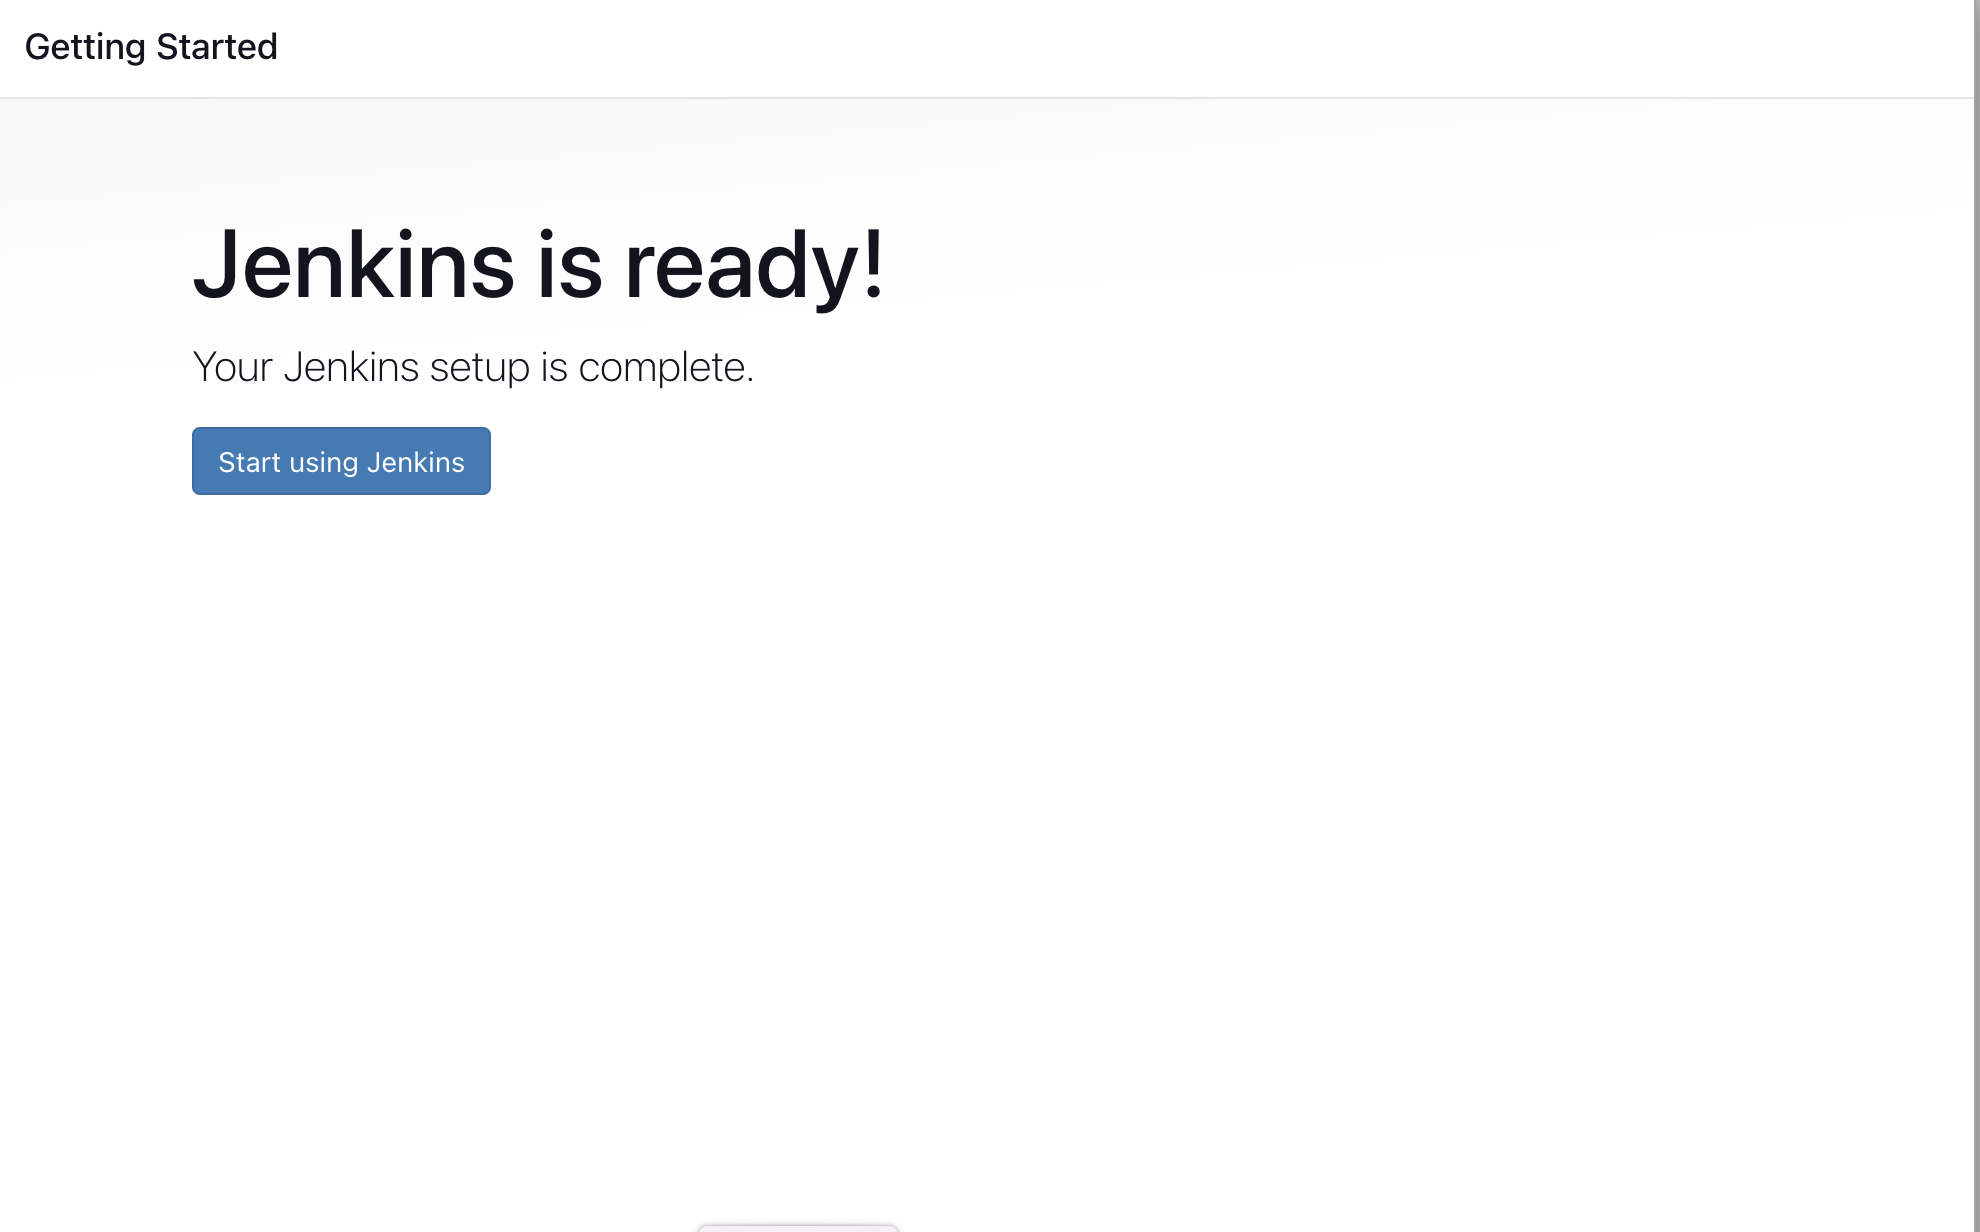
Jenkins Installation is Successful. You can now starting using the Jenkins