https://github.com/antabot/white-jotter-vue
Front end of White Jotter.
https://github.com/antabot/white-jotter-vue
elment-ui single-page-app vue
Last synced: 6 months ago
JSON representation
Front end of White Jotter.
- Host: GitHub
- URL: https://github.com/antabot/white-jotter-vue
- Owner: Antabot
- License: mit
- Created: 2020-04-05T09:39:19.000Z (over 5 years ago)
- Default Branch: master
- Last Pushed: 2022-12-10T12:46:35.000Z (almost 3 years ago)
- Last Synced: 2025-03-23T00:51:20.176Z (7 months ago)
- Topics: elment-ui, single-page-app, vue
- Language: Vue
- Size: 5.15 MB
- Stars: 111
- Watchers: 7
- Forks: 67
- Open Issues: 15
-
Metadata Files:
- Readme: README.md
- License: LICENSE
Awesome Lists containing this project
README

---


这是一个简单的前后端分离项目,主要采用 Vue.js + SpringBoot 技术栈开发。
除了用作入门练习,我还希望该项目可以作为一些常见 Web 项目的脚手架,帮助大家简化搭建网站的流程。之所以叫白卷,是因为它从 0 开始,会随着时间的推移逐渐完善。
前端地址:[https://github.com/Antabot/White-Jotter-Vue](https://github.com/Antabot/White-Jotter-Vue)
后端地址:[https://github.com/Antabot/White-Jotter](https://github.com/Antabot/White-Jotter)
欢迎加入微信圈子 【开发者】 分享、讨论学习经验:

感谢 JetBrains 提供全家桶开源许可,IDEA 确实是 Java 领域最好用的 IDE。
# 整体效果
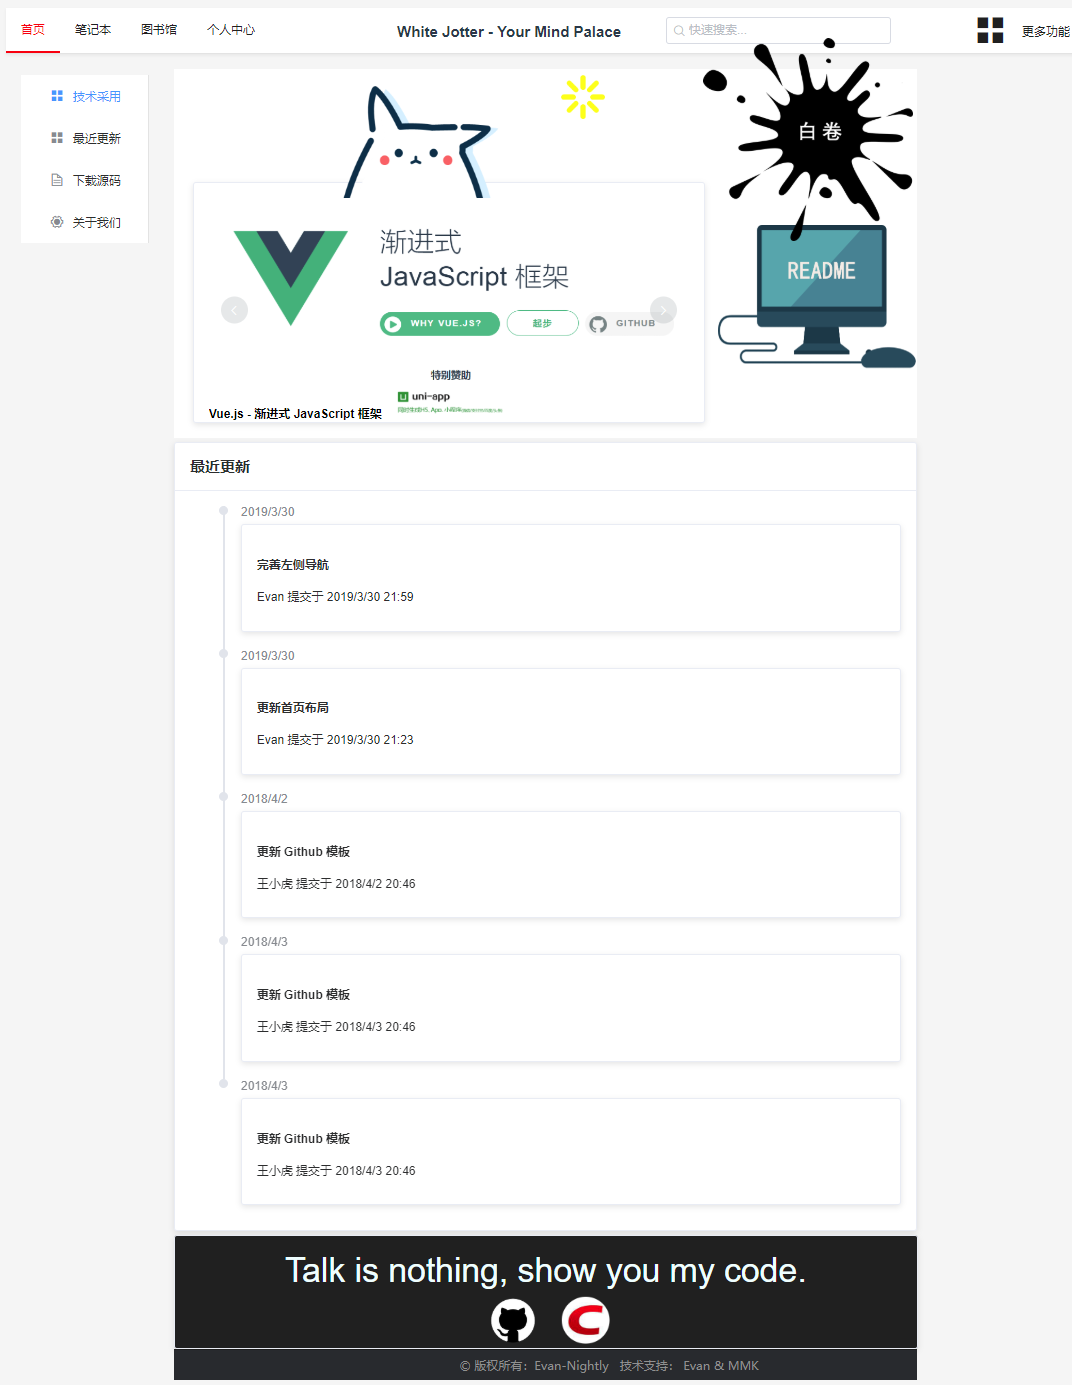
## 1.首页
作为展示页面,包括开发这个项目的主要参考资料、近期更新和 Slogan
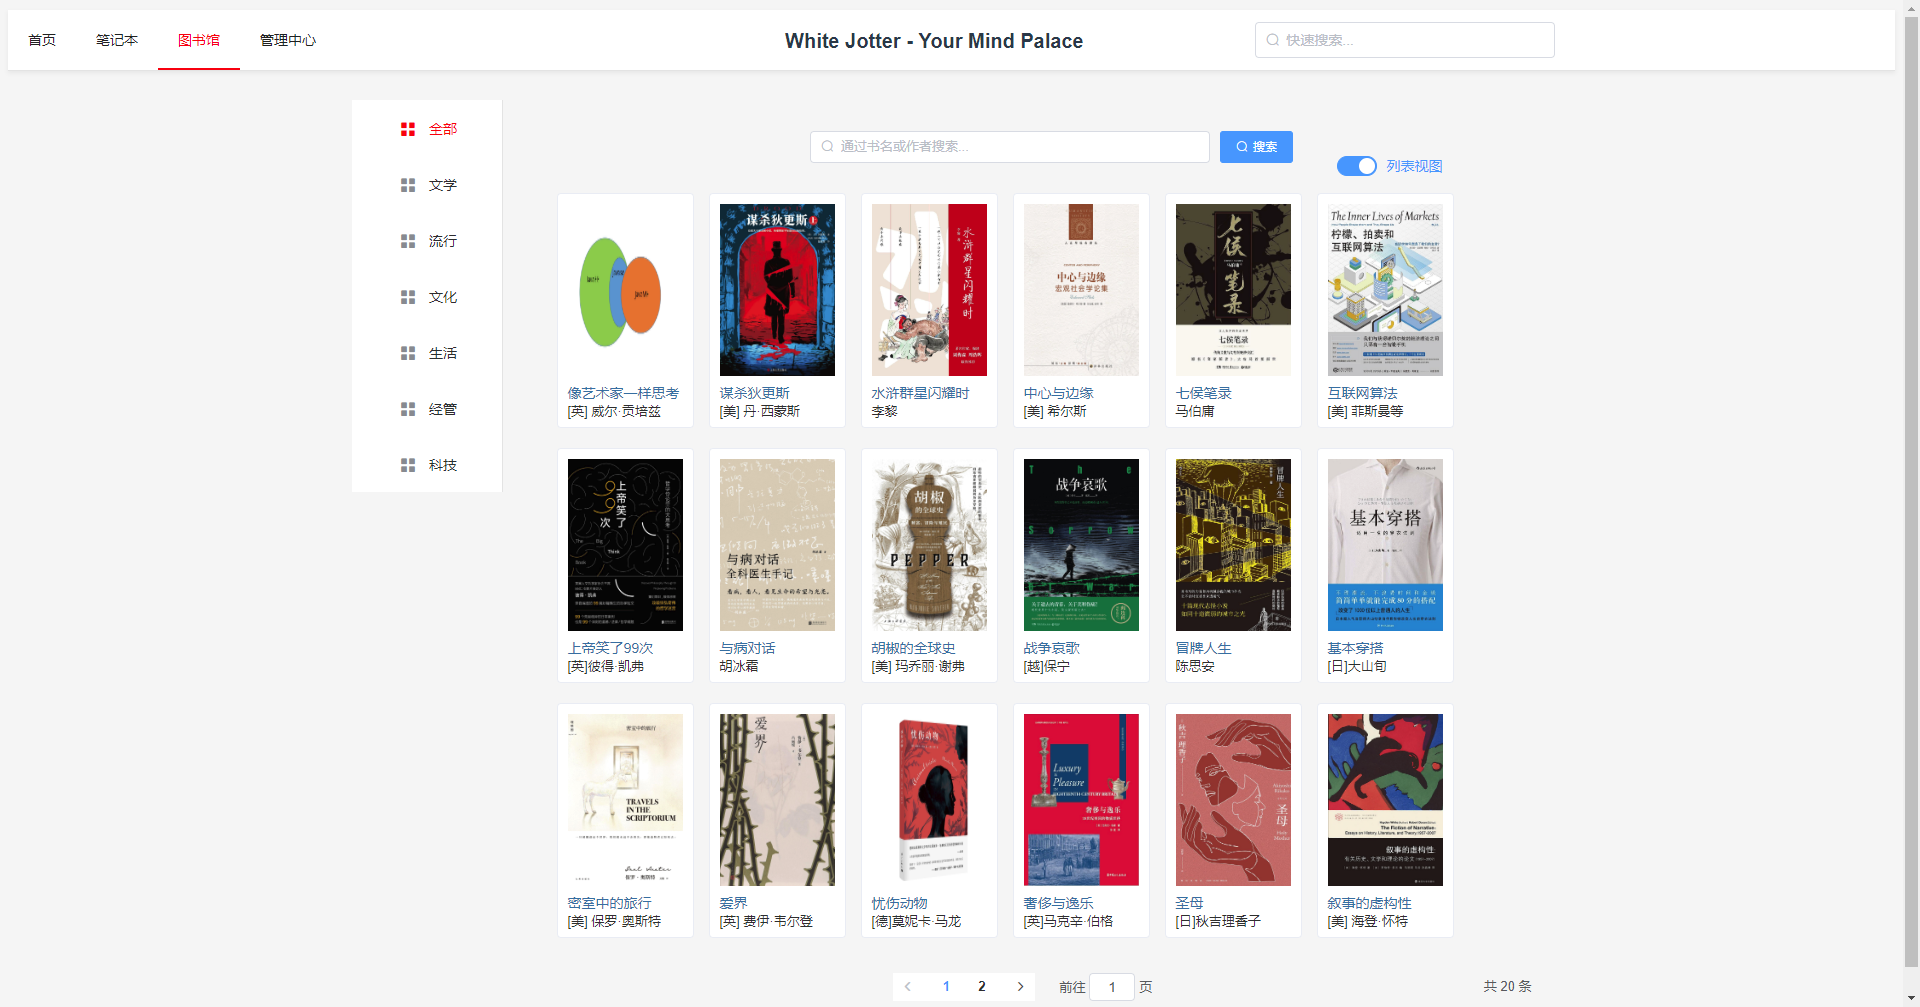
## 2.图书馆
提供图书信息展示功能
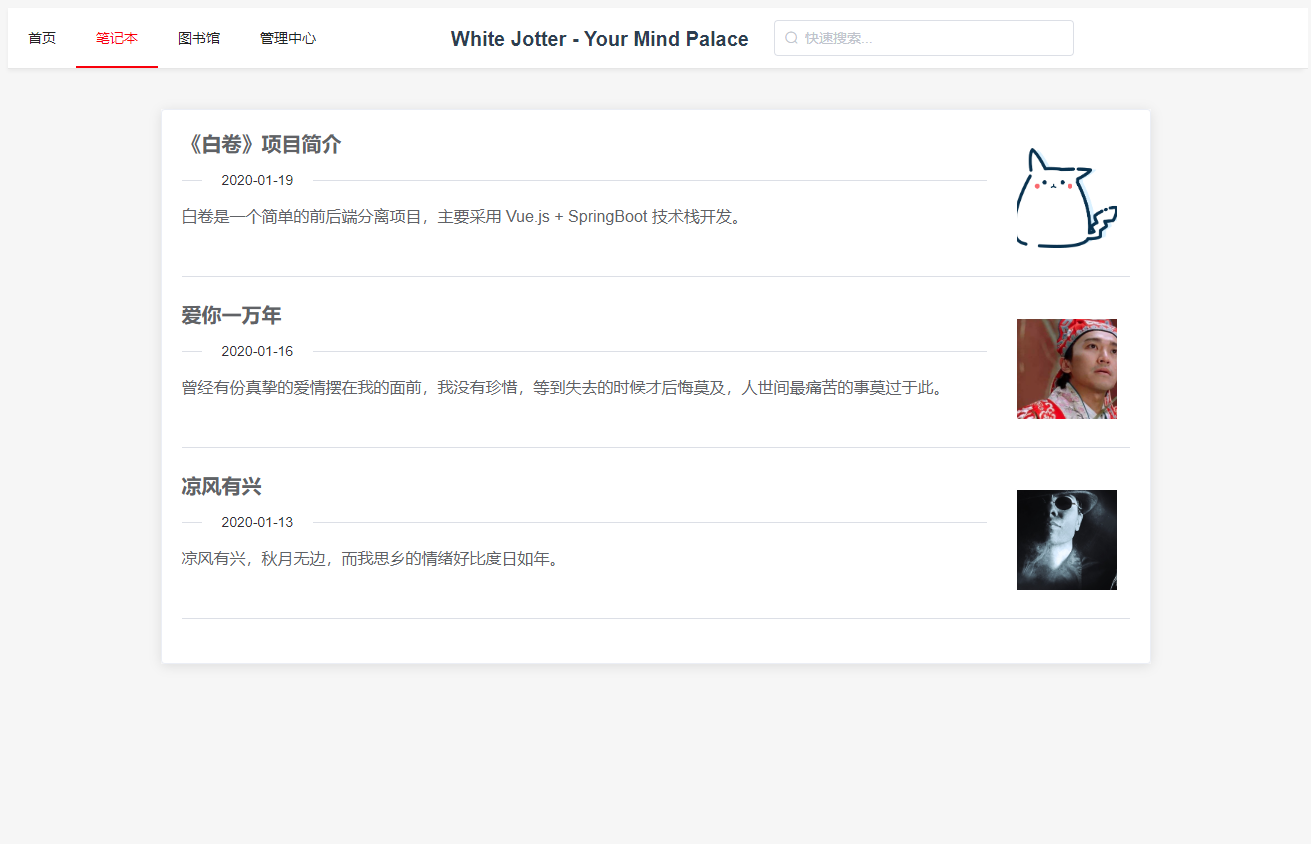
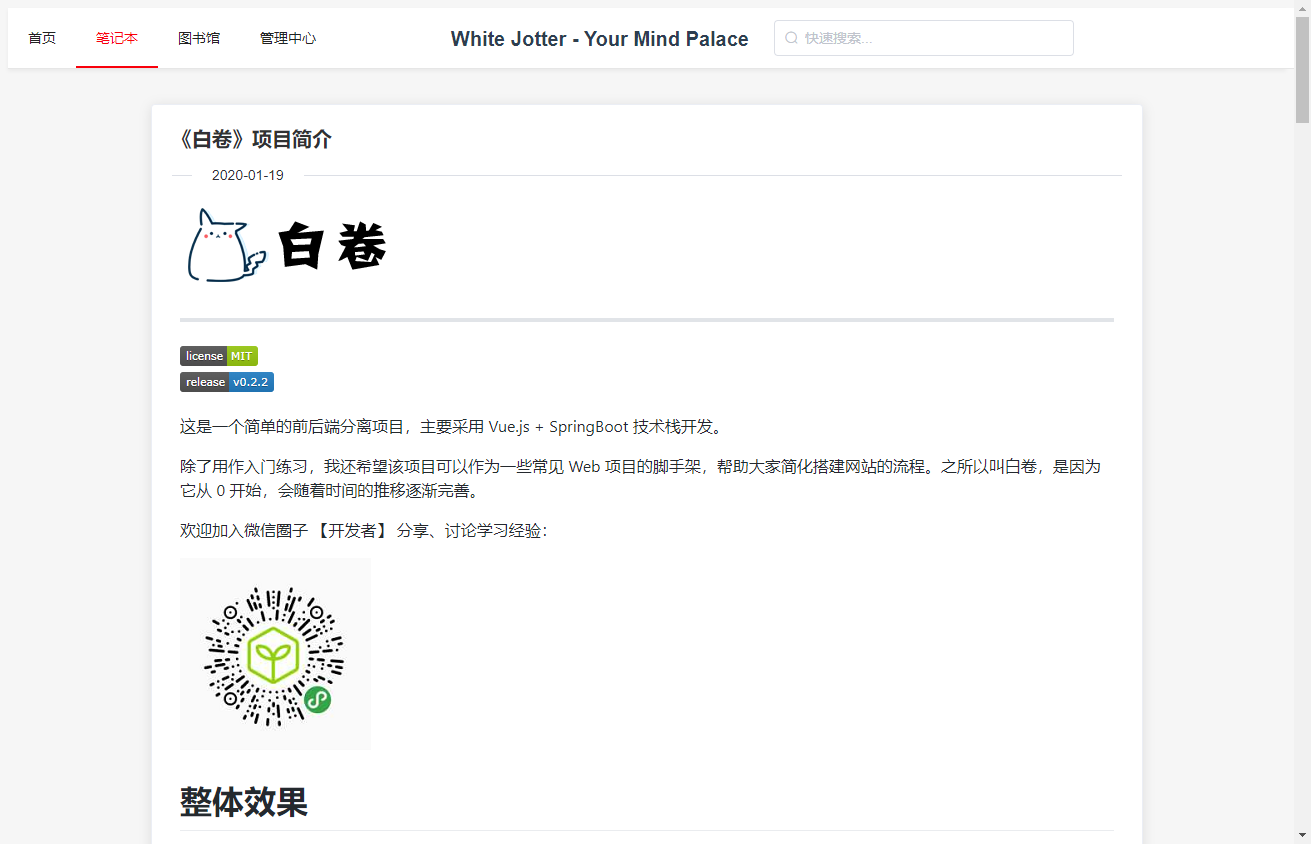
## 3.笔记本
提供笔记、博文展示功能
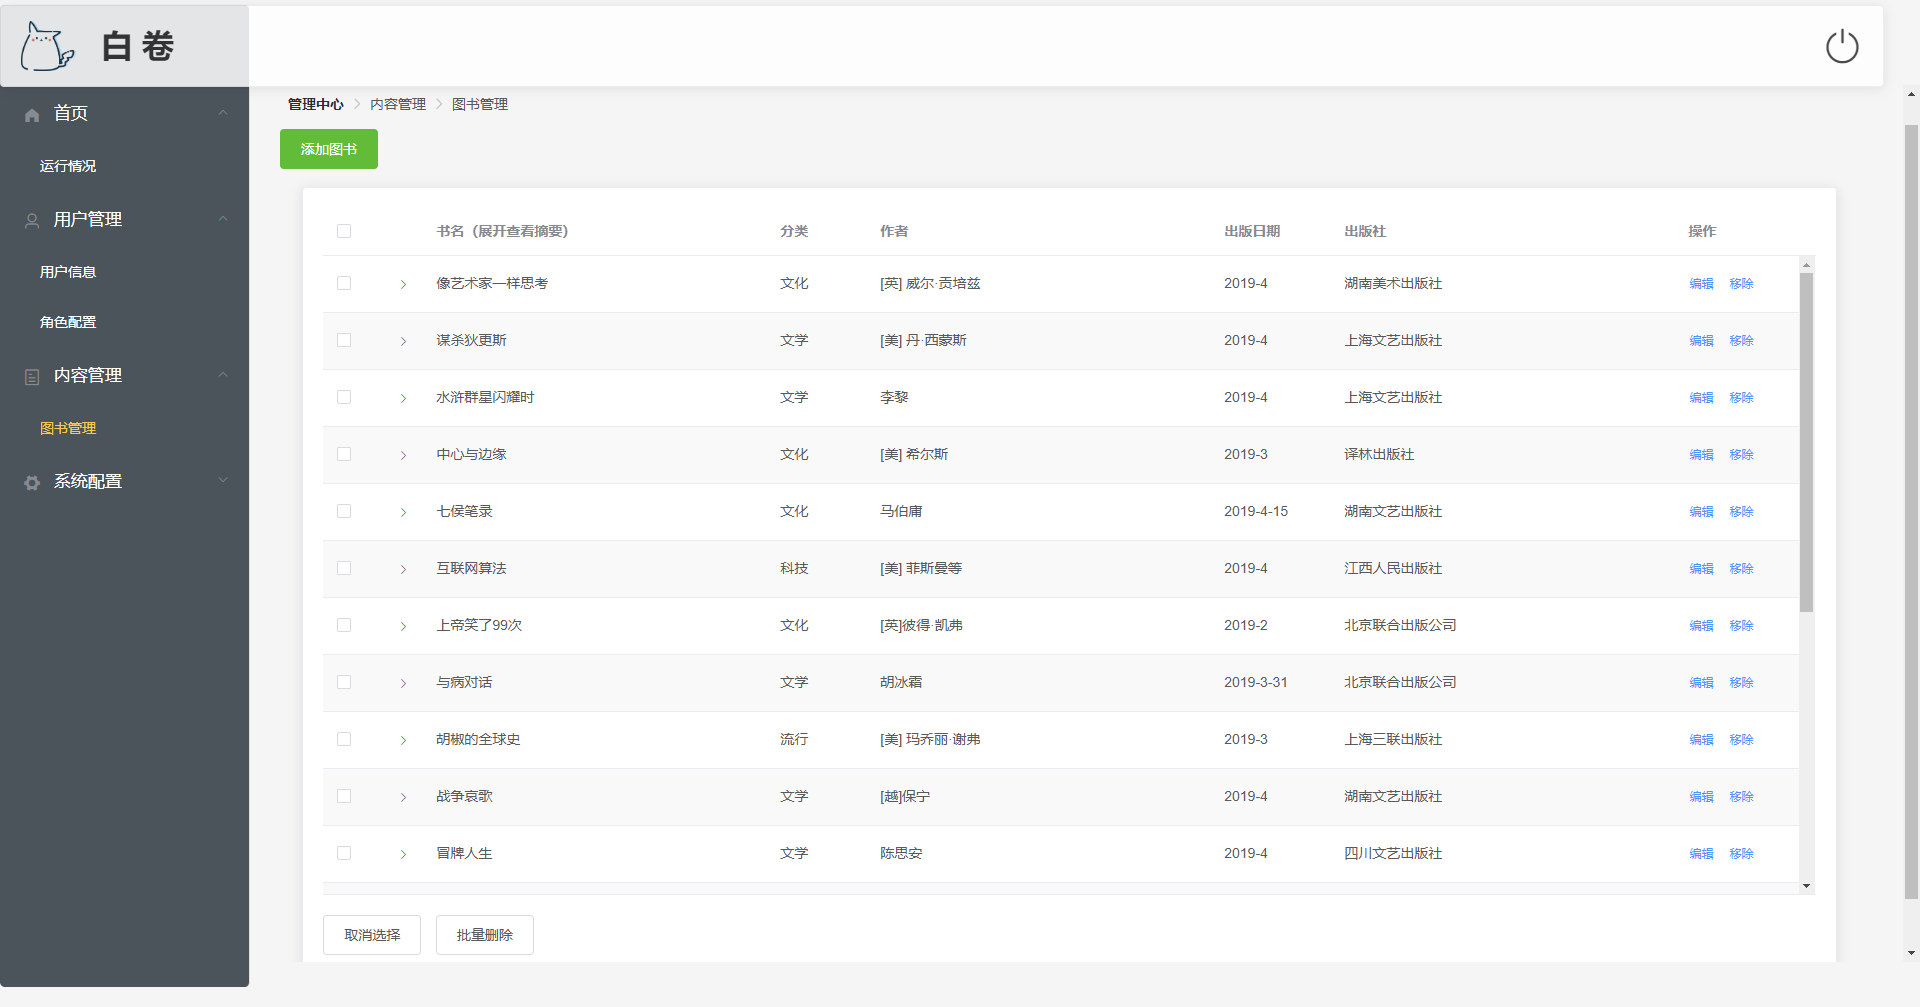
## 4.后台管理
包含 dashboard、内容管理、用户及权限管理等
# 技术栈
## 1.前端技术栈
1.Vue
2.ElementUI
3.axios
## 2.后端技术栈
1.Spring Boot
2.Spring Data + JPA
3.MySQL
4.Shiro
# 部署方法
1.clone 项目到本地
前端:
`git clone https://github.com/Antabot/White-Jotter-Vue`
后端:
`git clone https://github.com/Antabot/White-Jotter`
2.在 mysql 中创建数据库 `wj`,运行项目,将自动注入数据。如需关闭此功能,请将 `application.properties` 中的 `spring.datasource.initialization-mode=always` 代码删除。
数据库完整脚本 `wj.sql` 放在后端项目的 `src\main\resources` 目录下,也可根据需要自行在 MySQL 中执行数据库脚本。
Redis 端口为 6379(默认端口),密码为空。
3.数据库配置在后端项目的 `src\main\resources` 目录下的`application.properties` 文件中,mysql 版本为 8.0.15 。
4.在IntelliJ IDEA中运行后端项目,为了保证项目成功运行,可以右键点击 `pom.xml` 选择 maven -> reimport ,并重启项目
至此,服务端就启动成功了,同时,运行前端项目,访问 `http://localhost:8080` ,即可进入登录页面,默认账号是 `admin`,密码是 `123`
如果要做二次开发,请继续看第五、六步。
5.进入前端项目根目录中,在命令行依次输入如下命令:
```
# 安装依赖
npm install
# 在 localhost:8080 启动项目
npm run dev
```
由于在 `wj-vue` 项目中已经配置了端口转发,将数据转发到SpringBoot上,因此项目启动之后,在浏览器中输入 `http://localhost:8080` 就可以访问我们的前端项目了,所有的请求通过端口转发将数据传到 SpringBoot 中(注意此时不要关闭 SpringBoot 项目)。
6.最后可以用 `WebStorm` 等工具打开 `wj-vue`项目,继续开发,开发完成后,当项目要上线时,依然进入到 `wj-vue` 目录,然后执行如下命令:
```
npm run build
```
该命令执行成功之后, `wj-vue` 目录下生成一个 `dist` 文件夹,可以将该文件夹中的两个文件 `static` 和 `index.html` 拷贝到 `wj` 项目中 `resources/static/` 目录下,然后直接运行 `wj` 项目,访问 `http://localhost:8443` ,实际上是把前端打包后作为静态文件,但不推荐使用这种方式。
前后端分离部署的方式详见教程第十篇:[「图片上传与项目的打包部署」](https://learner.blog.csdn.net/article/details/97619312)
# 教程
我在 CSDN 上分享了开发这个项目的教程,有兴趣的小伙伴可以点击下面的链接查看。
1.[项目简介](https://blog.csdn.net/Neuf_Soleil/article/details/88925013)
2.[使用 CLI 搭建 Vue.js 项目](https://blog.csdn.net/Neuf_Soleil/article/details/88926242)
3.[前后端结合测试(登录页面开发)](https://blog.csdn.net/Neuf_Soleil/article/details/88955387)
4.[数据库的引入](https://blog.csdn.net/Neuf_Soleil/article/details/89294300)
5.[使用 Element 辅助前端开发](https://blog.csdn.net/Neuf_Soleil/article/details/89298717)
6.[前端路由与登录拦截器](https://learner.blog.csdn.net/article/details/89422585)
7.[导航栏与图书页面设计](https://learner.blog.csdn.net/article/details/89853305)
8.[数据库设计与增删改查](https://learner.blog.csdn.net/article/details/92413933)
9.[核心功能的前端实现](https://learner.blog.csdn.net/article/details/95310666)
10.[图片上传与项目的打包部署](https://learner.blog.csdn.net/article/details/97619312)
11.[用户角色权限管理模块设计](https://learner.blog.csdn.net/article/details/100849732)
12.[访问控制及其实现思路](https://learner.blog.csdn.net/article/details/101121899)
13.[使用 Shiro 实现用户信息加密与登录认证](https://learner.blog.csdn.net/article/details/102690035)
14.[用户认证方案与完善的访问拦截](https://learner.blog.csdn.net/article/details/102788866)
15.[动态加载后台菜单](https://learner.blog.csdn.net/article/details/103114893)
16.[功能级访问控制的实现](https://learner.blog.csdn.net/article/details/103250775)
17.[后台角色、权限与菜单分配](https://learner.blog.csdn.net/article/details/103603726)
18.[博客功能开发](https://learner.blog.csdn.net/article/details/104033436)
19.[项目优化解决方案](https://learner.blog.csdn.net/article/details/104763090)
(持续更新中)
# 重要更新
## 2020
04-05 拆分前后端项目
01-20 利用开源 markdown 编辑器实现文章展示与管理模块
---
## 2019
12-01 实现功能级权限控制
11-30 利用 vue-elment-admin 项目完善后台界面设计
11-17 重构项目,完成搭建后台基础界面,实现按角色加载菜单,取消前台访问限制
04-27 使用前端拦截器,数据库迁移至 mysql 8.0.15,后台管理页面初始化
04-13 完成图片的上传功能
04-11 完成图书分类功能
04-08 完成图书分页功能
04-06 完成图书查询功能
04-05 完成图书修改功能
04-04 完成图书删除功能
04-03 完成图书新增功能
