https://github.com/app-generator/deploy-pythonanywhere-django
Deploy on PythonAnywhere - Django MVC | AppSeed
https://github.com/app-generator/deploy-pythonanywhere-django
appseed-deploy ci-cd pythonanywhere
Last synced: about 1 year ago
JSON representation
Deploy on PythonAnywhere - Django MVC | AppSeed
- Host: GitHub
- URL: https://github.com/app-generator/deploy-pythonanywhere-django
- Owner: app-generator
- License: other
- Created: 2023-03-30T07:20:48.000Z (about 3 years ago)
- Default Branch: master
- Last Pushed: 2023-03-30T07:32:12.000Z (about 3 years ago)
- Last Synced: 2025-04-06T18:12:47.107Z (about 1 year ago)
- Topics: appseed-deploy, ci-cd, pythonanywhere
- Language: CSS
- Homepage:
- Size: 2.98 MB
- Stars: 0
- Watchers: 2
- Forks: 0
- Open Issues: 0
-
Metadata Files:
- Readme: README.md
- Changelog: CHANGELOG.md
- License: LICENSE.md
Awesome Lists containing this project
README
# [Datta Able Django](https://appseed.us/product/datta-able/django/)
Open-source **Django Dashboard** generated by `AppSeed` op top of a modern design. **[Datta Able](https://appseed.us/product/datta-able/django/)** Bootstrap Lite is the most stylised Bootstrap 4 Lite Admin Template, around all other Lite/Free admin templates in the market. It comes with high feature-rich pages and components with fully developer-centric code - design from [CodedThemes](https://bit.ly/37fF9RT).
### Project configured for CI/CD on PythonAnywhere
- CI/Cd from GitHub
- Changes in the code
- FUll DOCS HERE:
- https://docs.appseed.us/deployment/pythonanywhere/django/
> Features:
- ✅ `Up-to-date Dependencies`
- ✅ `Design`: [Django Theme Datta](https://github.com/app-generator/django-admin-datta) - `Free Version`
- ✅ `Sections` covered by the design:
- ✅ **Admin section** (reserved for superusers)
- ✅ **Authentication**: `Django.contrib.AUTH`, Registration
- ✅ **All Pages** available in for ordinary users
- ✅ `Docker`
- 🚀 `Deployment`
- `CI/CD` flow via `Render`

## Start with `Docker`
> 👉 **Step 1** - Download the code from the GH repository (using `GIT`)
```bash
$ git clone https://github.com/app-generator/django-datta-able.git
$ cd django-datta-able
```
> 👉 **Step 2** - Start the APP in `Docker`
```bash
$ docker-compose up --build
```
Visit `http://localhost:5085` in your browser. The app should be up & running.
## Environment
Create a new `.env` file using sample `env.sample`. The meaning of each variable can be found below:
- `DEBUG`: if `True` the app runs in develoment mode
- For production value `False` should be used
- For `MySql` persistence
- Install the DB Driver: `pip install mysqlclient`
- Create DB and assign a new user (full rights)
- Edit `.env` to match the DB, user, password ..
## Manual Build
> Download the code
```bash
$ git clone https://github.com/app-generator/django-datta-able.git
$ cd django-datta-able
```
### 👉 Set Up for `Unix`, `MacOS`
> Install modules via `VENV`
```bash
$ virtualenv env
$ source env/bin/activate
$ pip3 install -r requirements.txt
```
> Set Up Database
```bash
$ python manage.py makemigrations
$ python manage.py migrate
```
> Start the APP
```bash
$ python manage.py createsuperuser # create the admin
$ python manage.py runserver # start the project
```
At this point, the app runs at `http://127.0.0.1:8000/`.
### 👉 Set Up for `Windows`
> Install modules via `VENV` (windows)
```
$ virtualenv env
$ .\env\Scripts\activate
$ pip3 install -r requirements.txt
```
> Set Up Database
```bash
$ python manage.py makemigrations
$ python manage.py migrate
```
> Start the APP
```bash
$ python manage.py createsuperuser # create the admin
$ python manage.py runserver # start the project
```
At this point, the app runs at `http://127.0.0.1:8000/`.
## Codebase Structure
The project is coded using a simple and intuitive structure presented below:
```bash
< PROJECT ROOT >
|
|-- core/
| |-- settings.py # Project Configuration
| |-- urls.py # Project Routing
|
|-- home/
| |-- views.py # APP Views
| |-- urls.py # APP Routing
| |-- models.py # APP Models
| |-- tests.py # Tests
| |-- templates/ # Theme Customisation
| |-- pages #
| |-- custom-index.py # Custom Dashboard
|
|-- requirements.txt # Project Dependencies
|
|-- env.sample # ENV Configuration (default values)
|-- manage.py # Start the app - Django default start script
|
|-- ************************************************************************
```
## How to Customize
When a template file is loaded in the controller, `Django` scans all template directories starting from the ones defined by the user, and returns the first match or an error in case the template is not found.
The theme used to style this starter provides the following files:
```bash
# This exists in ENV: LIB/admin_datta
< UI_LIBRARY_ROOT >
|
|-- templates/ # Root Templates Folder
| |
| |-- accounts/
| | |-- auth-signin.html # Sign IN Page
| | |-- auth-signup.html # Sign UP Page
| |
| |-- includes/
| | |-- footer.html # Footer component
| | |-- sidebar.html # Sidebar component
| | |-- navigation.html # Navigation Bar
| | |-- scripts.html # Scripts Component
| |
| |-- layouts/
| | |-- base.html # Masterpage
| | |-- base-auth.html # Masterpage for Auth Pages
| |
| |-- pages/
| |-- index.html # Dashboard Page
| |-- profile.html # Profile Page
| |-- *.html # All other pages
|
|-- ************************************************************************
```
When the project requires customization, we need to copy the original file that needs an update (from the virtual environment) and place it in the template folder using the same path.
> For instance, if we want to **customize the index.html** these are the steps:
- ✅ `Step 1`: create the `templates` DIRECTORY inside the `home` app
- ✅ `Step 2`: configure the project to use this new template directory
- `core/settings.py` TEMPLATES section
- ✅ `Step 3`: copy the `index.html` from the original location (inside your ENV) and save it to the `home/templates` DIR
- Source PATH: `/LIB/admin_black_pro/pages/index.html`
- Destination PATH: `home/templates/pages/index.html`
> To speed up all these steps, the **codebase is already configured** (`Steps 1, and 2`) and a `custom dashboard` can be found at this location:
`home/templates/pages/custom-index.html`
By default, this file is unused because the `theme` expects `index.html` (without the `custom-` prefix).
In order to use it, simply rename it to `index.html`. Like this, the default version shipped in the library is ignored by Django.
In a similar way, all other files and components can be customized easily.
## Deploy on [Render](https://render.com/)
- Create a Blueprint instance
- Go to https://dashboard.render.com/blueprints this link.
- Click `New Blueprint Instance` button.
- Connect your `repo` which you want to deploy.
- Fill the `Service Group Name` and click on `Update Existing Resources` button.
- After that your deployment will start automatically.
At this point, the product should be LIVE.
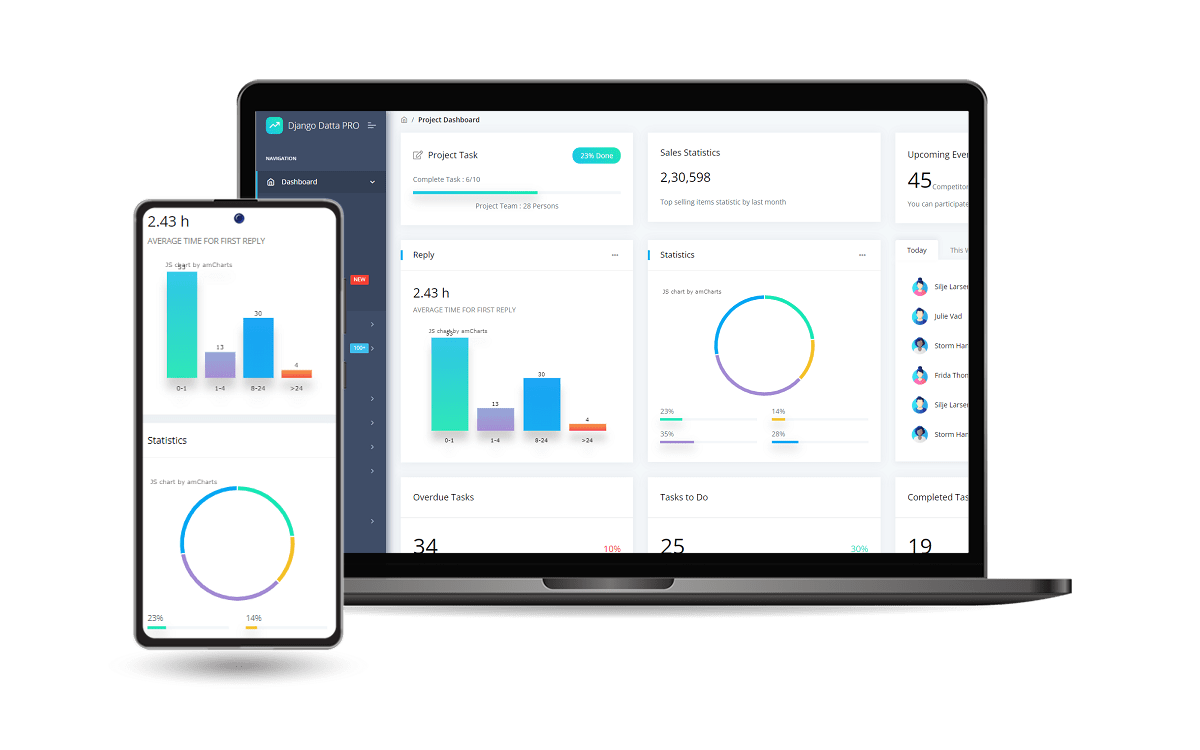
## [Datta Able Django](https://appseed.us/product/datta-able-pro/django/) `PRO Version`
> For more components, pages and priority on support, feel free to take a look at this amazing starter:
Designed for those who like bold elements and beautiful websites, **Datta Able** is the most stylish Bootstrap 4 Admin Template compare to all other Bootstrap admin templates. It comes with high feature-rich pages and components with fully developer-centric code.
- 👉 [Django Datta PRO](https://appseed.us/product/datta-able-pro/django/) - product page
- ✅ `Enhanced UI` - more pages and components
- ✅ `Priority` on support
---
[Datta Able Django](https://appseed.us/product/datta-able/django/) - Open-source starter generated by **[AppSeed Generator](https://appseed.us/generator/)**.