https://github.com/archangel-12/proposal
a supposed to be school's new proposal site
https://github.com/archangel-12/proposal
boring-stuff finished-project proposal school
Last synced: about 1 month ago
JSON representation
a supposed to be school's new proposal site
- Host: GitHub
- URL: https://github.com/archangel-12/proposal
- Owner: archangel-12
- License: mit
- Created: 2024-11-18T00:40:34.000Z (6 months ago)
- Default Branch: master
- Last Pushed: 2025-04-12T01:22:41.000Z (about 1 month ago)
- Last Synced: 2025-04-12T02:39:51.872Z (about 1 month ago)
- Topics: boring-stuff, finished-project, proposal, school
- Language: TypeScript
- Homepage:
- Size: 50 MB
- Stars: 0
- Watchers: 0
- Forks: 0
- Open Issues: 0
-
Metadata Files:
- Readme: readme.md
- License: LICENSE
- Code of conduct: code_of_conduct.md
- Codeowners: .github/codeowners
Awesome Lists containing this project
README

A sort of description
for the  translation, please refer to this file>
Explore the docs »
[](https://github.com/archangel-12/proposal/actions/workflows/main.yml)
[](https://github.com/archangel-12/proposal/actions/workflows/github-code-scanning/codeql)
[](/LICENSE)
[](https://creativecommons.org/licenses/by/4.0/)
View the source code
Table of Contents
-
So what is this?
-
Why am I doing this?
- What tools and plugins did you use while creating this website proposal?
-
How to properly download and view collections of folders and files?
- Acknowledgments
### So what is this?
> This repository serves as a sort of folder or a collection of files and images for my proposed website for the [Senior High School 17 of Surabaya](https://maps.app.goo.gl/nXSSRhYwREe6CQks6). While I acknowledge that the code structure might not be perfect and could face challenges when deployed online, it represents a starting point for this project :)
### Why am I doing this?
This is my way of showing appreciation to the school where I interned for almost four months. The experience taught me new skills, not only in web development but also in handling and understanding kids. Although I’m aware that teaching isn’t my strong suit, the internship gave me invaluable life lessons, and I feel indebted to the school.
___
### What tools and plugins did you use while creating this website proposal?
1. Any kind of *Virtual* IDE: Primarily used  or
or  for a cloud-based development environment.
2. Runtime: Leveraged
 for its performance and modern
  runtime capabilities.
3. Framework: Built the project using
 for its robust features and [server-side rendering](https://nextjs.org/docs/pages/building-your-application/rendering/server-side-rendering).
4. Styling: Implemented  for utility-first styling.
5. Component Library: Used  to streamline ui development.
6. Language: Mostly in  for type safety and maintainability.
7. Content Writing: Utilized  to integrate markdown with [jsx](https://react.dev/learn/writing-markup-with-jsx) for a seamless content experience.
8. [AI](https://v0.dev/) for seeking reference
---
### How to properly download and view collections of folders and files?
- View the source code directly
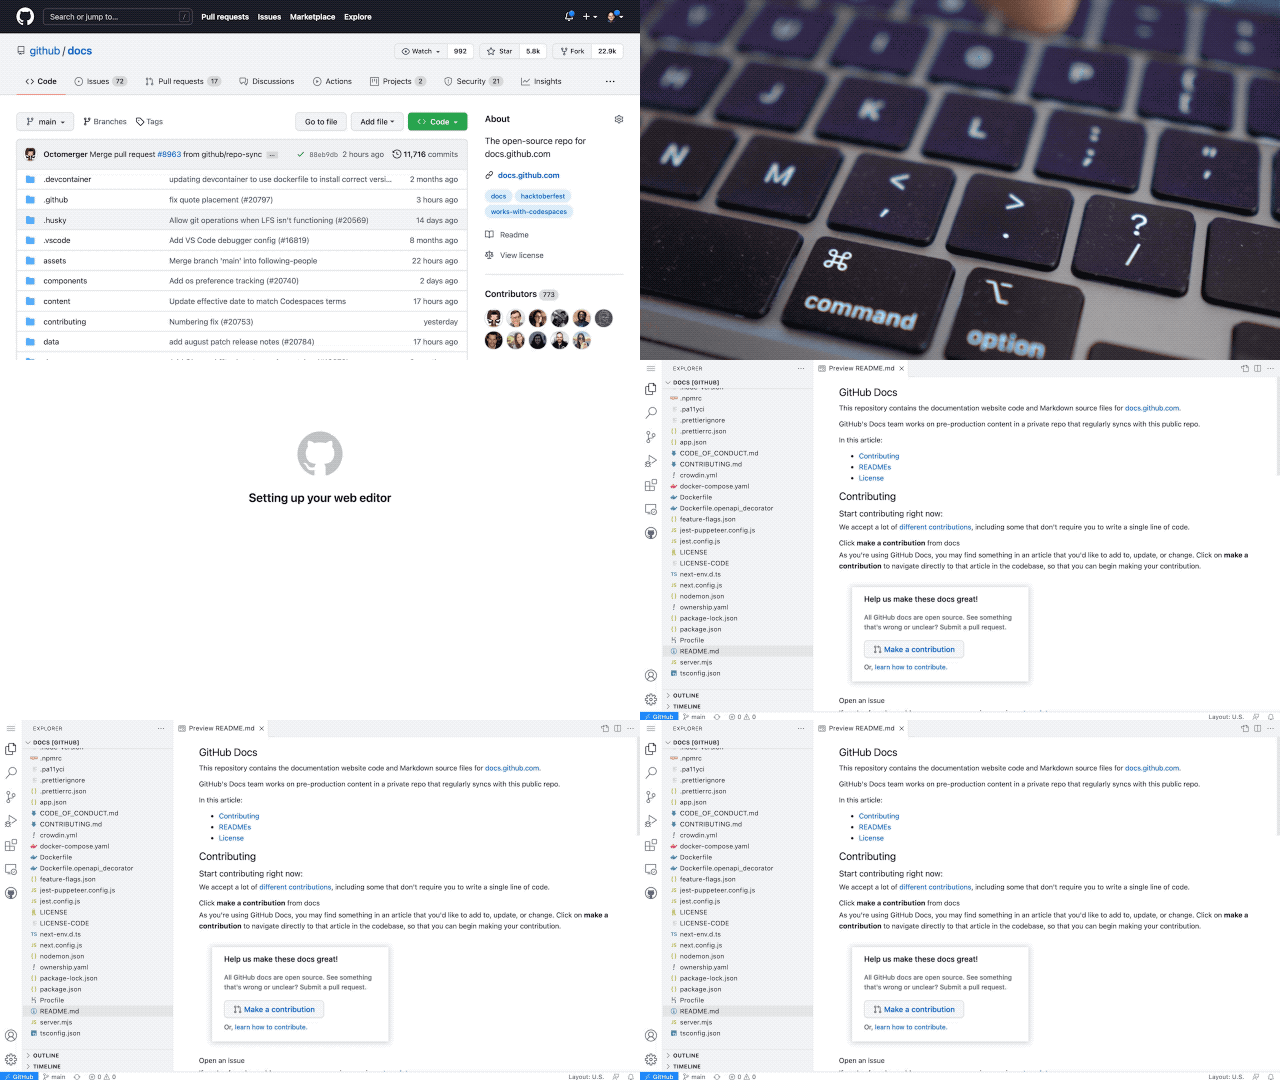
You can do this by clicking the `.` button or changing the repository link to `.dev`. Essentially, just replace the `.com` domain with `.dev`. GitHub, the platform where I archive all my projects, introduced this concept to make code editing easier. If you're still unsure how this works, refer to the demonstration below or the detailed explanation [here](https://github.com/github/dev).

- Want to Download?
There are several ways to download and view the source code locally. I’ve categorized them into __Conventional__ and __Quick__ methods. Let’s start with the Conventional method.
- ### Conventional
1. First, download the repository’s folder by clicking the `Code <>` button, then selecting `Download Zip Folder`. This will download the files and folders as a zipped folder. __Keep in mind that you're downloading files from this repository__, not a virus or malware. Hopefully, this is clear,
2. Next, download the necessary platforms, starting with a [code editor](https://code.visualstudio.com/) and a [runtime environment](https://nodejs.org/en) to execute the code,
3. Once you've completed the first step, import all the downloaded folders into your code editor. Just drag and drop them, and the code editor will automatically initialize all the files in the folder,
4. Now, install the required plugins. Press the key combination `CTRL + SHIFT + \` on your keyboard. This will open a terminal at the bottom of the editor. The terminal is where we’ll specify the tools we need for viewing or editing the code,
5. Next, navigate to the `core` folder by typing:
```sh
cd core
```
This will direct the terminal to the `core` folder where I’ve stored all the necessary files
6. Download all required dependencies by typing:
```sh
./run.sh
```
This command instructs the terminal to fetch all the tools and plugins needed,
7. Congratulations! You’ve completed the conventional method. Now, simply click the localhost link formatted as `http://localhost:3000/`. Enjoy exploring!
- ### Quick Method
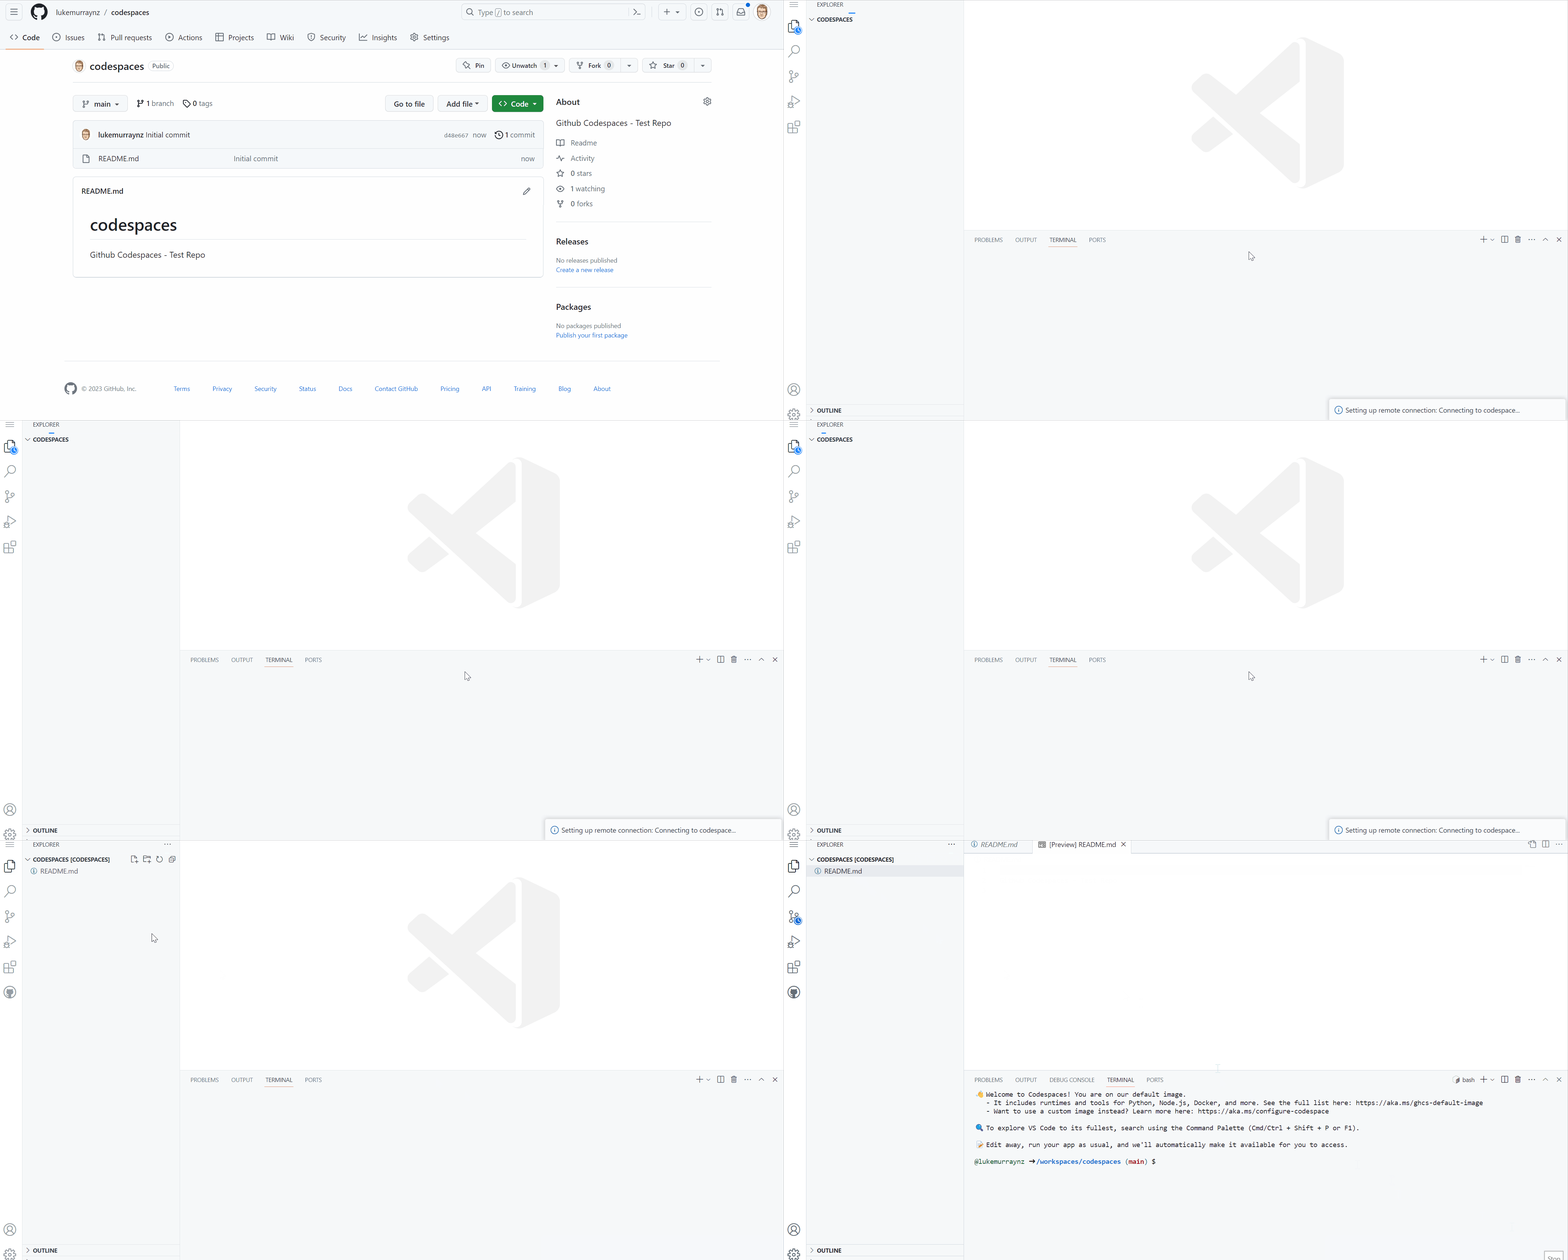
Since GitHub was acquired by [Microsoft](https://www.nytimes.com/2018/06/04/technology/microsoft-github-cloud-computing.html) and following the Covid pandemic, GitHub introduced [Codespaces](https://github.com/features/codespaces). Codespaces is essentially a __virtual IDE__, which is particularly useful for those with low-performance laptops. It allows editing, saving, and installing tools without direct configuration on your local device. Here’s how to use the quick method:
1. Create a GitHub account. If this is your [first time](https://docs.github.com/en/get-started/start-your-journey/creating-an-account-on-github) accessing GitHub, you’ll need to sign up. You can use email accounts from Google, Apple, or Facebook to create an account,
2. Once you have an account, navigate to Codespaces by clicking `Code <>` and then selecting `Codespaces`, located near the Local option,
3. Click "*Create codespace on main*". GitHub may suggest forking the repository, but if you don’t encounter a warning, you’re on the right track,
4. Let GitHub initialize the files automatically. This might take a moment,
5. Once ready, open the terminal. The method is the same as step 4 in the __conventional method__
6. Finally, apply the same commands as step 5 in the conventional method
Here’s a demonstration of how to use Codespaces:

___
### Acknowledgments
* Overall, big shoutout to those who've been part of the four-month internship. I'm just so glad we made it to the end
*
-%23E4405F.svg?logo=instagram&logoColor=white)