https://github.com/artur24814/giftscenter
Website for managing events, creating a gift🎁 list, inviting friends.
https://github.com/artur24814/giftscenter
flask python
Last synced: about 2 months ago
JSON representation
Website for managing events, creating a gift🎁 list, inviting friends.
- Host: GitHub
- URL: https://github.com/artur24814/giftscenter
- Owner: artur24814
- Created: 2022-12-13T21:09:26.000Z (over 3 years ago)
- Default Branch: main
- Last Pushed: 2022-12-26T21:53:55.000Z (over 3 years ago)
- Last Synced: 2025-03-15T06:17:21.540Z (over 1 year ago)
- Topics: flask, python
- Language: Python
- Homepage:
- Size: 1.8 MB
- Stars: 0
- Watchers: 1
- Forks: 0
- Open Issues: 0
-
Metadata Files:
- Readme: README.md
Awesome Lists containing this project
README
# GiftsCenter

## Contents
* Info
Information about the resources used in this project
* GiftsCentergift list website
* Clone and Run a Flask Projecthow run projects in your computer
INFO
Information about the additional library, external Api used in this project and general information
Flask is a web framework.
Pillow The Python Imaging Library adds image processing capabilities to your Python interpreter.
pytest For testing application.
python-dotenv For reads key-value pairs from a .env file and can set them as environment variables.
Psycopg2binary Psycopg is the most popular PostgreSQL database adapter for the Python programming language.
Flask-Mail The Flask-Mail extension provides a simple interface to set up SMTP with your Flask application and to send messages from your views and scripts.
GiftsCenter 
### You have an important celebration and, as usual, you expect that your guests bring some nonsense 🤬 as a gift?
Or you're going to a party you don't know what to buy for a gift 🤯?
#### That's why the sites like this exists. I present my version written with using python framework 'Flask'
You must have an account for normal work on this site. Without it, on this site you can only search for users and actions, but you will not create your own actions or participate in actions.
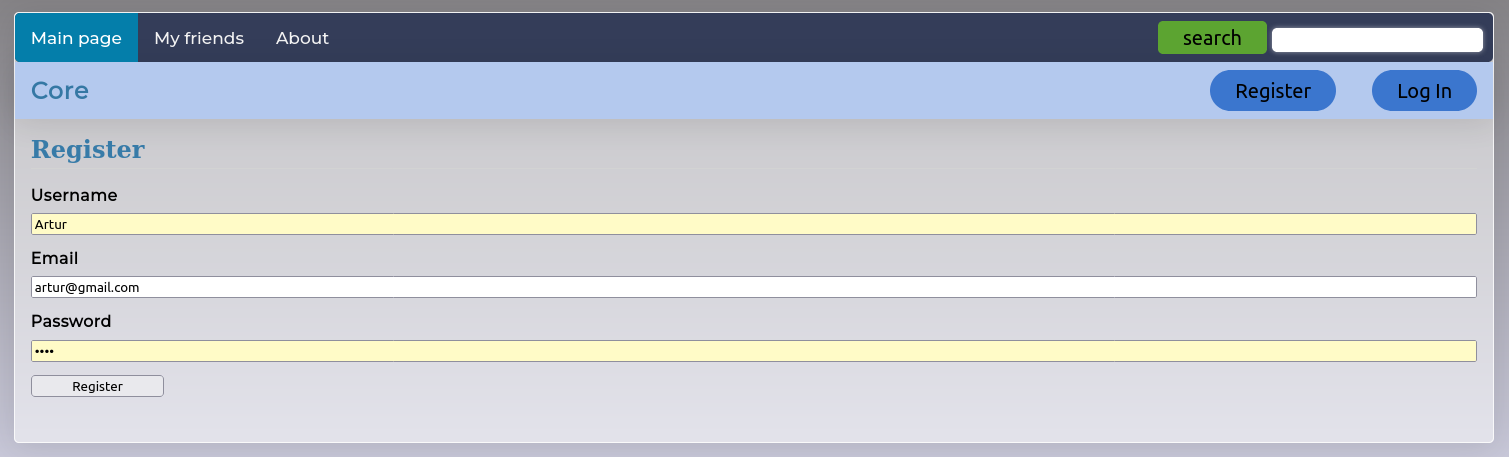
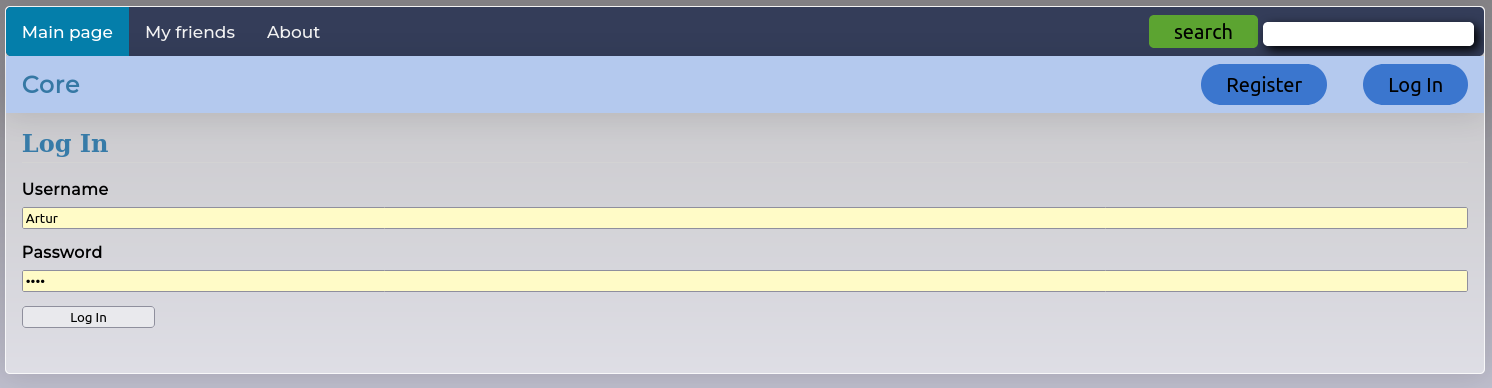
Once you have an account, you can search for a friend or the action itself, but in our case, we will first search for our friend, just enter a few letters from his name.
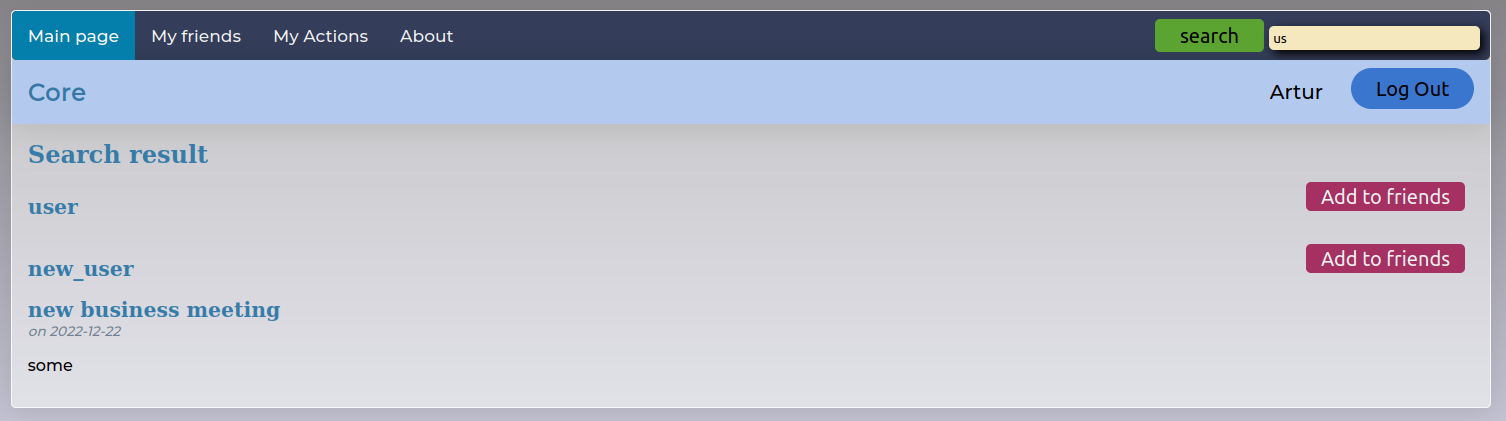
If you found him, click 'add friend'. But now you can't take part in all his actions yet, it would be strange if you can take part in all actions to which you are not invited, wouldn't it 🤪?
Now he should make his move.
If he accepts you as a friend next he will go into his action and select you and press 'add' and now you are officially invited to the party. Now you will receive invitations via email.
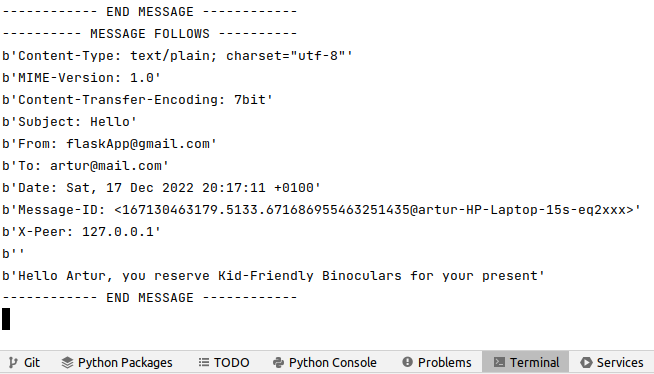
I use an emulated email server, Python provides one that is very handy that you can start in a second terminal with the following command:
```python -m smtpd -n -c DebuggingServer localhost:8025```
And I can see this message in a terminal
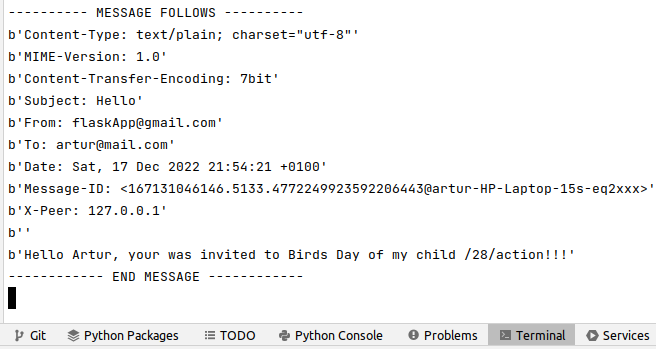
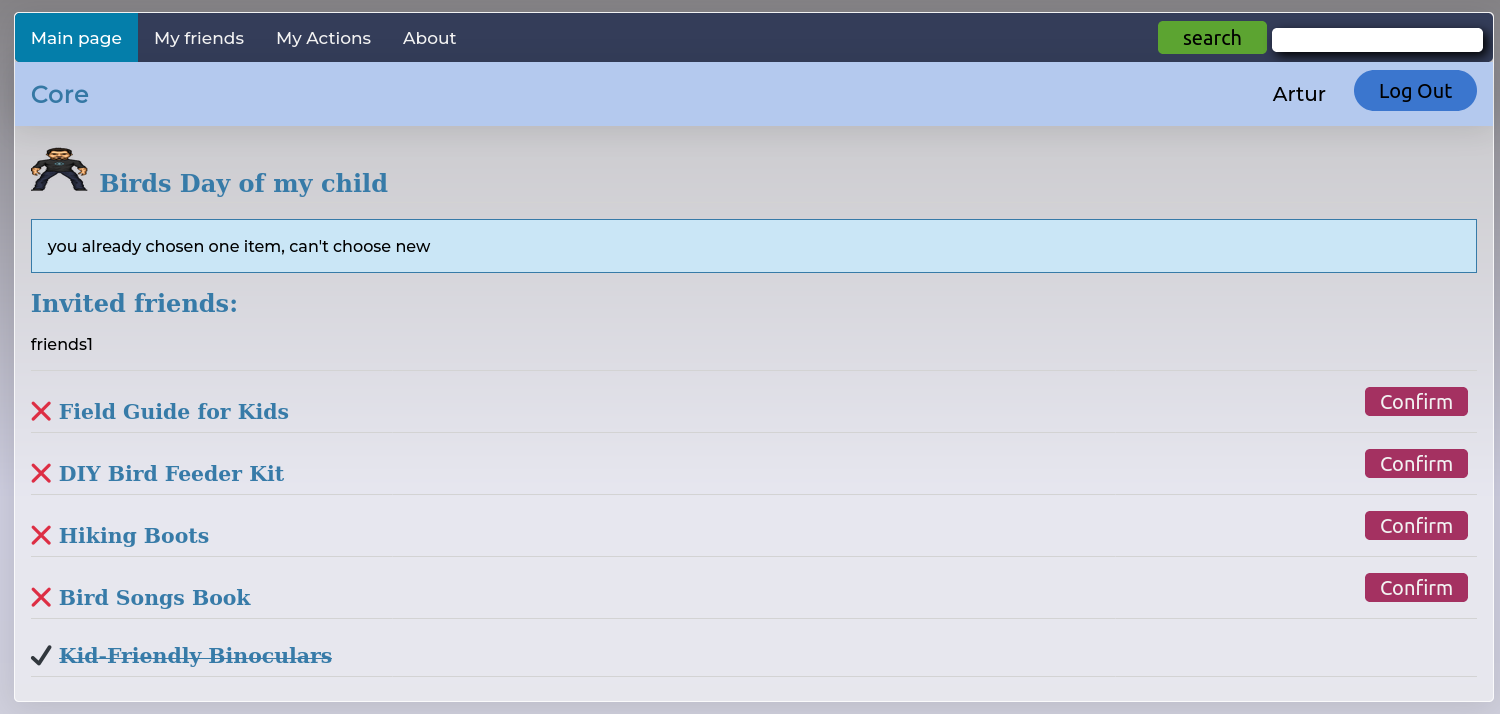
Now go to this action and choose the gift 🎁 you are going to buy to get ahead of others!
Now this gift on the website will be marked as checked and others will not be able to choose it (You can't book more than one gift, but if you try you'll get a message saying it can't be done and the item won't be checked).
Next you will receive an email with a confirmation and a reminder for this gift. Don't worry no one will know what you choose and if you choose anything at all, complete anonymity ⛔️
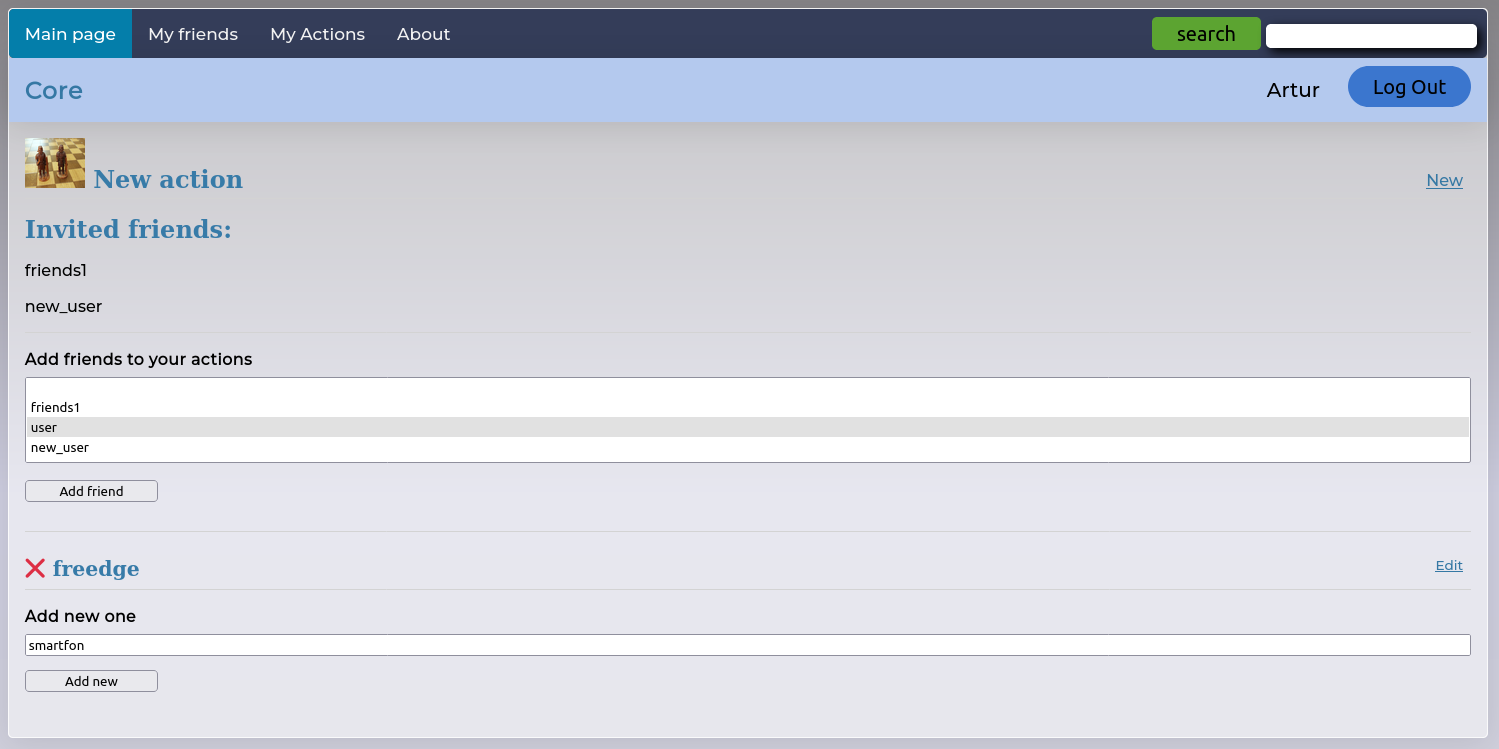
Ok, now we create our action and invite friends, we choose a picture, and date (must be later like today otherwise you will receive a message). You shouldn't choose all your friends at once, you can add them at any time.
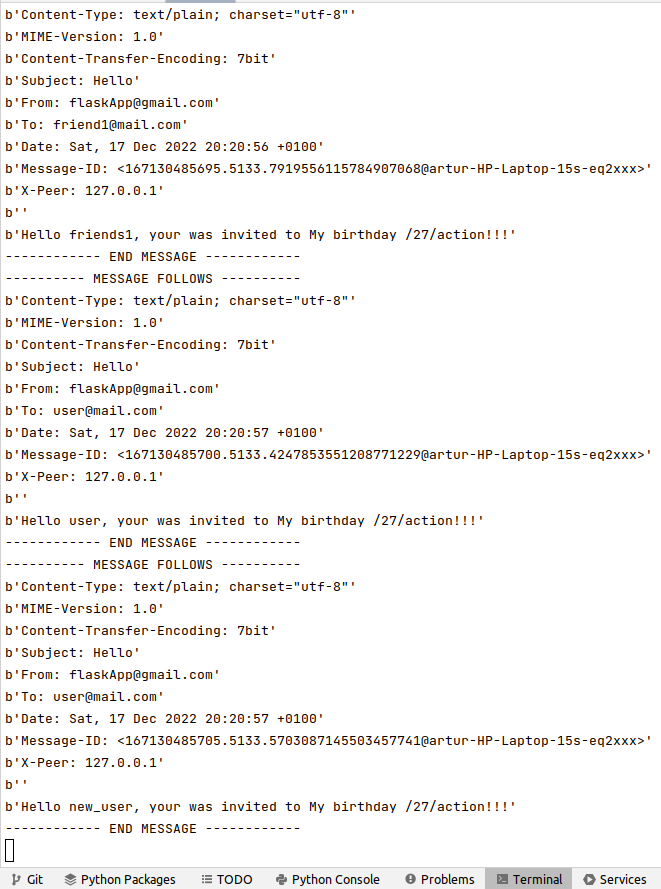
Great, all invited people have received invitations, now you are sure that you will not receive nonsense for a gift wait for guests and have a nice time 🥳.
Clone and Run a Project
Before diving let’s look at the things we are required to install in our system.
To run Flask prefer to use the Virtual Environment
`pip install virtualenv`
Making and Activating the Virtual Environment:-
`virtualenv “name as you like”`
`source env/bin/activate`
Installing Flask:-
`pip install Flask`
Now, we need to clone project from Github:-
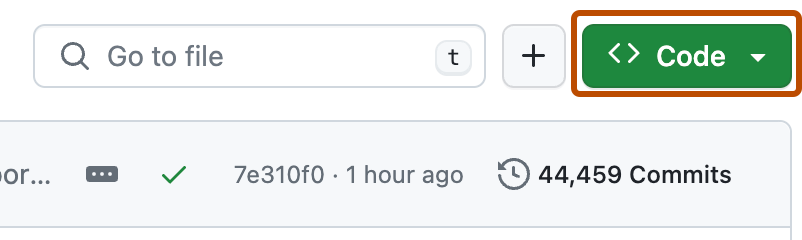
Above the list of files, click Code.
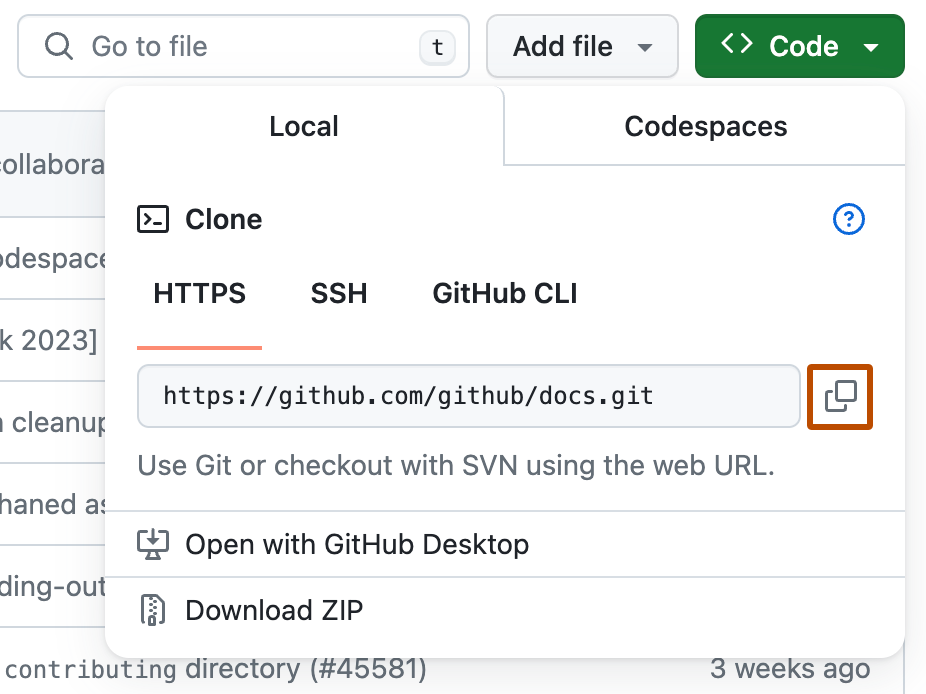
Copy the URL for the repository.
- To clone the repository using HTTPS, under "HTTPS", click
- To clone the repository using an SSH key, including a certificate issued by your organization's SSH certificate authority, click SSH, then click
- To clone a repository using GitHub CLI, click GitHub CLI, then click
Open Terminal.
Change the current working directory to the location where you want the cloned directory.
Type git clone, and then paste the URL you copied earlier.
`$ git clone https://github.com/YOUR-USERNAME/YOUR-REPOSITORY`
Press Enter to create your local clone.
```
$ git clone https://github.com/YOUR-USERNAME/YOUR-REPOSITORY
> Cloning into `Spoon-Knife`...
> remote: Counting objects: 10, done.
> remote: Compressing objects: 100% (8/8), done.
> remove: Total 10 (delta 1), reused 10 (delta 1)
> Unpacking objects: 100% (10/10), done.
```
Install the project dependencies:
`pip install -r requirements.txt`
create `.env` in linux type `touch .env`
open this file and type (it is information about your postgres user):
```python
DB = 'flask_database'
DB_USER = "Your_user"
DB_PASSWORD = "your_password"
DB_HOST = "127.0.0.1"
```
Connect with database
`flask --app core init-db`
Run local python message server
`python -m smtpd -n -c DebuggingServer localhost:8025`
If you prefer to have emails sent for real, you need to use a real email server.
If you have one, then you just need to set the MAIL_SERVER, MAIL_PORT, MAIL_USE_TLS, MAIL_USERNAME and MAIL_PASSWORD environment variables for it.
If you want a quick solution, you can use a Gmail account to send email, type this in `.env`:
```python
MAIL_SERVER='smtp.gmail.com'
MAIL_USERNAME='your_email@gmail.com'
MAIL_PASSWORD='your_password'
```
Next in `core/__init__.py` instead of
```python
app.config['MAIL_SERVER'] = 'localhost'
app.config['MAIL_PORT'] = 8025
```
type
```python
from dotenv import load_dotenv
import os
load_dotenv()
app.config['MAIL_SERVER']=os.getenv('MAIL_SERVER')
app.config['MAIL_PORT'] = 465
app.config['MAIL_USERNAME'] = os.getenv('MAIL_USERNAME')
app.config['MAIL_PASSWORD'] = os.getenv('MAIL_PASSWORD')
app.config['MAIL_USE_TLS'] = False
```
to start the development server
`flask --app core --debug run`
and open `127.0.0.1:5000` on your browser to view the app.
run tests type
`pytest`
Have fun
🦁