Ecosyste.ms: Awesome
An open API service indexing awesome lists of open source software.
https://github.com/atom-community/terminal
Terminal integrated with atom-community/atom
https://github.com/atom-community/terminal
atom atom-package hacktoberfest terminal
Last synced: 3 months ago
JSON representation
Terminal integrated with atom-community/atom
- Host: GitHub
- URL: https://github.com/atom-community/terminal
- Owner: atom-community
- License: other
- Created: 2020-08-19T20:22:12.000Z (over 4 years ago)
- Default Branch: master
- Last Pushed: 2023-10-11T08:06:42.000Z (over 1 year ago)
- Last Synced: 2024-04-14T22:47:52.025Z (10 months ago)
- Topics: atom, atom-package, hacktoberfest, terminal
- Language: JavaScript
- Homepage: https://atom.io/packages/atomic-terminal
- Size: 5.66 MB
- Stars: 19
- Watchers: 5
- Forks: 3
- Open Issues: 15
-
Metadata Files:
- Readme: README.md
- Changelog: CHANGELOG.md
- License: LICENSE
Awesome Lists containing this project
README
# Terminal
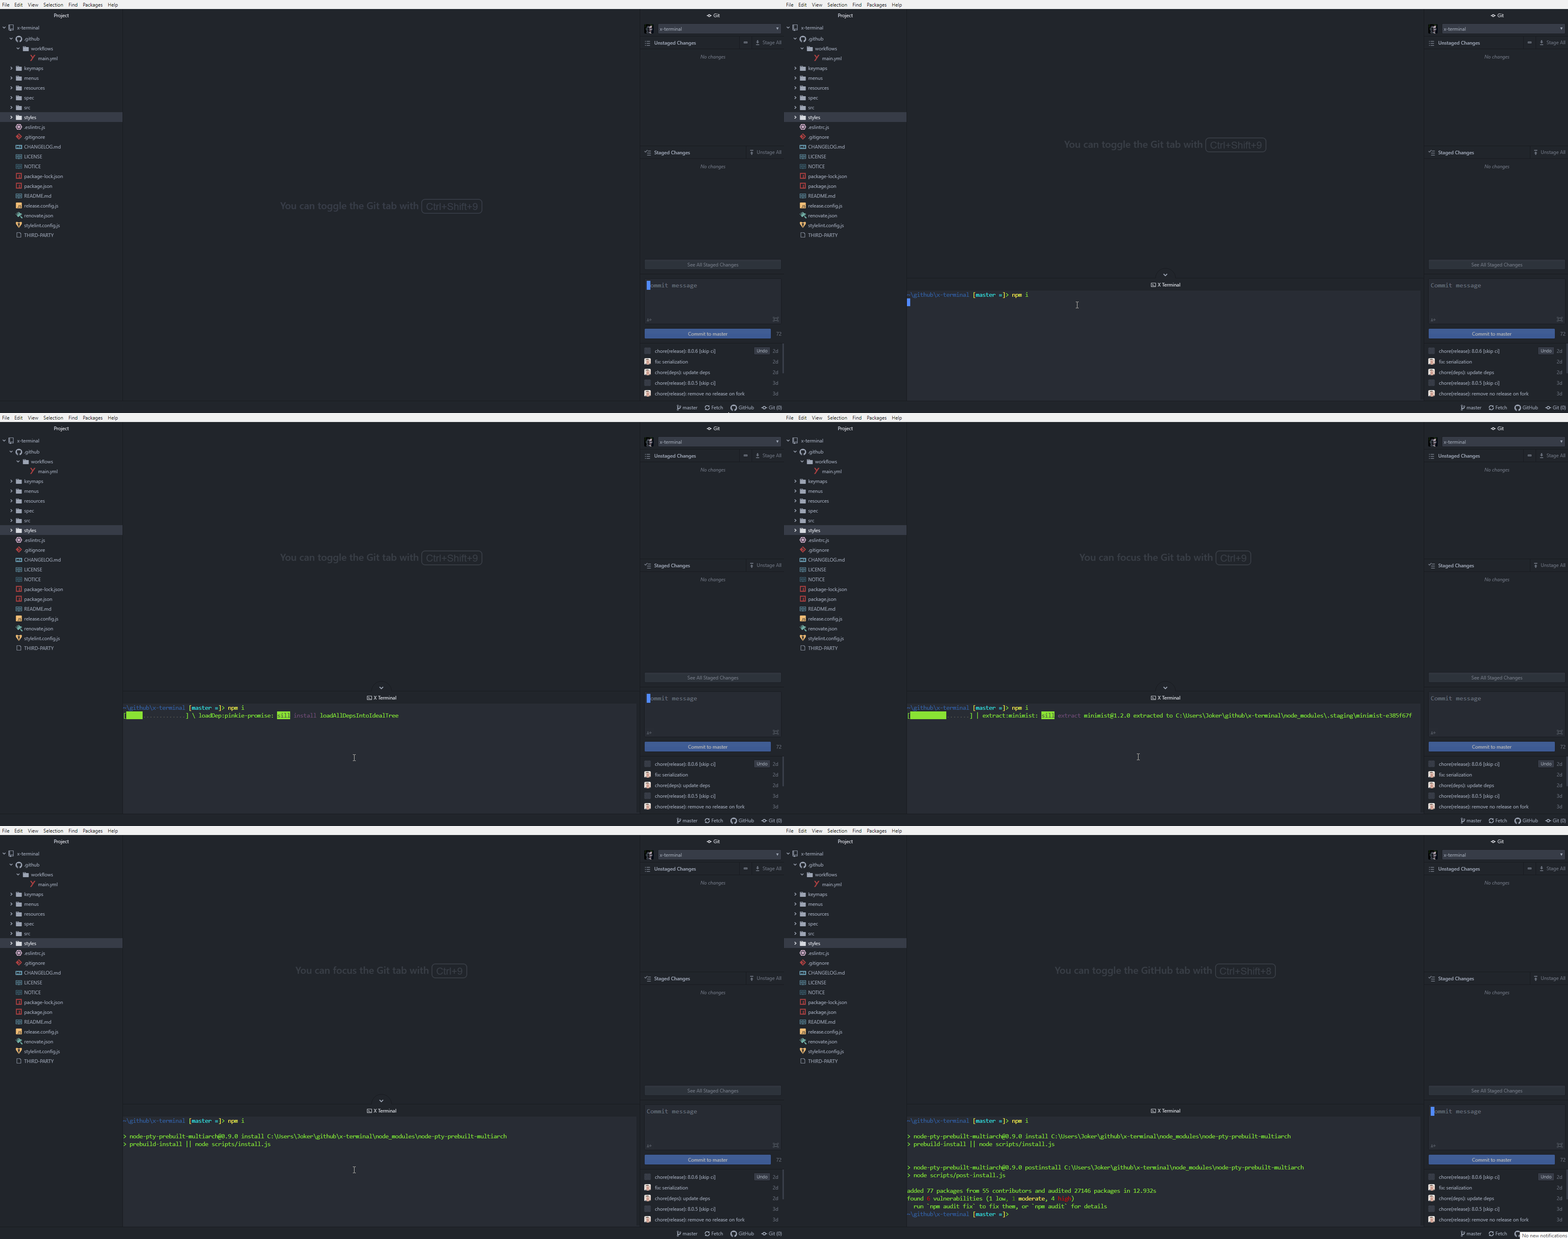
## Demo

## Theme variables
The following theme variables are available to change the colors of the standard theme:
```less
@app-background-color: #000000;
@text-color: #ffffff;
@background-color-selected: #4d4d4d;
@text-color-highlight: #ffffff;
@terminal-color-black: #2e3436;
@terminal-color-red: #cc0000;
@terminal-color-green: #4e9a06;
@terminal-color-yellow: #c4a000;
@terminal-color-blue: #3465a4;
@terminal-color-magenta: #75507b;
@terminal-color-cyan: #06989a;
@terminal-color-white: #d3d7cf;
@terminal-color-bright-black: #555753;
@terminal-color-bright-red: #ef2929;
@terminal-color-bright-green: #8ae234;
@terminal-color-bright-yellow: #fce94f;
@terminal-color-bright-blue: #729fcf;
@terminal-color-bright-magenta: #ad7fa8;
@terminal-color-bright-cyan: #34e2e2;
@terminal-color-bright-white: #eeeeec;
```
## Active Terminal
The active terminal is the terminal that will be used when sending commands to
the terminal.
The active terminal will always have an astrix (`*`) in front of the title.
By default when a terminal is hidden it becomes inactive and the last used
visible terminal will become active. If there are no visible terminals none are
active.
The `Allow Hidden Terminal To Stay Active` setting will change the
default behavior and keep a terminal that is hidden active until another
terminal is focused.
## Services
For plugin writers, the `terminal` package supports two services, `terminal` and `platformioIDETerminal`, which
can be used to easily open terminals. These methods are provided using Atom's [services](http://flight-manual.atom.io/behind-atom/sections/interacting-with-other-packages-via-services/)
API.
To use a service, add a consumer method to consume the service, or
rather a JavaScript object that provides methods to open terminals and run commands.
### 'terminal' service v1.0.0
The `terminal` service provides an [object](https://github.com/atom-community/terminal/blob/29b0751250cb9262fb609db8cae87d87fb383c64/src/terminal.js#L291) with `updateProcessEnv`, `run`, `getTerminalViews`, and `open` methods.
As an example on how to use the provided `run()` method, your
`package.json` should have the following.
```json
{
"consumedServices": {
"terminal": {
"versions": {
"^1.1.0": "consumePlatformioIDETerminalService"
}
}
}
}
```
Your package's main module should then define a `consumePlatformioIDETerminalService`
method, for example.
```js
import { Disposable } from "atom"
export default {
terminalService: null,
consumePlatformioIDETerminalService(terminalService) {
this.terminalService = terminalService
return new Disposable(() => {
this.terminalService = null
})
},
// . . .
}
```
Once the service is consumed, use the `run()` method that is provided
by the service, for example.
```js
// Launch `somecommand --foo --bar --baz` in a terminal.
this.terminalService.run(["somecommand --foo --bar --baz"])
```
# Development
Want to help develop terminal? Here's how to quickly get setup.
First use the [apm](https://github.com/atom/apm) command to clone the
[terminal repo](https://github.com/atom-community/terminal).
```sh
apm develop terminal
```
This should clone the terminal package into the `$HOME/github/terminal`
directory. Go into this directory and install its dependencies.
```sh
cd $HOME/github/terminal
npm install
```
You shouldn't need to rebuild any [node-pty](https://github.com/Tyriar/node-pty)
since they are pre-compiled, however in the event they aren't available,
you can rebuild them with:
```sh
apm rebuild
```
Finally, open this directory in Atom's dev mode and hack away.
```sh
atom --dev
```
There's a test suite available for automated testing of the terminal package.
Simply go to `View > Developer > Run Package Specs` in Atom's main menu or
use the hotkey. You can run the full test suite (which includes running lint
tools) via command-line by running `npm run test` inside the terminal
directory.
Various lint tools are being used to keep the code "beautified". To run only
the lint tools, simply run `npm run lint`.
## Pull Requests
Whenever you're ready to submit a pull request, be sure to submit it
against a fork of the main [terminal repo](https://github.com/atom-community/terminal)
master branch that you'll own. Fork the repo using Github and make note of the
new `git` URL. Set this new git URL as the URL for the `origin` remote in your
already cloned git repo is follows.
```sh
git remote set-url origin ${NEW_GIT_URL}
```
Ensure your new changes passes the test suite by running `npm run test`.
Afterwards, push your changes to your repo and then use Github to submit a new
pull request.
## [xterm.js](https://github.com/xtermjs/xterm.js)
The terminals that users interact with in this package is made possible with
major help from the [xterm.js](https://github.com/xtermjs/xterm.js) library. As
such, often times it's necessary to make changes to xterm.js in order to fix
some bug or implement new features.
If you want to work on xterm.js for the benefit of a bug fix or feature to be
supported in terminal, here's how you can quickly get setup.
First make a fork of [xterm.js](https://github.com/xtermjs/xterm.js). Next,
clone your newly created fork as follows.
```sh
git clone ${YOUR_XTERMJS_FORK} ${HOME}/github/xterm.js
```
Go into your newly cloned repo for xterm.js.
```sh
cd ${HOME}/github/xterm.js
```
Install all needed dependencies.
```sh
npm install
```
Build xterm.js.
```sh
npm run build
```
Ensure the test suite passes.
```sh
npm run test
npm run lint
```
Add a global link for xterm.js to your system.
```sh
npm link
```
Inside your terminal directory, link against the global `xterm` link.
```sh
cd ${HOME}/github/terminal
npm link xterm
```
Finally, perform a rebuild with the [apm](https://github.com/atom/apm) program
inside the terminal directory.
```sh
apm rebuild
```
You're all set for developing xterm.js. Hack away in your xterm.js directory,
run `npm run build`, then reload your Atom window to see the changes to your
terminals.
# Credits and Legal
Click for copyright and license info about this package.
[](LICENSE)
# Feedback
Need to submit a bug report? Have a new feature you want to see implemented in
_terminal_? Please feel free to submit them through the appropriate
[issue template](https://github.com/atom-community/terminal/issues/new/choose).
For bug reports, please provide images or demos showing your issues if you can.