https://github.com/auth0-developer-hub/web-app_express_javascript_hello-world
https://github.com/auth0-developer-hub/web-app_express_javascript_hello-world
Last synced: 11 months ago
JSON representation
- Host: GitHub
- URL: https://github.com/auth0-developer-hub/web-app_express_javascript_hello-world
- Owner: auth0-developer-hub
- Created: 2021-05-23T02:36:31.000Z (about 5 years ago)
- Default Branch: main
- Last Pushed: 2021-12-13T21:05:27.000Z (over 4 years ago)
- Last Synced: 2025-01-29T17:44:48.855Z (over 1 year ago)
- Language: CSS
- Size: 63.5 KB
- Stars: 1
- Watchers: 0
- Forks: 0
- Open Issues: 0
-
Metadata Files:
- Readme: README.md
Awesome Lists containing this project
README
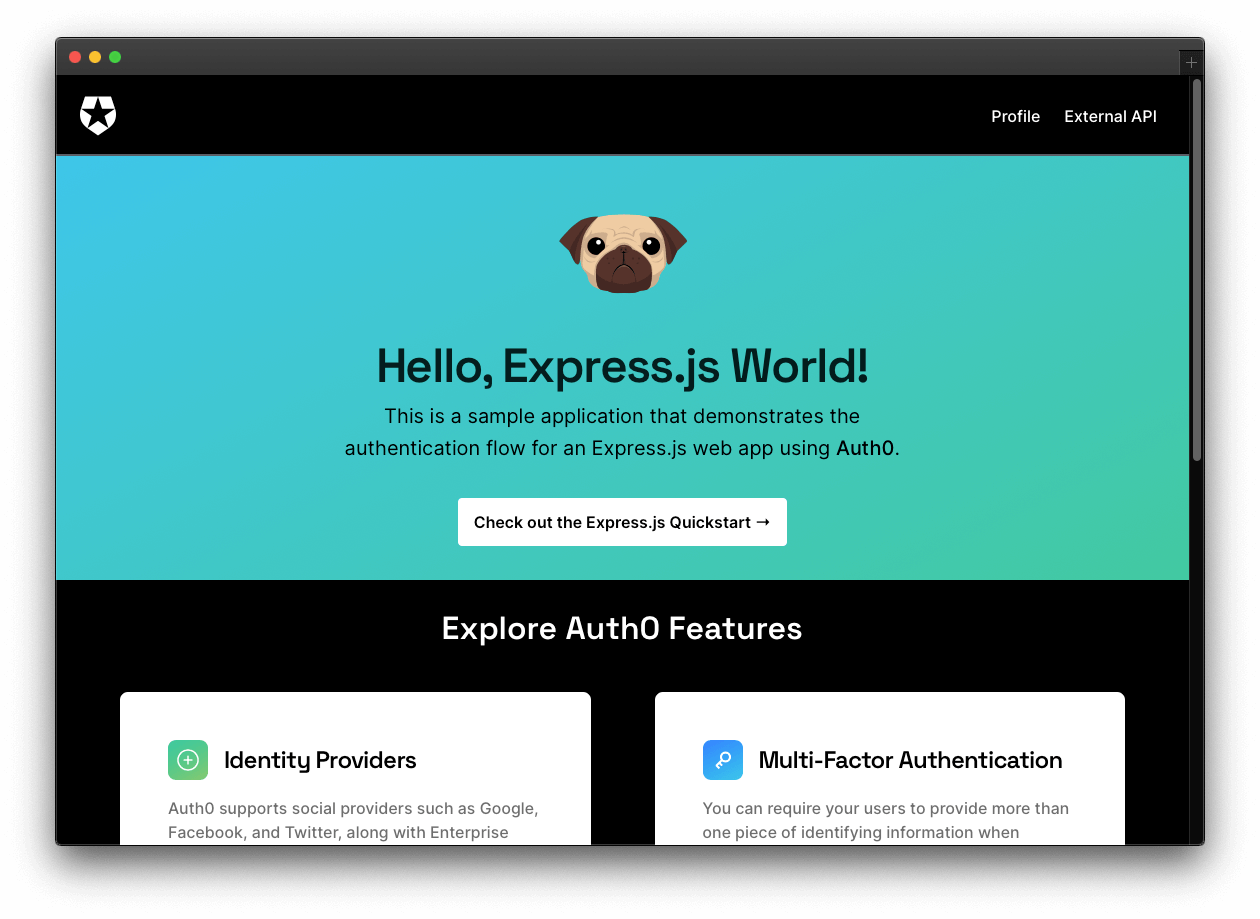
# Hello, Express.js World!
This sample uses the [Express OpenID Connect SDK](https://github.com/auth0/express-openid-connect) to implement the following security tasks:
- Add user login and logout.
- Retrieve user profile information.
- Protect application routes.
- Make secure calls to an API.
The `add-authentication` branch offers a functional application that uses Express.js middleware to hydrate the user profile information present in the `/profile` page. It also makes secure calls to an external API to hydrate the messages present in the `/external-api` page.
## Quick Auth0 Set Up
### Set up the project
Install the project dependencies:
```bash
npm install
```
### Register a Express.js application with Auth0
- Open the [Applications](https://manage.auth0.com/#/applications) section of the Auth0 Dashboard.
- Click on the **Create Application** button.
- Provide a **Name** value such as _Hello World Web App_.
- Choose "Regular Web Applications" as the **application type**.
- Click on the **Create** button.
> View ["Register Applications" document](https://auth0.com/docs/applications/set-up-an-application) for more details.
Your Auth0 application page loads up.
Your Express.js application will redirect users to Auth0 whenever they trigger an authentication request. Auth0 will present them with a login page. Once they log in, Auth0 will redirect them back to your Express.js application. For that redirecting to happen securely, you must specify in your **Auth0 Application Settings** the URLs to which Auth0 can redirect users once it authenticates them.
As such, click on the "Settings" tab of your Auth0 Application page and fill in the following values:
**Allowed Callback URLs**
```bash
http://localhost:4040/callback
```
**Allowed Logout URLs**
```bash
http://localhost:4040
```
**Scroll down and click the "Save Changes" button.**
### Connect Express.js with Auth0
Create a `.env` file under the project directory and populate it as follows:
```bash
PORT=4040
AUTH0_ISSUER_BASE_URL=
AUTH0_CLIENT_ID=
AUTH0_CLIENT_SECRET=
AUTH0_AUDIENCE=https://hello-world.example.com
BASE_URL=http://localhost:4040
SESSION_SECRET=
API_SERVER_URL=http://localhost:6060
```
Head back to your Auth0 application page. Follow these steps to get the missing values from `.env`:
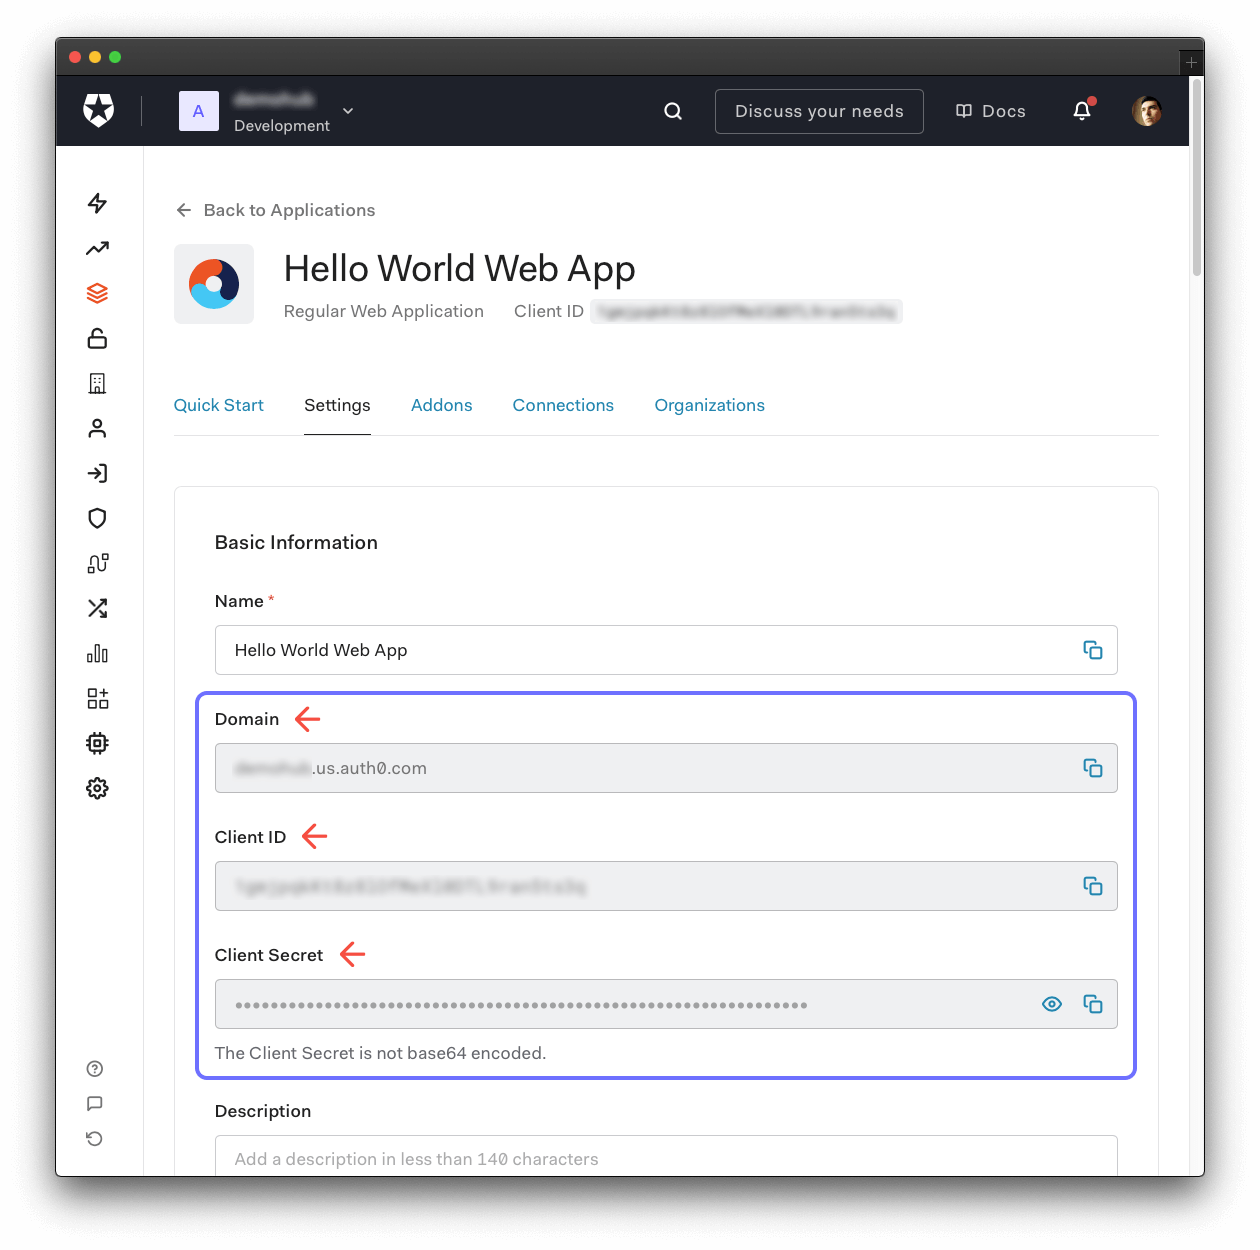
1. Click on the "Settings" tab, if you haven't already.
2. Use the "Domain" value from the "Settings" to create the value of `AUTH0_ISSUER_BASE_URL` in `.env` as follows: `https://` + Domain value.
3. Use the "Client ID" value from the "Settings" as the value of `AUTH0_CLIENT_ID` in `.env`.
4. Use the "Client Secret" value from the "Settings" as the value of `AUTH0_CLIENT_SECRET` in `.env`.
5. Finally, execute the following command in your terminal:
```bash
node -e "console.log(crypto.randomBytes(32).toString('hex'))"
```
6. Copy and paste the output of the above command as the value of `SESSION_SECRET` in `.env`.
### Run the project
With the Auth0 configuration set, run the Express.js application by issuing the following command:
```bash
npm run dev
```
Visit [`http://localhost:4040/`](http://localhost:4040/) to access the application.
## Advanced Auth0 Set Up
### Connecting to an external API
The external API used in this Vue sample is the ["Hello World API: Express.js Sample"](https://github.com/auth0-sample-gallery/api_express_javascript_hello-world).
Follow the instructions on that `README` of that repository to set up and run the API.
Once set up, you can see the different server responses by interacting with the message box present in [`http://localhost:4040/external-api`](http://localhost:4040/external-api).
### Admin access
When you log in to the application and visit the `/external-api` page, you have different options to test to connection between your Express.js application and a remote API server. You can retrieve a public, protected or admin message.
Requesting the protected message requires Express.js to send an access token with the server request. On the other hand, requesting the admin message requires Express.js to send an access token with the server request that also has the `read:admin-messages` permission.
You can use the Auth0 Dashboard to create an `admin` role and assign it the`read:admin-messages` permission. Then, you can assign the `admin` role to any user that you want to access the `/admin` endpoint.
If you need help doing so, check out the following resources:
- [Create roles](https://auth0.com/docs/authorization/rbac/roles/create-roles)
- [Create permissions](https://auth0.com/docs/get-started/dashboard/add-api-permissions)
- [Add permissions to roles](https://auth0.com/docs/authorization/rbac/roles/add-permissions-to-roles)
- [Assign roles to users](https://auth0.com/docs/users/assign-roles-to-users)