https://github.com/b-luis/py-textractify
📸 Optical Character Recognition for scanned images using Tesseract and OpenCV.
https://github.com/b-luis/py-textractify
opencv python tesseract-ocr
Last synced: about 2 months ago
JSON representation
📸 Optical Character Recognition for scanned images using Tesseract and OpenCV.
- Host: GitHub
- URL: https://github.com/b-luis/py-textractify
- Owner: b-luis
- License: mit
- Created: 2025-06-05T14:10:08.000Z (about 1 year ago)
- Default Branch: dev
- Last Pushed: 2025-06-05T14:20:44.000Z (about 1 year ago)
- Last Synced: 2025-06-05T15:29:30.428Z (about 1 year ago)
- Topics: opencv, python, tesseract-ocr
- Language: JavaScript
- Homepage:
- Size: 620 KB
- Stars: 0
- Watchers: 0
- Forks: 0
- Open Issues: 0
-
Metadata Files:
- Readme: README.md
- License: LICENSE
- Security: SECURITY.md
Awesome Lists containing this project
README
# textractify
[](https://GitHub.com/Naereen/StrapDown.js/graphs/commit-activity) [](https://github.com/b-luis/textractify/blob/main/LICENSE)
A website that uses Optical Character Recognition to extract text from scanned images. It is built as a Flask web app using OpenCV for image processing and tesseract for image recognition. It allows the user to upload an image, which is processed first to easily recognize text. The processed image is then passed onto tesseract which performs image recognition and outputs the text.
## Features
Image processing ensures that the text in that image is readable. It does so by first converting the image to grayscale and thresholding the image.
## Limitations
Tesseract has its own set of limitations. It fails to deliver when passed images of different fonts or when font sizes are too small. Though image processing eliminates the noise in images to an extent, extremely noisy images don't do well with tesseract. This app may not do well with bordered images either.
## Demo
Upload an image [here](textractify.herokuapp.com/upload) using one of the images in the [uploads folder](https://github.com/muichii/textractify/tree/main/static/uploads) to view a demo of the OCR in action!
## Screenshots
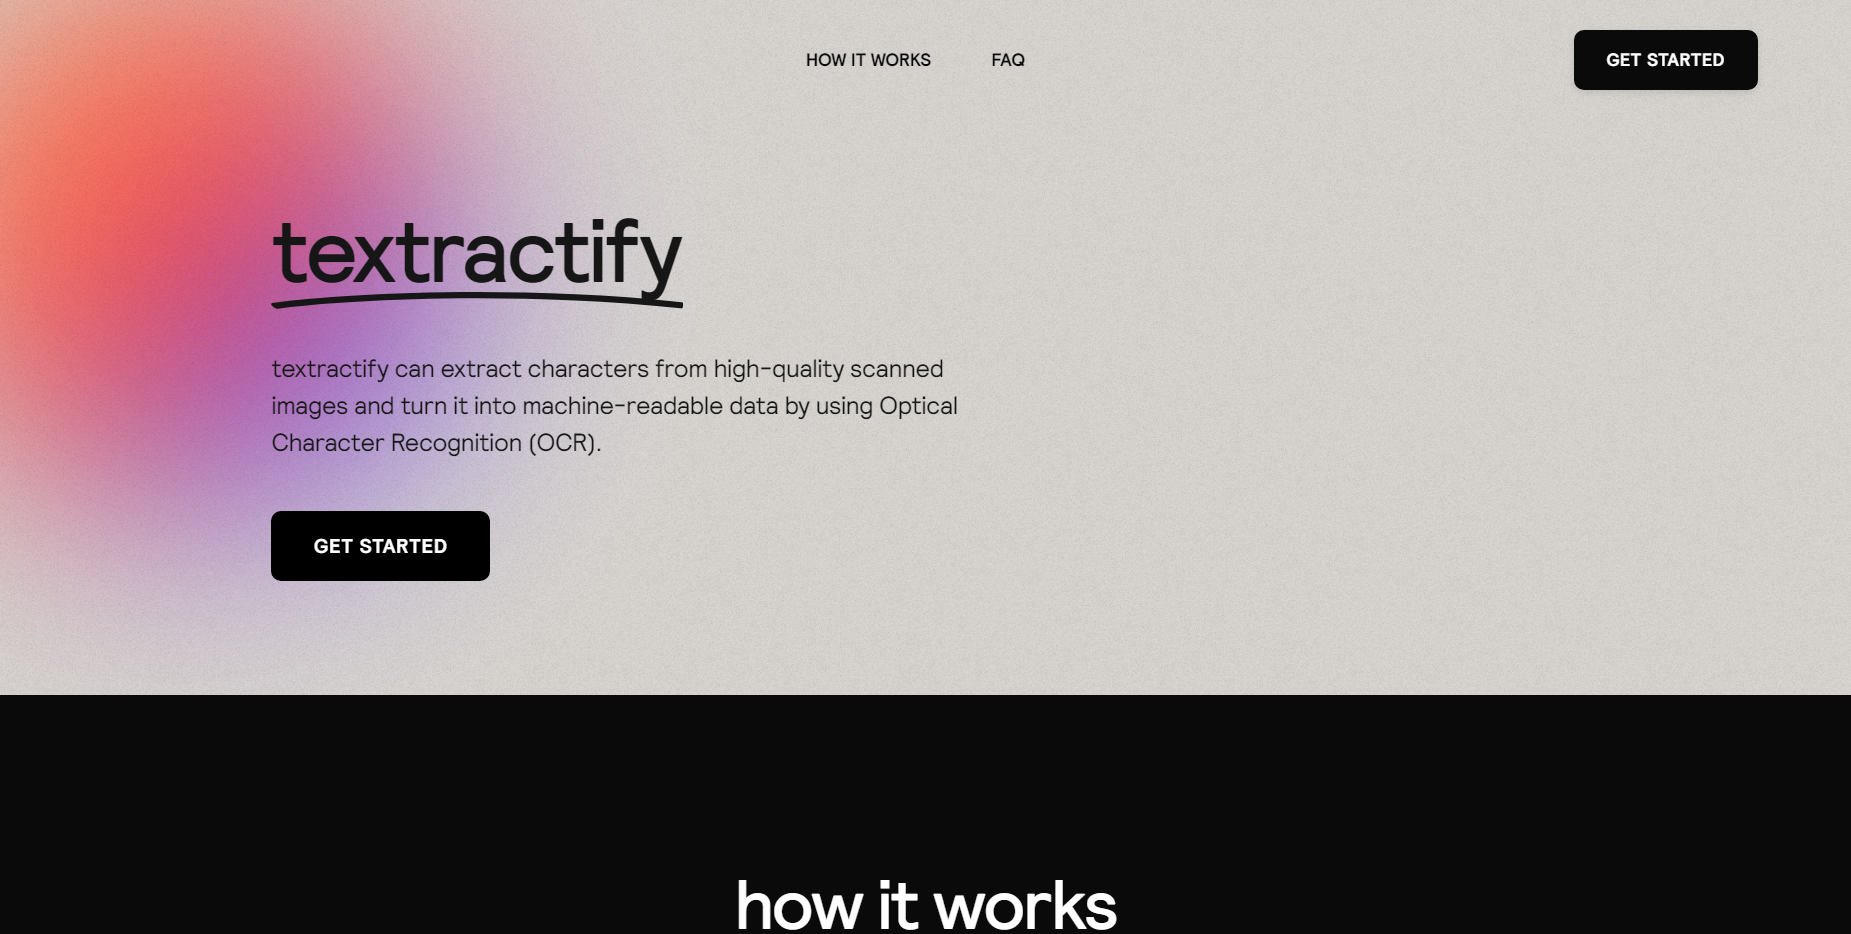
**Landing page**
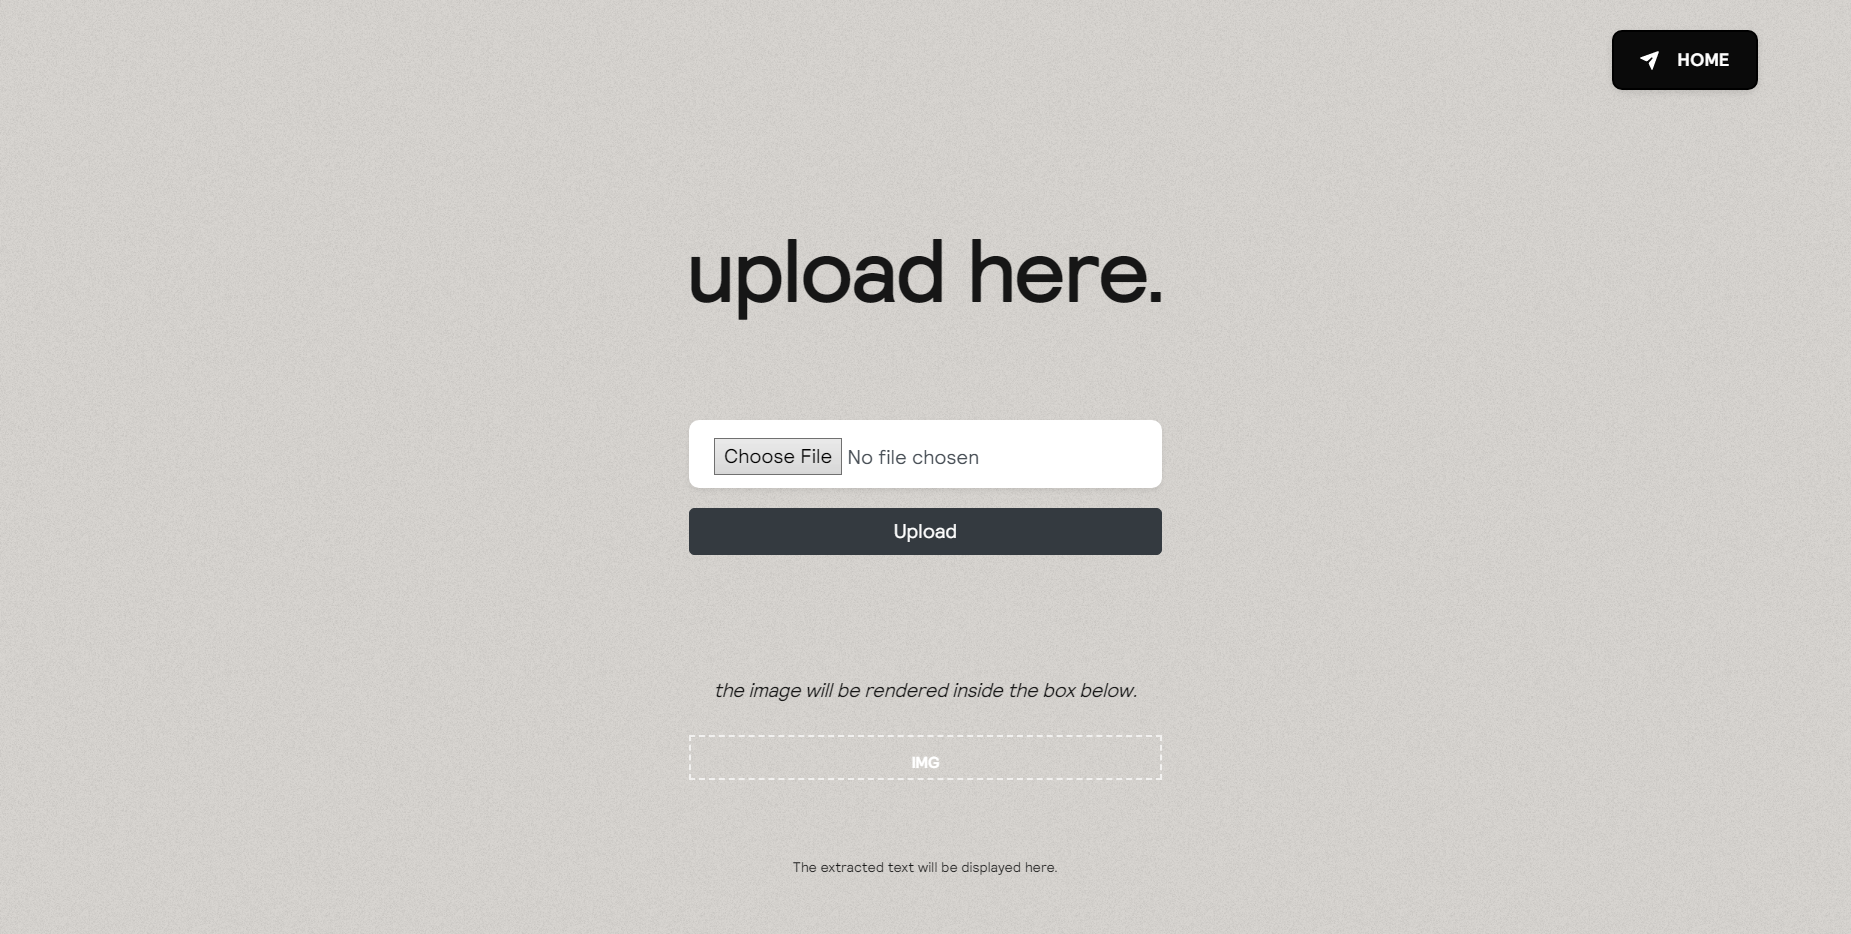
**Upload section**
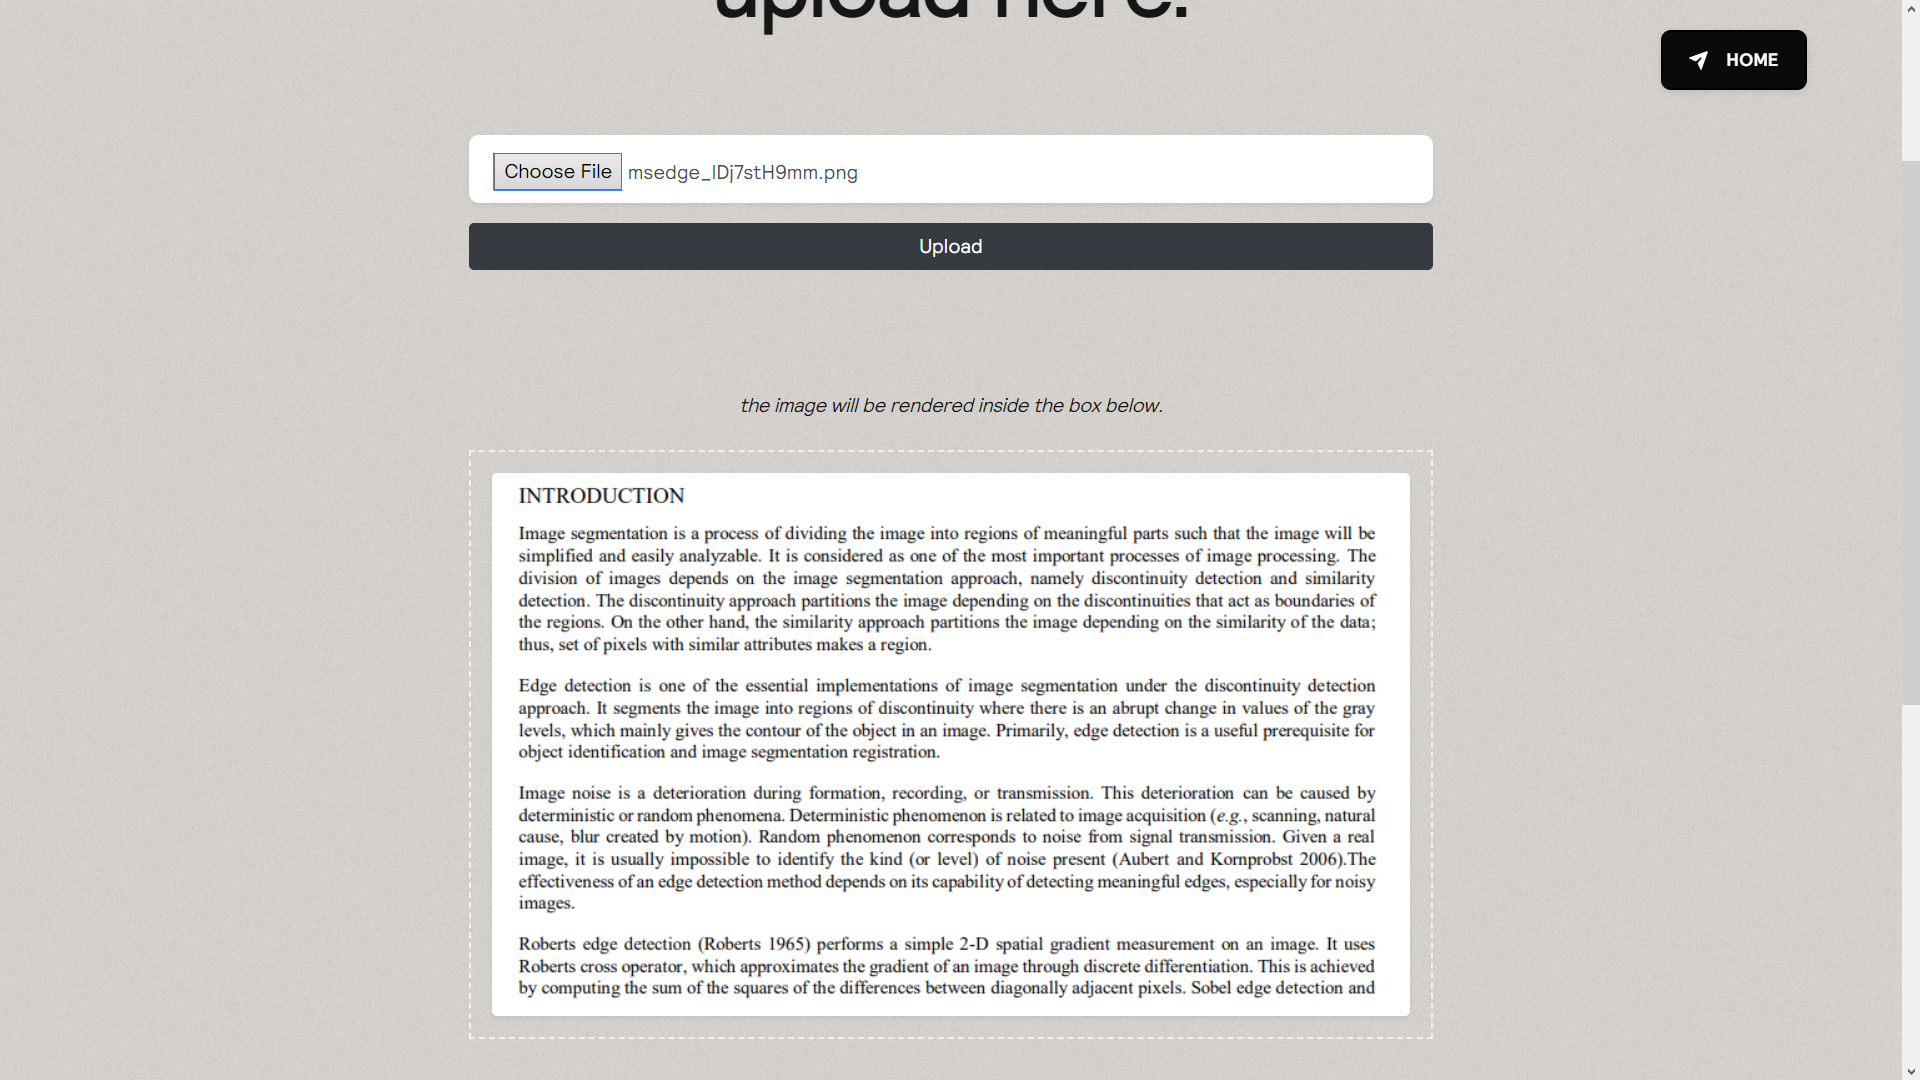
**Uploading an image**
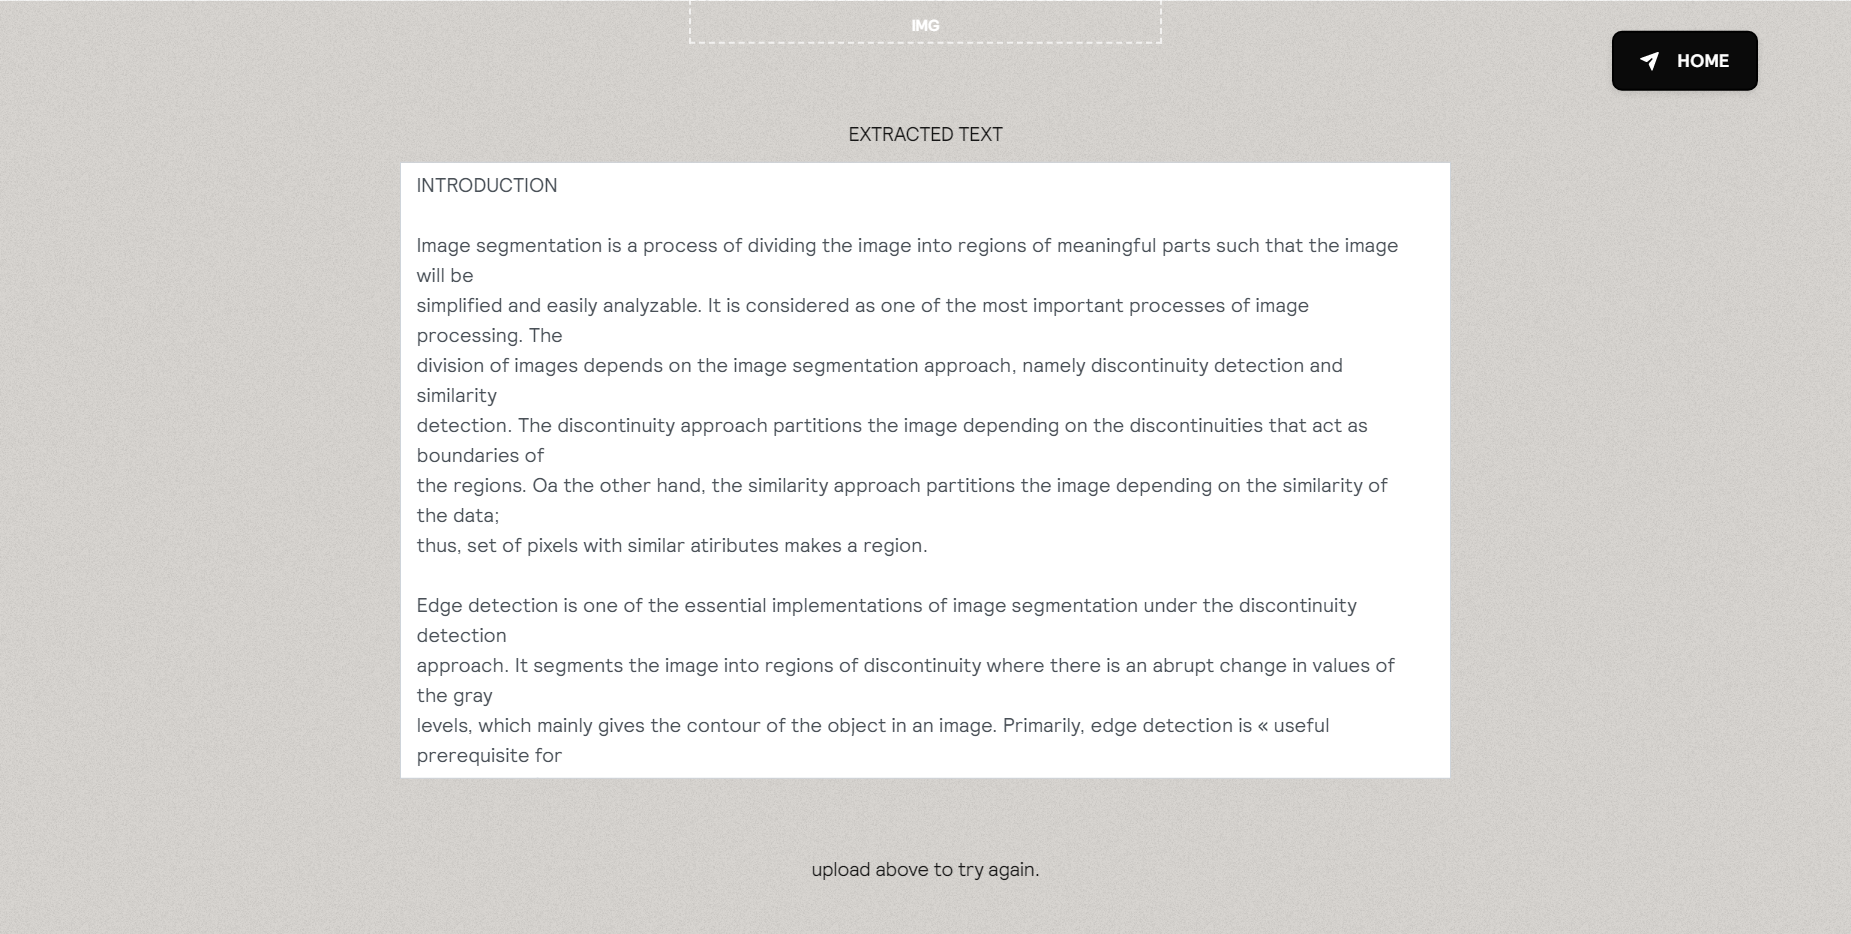
**Result**
## Getting Started
This installation procedure assumes you are on a Windows system, and have `pip` , `bash` , and `python3.9` installed.
### Requirements
- [Git](https://git-scm.com)
- [Python 3.6 (or higher)](https://www.python.org)
- [Tesseract](https://github.com/UB-Mannheim/tesseract/wiki)
Download windows executable file by clicking the hyper link titled **tesseract-ocr-w64-setup-v4.1.0.20190314.exe.** (for 64-bit version) A notification asking you to save an exe file called “Tesseract-ocr-w64-setup-v4.1.0.20190314.exe” will appear. Save this .exe file wherever you have enough storage space. Open this exe file. If it windows asks you “Do you want to allow this software to make changes to your system”, click yes. You will be taken to the installation section.
### Python Packages
- `Flask`
- `pytesseract`
- `Pillow`
- `opencv-python`
### **Steps to execute the app locally**
1. Download the project files:
On, click the green "Clone or Download" button at the top right of the page. If you want to get started with this script more quickly, click the "Download ZIP" button, and extract the ZIP somewhere on your computer.
or you can clone using this command:
```
git clone https://github.com/b-luis/py-textractify.git
cd py-textractify
```
2. Create a new virtual env:
```
python3.9 -m venv venv
```
3. Activate the virtualenv:
```
source venv/bin/activate
```
4. Install the project requirements:
```
pip install -r requirements.txt
```
5. Run the Script:
```
python app.py
```
6. Review the Results:
The app.py script will start the python flask server.
```
Serving on 127.0.0.1:5000
```
If the above steps does not work, download the zip file and extract it. Copy and paste the extracted folders on your desired code editor and install the project dependencies by doing step 4 and run the app.py script which will direct you to `localhost:5000`
## Note
- only `JPG`, `JPEG`, and `PNG` file formats are supported.
- all the image files uploaded in the local server are stored in `uploads` folder