https://github.com/borisplaton/typing_speed_trainer
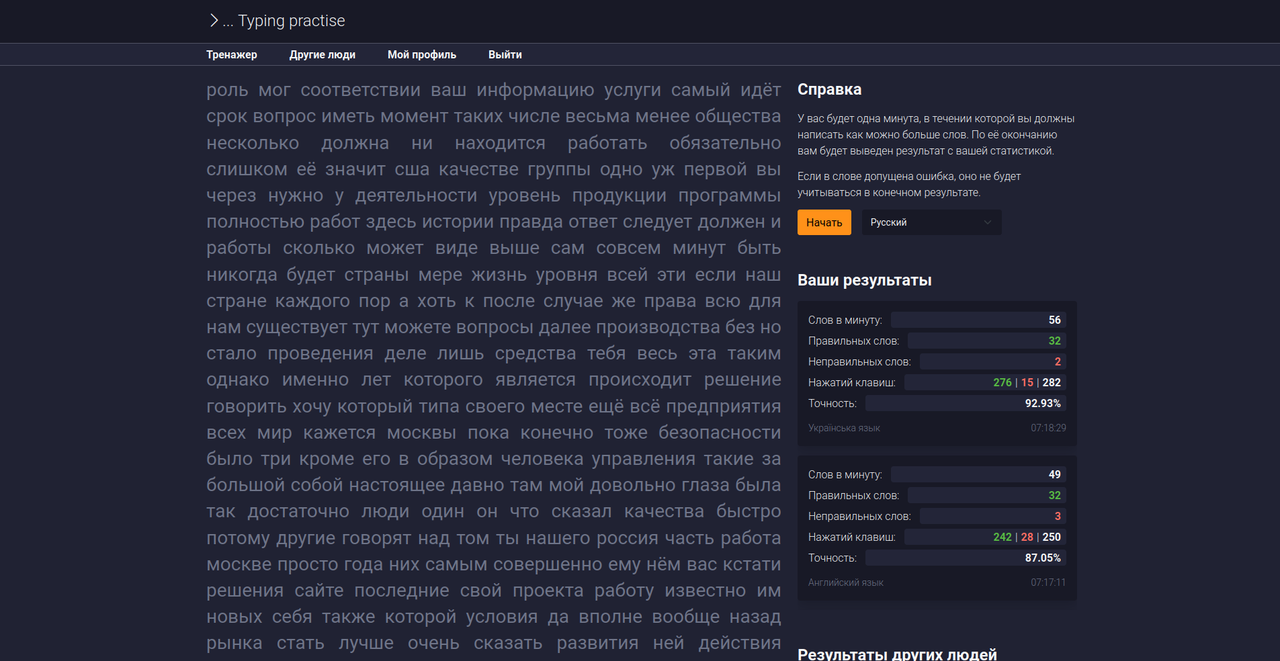
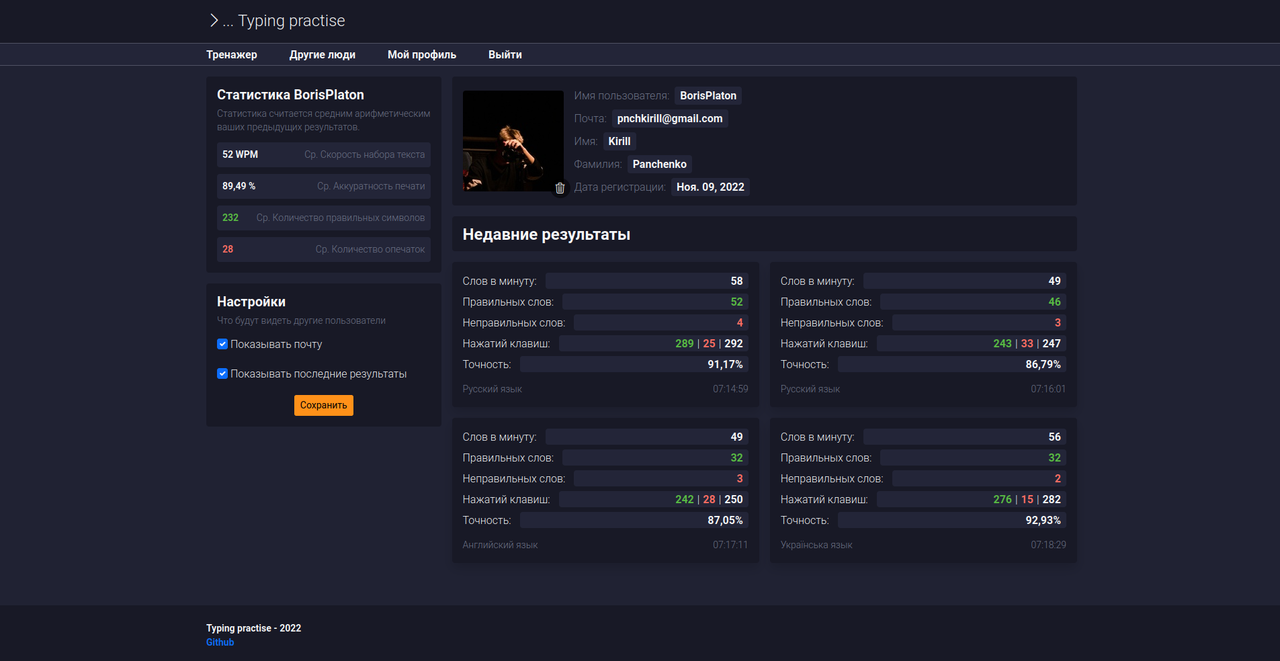
The typing speed trainer via Django & JS
https://github.com/borisplaton/typing_speed_trainer
django docker javascript nginx
Last synced: 3 months ago
JSON representation
The typing speed trainer via Django & JS
- Host: GitHub
- URL: https://github.com/borisplaton/typing_speed_trainer
- Owner: BorisPlaton
- Created: 2022-06-20T02:47:41.000Z (about 4 years ago)
- Default Branch: main
- Last Pushed: 2022-12-21T09:06:28.000Z (over 3 years ago)
- Last Synced: 2023-03-05T12:38:29.681Z (over 3 years ago)
- Topics: django, docker, javascript, nginx
- Language: Python
- Homepage:
- Size: 305 KB
- Stars: 0
- Watchers: 1
- Forks: 0
- Open Issues: 0
-
Metadata Files:
- Readme: README.md
Awesome Lists containing this project
README
# Typing speed trainer
It is a typing speed trainer web application implemented via [Django](https://www.djangoproject.com/) and vanilla JavaScript.
## Setup
### Development
### .env.dist
All environment variables that are used in development are specified in the `.env.dist` file in the `env` folder. Also, this file is used in the `docker-compose.dev.yml` file and shell scripts.
#### Virtual environment
Firstly, you must install all necessary dependencies. For this, you should create a virtual environment. For instance, you may use a `virtualenv`:
```
$ virtualenv --python 3.10 venv
```
Afterwards, activate it:
```
$ . venv/bin/activate
```
The `requirements` directory has two files:
* `dev.txt` - contains all dependencies that are used during a development process
* `prod.txt` - contains all dependencies that are used at the production
Install all packages that are specified in the `dev.txt` file. Run the following command to make it:
```
$ pip install -r requirements/dev.txt
```
#### Application server
The application uses `Redis` and `Postgres` databases. Also, JavaScript at the frontend uses API for generating random words. To simplify the setup process of all these services you already have a `docker-compose.dev.yml` file that has done it for you. You can start them with all necessary environment variables via shell script `start_environment.sh` that is placed in the `scripts` folder. Type the following command to make it:
```
$ . scripts/start_environment.sh
Creating network "typing_speed_trainer_default" with the default driver
Creating typing_speed_trainer_dev_random_words_api_1 ... done
Creating typing_speed_trainer_dev_database_1 ... done
Creating typing_speed_trainer_dev_redis_1 ... done
Success
```
Afterwards, make migrations and run the application server:
```
$ cd typing_speed_trainer
$ python manage.py migrate
$ python manage.py runserver
```
To stop all of them you may run a shell script `down_environment.sh` that is in the `scripts` folder too.
```
$ . scripts/down_environment.sh
Stopping typing_speed_trainer_dev_database_1 ... done
Stopping typing_speed_trainer_dev_redis_1 ... done
Stopping typing_speed_trainer_dev_random_words_api_1 ... done
Removing typing_speed_trainer_dev_database_1 ... done
Removing typing_speed_trainer_dev_redis_1 ... done
Removing typing_speed_trainer_dev_random_words_api_1 ... done
Removing network typing_speed_trainer_default
Success
```
#### Tests
The application uses the [Pytest](https://docs.pytest.org/en/7.2.x/) package for testing. You can run all tests via the following command if you are in the `typing_speed_trainer` directory:
```
$ pytest
```
### Production
#### .env
Before starting the application, you must create `.env` in the `env` folder. You already have a `.env.prod` file, which contains the template of the `.env` file and several default values. You may use it in the development.
#### Start application
You have a `docker-compose.yml` file in the root directory with all necessarily configuration. If you have created the `.env` file, you will start the application if you print following command:
```
$ docker-compose up
```
The application works on `8000` port at the `127.0.0.1` ip address. Now you can go to browser and check it out.