Ecosyste.ms: Awesome
An open API service indexing awesome lists of open source software.
https://github.com/bourpie/gridsome-starter-strapi
https://github.com/bourpie/gridsome-starter-strapi
Last synced: 11 days ago
JSON representation
- Host: GitHub
- URL: https://github.com/bourpie/gridsome-starter-strapi
- Owner: bourpie
- Created: 2020-07-01T15:11:01.000Z (over 4 years ago)
- Default Branch: master
- Last Pushed: 2022-12-13T05:01:21.000Z (almost 2 years ago)
- Last Synced: 2023-03-06T02:11:49.887Z (over 1 year ago)
- Language: Vue
- Size: 20.3 MB
- Stars: 0
- Watchers: 2
- Forks: 0
- Open Issues: 21
-
Metadata Files:
- Readme: README.md
Awesome Lists containing this project
README
# gridsome-starter-strapi
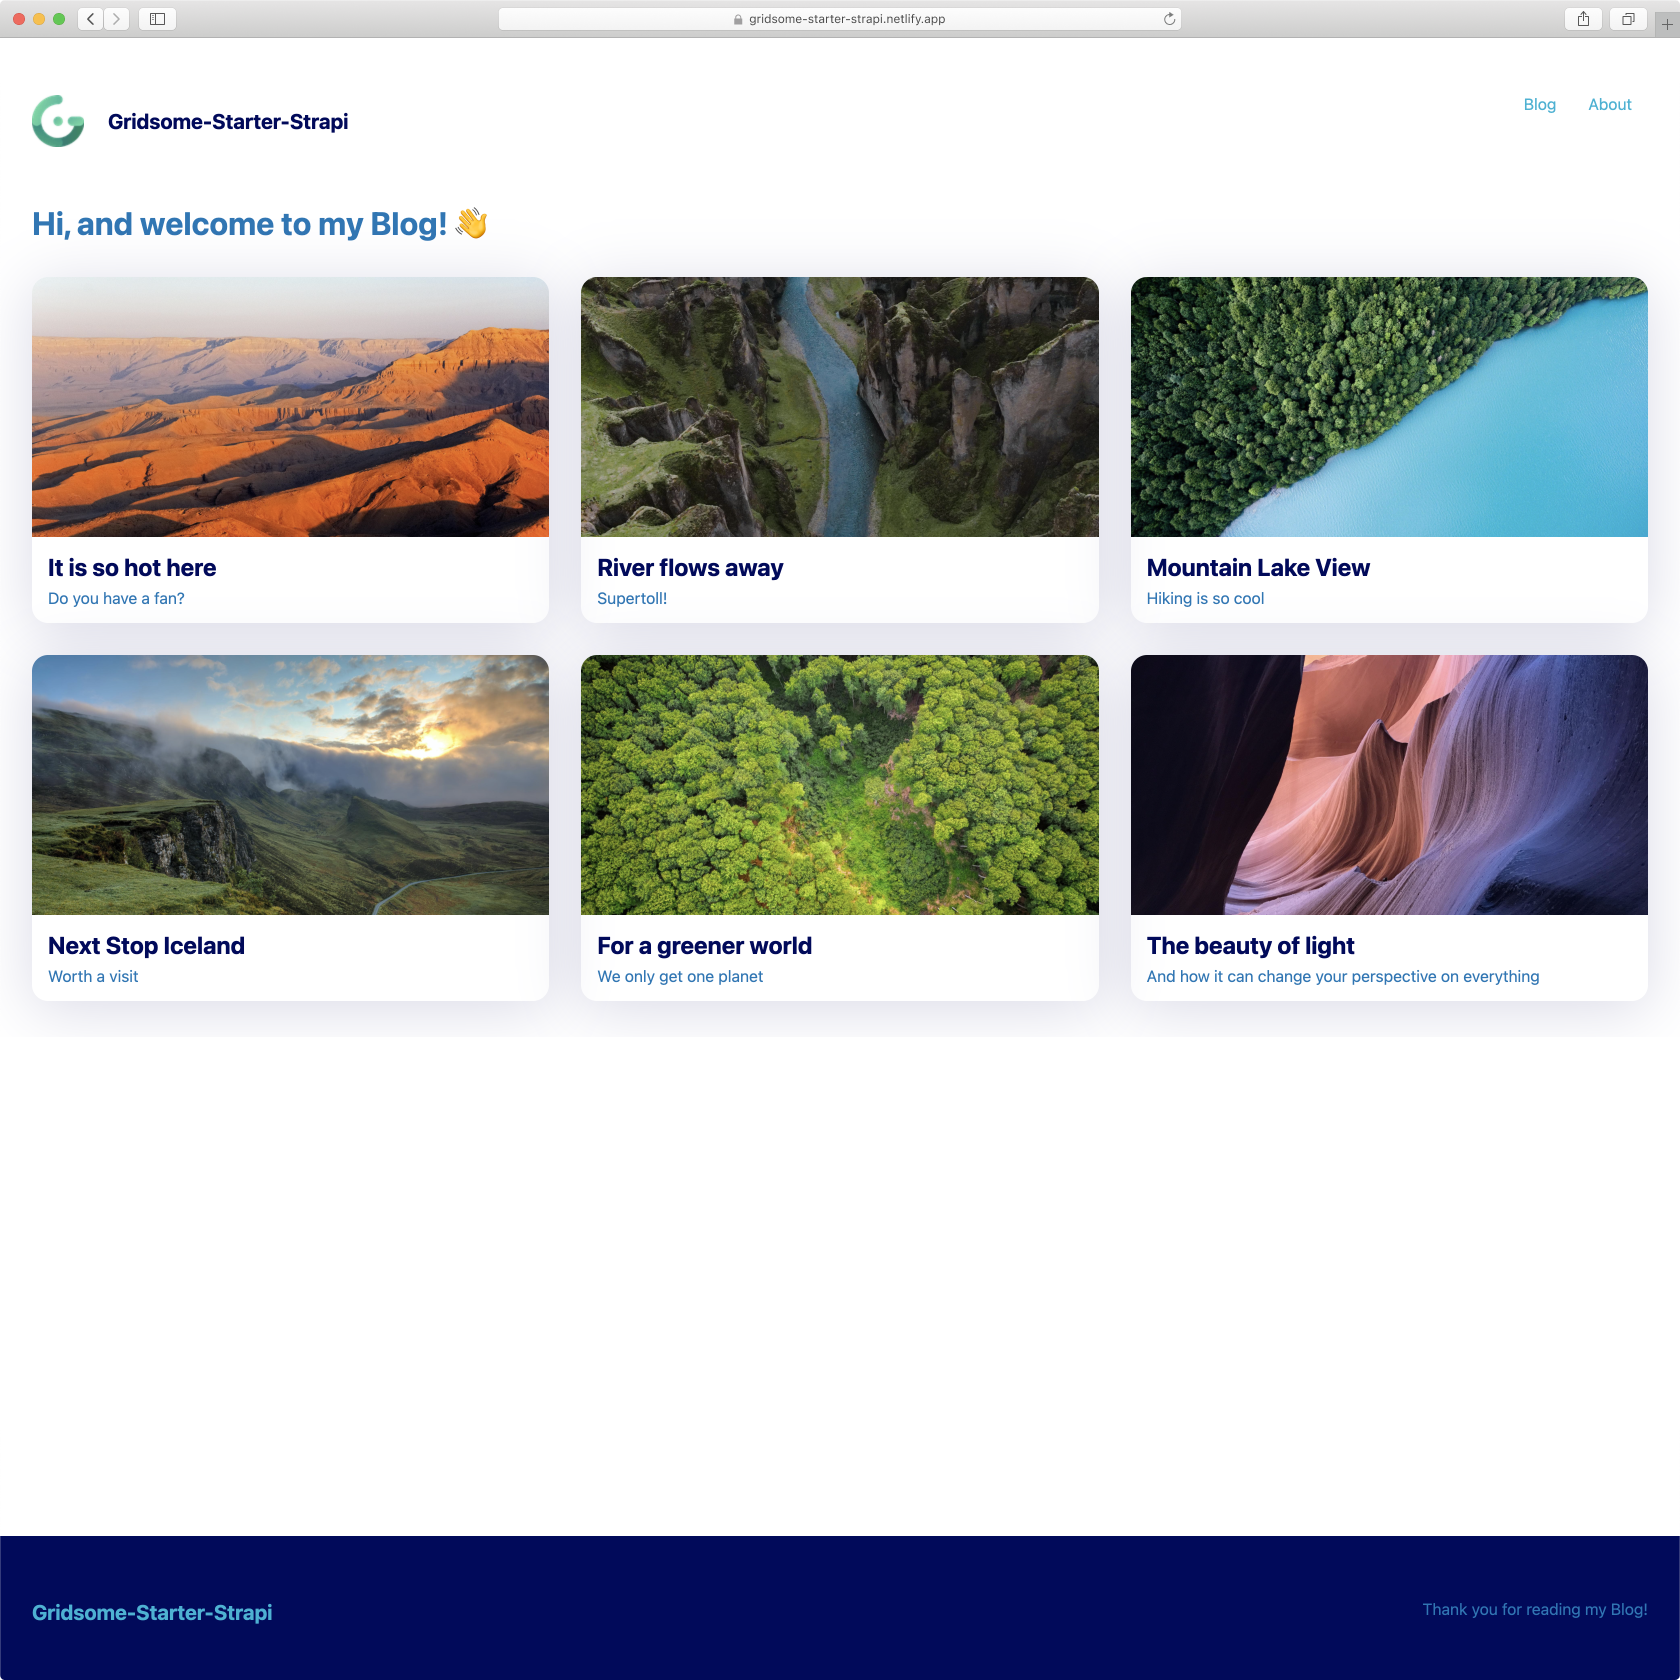
This is a Gridsome Starter using the headless CMS [Strapi](https://strapi.io). It is suppose to kick-start development with Strapi.
A **[Demo](https://gridsome-starter-strapi.netlify.com)** is hosted on Netlify.
Under the hood, the starter is using the source plugin [`@gridsome/source-strapi`](https://gridsome.org/plugins/@gridsome/source-strapi) to pull data from Strapi into Gridsome's data store.
Images provided by Strapi are downloaded and saved locally via `onCreateNode`. Thus, the build version includes all images in `/static`.

## Strapi Setup
*Note: Steps that are marked with a check are already done and are just necessary if you set up a completely new project.*
1. ✅ Install the [@gridsome/source-strapi](https://gridsome.org/plugins/@gridsome/source-strapi) Plugin: `npm install @gridsome/source-strapi --save`
2. ✅ Add it to the config file:
```
export default {
plugins: [
{
use: '@gridsome/source-strapi',
options: {
apiURL: 'http://localhost:1337',
queryLimit: 1000, // Defaults to 100
contentTypes: ['post'],
// Possibility to login with a Strapi user,
// when content types are not publicly available (optional).
loginData: {
identifier: '',
password: ''
}
}
}
]
}
```
3. Install Strapi by following the [Get Started Guide](https://strapi.io/documentation/v3.x/getting-started/quick-start.html).
4. Install Strapi and create a new project: `npx create-strapi-app gridsome-starter-strapi-cms --quickstart`.
5. Complete the form to create the first Administrator user.
6. Since we are using GraphQL, install the GraphQL plugin: `npm run strapi install graphql`. Open the GraphQL Playground ([http://localhost:1337/graphql](http://localhost:1337/graphql)) to test your queries.
7. Restart your server: `npm run develop`.
8. In the Strapi Admin Interface you can now add Content Types (`Plugins` > `Content-Types Builder` > `Create new collection type`).
9. Name you new collection type `Post`.
10. Now, add 4 fields, namely `title` (text), `subtitle` (text), `article` (rich text) and `image` (single media).
11. Click on `Save`.
12. Add blog entries by clicking on `Collection Types` > `Posts` > `Add New Post`.
13. Go to `Plugins` > `Roles & Permissions`. Click on the column saying `Public`. Put a check on `find` and `findOne` under `Post`. Click on `Save`.
14. ✅ In `gridsome.config.js` add `post` under `contentTypes`.
13. Finally, you should be able to query your blog entries with Gridsome.
## Gridsome Setup
### 1. Install Gridsome CLI tool if you don't have
`npm install --global @gridsome/cli`
### 2. Create a Gridsome project
1. ✅ `gridsome create gridsome-starter-strapi` to install default starter
2. ✅ `cd gridsome-starter-strapi` to open the folder
3. `gridsome develop` to start a local dev server at `http://localhost:8080`
4. Happy coding 🎉🙌
## 💫 Deploy
[](https://app.netlify.com/start/deploy?repository=https://github.com/lukaskoeller/gridsome-starter-strapi)