https://github.com/braincee/builder-mui
https://github.com/braincee/builder-mui
Last synced: 18 days ago
JSON representation
- Host: GitHub
- URL: https://github.com/braincee/builder-mui
- Owner: braincee
- Created: 2023-06-28T14:08:03.000Z (almost 3 years ago)
- Default Branch: development
- Last Pushed: 2023-09-21T15:09:28.000Z (almost 3 years ago)
- Last Synced: 2025-03-02T14:35:38.090Z (over 1 year ago)
- Language: TypeScript
- Size: 317 KB
- Stars: 0
- Watchers: 1
- Forks: 0
- Open Issues: 2
-
Metadata Files:
- Readme: README.md
Awesome Lists containing this project
README
# Next.js + Builder.io Minimal Starter
This example walks you through using Builder.io with a minimal Next.js application.
## Prerequisites
Before using this example, make sure you have the following:
- A [Builder.io](builder.io) account. Check out the [plans](https://www.builder.io/m/pricing), which range from our free tier to custom.
- [npm](https://www.npmjs.com/)
A basic understanding of the following is helpful too:
- The [command line](https://developer.mozilla.org/en-US/docs/Learn/Tools_and_testing/Understanding_client-side_tools/Command_line)
- JavaScript and [React](https://reactjs.org/)
- [Next.js](https://nextjs.org/)
- What it means to [clone a GitHub repo](https://docs.github.com/en/repositories/creating-and-managing-repositories/cloning-a-repository)
## Overview
To use this project, you need to do three things:
1. Get a copy of this repo.
1. Create a corresponding space in your account on [Builder.io](builder.io).
1. Connect the two.
The next sections walk you through each step.
### Clone this project
This example provides you with a ready-made application that you can copy locally and configure for use with your Builder.io account.
1. At the command line, run the following command to create a local copy of the Builder.io repo:
```shell
git clone https://github.com/BuilderIO/builder.git
```
1. Change into the example application by using the `cd` command:
```shell
cd builder/examples/next-js-simple
```
1. Open this directory in your favorite code editor.
You'll come back here when you're ready to connect your application to your Builder space.
### Generating your Builder.io space
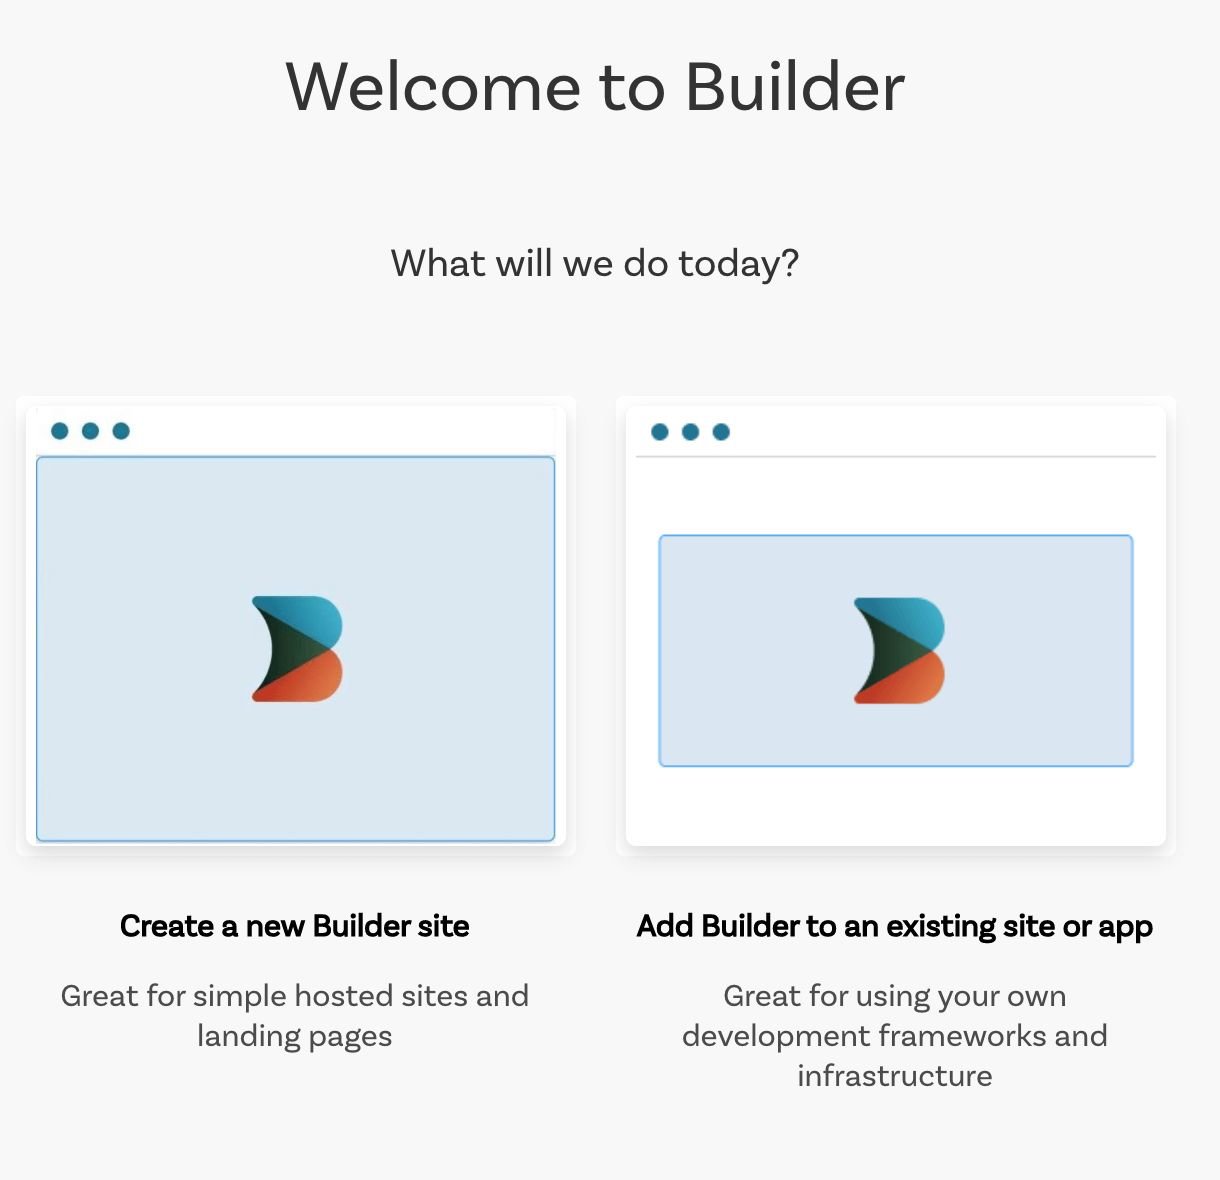
If you've just created your Builder.io account and logged in for the first time, Builder prompts you to create a space with a new Builder site or add Builder to an existing application.
For this example, click **Add Builder to an existing site or app**.
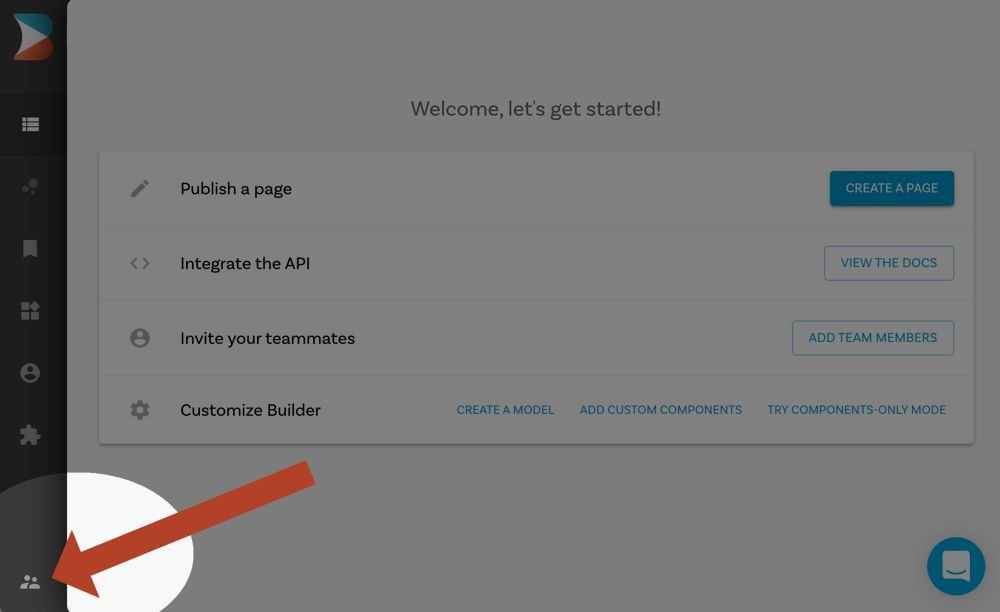
**If you don't have the introductory prompt for creating a space, take the following steps. If you do have the prompt in the previous step, skip to step 4.**
1. Click on the Organization icon on the bottom left.
1. Hover over **Builder.io** and choose **+ New Space**.
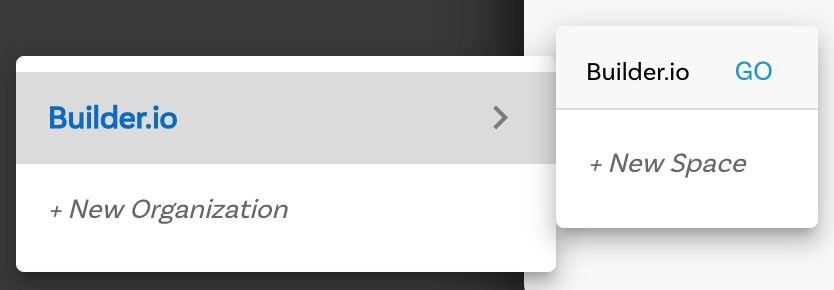
1. Click **Add Builder to an existing site or app**.
1. When Builder asks you which ecommerce platform you use, select **None**.
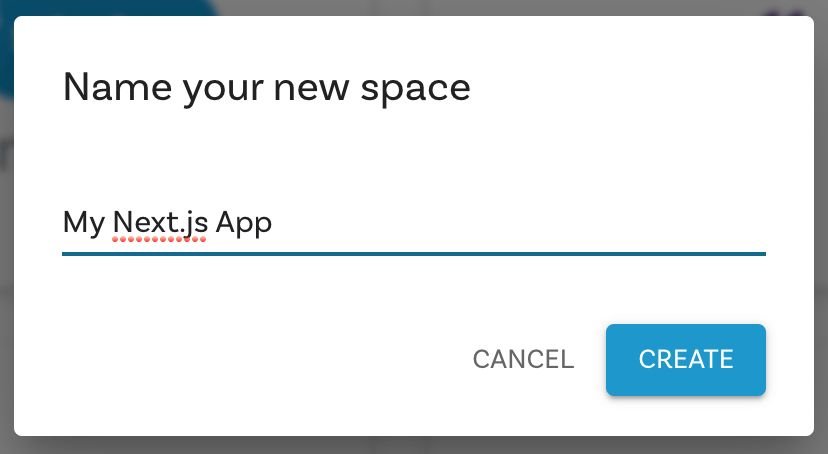
1. Name your new space by entering "My Next.js App" and click **Create**.
Now that you have a new space, the next step is connecting "My Next.js App" with your application.
### Connecting Builder.io to your application
To connect your Builder.io space and your application, set the model preview URL and get your API key as follows:
#### Setting the model preview URL
To enable Builder to open your site in the visual editor, you will need to provide a URL that we can open which has the Builder rendering component in it.
Go to the [/models](https://builder.io/models) page in Builder and choose your **page** model.
Then, set the Preview URL to http://localhost:3000. Be sure to include the http://.

**Note: once you deploy your updates, you will want to update this to a public URL, such as your live site or your staging site (e.g. `https://your-site.com`), so anyone on your team can connect to your site for visual editing**
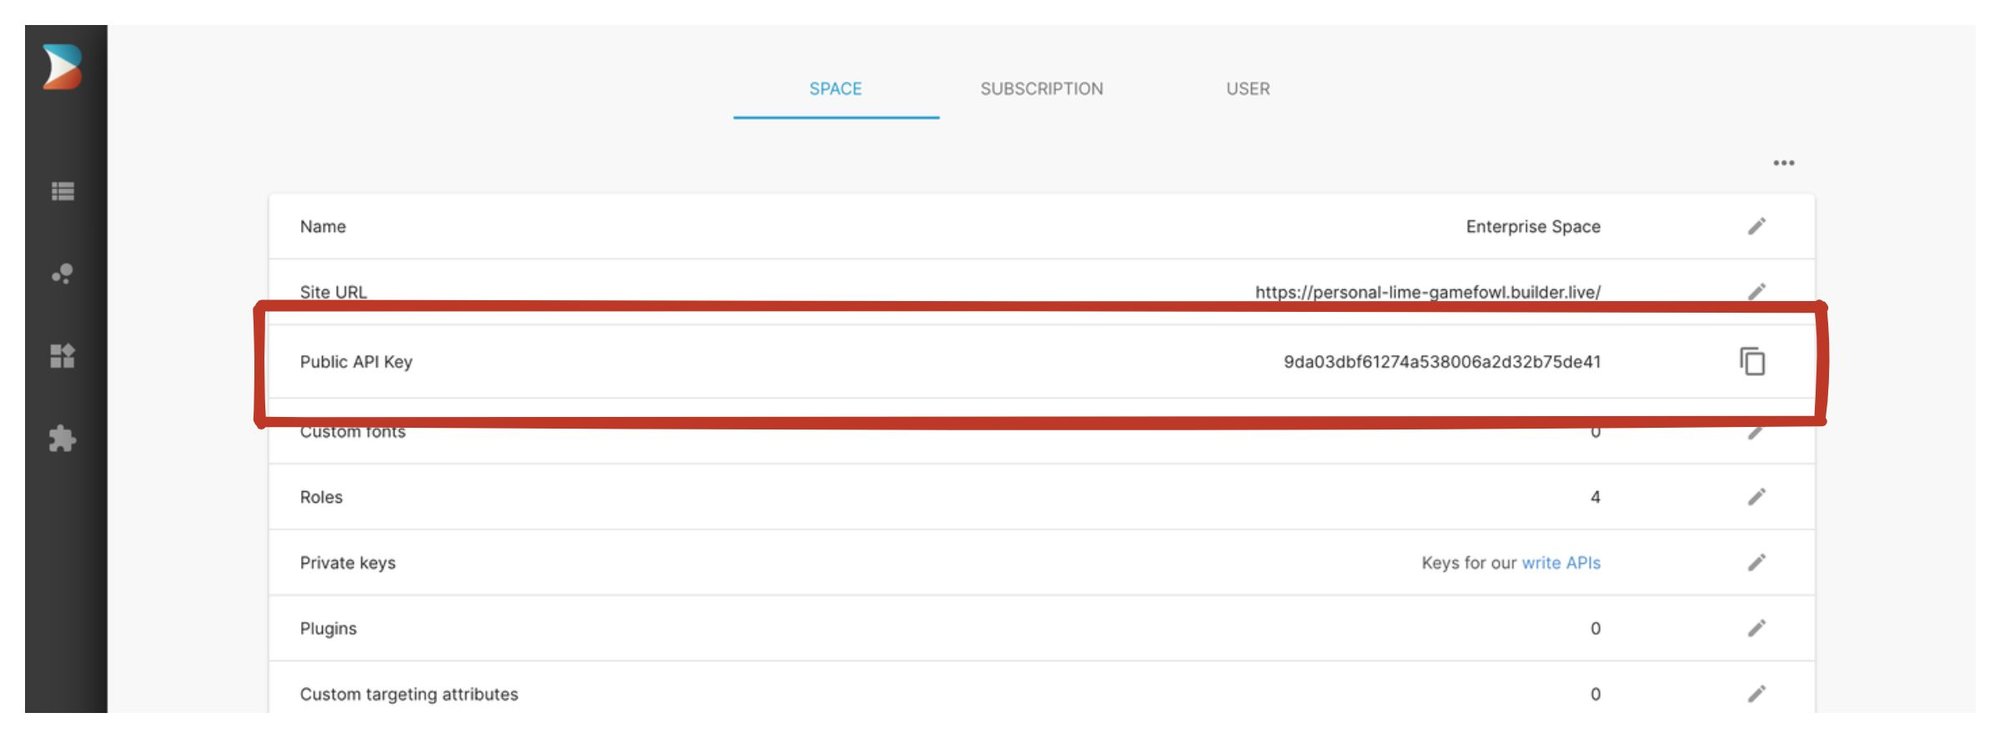
#### Getting your API Key
In the [Account settings](https://builder.io/account/space), copy your Public API Key. We're going to paste the API Key into your Next.js app in the next section.
In your code editor, update `_app.tsx` with your [Public API Key](https://builder.io/account/space) like below, but using your Public API Key that you copied in the previous step.
For example:
```shell
builder.init("YOUR_PUBLIC_KEY"); <-- replace this with your API Key
```
## Running your application
To serve your application locally, install dependencies, serve, and view your preview.
1. Install dependencies by entering the follw\owing at the command line.
```
npm install
```
1. Serve your application by running the following at the command line:
```
npm run dev
```
1. In your browser, go to `http://localhost:3000` to see your application.
### Experimenting
Now that you have a configured Builder.io application, you can try different features, such as creating a page.
Create a new page entry, assign any URL, publish and preview.
For more detail and ideas on creating pages, see [Creating a landing page in Builder
](https://www.builder.io/c/docs/creating-a-landing-page).
### Deploy
You can deploy anywhere you like, but for this project we recommend [Vercel](https://nextjs.org/docs/deployment).
[](https://vercel.com/new/git/external?repository-url=https%3A%2F%2Fgithub.com%2Fbuilderio%2Fbuilder%2Ftree%2Fmaster%2Fexamples%2Fnext-js-simple)
## Next steps
- Learn how to [use your react components in our visual editor](https://www.builder.io/c/docs/custom-react-components)
- For more information on previewing your applications, see [Editing and previewing directly on your site](https://www.builder.io/c/docs/guides/preview-url).
- See [Getting started with the visual editor](https://www.builder.io/c/docs/guides/page-building) for an introduction to editing your pages without having to code.
- Check out [Builder best practices](https://www.builder.io/c/docs/best-practices) for guidance on how to approach site development with Builder.