https://github.com/bufgix/github-blog
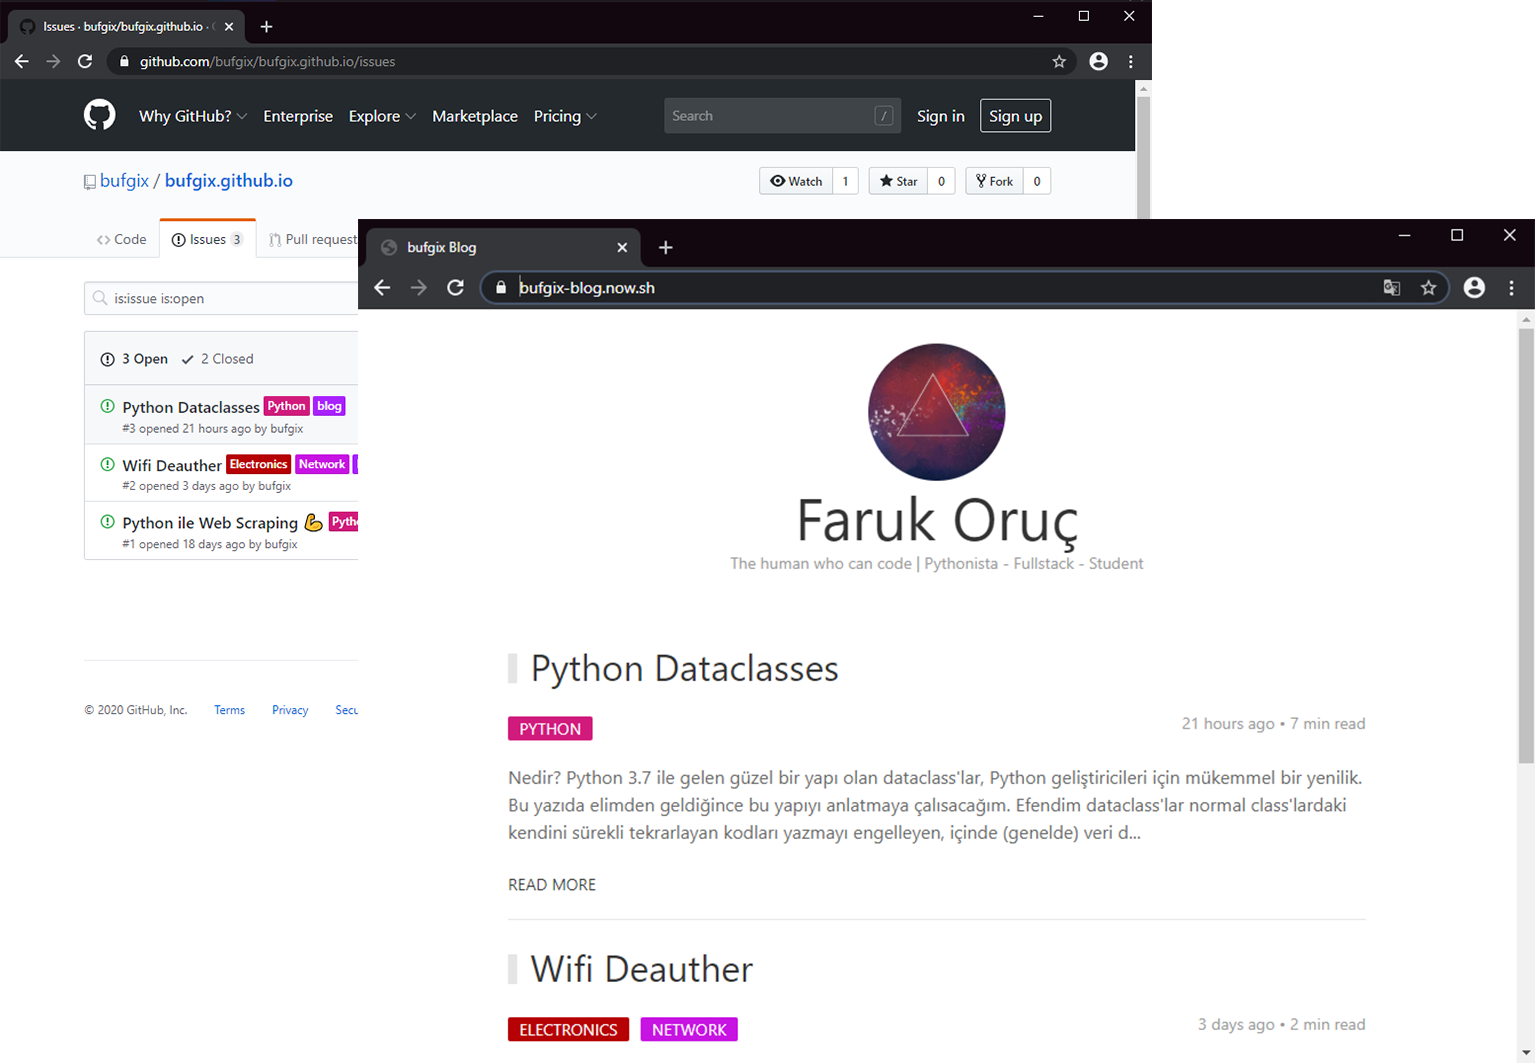
A blog system that uses Github Issues
https://github.com/bufgix/github-blog
blog-engine github-integration markdown zeit
Last synced: 4 months ago
JSON representation
A blog system that uses Github Issues
- Host: GitHub
- URL: https://github.com/bufgix/github-blog
- Owner: bufgix
- License: mit
- Created: 2020-03-18T14:39:30.000Z (almost 6 years ago)
- Default Branch: master
- Last Pushed: 2023-01-05T16:01:31.000Z (about 3 years ago)
- Last Synced: 2024-10-12T18:07:25.970Z (over 1 year ago)
- Topics: blog-engine, github-integration, markdown, zeit
- Language: JavaScript
- Homepage: https://bufgix.now.sh/
- Size: 1.06 MB
- Stars: 49
- Watchers: 2
- Forks: 2
- Open Issues: 15
-
Metadata Files:
- Readme: README.md
- License: LICENSE
Awesome Lists containing this project
README
Welcome to github-blog 👋
> A blog system that uses Github Issues
### 🏠 [Homepage](https://github-blog.now.sh/)

[TURKÇE](https://github.com/bufgix/github-blog/blob/master/READMETR.md)
The usual blog system. Except, all the backend is connected to Github. All blog posts are linked to the issues of a repo that you want.
## Installation
Download the repo to your file system
```sh
$ git clone https://github.com/bufgix/github-blog && cd github-blog
```
Install the required dependencies
```sh
$ yarn
# or
$ npm install
```
then come to `config.js` and write your information
```javascript
export default {
// Github username
username: "bufgix",
// Repo name where you will write your blogs
repoName: "bufgix.github.io",
// If you want, you can automatically add a CV that based
// on your github profile. It will appear on the homepage
useGithubCv: true
};
```
Github-blog uses [Github API V4](https://developer.github.com/v4/), which uses graphql to pull data. That's why [Github access token](https://help.github.com/en/github/authenticating-to-github/creating-a-personal-access-token-for-the-command-line) is needed. Create a token and give the following permissions
- read:user
- user:email
- user:follow
Copy the token and paste it into a `.env` file as follows
```env
GITHUB_TOKEN=0f49a4540d7efc7272533bc5ba23243da8de8ecd
```
Then to run your blog locally
```sh
yarn dev
# or
npm run dev
```
## Publising Your Blog
I use [zeit.co](https://zeit.co/), which is both easy and free. Download [Now CLI](https://zeit.co/download) to upload your blog to zeit. Then add the github token to the Now CLI
```sh
$ now secrets add GITHUB_TOKEN
```
Publish your application with this command
```sh
$ now deploy
```
After setting your project name, you can follow the application from zeit.co.
## Publishing Articles
Submit a issue to the issues section of the repo that you specified in `config.json`.
Then create a label named `Blog` and add it to your issue. Please note that issues without blog tag will not be shown. You can also create other tags and show what your post is about.
---
I inspired the project from [this](https://github.com/saadpasta/react-blog-github) repo. Although basically doing the same, I made the project write with [Next.js](https://nextjs.org/) to be SEO friendly
## TODOS
- ~~Footer~~
- ~~Social links~~
- ~~Comments implementation~~
- ~~Reaction implementation~~
- Pagination
- ~~Error Handling~~
- ~~Add image viewer~~
- ~~[Github-CV](https://github.com/bufgix/github-cv) integration~~
- ~~Filter by tags~~
## Author
👤 **bufgix**
- Website: http://www.bufgix.space
- Twitter: [@bufgix](https://twitter.com/bufgix)
- Github: [@bufgix](https://github.com/bufgix)
## 🤝 Contributing
Contributions, issues and feature requests are welcome!
Feel free to check [issues page](https://github.com/bufgix/github-blog/issues).
## Show your support
Give a ⭐️ if this project helped you!
## 📝 License
Copyright © 2020 [bufgix](https://github.com/bufgix).
This project is [MIT](https://github.com/bufgix/github-blog/blob/master/LICENSE) licensed.
---
_This README was generated with ❤️ by [readme-md-generator](https://github.com/kefranabg/readme-md-generator)_


