https://github.com/chat21/chat21-ionic
A ionic v5 and Angular 8 desktop and mobile chat
https://github.com/chat21/chat21-ionic
chat customer-service firebase instant-messaging ionic3 livechat mqtt rabbitmq realtime
Last synced: about 1 year ago
JSON representation
A ionic v5 and Angular 8 desktop and mobile chat
- Host: GitHub
- URL: https://github.com/chat21/chat21-ionic
- Owner: chat21
- License: mit
- Created: 2017-10-02T10:12:58.000Z (almost 9 years ago)
- Default Branch: master
- Last Pushed: 2023-03-08T13:53:17.000Z (over 3 years ago)
- Last Synced: 2025-06-11T16:34:29.437Z (about 1 year ago)
- Topics: chat, customer-service, firebase, instant-messaging, ionic3, livechat, mqtt, rabbitmq, realtime
- Language: TypeScript
- Homepage: https://tiledesk.com/
- Size: 33.5 MB
- Stars: 84
- Watchers: 11
- Forks: 95
- Open Issues: 45
-
Metadata Files:
- Readme: README.md
- Changelog: CHANGELOG.md
- License: LICENSE
Awesome Lists containing this project
README
[](https://badge.fury.io/js/%40chat21%2Fchat21-ionic)
> ***🚀 Do you want to install Tiledesk on your server with just one click?***
>
> ***Use [Docker Compose Tiledesk installation](https://github.com/Tiledesk/tiledesk-deployment/blob/master/docker-compose/README.md) guide***
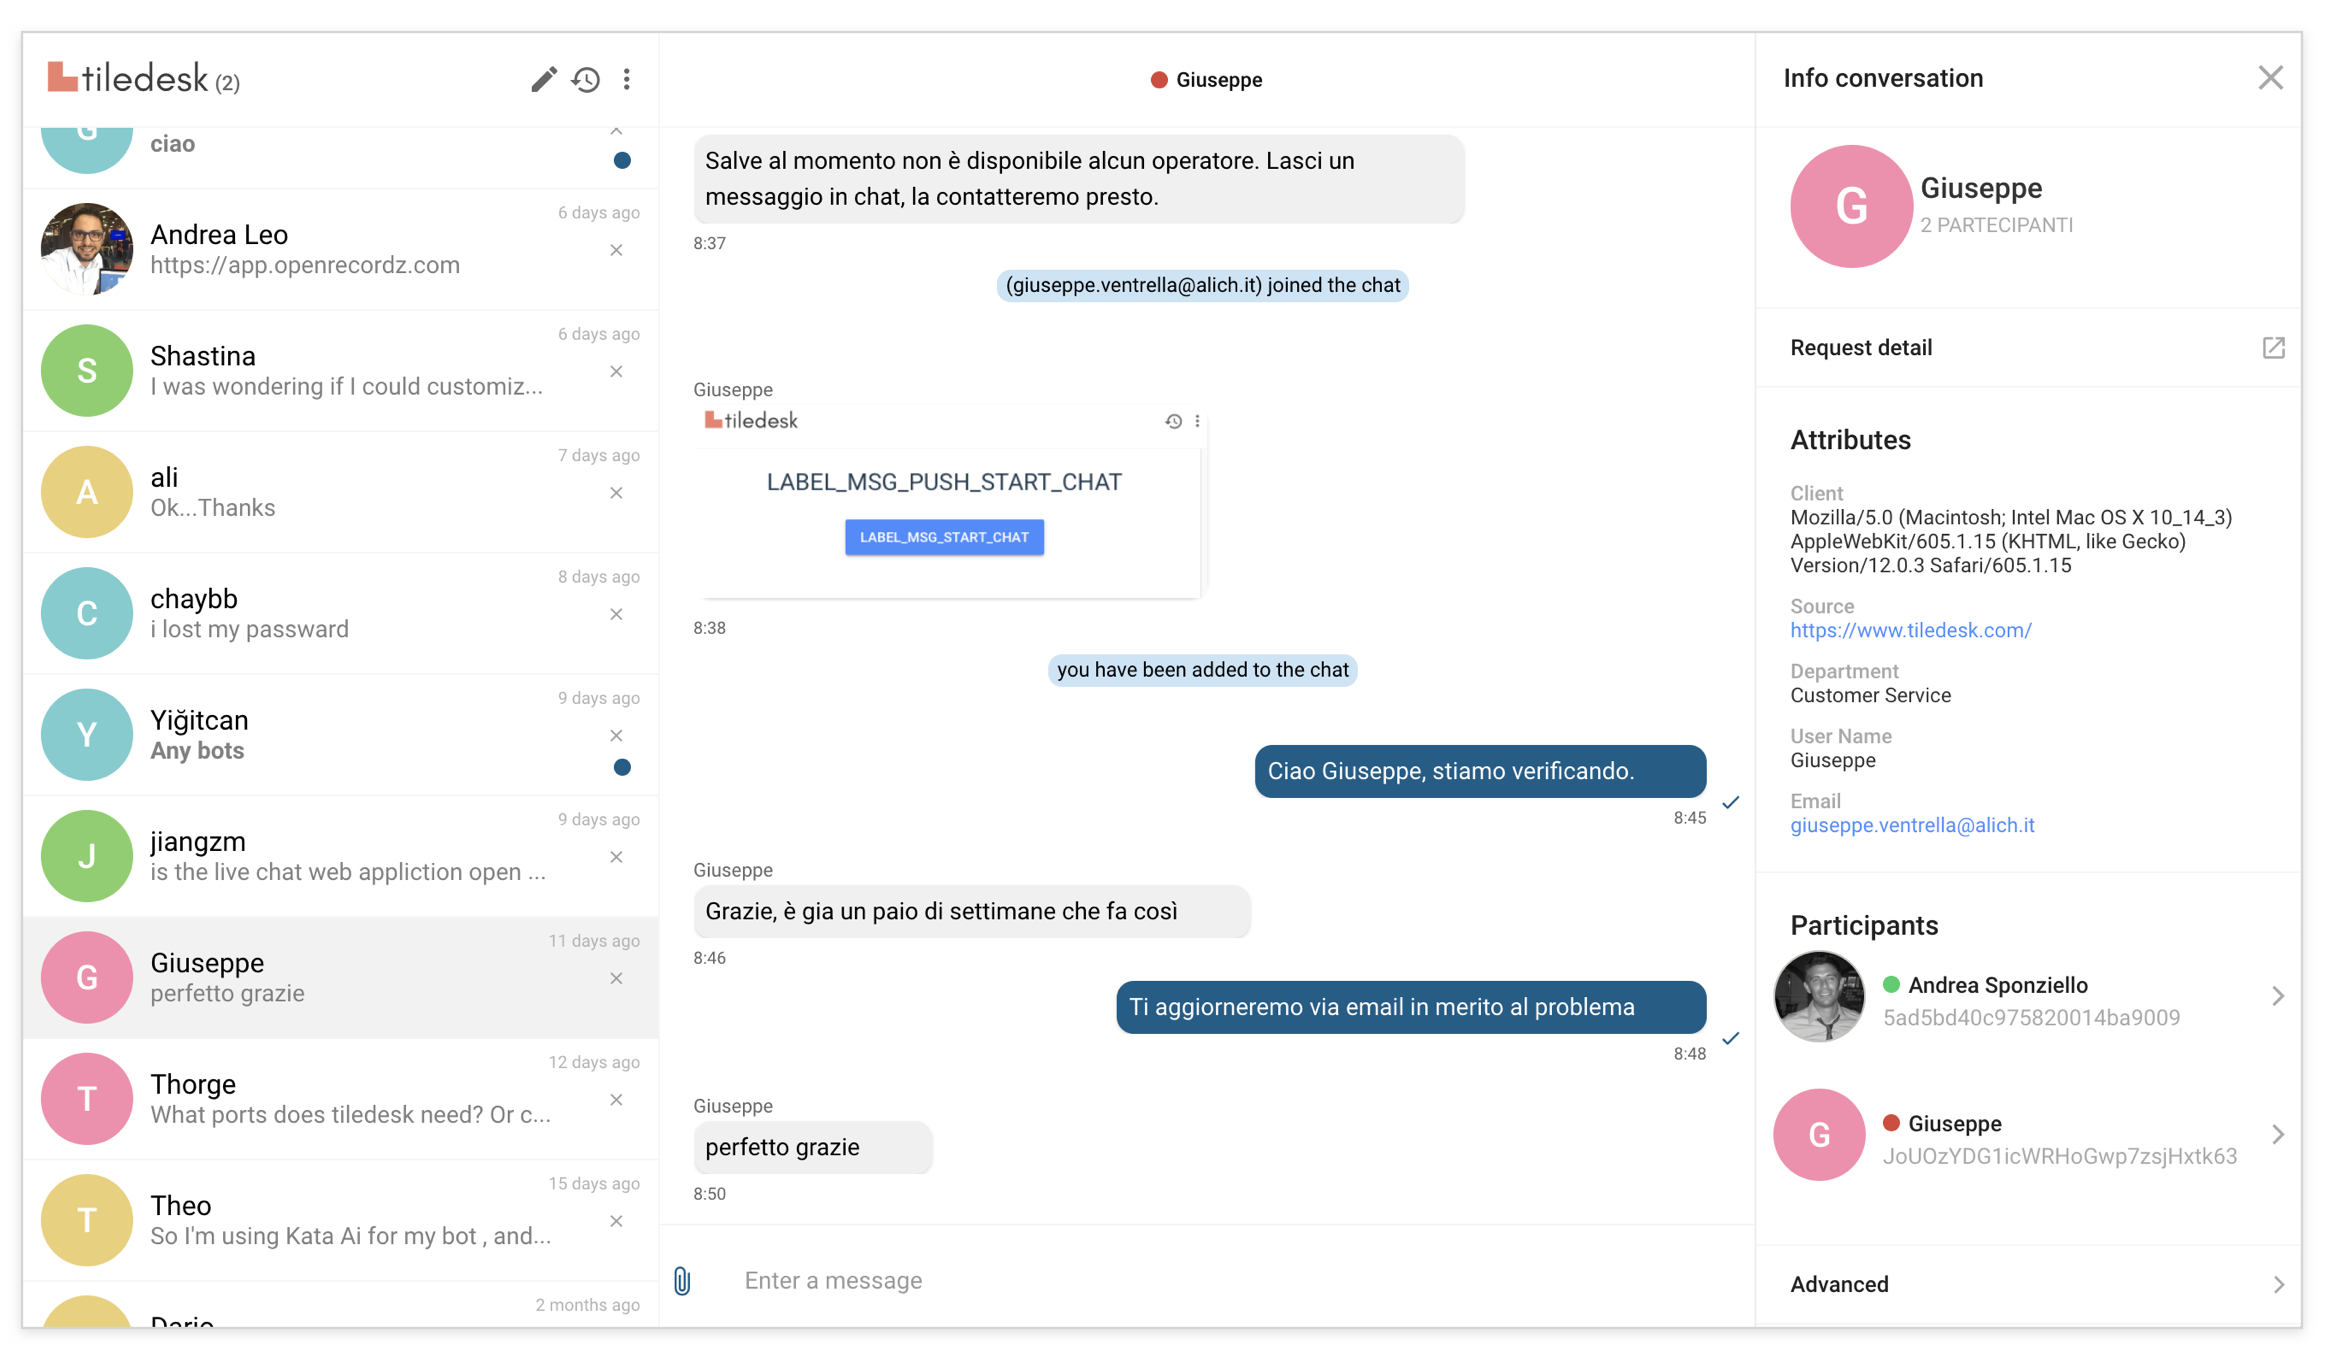
Chat21 is the core of the open source live chat platform [Tiledesk.com](http://www.tiledesk.com).
# Features #
With Chat21-ionic you can:
* Send a direct message to a user (one to one message)
* View the messages history
* The read receipts feature allows your users to see when a message has been sent, delivered and read
* Conversations list view with the last messages sent (like Whatsapp)
* With the Presense Manager you can view when a user is online or offline and the inactivity period
* Responsive design (desktop and mobile)
* View the user profile with fullname and email
* Login with email and password (Use firebase email and password authentication method )
* Signup with fullname, email, password and profile picture
* Contacts list view with fulltext search for fullname field
# Live Demo #
Visit https://web.chat21.org/ to see a live demo of chat21-ionic.
# Documentation #
In progress git
# Prerequisites #
* Install nodejs: `https://nodejs.org/en/download/`
* Install Ionic CLI: `npm install -g ionic`
* Install Cordova : `npm install -g cordova@7.0.1`
* A Firebase project. Create one free on `https://firebase.google.com`
* "Chat21 Firebase cloud functions" installed. Instructions:`https://github.com/chat21/chat21-cloud-functions`
# Run Tiledesk with Docker Compose
Do you want to install all the Tiledesk components on your server with just one click?
Use [Docker Compose Tiledesk installation guide](https://github.com/Tiledesk/tiledesk-deployment/blob/master/docker-compose/README.md)
# Installation #
* Install the latest stable release. Check on Github page the last release under the Releases tab and then run
- `git clone https://github.com/frontiere21/chat21-ionic.git --branch `
- `cd chat21-ionic`
* Build running: `npm install`
# Firebase
* Create a Firebase account
* Create a Firebase project in the Firebase console, if you don't already have one. https://console.firebase.google.com/
* Deploy Chat21 Firebase Cloud Functions as described here: https://github.com/chat21/chat21-cloud-functions
## Configuration ##
* Configure the file environment.ts in src/environments folder:
```
export const environment = {
supportMode: false,
production: false,
remoteConfig: true,
remoteConfigUrl: '/chat-config.json',
chatEngine: "mqtt", // OR YOUR CUSTOM CHAT ENGINE
updloaEngine: "native", // OR YOUR CUSTOM UPLOAD ENGINE
pushEngine:"none", // OR YOUR CUSTOM PUSH ENGINE
fileUploadAccept:"*/*",
logLevel":"",
supportMode: false,
writeToButton: false,
archivedButton: false,
firebaseConfig: {
tenant:"tilechat",
apiKey: '123ABC..',
authDomain: 'XYZ.firebaseapp.com',
databaseURL: 'https://XYZ.firebaseio.com',
projectId: 'XYZ',
storageBucket: 'XYZ.appspot.com',
messagingSenderId: '123456',
appId: 'CHANGEIT',
chat21ApiUrl: ''
},
chat21Config: {
"appId": "tilechat",
"MQTTendpoint": "mqtt://",
"APIendpoint": "http://"
},
"apiUrl": "https://",
"baseImageUrl": "https://",
"dashboardUrl": "https://"
"wsUrl": 'ws://' + window.location.hostname + '/ws/',
}
};
```
* `logLevel`: The Chat21-ionic supports 4 log levels. The order is as follows:
`Error < Warn < Info < Debug`
* `fileUploadAccept`: The Chat21-ionic allows you to manage the type of files that can be uploaded. By default, all file types are accepted.
* `wsUrl`: allows you to know in real time the agent's availability status, the agent's busy status and the number of unassigned conversations for a selected project
* `supportMode`: if it is set to true it shows the left sidebar which makes dashboard and chat management smarter
* `writeToButton`: if set to true, it makes the button for viewing the contact list visible and makes direct conversations with them possible
* `archivedButton`: if set to true, it makes the button for viewing archived conversations visible
### Push notification
* open `/src/firebase-messaging-sw.js` and replace messagingSenderId: with < your messagingSenderId >
More info here : https://angularfirebase.com/lessons/send-push-notifications-in-angular-with-firebase-cloud-messaging/
* firebase-messaging-sw.js must be accessible in the root of the webapp, for example (https://support.tiledesk.com/firebase-messaging-sw.js)
* After the build process, check the property gcm_sender_id of the manifest.json file. The correct value for firebase is:
`"gcm_sender_id": "103953800507"`
### (Optional) Authenticate with email password
* Config Firebase auth
In the Firebase Console open the Authentication section > SIGN IN METHOD tab you need to enable the Email/password Sign-in Provider and click SAVE. This will allow users to sign-in the Web app with their Email
https://firebase.google.com/docs/auth/
## Run App on Browser ##
* Now you will need to serve the app. Run: `ionic serve` in the terminal.
## Add browser platform and build it ##
* Run: `cordova platform add browser@latest`
* Run: `ionic cordova build browser`
# Deploy
## Deploy on a Web Server (Apache or Nginx)
Copy the content of the directory platforms/browser/www to your WebServer public dir.
## Deploy on Firebase hosting ##
* Install the Firebase CLI. run: `npm install -g firebase-tools`
* Run: `firebase login`
(these steps can be avoided if you have already done before)
* Change directories in the terminal to your desired project directory(run: `cd platforms/browser`) and run: `firebase init`
* select hosting (press Spacebar to select) and press return
* select your project and press return
* answer the following questions:
* "what do you want to use as your public directory?" www and press return
* "configure as a single-page app?" N and press return
* "file www/index.html alredy exists. Overwrite?" N and press return
* Run: `firebase deploy`
* In your firebase consol click hosting and click on link your project
More info here https://firebase.google.com/docs/hosting/quickstart?authuser=0
## Run on Android
* Run on simulator : `ionic cordova run android`
* Run on device : `ionic cordova run android --device`
## Run on iOS
* Run on simulator : `ionic cordova run ios`
* Run on device : `ionic cordova run ios --device`
# Run with docker
To run Chat21-ionic on port 8080 run:
```
curl https://raw.githubusercontent.com/chat21/chat21-ionic/master/env.sample --output .env
nano .env #configure .env file properly
docker run -p 8080:80 --env-file .env chat21/chat21-ionic
```
## Branding with Docker
If you want to customize logos and assets you can mount a docker volume and attach it to the assets folder. After that you can override the assets files into the docker volume.
Example:
```
docker run -p 8080:80 --env-file .env --mount source=chat21-ionic-assets-vol,destination=/usr/share/nginx/html/assets chat21/chat21-ionic
```
# Autologin
To auto login pass the JWT token as a query parameter of your Chat url as in the following example:
```typescript
"http://localhost:8100/#/conversation-detail?jwt="
```