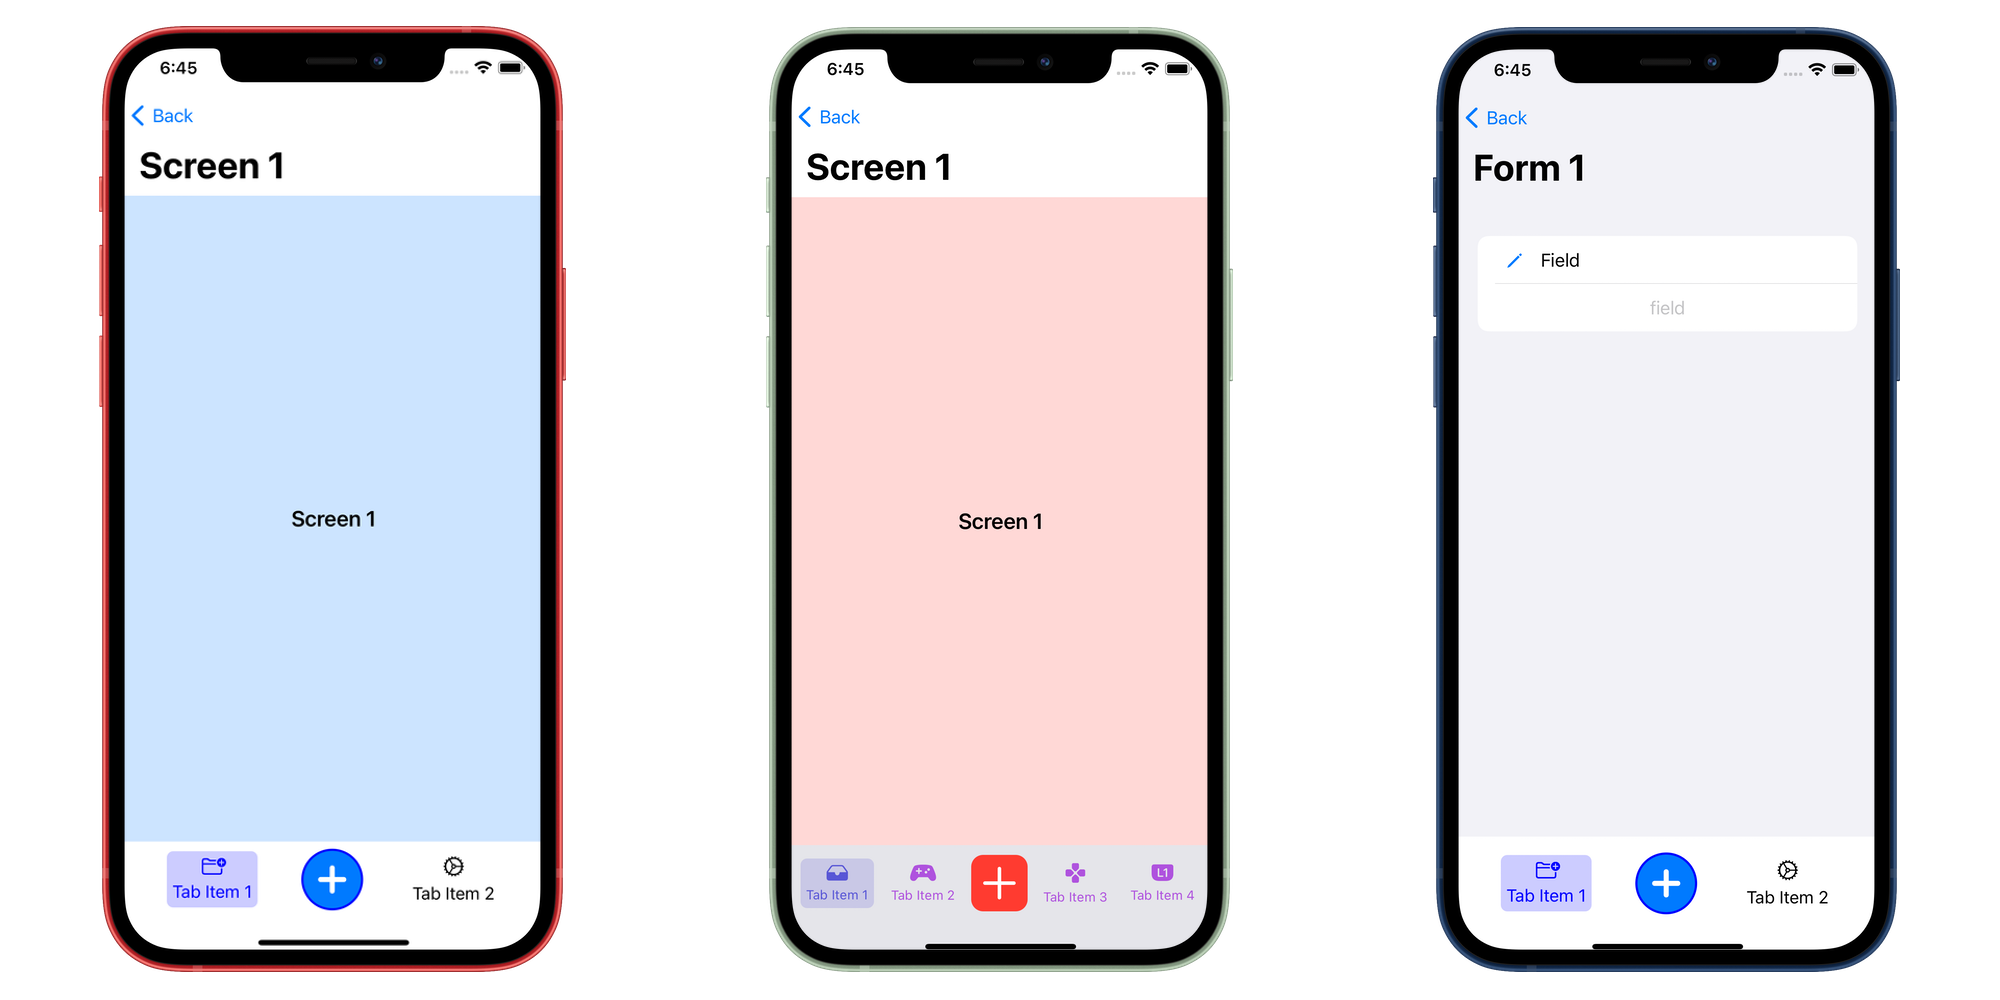
https://github.com/chicio/tabbaruiaction
📚📱 A SwiftUI custom TabBar view with action button for modal content display. Fully compatible with Mac Catalyst. 📚📱
https://github.com/chicio/tabbaruiaction
apple catalyst ios ipados library maccatalyst macos swift swift-package-manager swiftpackagemanager swiftui tabbar tabbaritem tabbarview tabview
Last synced: 10 months ago
JSON representation
📚📱 A SwiftUI custom TabBar view with action button for modal content display. Fully compatible with Mac Catalyst. 📚📱
- Host: GitHub
- URL: https://github.com/chicio/tabbaruiaction
- Owner: chicio
- License: mit
- Created: 2021-03-28T12:40:00.000Z (almost 5 years ago)
- Default Branch: main
- Last Pushed: 2021-04-01T16:00:31.000Z (almost 5 years ago)
- Last Synced: 2024-09-26T15:03:55.492Z (over 1 year ago)
- Topics: apple, catalyst, ios, ipados, library, maccatalyst, macos, swift, swift-package-manager, swiftpackagemanager, swiftui, tabbar, tabbaritem, tabbarview, tabview
- Language: Swift
- Homepage: https://tabbaruiaction.fabrizioduroni.it
- Size: 28.7 MB
- Stars: 24
- Watchers: 2
- Forks: 5
- Open Issues: 0
-
Metadata Files:
- Readme: README.md
- Changelog: CHANGELOG.md
- Contributing: CONTRIBUTING.md
- License: LICENSE.md
- Code of conduct: CODE_OF_CONDUCT.md
Awesome Lists containing this project
README
# TabBarUIAction

[](https://codecov.io/gh/chicio/TabBarUIAction)
[](https%3A%2F%2Fimg.shields.io%2Fbadge%2Fplatform-macOS%20%7C%20iOS%20%7C%20iPadOS-orange.svg)
[](https://cocoapods.org/pods/TabBarUIAction)
[](https://codebeat.co/projects/github-com-chicio-tabbaruiaction-main)
[](https://raw.githubusercontent.com/chicio/TabBarUIAction/master/LICENSE.md)
📚📱 A SwiftUI custom TabBar view with action button for modal content display. Fully compatible with Mac Catalyst. 📚📱
***
### Installation
There are four ways to install `TabBarUIAction` in your project: manual installation, as a standalone framework, cocoapods or the Swift Package Manager.
**Manual installation**
To manually install `TabBarUIAction` simply drag and drop all the file contained in the [Source](https://github.com/chicio/TabBarUIAction/tree/master/Source) folder inside your project.
**Framework**
`TabBarUIAction` is available also as a framework. To install it follow the standard installation procedure for a cocoa touch framework:
- drag the TabBarUIAction.xcodeproj inside your project
- add it to the Embedded Binaries/Linked Frameworks and Libraries section of your project.
See the `TabBarUIAction` demo project/target for an example of the setup of the framework.
**CocoaPods**
`TabBarUIAction` is also available as a pod on CocoaPods.
Add the dependency to your Podfile similar to the following:
```
target 'MyApp' do
pod 'TabBarUIAction', '~> 0.8'
end
```
and then run pod install (or pod update).
**Swift Package Manager (SPM)**
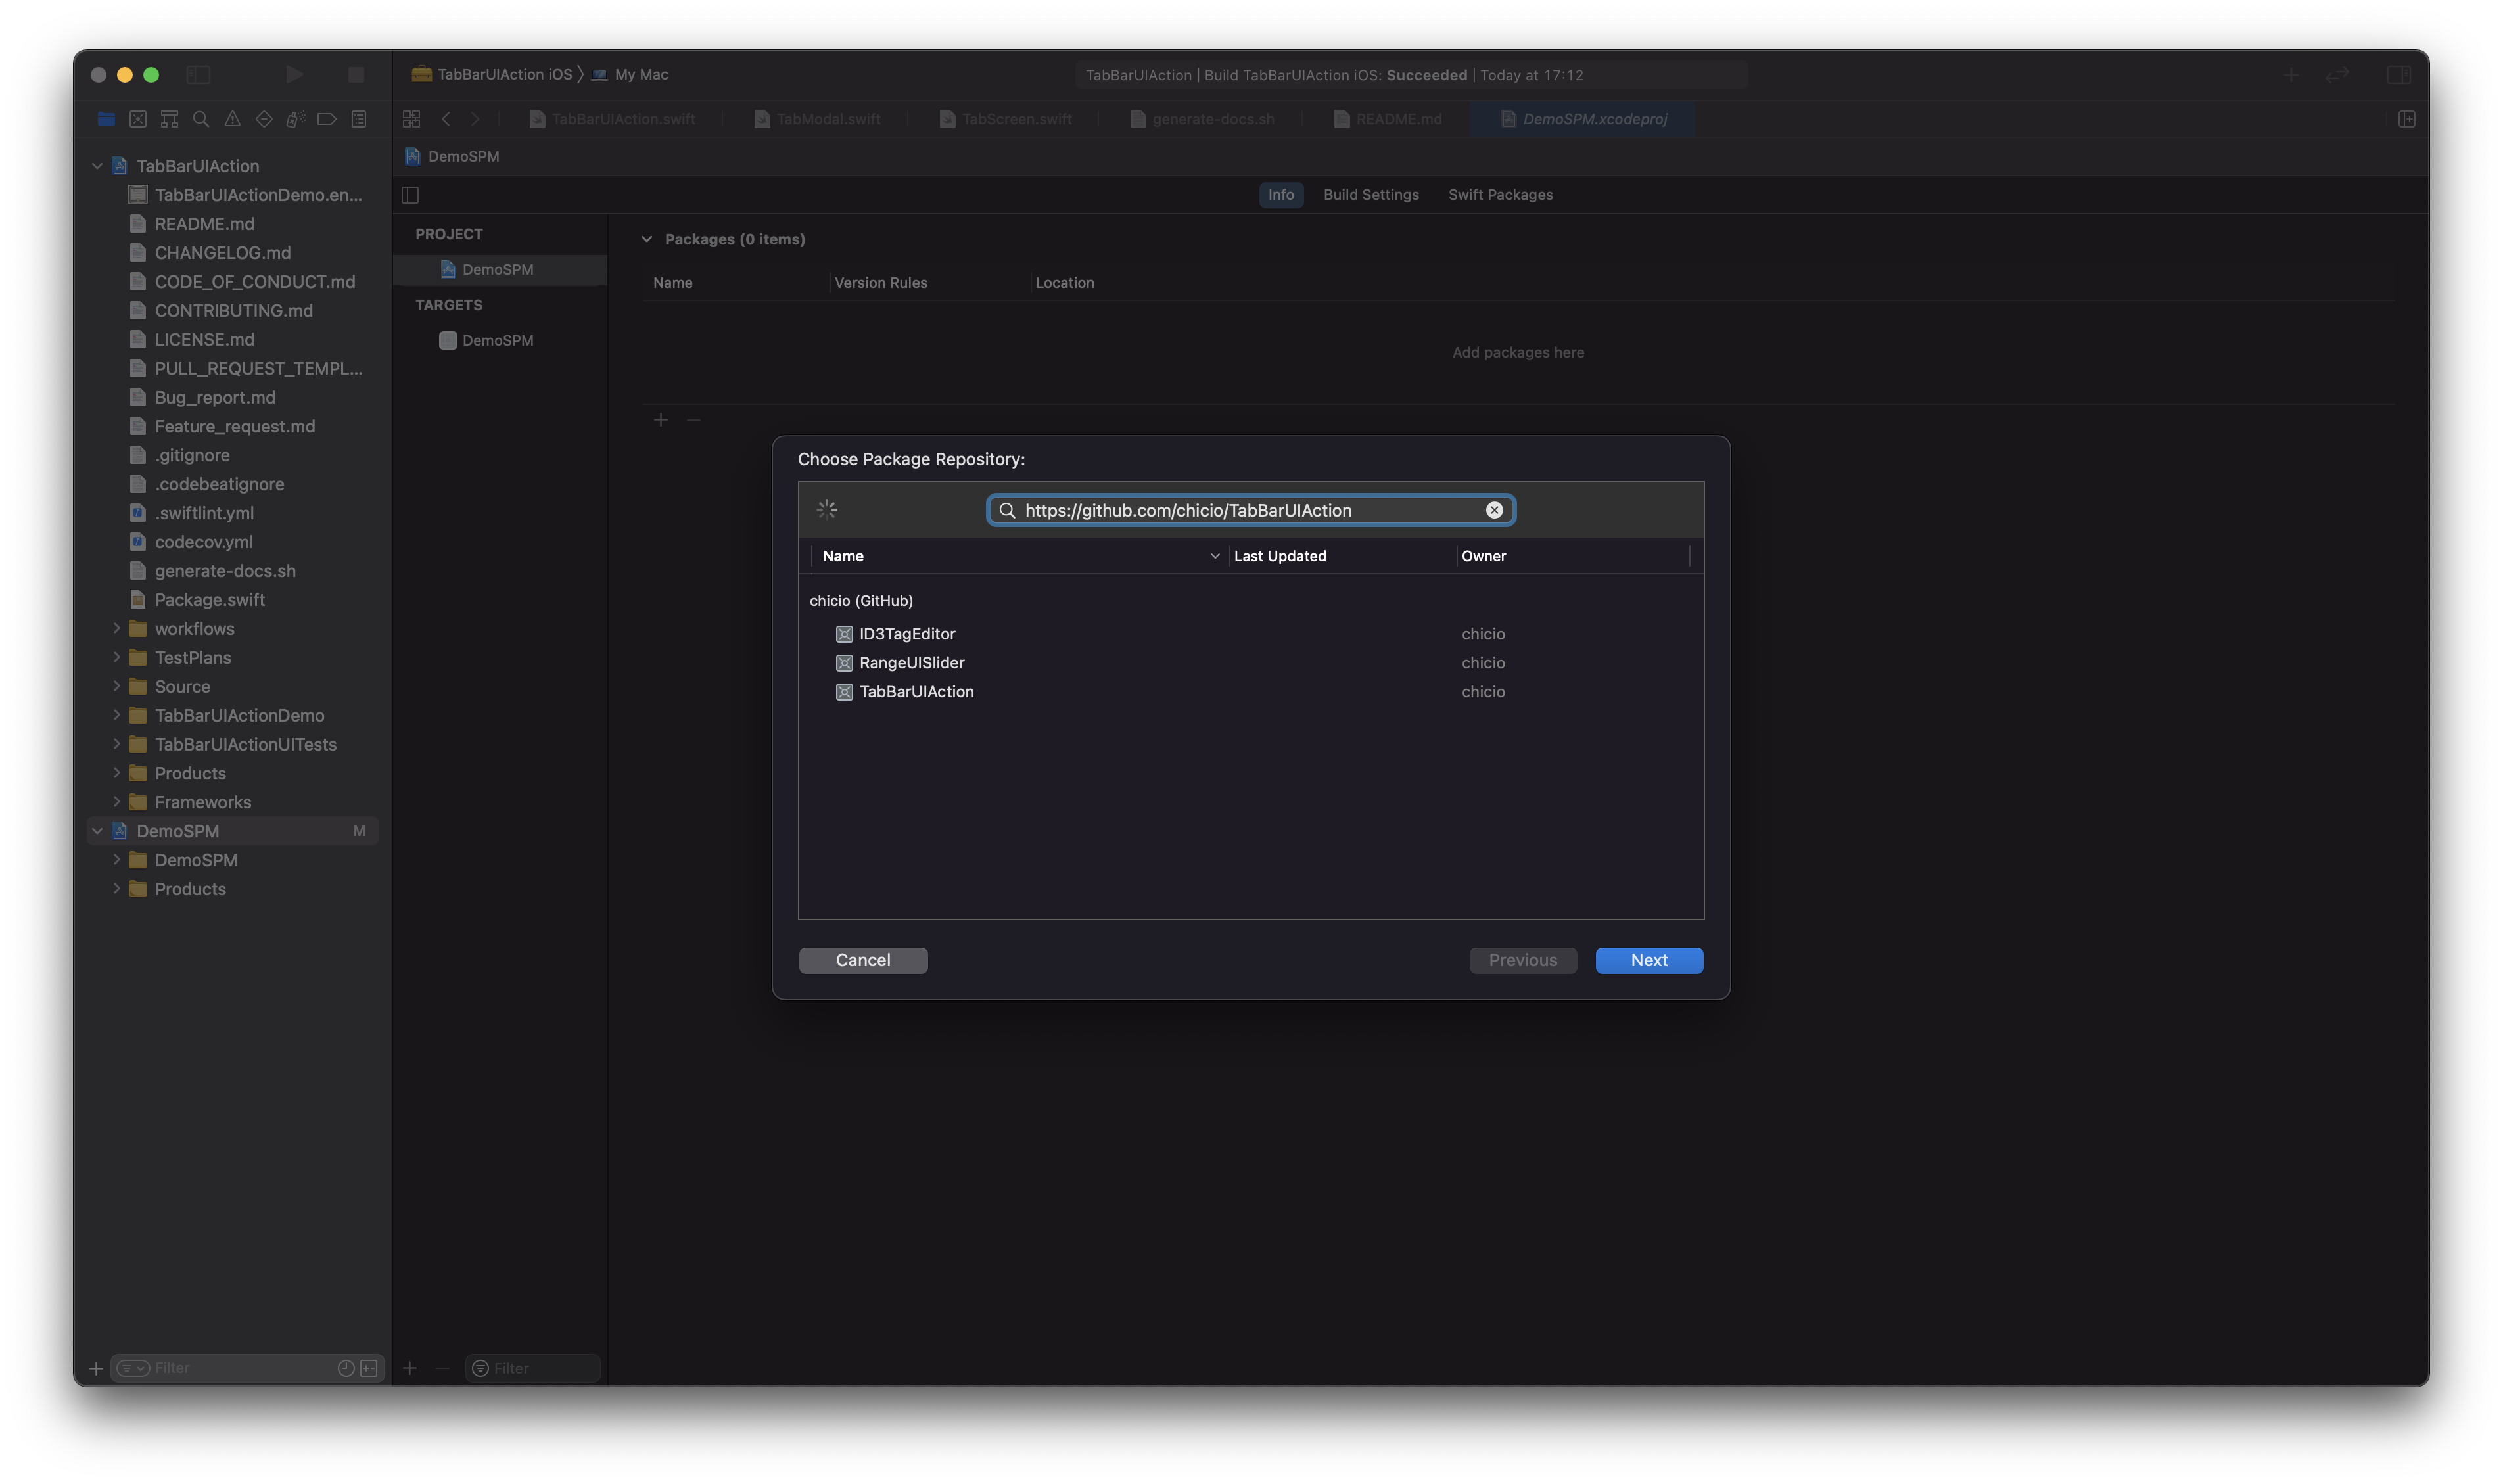
`TabBarUIAction` is also available as a SPM package. Add it from the project configuration using the Github repository url. Choose main branch or a tag.
See the [DemoSPM](https://github.com/chicio/TabBarUIAction/tree/main/DemoSPM) project for an example of the setup with the Swiftp Package Manager.
***
### Usage
To use `TabBarUIAction` in your app you have to:
* import `TabBarUIAction` in your SwiftUI view
* define two `@State` variables:
* a `currentTab` state variable of type `TabPosition`
* a `showModal` state variable of type `Bool`
* configure it with colors and screens content
Below you can find two examples of tab bar:
* one with 3 screens: 2 standard tabs screen and a modal.
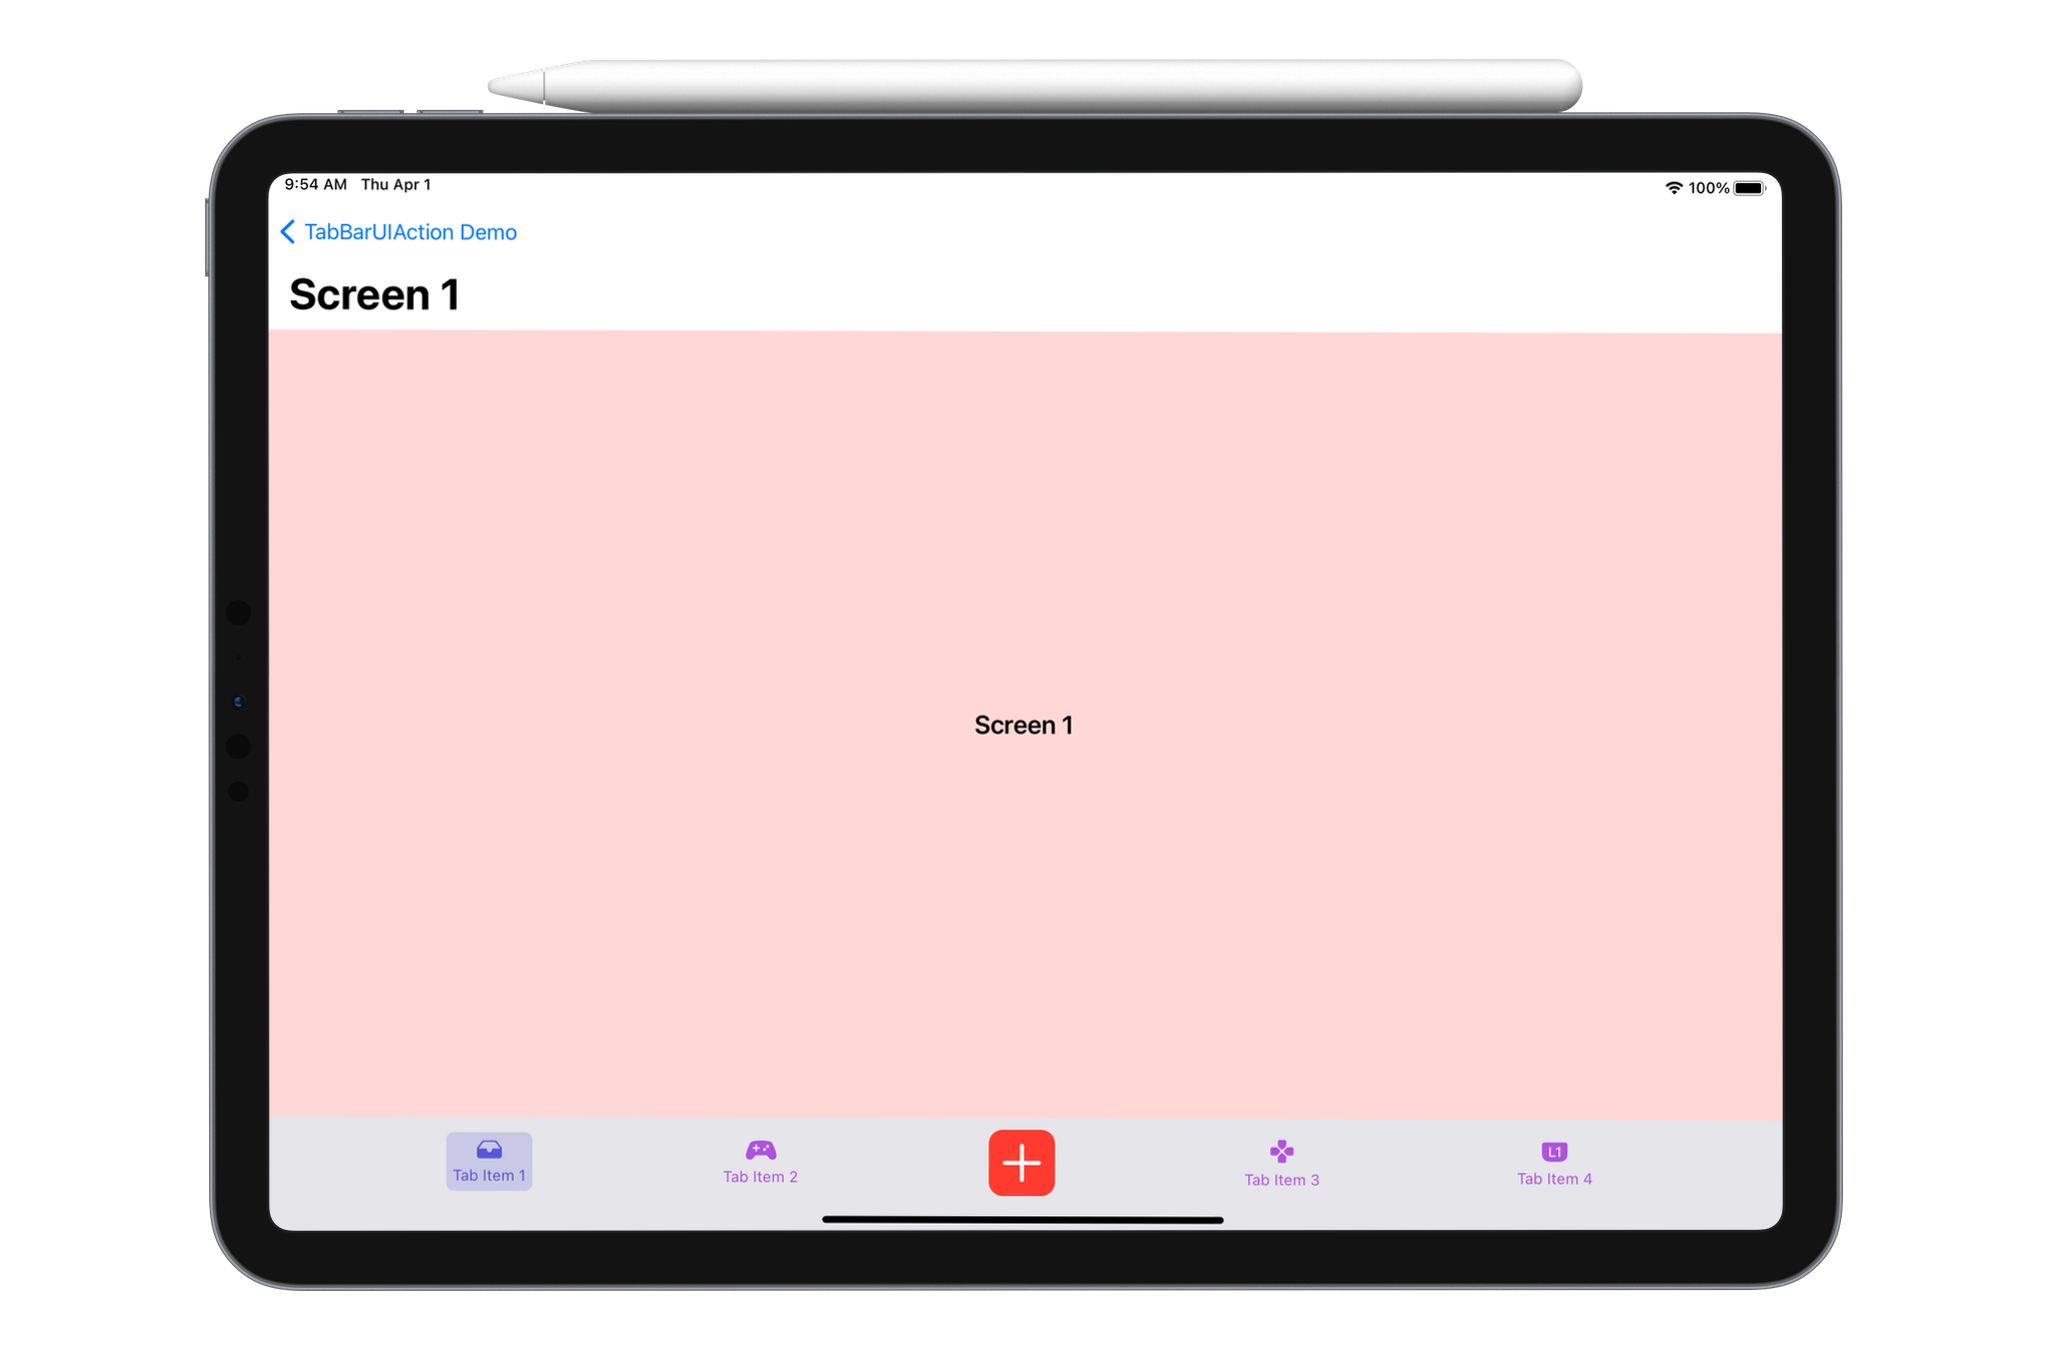
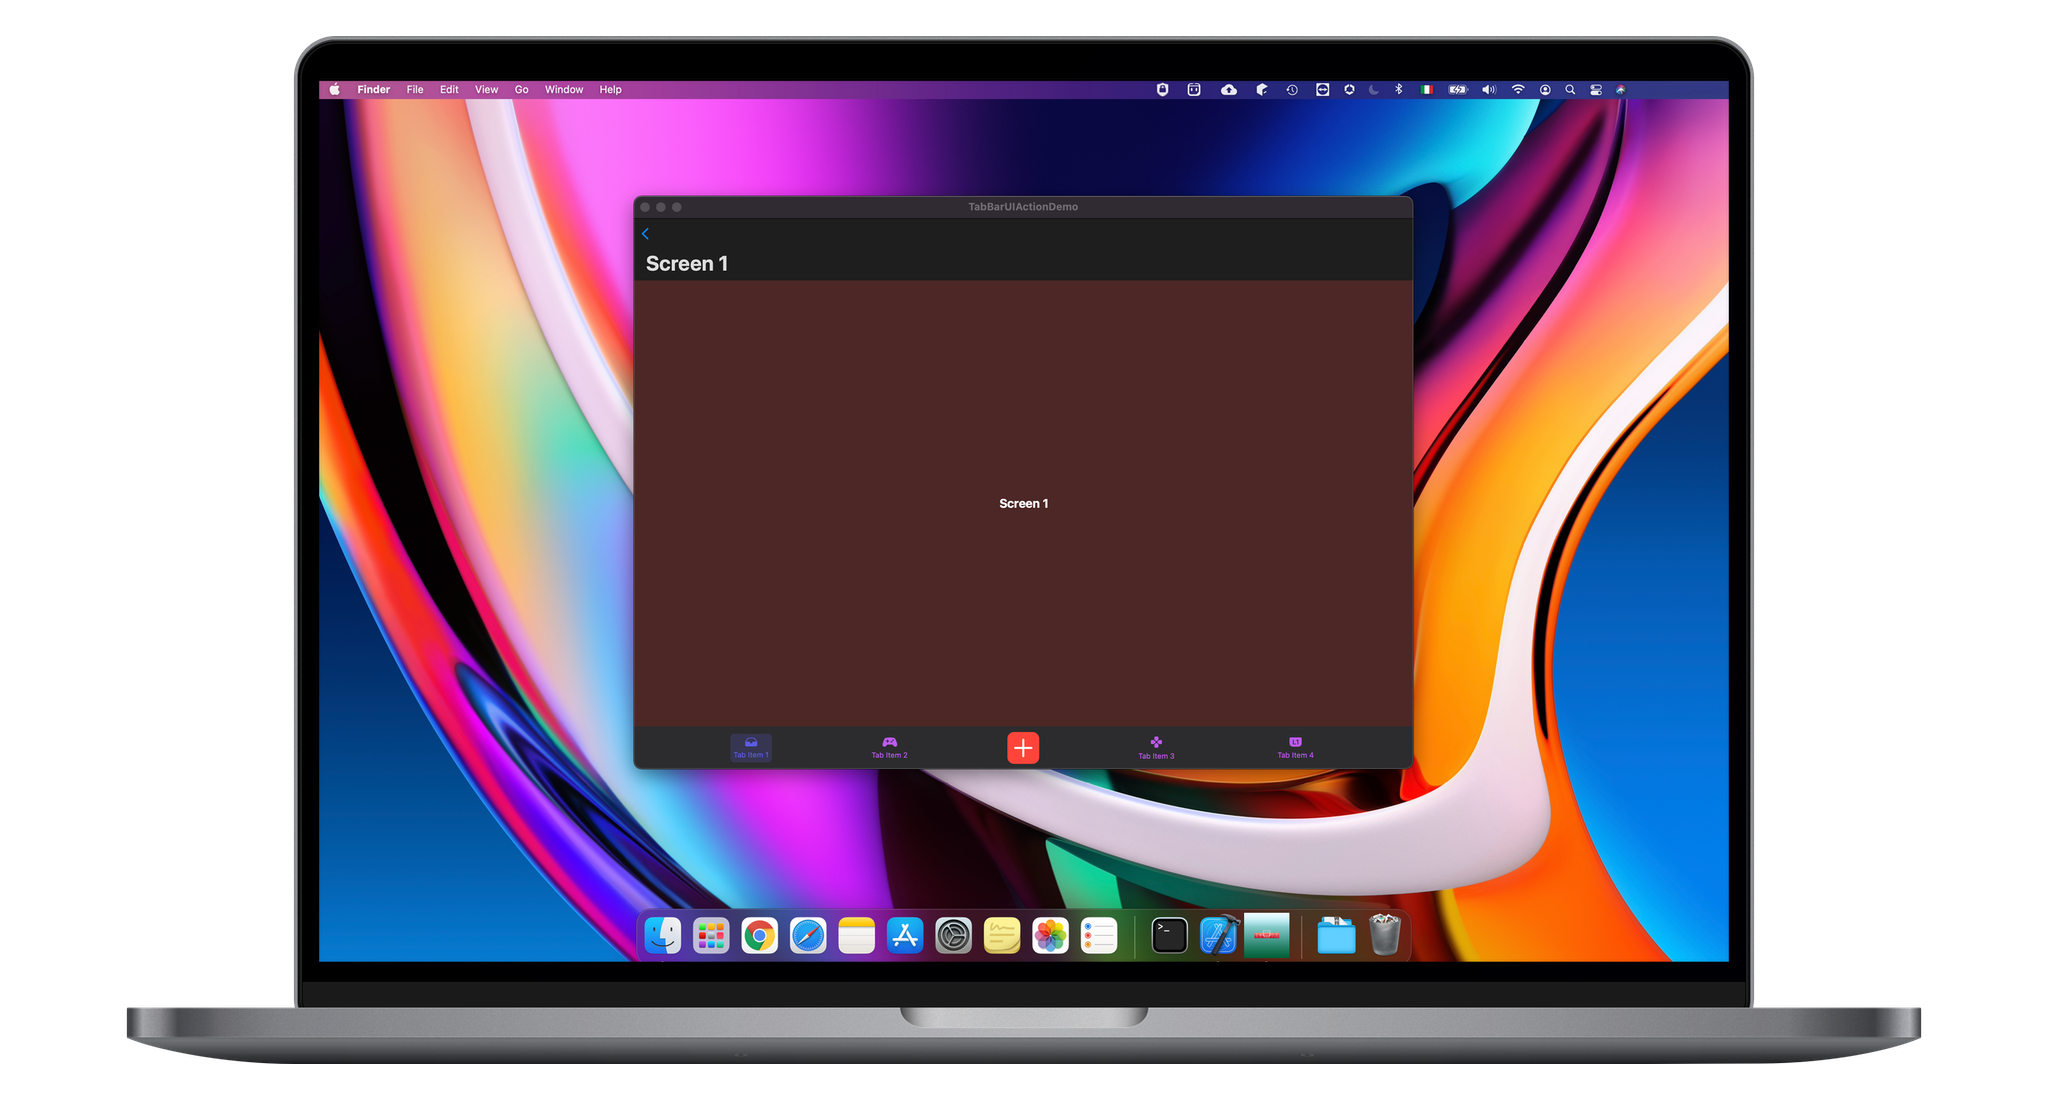
* one with 5 screens: 4 standard tabs screen and a modal.
```swift
import SwiftUI
import TabBarUIAction
struct YourView: View {
@State private var currentTab: TabPosition = .tab1
@State private var showModal: Bool = false
//... other state of your views
var body: some View {
VStack {
TabBarUIAction(
currentTab: $currentTab,
showModal: $showModal,
colors: Colors(
tabBarBackgroundColor: Color(.white),
tabItemsColors: TabItemsColors(
tabItemColor: Color(.black),
tabItemSelectionColor: Color(.blue)
)
)
) {
TabScreen(
tabItem: TabItemContent(
systemImageName: "folder.badge.plus",
text: "Tab Item 1",
font: Font.system(size: 16)
)
) {
/**
Your first tab screen. Could be any SwiftUI view.
For example...
*/
VStack {
///...other content
}
}
TabModal {
/**
Define an element to be used as tab bar modal item.
Here you can find an exampl: an image used as button.
*/
Image(systemName: "plus.circle.fill")
.resizable()
.aspectRatio(contentMode: .fit)
.frame(width: 55, height: 55, alignment: .center)
.foregroundColor(Color(.systemBlue))
.background(Color(.white))
.cornerRadius(55/2)
.overlay(RoundedRectangle(cornerRadius: 55/2).stroke(Color(.blue), lineWidth: 2))
.accessibility(identifier: "TabBarModalButton")
} content: {
/**
Your modal screen. Could be any SwiftUI view.
For example...
*/
VStack {
///...other content
}
}
TabScreen(
tabItem: TabItemContent(systemImageName: "gear", text: "Tab Item 2", font: Font.system(size: 16))
) {
/**
Your second tab screen. Could be any SwiftUI view.
For example...
*/
VStack {
///...other content
}
}
}
}
}
}
```
```swift
import SwiftUI
import TabBarUIAction
struct YourView: View {
@State private var currentTab: TabPosition = .tab1
@State private var showModal: Bool = false
var body: some View {
VStack {
TabBarUIAction(
currentTab: $currentTab,
showModal: $showModal,
colors: Colors(
tabBarBackgroundColor: Color(.systemGray5),
tabItemsColors: TabItemsColors(
tabItemColor: Color(.systemPurple),
tabItemSelectionColor: Color(.systemIndigo)
)
)
) {
TabScreen(
tabItem: TabItemContent(
systemImageName: "tray.fill",
text: "Tab Item 1",
font: Font.system(size: 12)
)
) {
/**
Your first tab screen. Could be any SwiftUI view.
For example...
*/
VStack {
///...other content
}
}
TabScreen(
tabItem: TabItemContent(
systemImageName: "gamecontroller.fill",
text: "Tab Item 2",
font: Font.system(size: 12)
)
) {
/**
Your first tab screen. Could be any SwiftUI view.
For example...
*/
VStack {
///...other content
}
}
TabModal {
/**
Define an element to be used as tab bar modal item.
Here you can find an exampl: an image used as button.
*/
Image(systemName: "plus")
.resizable()
.aspectRatio(contentMode: .fit)
.frame(width: 30, height: 30, alignment: .center)
.foregroundColor(Color(.white))
.padding(10)
.background(Color(.systemRed))
.cornerRadius(10)
.overlay(RoundedRectangle(cornerRadius: 10).stroke(Color(.systemRed), lineWidth: 2))
.accessibility(identifier: "TabBarModalButton")
} content: {
/**
Your modal screen. Could be any SwiftUI view.
For example...
*/
VStack {
///...other content
}
}
TabScreen(
tabItem: TabItemContent(
systemImageName: "dpad.fill",
text: "Tab Item 3",
font: Font.system(size: 12)
)
) {
/**
Your first tab screen. Could be any SwiftUI view.
For example...
*/
VStack {
///...other content
}
}
TabScreen(
tabItem: TabItemContent(
systemImageName: "l1.rectangle.roundedbottom.fill",
text: "Tab Item 4",
font: Font.system(size: 12)
)
) {
/**
Your first tab screen. Could be any SwiftUI view.
For example...
*/
VStack {
///...other content
}
}
}
}
}
}
```
***
### Documentation
You can find the complete api documentation on [fabrizioduroni.it](https://tabbaruiaction.fabrizioduroni.it "TabBarUIAction doc").
***
### Examples
In the following screenshots you can find some TabBarUIAction usage examples. You can find these examples in the [demo catalyst app project](https://github.com/chicio/TabBarUIAction/tree/master/TabBarUIActionDemo).
