https://github.com/clerk/clerk-netlify-template
A Clerk Starter with Netlify.
https://github.com/clerk/clerk-netlify-template
Last synced: 3 months ago
JSON representation
A Clerk Starter with Netlify.
- Host: GitHub
- URL: https://github.com/clerk/clerk-netlify-template
- Owner: clerk
- License: mit
- Created: 2022-10-04T14:30:44.000Z (almost 4 years ago)
- Default Branch: main
- Last Pushed: 2022-11-03T23:59:23.000Z (over 3 years ago)
- Last Synced: 2025-03-19T06:33:27.791Z (over 1 year ago)
- Language: JavaScript
- Homepage:
- Size: 577 KB
- Stars: 1
- Watchers: 1
- Forks: 1
- Open Issues: 0
-
Metadata Files:
- Readme: README.md
- License: LICENSE.md
Awesome Lists containing this project
README
# Clerk template
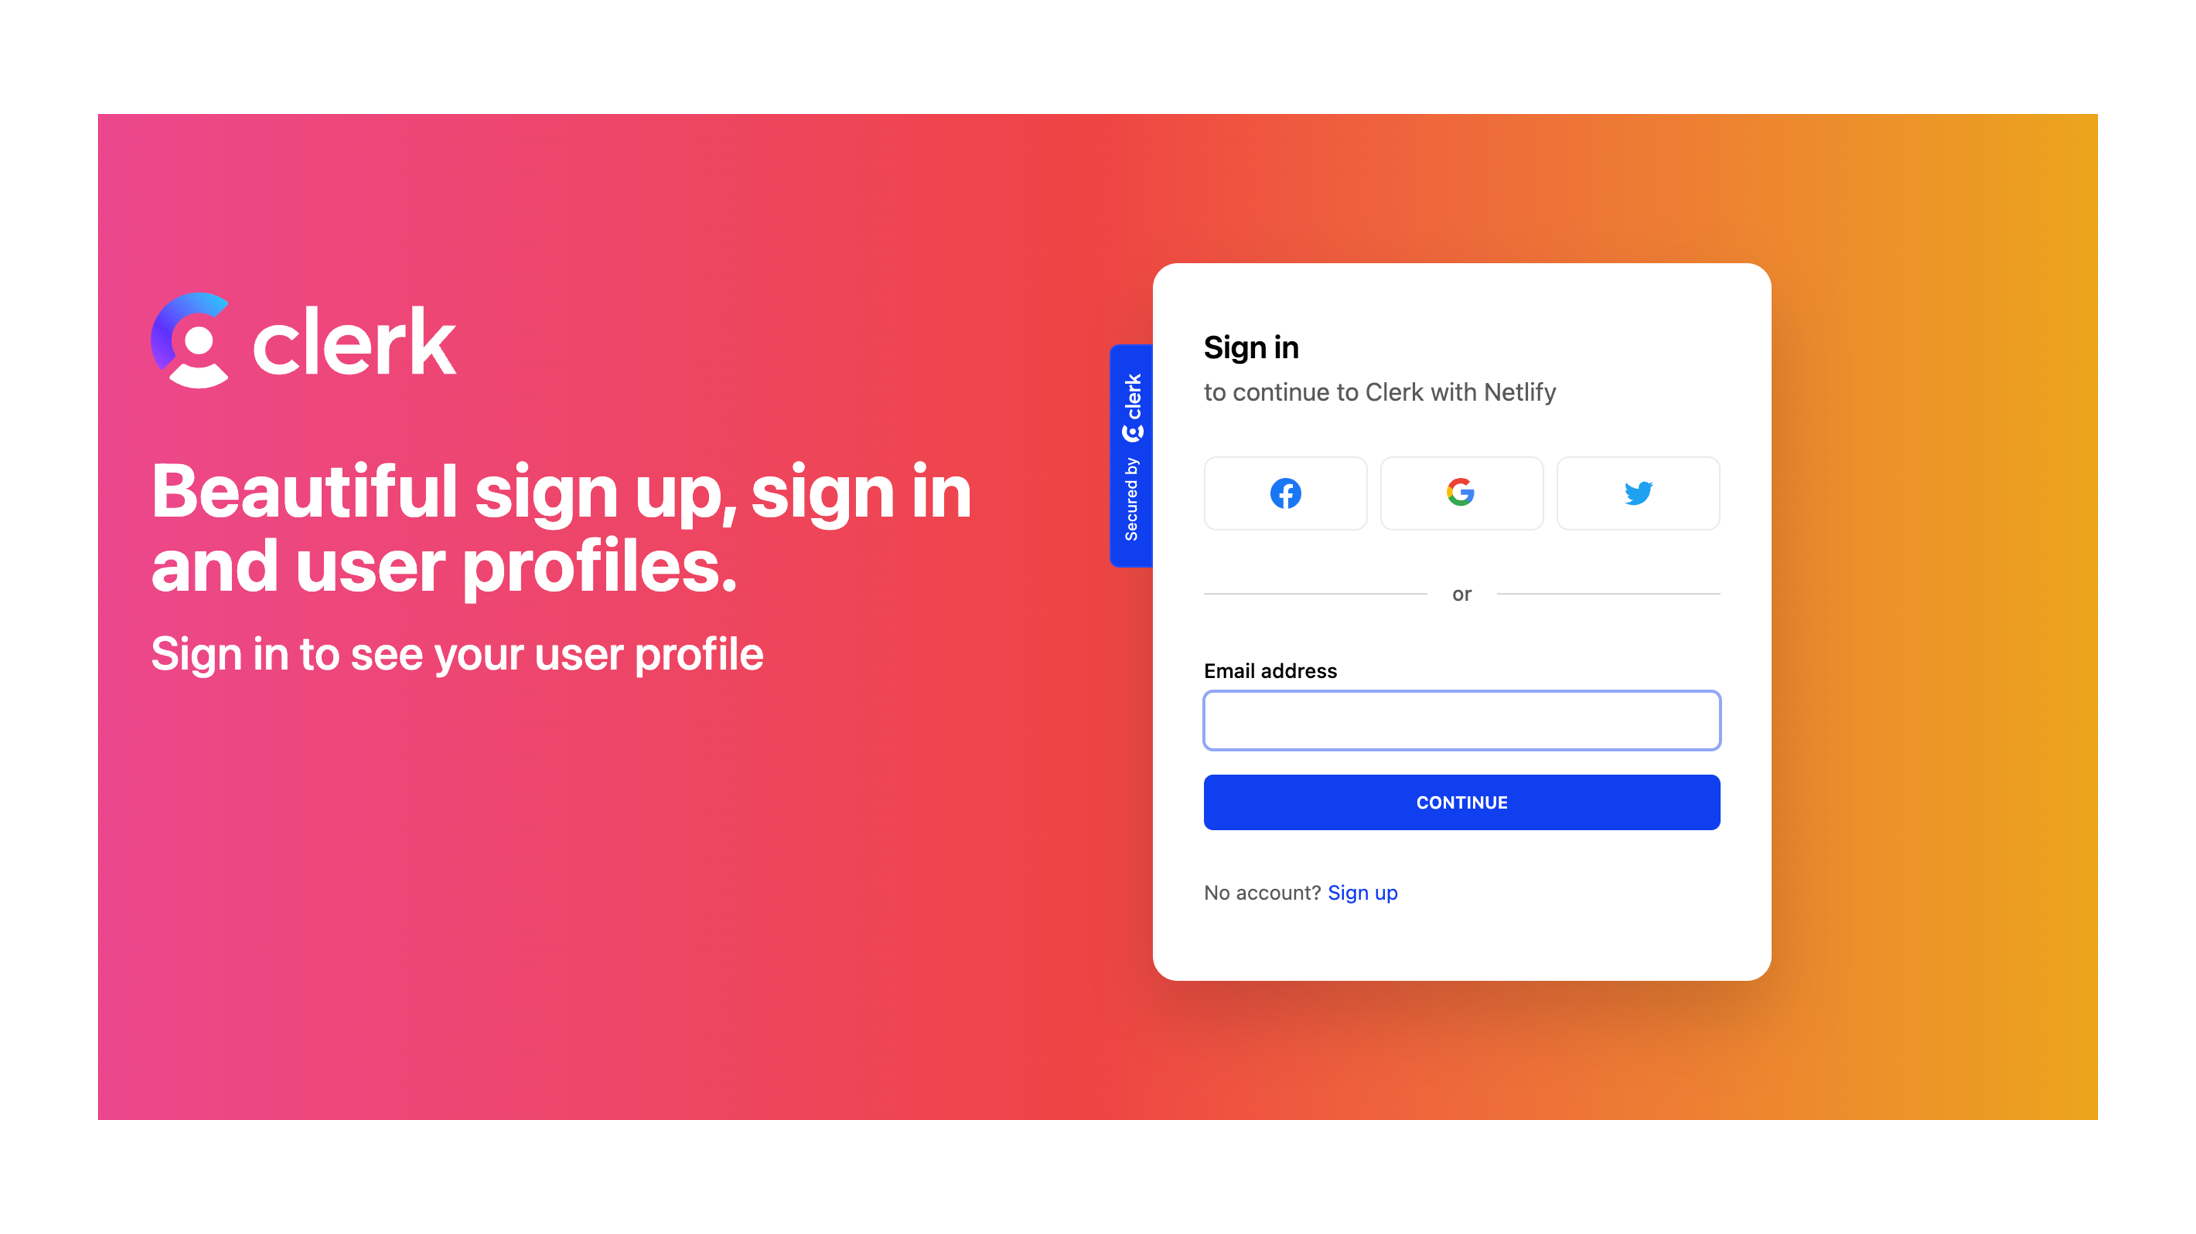
Learn more about [Clerk](https://clerk.dev).
## What's in the stack
- [Netlify](https://netlify.com/) deployment + deploy previews and CI/CD
- [Tailwind](https://tailwindcss.com/) for styling
---
## Getting Started
### Clone Repo
- Select the "Use This Template" button at the top right-hand corner of this repo.

- Clone the new repository
```sh
git clone
```
### Create Clerk Account + New Application
- If you don't already have an account with Clerk you can easily set one up with just a few steps [here](https://clerk.dev). Once your account is created you should be prompted to create a new application, you will need to add a name for your new app and can keep the pre-selected settings under 'Standard Authentication' and 'Connected Accounts'. You will then be sent to the Application dashboard, which you will need to go back to when deploying your new site.
## Development
- Install all dependencies & the [Netlify CLI](https://docs.netlify.com/cli/get-started/):
```sh
npm install
npm install netlify-cli -g
```
- Create or connect to your Netlify project by running through the Netlify `init` script. This will walk you through the process of setting up and deploying your site on Netlify:
```sh
netlify init
```
- For the Environment variables the API and JWT keys will be located under Developers > API Keys within the Clerk dashboard. Add your [Clerk environment variables](https://dashboard.clerk.dev/) to a `.env` file like [`.env.local.sample`](./.env.local.sample) file or through the Netlify project dashboard at [https://app.netlify.com/](https://app.netlify.com/) Site settings/Build & deploy/Environment:
```
NEXT_PUBLIC_CLERK_FRONTEND_API=""
CLERK_API_KEY=""
CLERK_JWT_KEY=""
```
> 🚨 Once you've added in the environment variables, you will need to go to the 'Deploy' tab within your Netlify Dashboard and trigger a new deploy.
- Start dev server (This starts your app in development mode, rebuilding assets on file changes.):
```sh
npm run dev
or
netlify dev
```
Your new site should now be up and running!