https://github.com/cosmicjs/simple-react-blog-graphql
A simple blog website powered by Next.js and the Cosmic GraphQL API
https://github.com/cosmicjs/simple-react-blog-graphql
api blog cms graphql react
Last synced: about 2 months ago
JSON representation
A simple blog website powered by Next.js and the Cosmic GraphQL API
- Host: GitHub
- URL: https://github.com/cosmicjs/simple-react-blog-graphql
- Owner: cosmicjs
- Created: 2022-06-03T18:29:58.000Z (about 4 years ago)
- Default Branch: master
- Last Pushed: 2022-06-03T18:39:03.000Z (about 4 years ago)
- Last Synced: 2025-12-31T06:58:02.168Z (6 months ago)
- Topics: api, blog, cms, graphql, react
- Language: JavaScript
- Homepage: https://www.cosmicjs.com/apps/simple-react-blog
- Size: 2.49 MB
- Stars: 1
- Watchers: 1
- Forks: 0
- Open Issues: 0
-
Metadata Files:
- Readme: README.md
Awesome Lists containing this project
README
# Simple React Blog (GraphQL)

### [View Demo](https://cosmicjs.com/apps/simple-react-blog/demo)
### React + Next.js + Cosmic GraphQL
This blog uses Next.js to create a React blog. It connects to the Cosmic API via GraphQL. Manage your content from your Cosmic Bucket Dashboard. Simple.
## Getting Started
1. Log in to Cosmic and install the [Simple React Blog template](https://www.cosmicjs.com/apps/simple-react-blog).
2. Run the following commands to install the code locally.
```
git clone https://github.com/cosmicjs/simple-react-blog
cd simple-react-blog
```
#### Environment Variables
1. Create an `.env.local` file to gain API access to your Cosmic Bucket. To do this, run:
```
cp .env.example .env.local
```
2. Find your API access keys at Bucket Settings > API Access and add them to the `.env.local` file. It should look something like this:
```
NEXT_PUBLIC_COSMIC_BUCKET_SLUG=your-bucket-slug
NEXT_PUBLIC_COSMIC_READ_KEY=your-bucket-read-key
```
#### Run in development
Install all dependencies and run in development mode.
```
yarn
yarn dev
```
Open [http://localhost:3000](http://localhost:3000).
## Deploy to Vercel
Use the following button to deploy to Vercel. You will need to add API accesss keys as environment variables. Find these in Bucket Settings > API Access.

## Revision Preview
Follow these steps to add revision preview to your Bucket:
1. [Log in to Cosmic](https://www.cosmicjs.com).
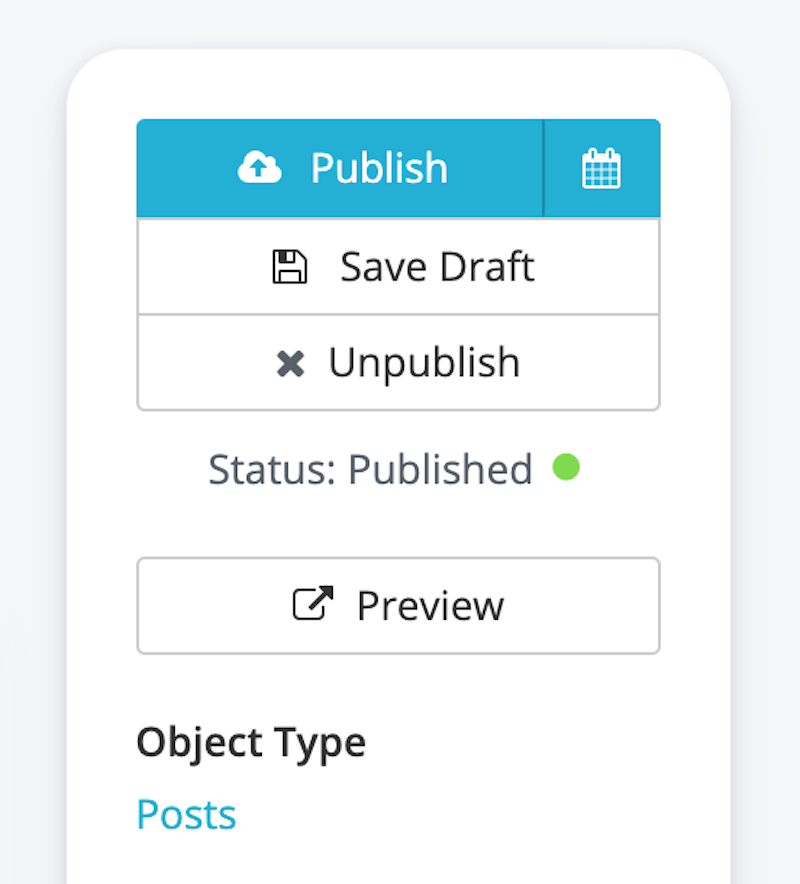
2. Go to Your Bucket > Posts > Object Type Settings.
3. Scroll down to the Preview Link section and add the following link:
```
http://localhost:3000/posts/[object_slug]?revision=[revision_id]
```
4. For production, replace `http://localhost:3000` with your URL.
Now when you "Save as Draft" on any Post, you can preview your changes by clicking the "Preview" link.