https://github.com/crossmint/sheets-no-code-minter
Google Sheets Implementation against the Mint API
https://github.com/crossmint/sheets-no-code-minter
Last synced: 12 months ago
JSON representation
Google Sheets Implementation against the Mint API
- Host: GitHub
- URL: https://github.com/crossmint/sheets-no-code-minter
- Owner: Crossmint
- Created: 2022-08-10T05:47:49.000Z (almost 4 years ago)
- Default Branch: main
- Last Pushed: 2022-08-11T20:50:09.000Z (almost 4 years ago)
- Last Synced: 2025-05-24T01:10:34.410Z (about 1 year ago)
- Language: JavaScript
- Size: 219 KB
- Stars: 2
- Watchers: 1
- Forks: 0
- Open Issues: 0
-
Metadata Files:
- Readme: README.md
Awesome Lists containing this project
README

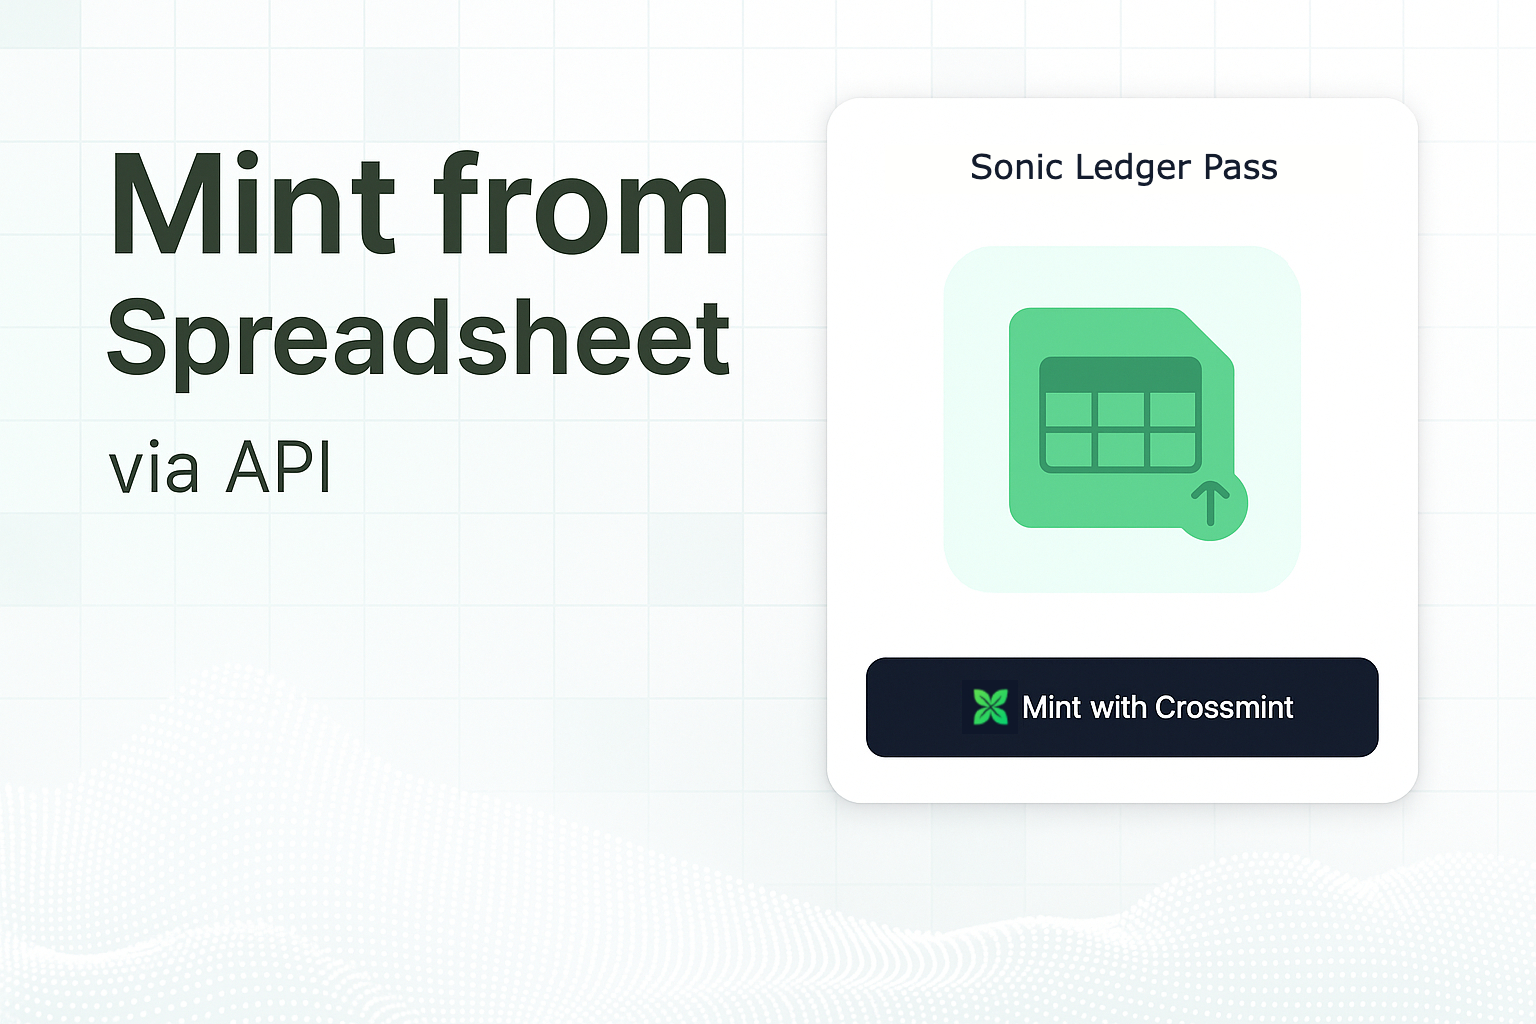
# Crossmint NFT Minter for Google Sheets
[Live Demo](https://docs.google.com/spreadsheets/d/1HRgXotJTJ_ojE3RcgV9uzY0ya51YoSPDbEFarRPjMAc/edit?gid=0#gid=0) | [Docs](https://docs.crossmint.com/minting/introduction) | [See all quickstarts](https://www.crossmint.com/quickstarts)
---
## Introduction
Mint NFTs in less than 1 minute from Google Sheets using Crossmint's API with the [following demo](https://docs.google.com/spreadsheets/d/1HRgXotJTJ_ojE3RcgV9uzY0ya51YoSPDbEFarRPjMAc/edit?gid=0#gid=0).
If you want to create your own collection of NFTs and mint to an unlimited number of users follow the steps from this quickstart and get it up and running in 10 minutes.
Both the demo and the quickstart include:
• Batch mint NFTs to multiple email addresses
• Dynamic NFT attributes configuration
• Real-time minting status tracking with transaction links
## Prerequisites
• Create a developer account in the [Staging Console](https://staging.crossmint.com).
• Create a [new collection](https://docs.crossmint.com/payments/guides/create-collection) and have your `collectionId` ready.
## Setup
1. Copy the Spreadsheet template with the following button

2. Get your server-side API key from the [Crossmint Console Overview](https://staging.crossmint.com/console/overview) and add it to the file.
3. Add your `collectionId`
4. Set up your token metadata
a. NFT name
b. Description
c. Image URL
d. Chain -> [list of supported chains](https://docs.crossmint.com/introduction/supported-chains)
e. Animation URL (optional)
5. Define the attributes of your NFT
Add up to 10 attributes consisting of a pair of attribute name and value. ie (Name= "Rarity", Value= "Ultra-rare")
6. Configure additional Settings
a. Send Notification (true/false) - Email notifications to recipients
b. Reupload Linked Files (true/false) - Reupload metadata files to IPFS
7. Enter the recipients' email or wallet addresses in the "recipients" section.
8. Click "Mint NFTs" and start minting
## Using in Production
1. Create an account in Crossmint's [production console](https://www.crossmint.com/signin?callbackUrl=/console).
2. Generate Server side API Keys with the following scopes: `wallets.create`, `wallets.read`, `nfts.create` & `nfts.read`.
3. Create a new collection.
4. Update the file with your production variables.
4. Update cell D16 with your production blockchain (e.g., "polygon" instead of "polygon-amoy")
⚠️ Important: Always test with a small batch first in production
## Common Issues
*No emails to process*
- Ensure emails are in column A and start from row 29
- Check that cells aren't empty or contain only spaces
*Failed to mint NFT*
- Verify your API key is correct and has minting permissions
- Check that your collection ID exists and is properly configured
*Action still pending*
- This is normal for blockchain transactions
- The script will retry up to 5 times with 5-second intervals