https://github.com/ctron/iot-simulator-example
Example deployment for EnMasse with Hono and the IoT Simulator
https://github.com/ctron/iot-simulator-example
Last synced: 4 months ago
JSON representation
Example deployment for EnMasse with Hono and the IoT Simulator
- Host: GitHub
- URL: https://github.com/ctron/iot-simulator-example
- Owner: ctron
- Created: 2020-01-23T10:07:13.000Z (over 6 years ago)
- Default Branch: master
- Last Pushed: 2020-02-06T15:12:15.000Z (over 6 years ago)
- Last Synced: 2025-06-13T14:10:01.182Z (12 months ago)
- Homepage:
- Size: 1.39 MB
- Stars: 1
- Watchers: 2
- Forks: 1
- Open Issues: 1
-
Metadata Files:
- Readme: README.md
Awesome Lists containing this project
README
# IoT Simulator
## Background
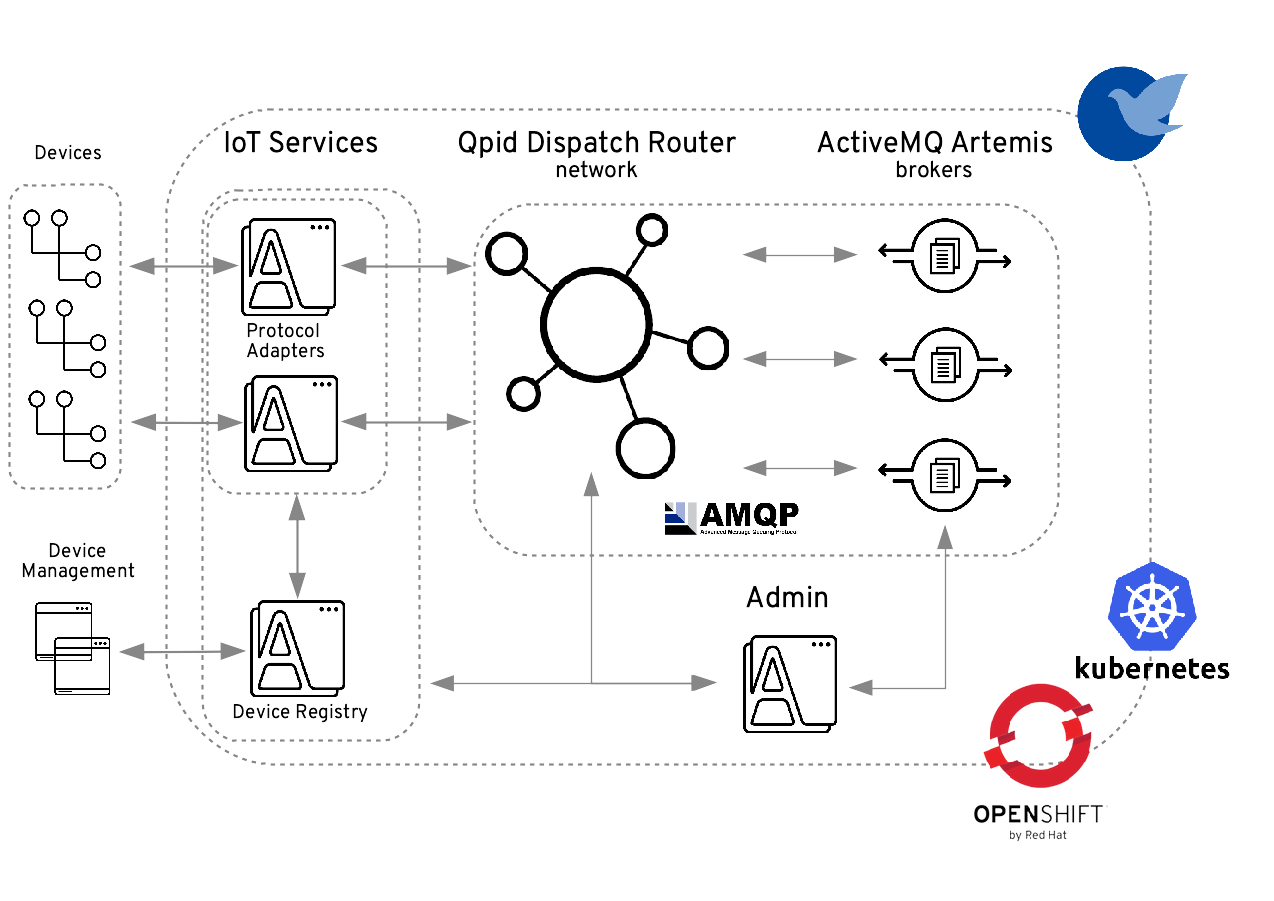
This module is used to demonstrate the power of [EnMasse](https://enmasse.io/), a streamlined and easy to use messaging infrastructure that can be deployed on a custom Kubernetes instance or openshift cluster. This system becomes extremely useful for the Edge computing / IOT workload where many types of devices and communication protocols must be supported while maintaining the scalabilty and autonomy provided by modern Container orchestration platforms.
This example specifically demonstrates the power of the newer IOT features provided by EnMasse and powered by Ecipse hono. With these addons EnMasse will give the user the ability to build scalable and resilient messaging architectures connecting the edge to the cloud.
The diagram shown below gives a good overview of the end to end system
## The setup
This demostration is split up into 4 major modules that are deployed in 4 different pods during use
1. Simulator
* Manages the Producer and Consumer
2. Producer
* Generates arbitrary MQTT or HTTP telemetry messages that are sent to EnMasse's IoT protocol adapter (Eclipse Hono)
3. Consumer
* Consumes the Telemetry messages produced by the Enmasse instance
4. Web Console
* Displays information about the data exchange between producer and consumer
# Deploy the IoT simulator
This Demo can be deployed on either a **remote** or **local** OpenShift instance
## Remotely
See this [link](https://docs.openshift.com/container-platform/4.3/welcome/index.html) for more information on creating a remotely hosted openshift instance
## Locally: CodeReadyContainers(CRC)
If using CRC, first create a new machine using the following command:
crc start
## Prepare your OpenShift cluster
1. Log in as admin
2. Make new project titled "enmasse-infra"
oc new-project enmasse-infra
## Getting EnMasse
There are two ways to Deploy enmasse to your cluster, either **manually** or via the provided [**Enmasse operator**](https://operatorhub.io/operator/enmasse)
Regardless please download and install the EnMasse tarball since we do some setup with these via the command line
Download EnMasse:
curl -sL https://github.com/EnMasseProject/enmasse/releases/download/0.30.2/enmasse-0.30.2.tgz -o enmasse.tar.gz
Unpack the archive:
mkdir enmasse
cd enmasse
tar --strip-components=1 -xzf ../enmasse.tar.gz
cd ..
### Operator
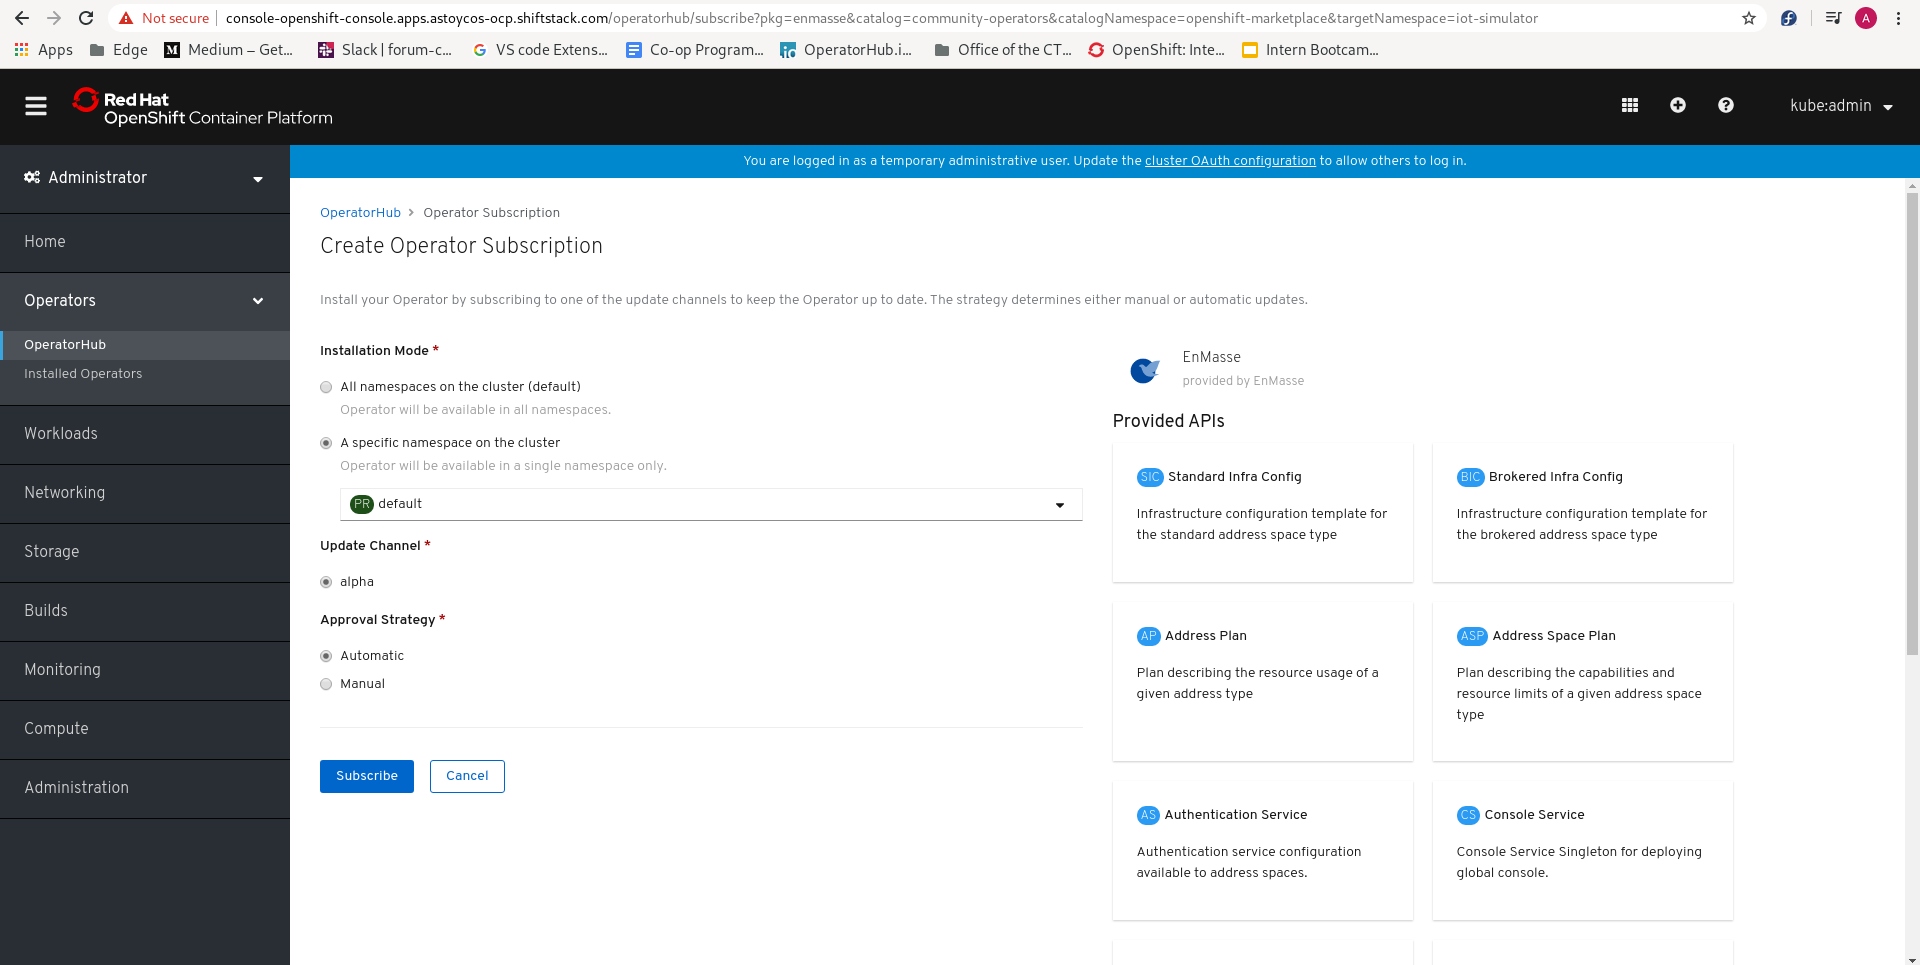
Using Openshift's web console navagate to the "Operatorhub" tab and search for "enmasse"
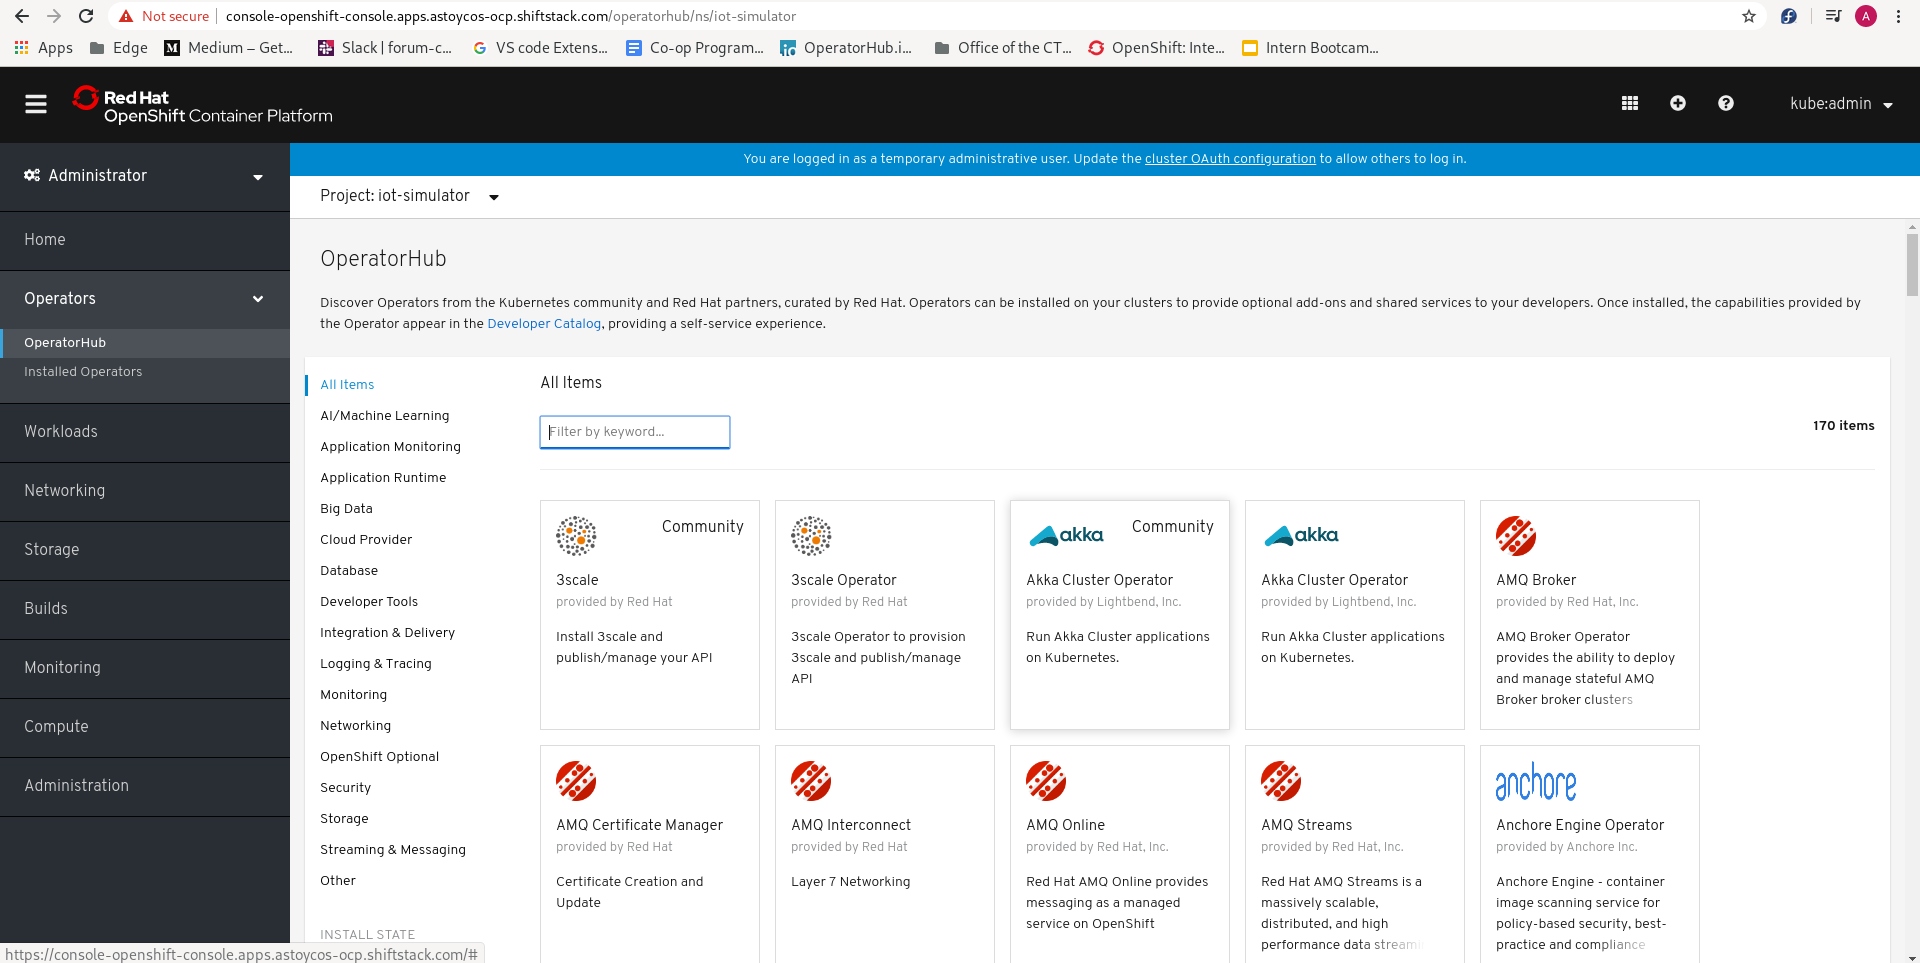
Click "install"
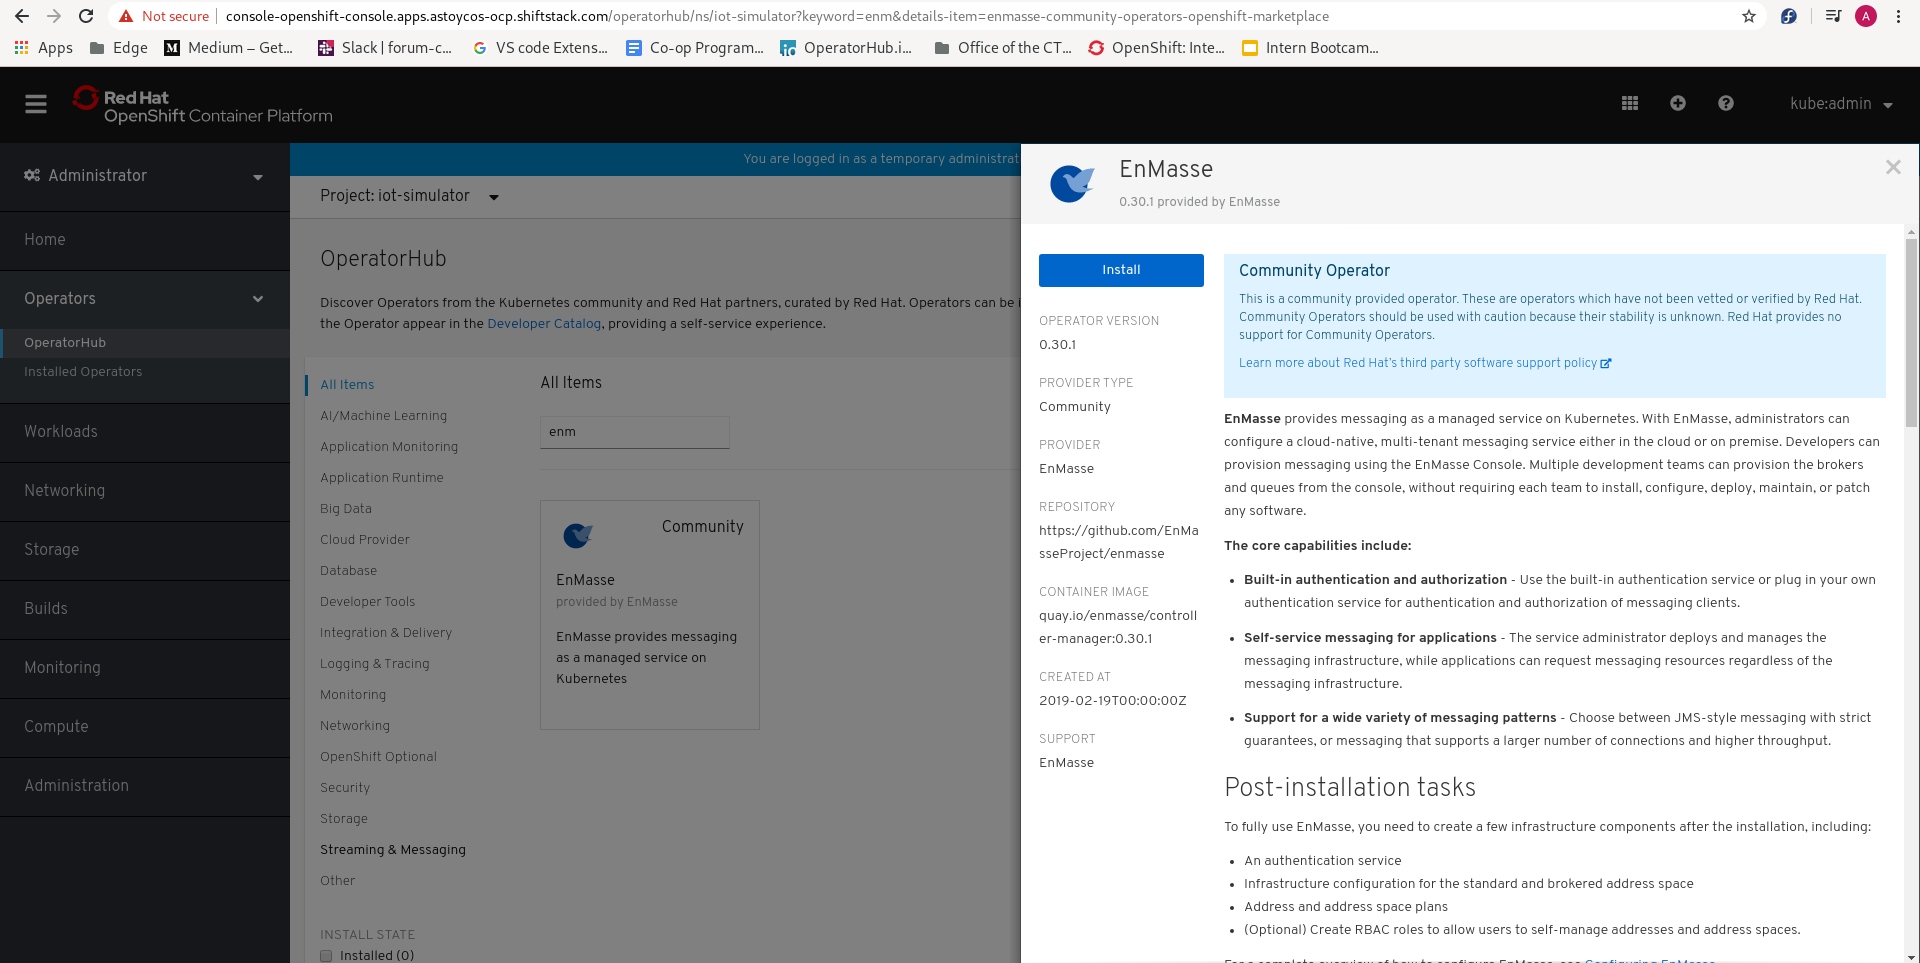
Choose to "install in a specific namespace" and make sure the project enmasse-infra is selected
### Manually
Make sure you are on the correct openshift project
$ oc project enmasse-infra
Now using project "enmasse-infra" on server "https://api.my-cluster.my-domain:6443".`
Install the bundle
oc apply -f enmasse/install/bundles/enmasse`
## Configuring EnMasse
oc apply -f enmasse/install/preview-bundles/iot
oc apply -f enmasse/install/components/example-authservices/standard-authservice.yaml
oc apply -f enmasse/install/components/example-roles
oc apply -f enmasse/install/components/example-plans
## Enable EnMasse's IoT feature
Enable the feature:
oc apply -f deploy/010-Infrastructure
And wait for the configuration to be ready:
oc get iotconfig
The output should show `Ready` in the column `PHASE`:
NAME PHASE
default Ready
## Create a new IoT project
Create the new project:
oc new-project myapp
oc apply -f deploy/020-Project
And wait for the project to be ready (This will normally take a few minutes):
oc get iotproject
The output should show `Ready` in the column `PHASE`:
NAME IOT TENANT DOWNSTREAM HOST DOWNSTREAM PORT TLS PHASE
iot myapp.iot messaging-vv2rt4cho5.enmasse-infra.svc 5671 true Ready
## Deploy the simulator
oc new-project iot-simulator
oc apply -f deploy/030-SimulatorOperator
## Create a new simulator instance
Get the necessary information:
export MESSAGING_HOST=$(oc -n myapp get addressspace iot -o 'jsonpath={ .status.endpointStatuses[?(@.name=="messaging")].serviceHost }')
export CA_CERT=$(oc -n myapp get addressspace iot -o 'jsonpath={ .status.caCert }')
export MGMT_TOKEN=$(oc whoami -t)
And then apply the configuration and deploy simulator module to cluster:
cat deploy/040-Simulator/010-Simulator.yaml.in | envsubst | oc apply -f -
**Note:** When using `$(oc whoami -t)`, you will use the current user's token for authenticating. The user of this
token must have permissions to access the `IoTProject` created earlier on. As this also is the token of
a user, the token will expire. Normally after 24h of logging in the user. Alternatively you can create a
service account, get that token, and use it instead.
## Deploy the Producer and Consumer modules
oc apply -f deploy/050-Workload
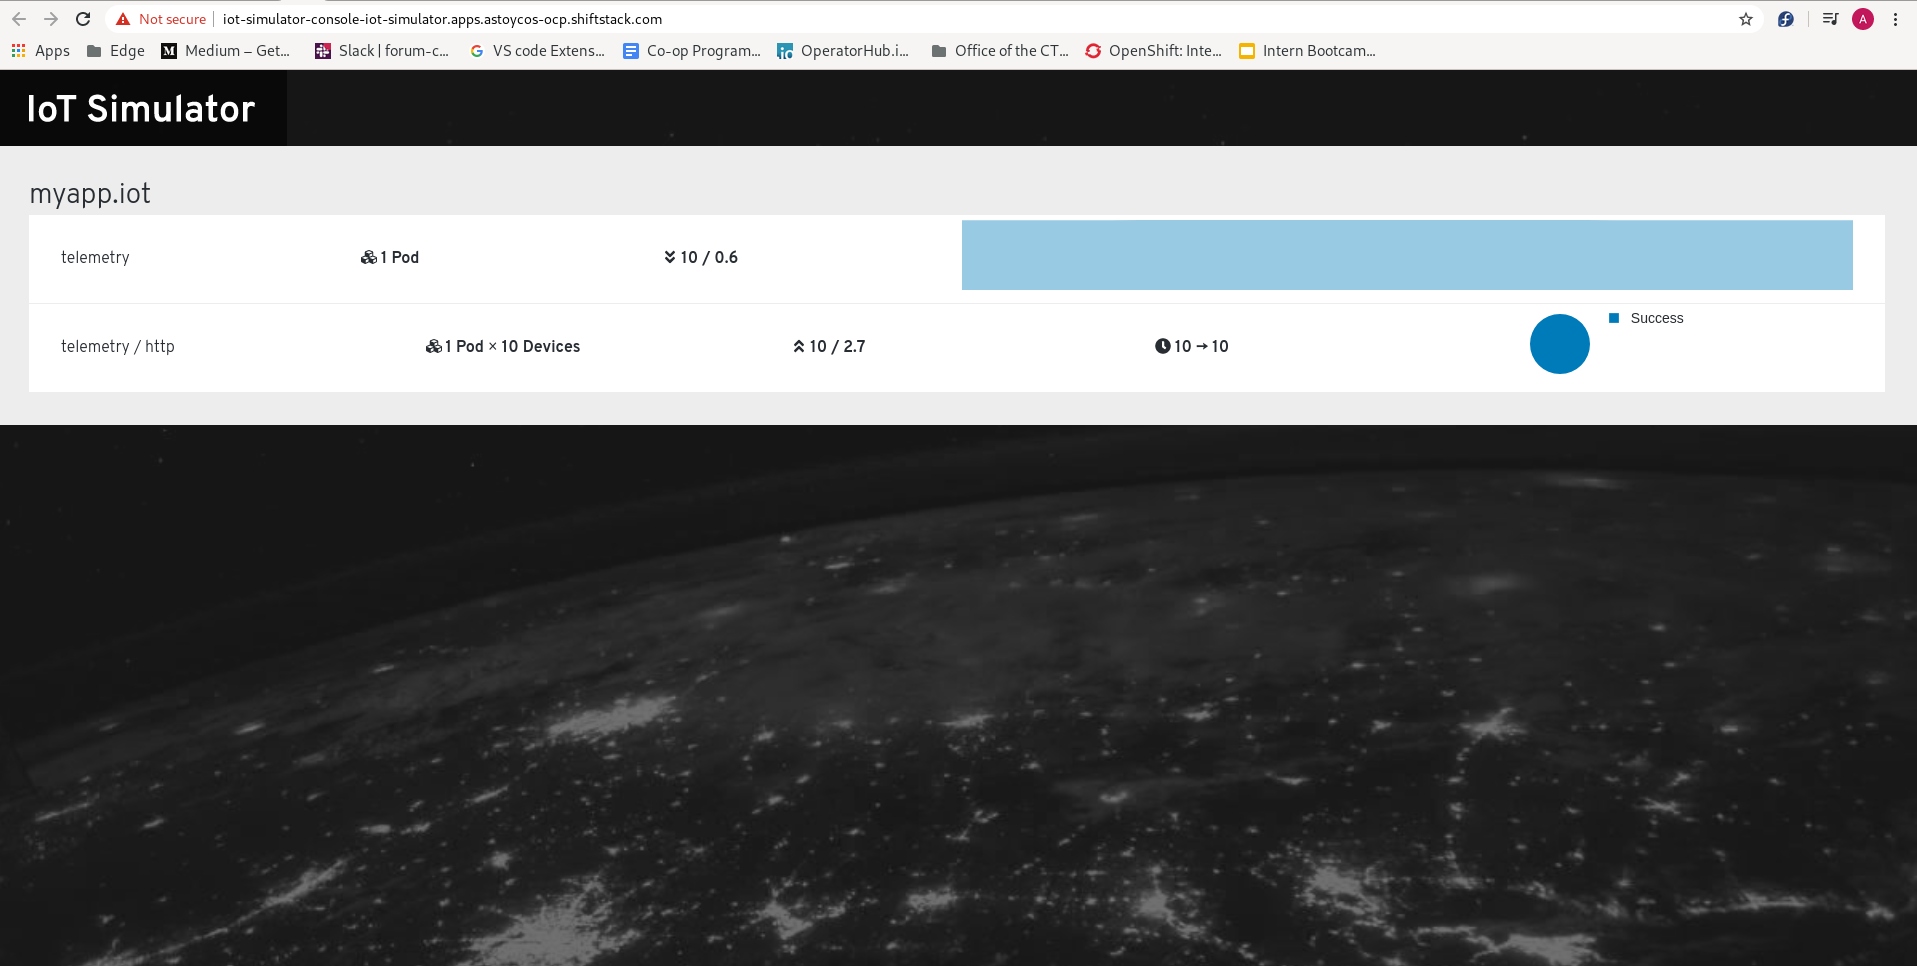
## See Results
Wait until the above steps are complete (i.e the simulator, producer, consumer, and web-console pods are running)
If everything is working correctly you should be able to open the web console at
iot-simulator-console-iot-simulator.apps.