Ecosyste.ms: Awesome
An open API service indexing awesome lists of open source software.
https://github.com/daniel-frank-miller/react-ecommerce
https://github.com/daniel-frank-miller/react-ecommerce
ecommerce react
Last synced: 15 days ago
JSON representation
- Host: GitHub
- URL: https://github.com/daniel-frank-miller/react-ecommerce
- Owner: daniel-frank-miller
- License: apache-2.0
- Created: 2024-10-13T14:00:25.000Z (4 months ago)
- Default Branch: master
- Last Pushed: 2024-10-13T14:09:26.000Z (4 months ago)
- Last Synced: 2024-11-13T01:20:33.950Z (2 months ago)
- Topics: ecommerce, react
- Language: JavaScript
- Homepage:
- Size: 8.03 MB
- Stars: 0
- Watchers: 1
- Forks: 0
- Open Issues: 0
-
Metadata Files:
- Readme: README.md
- License: LICENSE
Awesome Lists containing this project
README
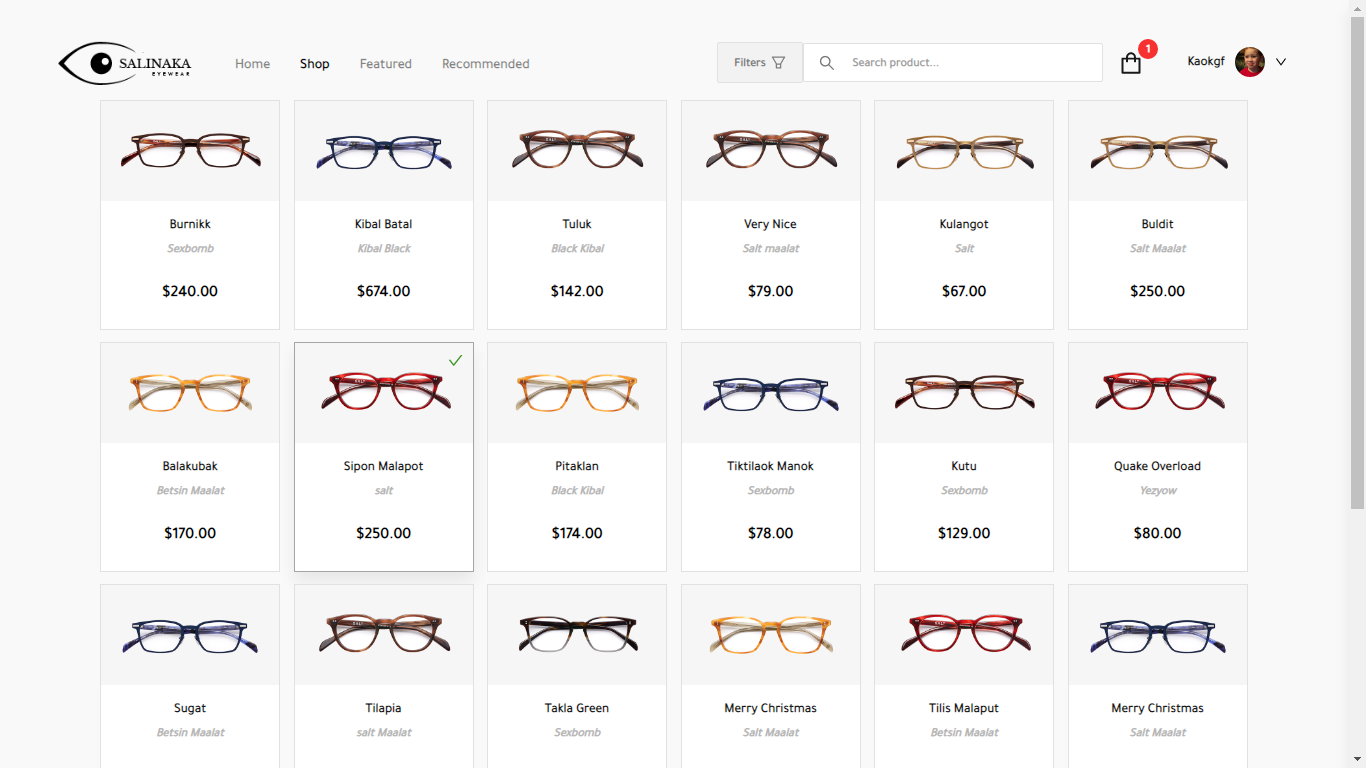
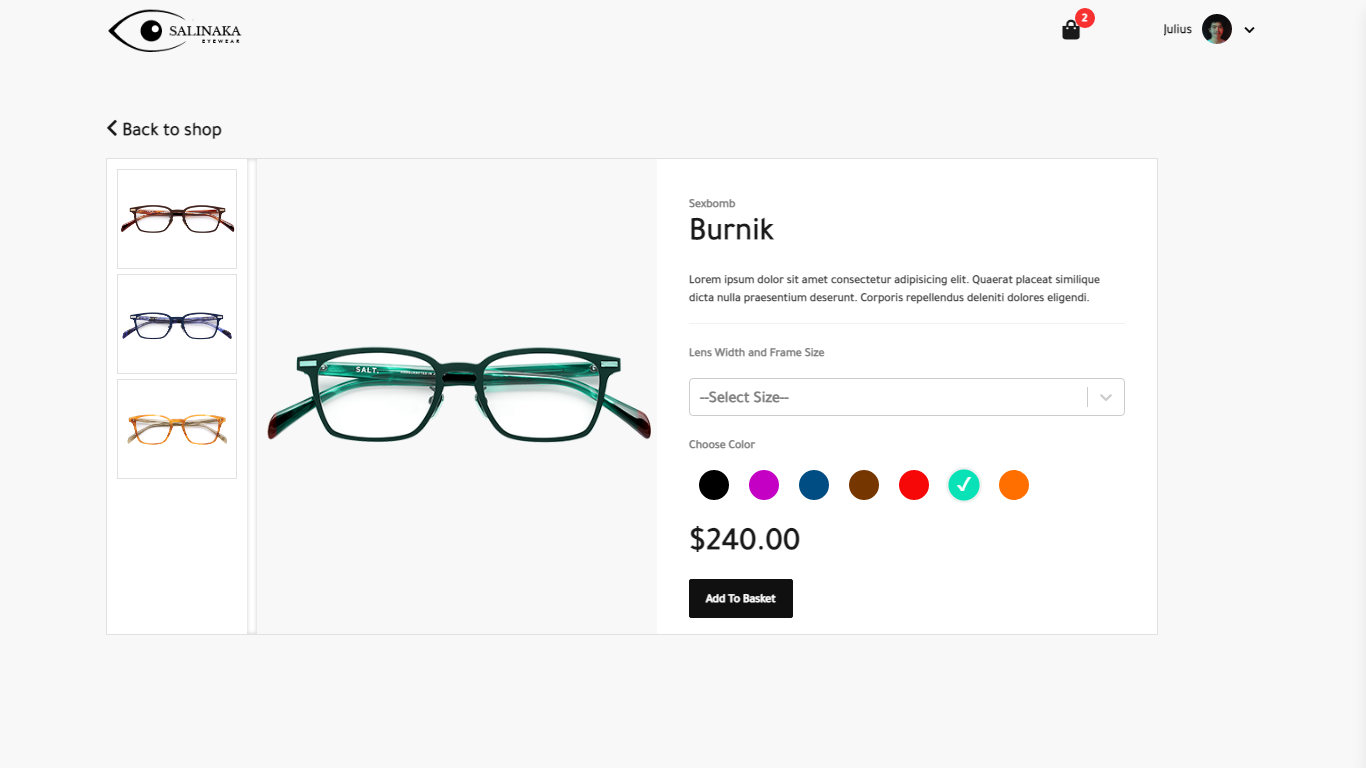
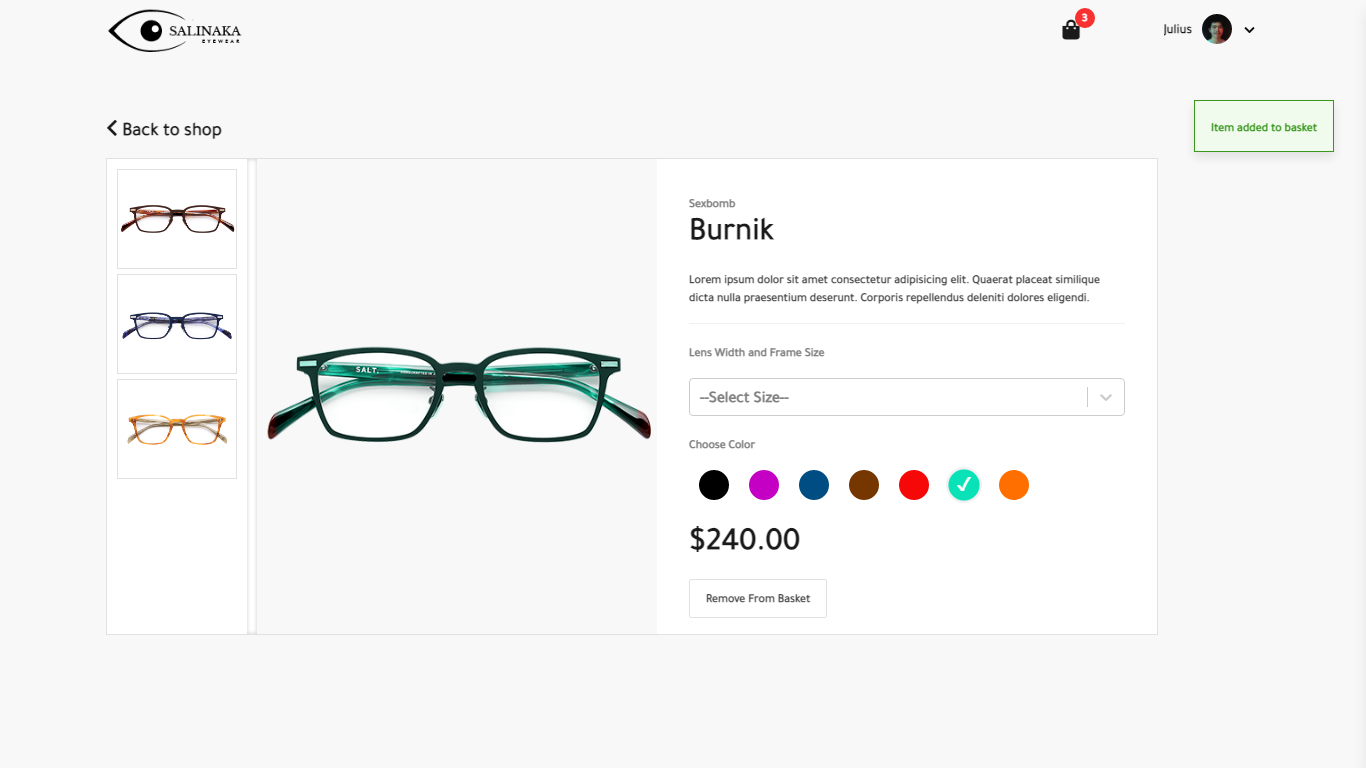
# Salinaka | E-commerce react app
Simple ecommerce react js app with firebase [typescript].

### [Live demo](https://salinaka-ecommerce.web.app/)


## Run Locally
### 1. Install Dependencies
```sh
$ npm install
```
### 2. Create a new firebase project
Login to your google account and create a new firebase project [here](https://console.firebase.google.com/u/0/)
Create an `env` file - Set filename`.env.prod` file for production and `.env.dev`for development and save it in the root of your project folder
and add the following configuration details. You can either use the same configuration details for both development and production but it's best to make separate projects. It can be found on your firebase project settings.
```
// SAMPLE CONFIG .env.dev, you should put the actual config details found on your project settings
FIREBASE_API_KEY=AIzaKJgkjhSdfSgkjhdkKJdkjowf
FIREBASE_AUTH_DOMAIN=yourauthdomin.firebaseapp.com
FIREBASE_DB_URL=https://yourdburl.firebaseio.com
FIREBASE_PROJECT_ID=yourproject-id
FIREBASE_STORAGE_BUCKET=yourstoragebucket.appspot.com
FIREBASE_MSG_SENDER_ID=43597918523958
FIREBASE_APP_ID=234598789798798fg3-034
```
After setting up necessary configuration,
create a **Database** and choose **Cloud Firestore** and start in test mode
### 3. Run development server
```sh
$ npm run dev-server
```
---
## Build the project
```sh
$ npm run build
```
## How to add products or perform CRUD operations for Admin
1. Navigate to your site to `/signup`
2. Create an account for yourself
3. Go to your firestore collection `users collection` and edit the account you've just created. Change the role from `USER` to `ADMIN`.
4. Reload or sigin again to see the changes.
**Firebase Admin to be integrated soon**
## Features
* Admin CRUD operations
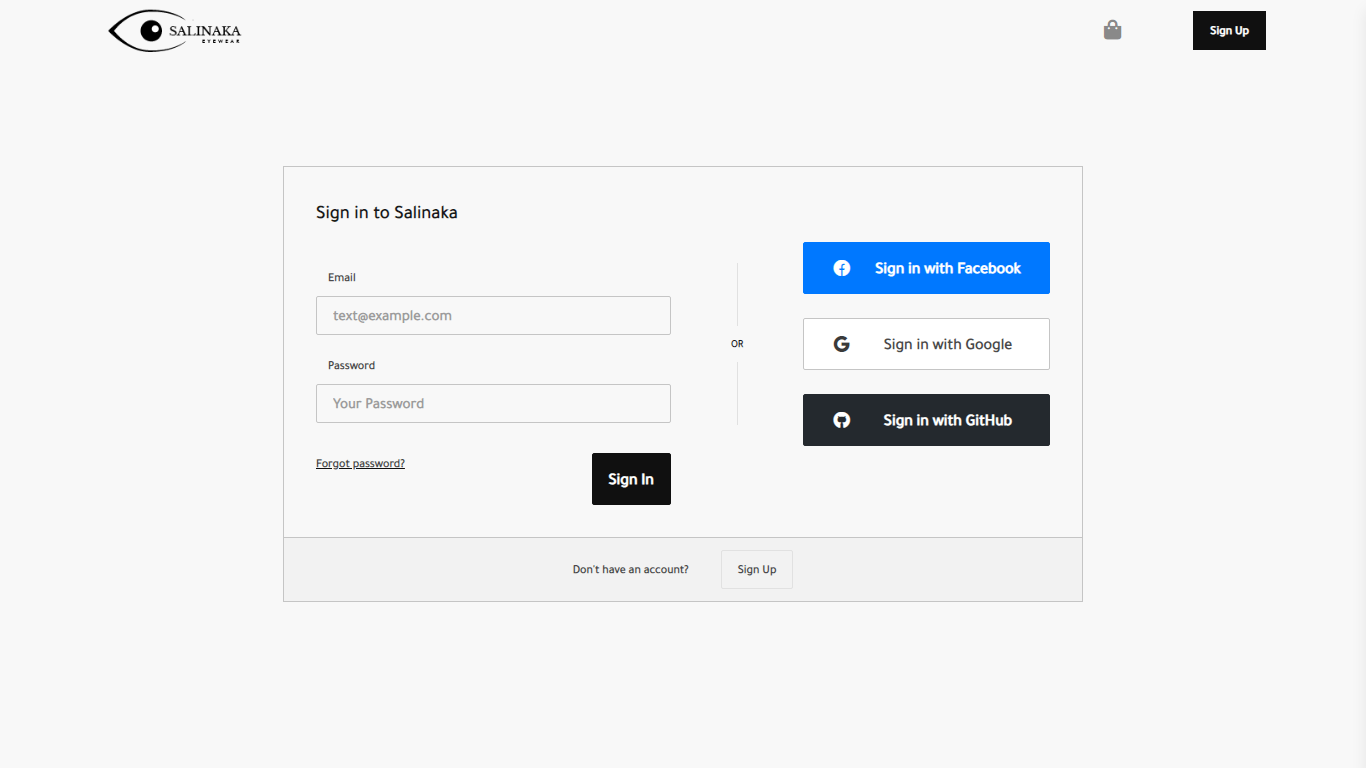
* Firebase authentication
* Firebase auth provider authentication
* Account creation and edit