https://github.com/dans98/glapse
A Python application designed to run on a Raspberry Pi that interacts with Duet3D printer control boards to facilitate the creation of timelapse videos.
https://github.com/dans98/glapse
3d-printing python raspberry-pi raspberry-pi-camera raspberrypi timelapse timelapse-videos
Last synced: 4 months ago
JSON representation
A Python application designed to run on a Raspberry Pi that interacts with Duet3D printer control boards to facilitate the creation of timelapse videos.
- Host: GitHub
- URL: https://github.com/dans98/glapse
- Owner: dans98
- License: apache-2.0
- Created: 2021-07-31T04:51:29.000Z (almost 5 years ago)
- Default Branch: main
- Last Pushed: 2021-08-11T01:30:36.000Z (almost 5 years ago)
- Last Synced: 2025-03-02T21:13:22.158Z (over 1 year ago)
- Topics: 3d-printing, python, raspberry-pi, raspberry-pi-camera, raspberrypi, timelapse, timelapse-videos
- Language: Python
- Homepage:
- Size: 709 KB
- Stars: 0
- Watchers: 2
- Forks: 0
- Open Issues: 0
-
Metadata Files:
- Readme: README.md
- License: LICENSE
Awesome Lists containing this project
README
# gLapse
Facilitates the creation of time lapse videos, by capturing still images when commanded to do so by a Duet based 3D printer.
*gLapse* is A Python application designed to run on a Raspberry Pi, fitted with an official camera module. It differs from most time lapse applications, in that it doesn't generate a video as its output. Instead, it stores a sequence of still images that can be downloaded and used to generate a video using a 3rd party application.
# Capabillities
- works with any Raspberry Pi equipped with a V1, V2, or HQ camera module
- Supports any resolution the camera module can capture
- Supports every setting the [Picamera interface](https://picamera.readthedocs.io/en/release-1.13/) allows
# Example Video
this 4k time lapse was generated with stills captured with a Raspberry Pi Zero W equipped with an HQ camera module.
[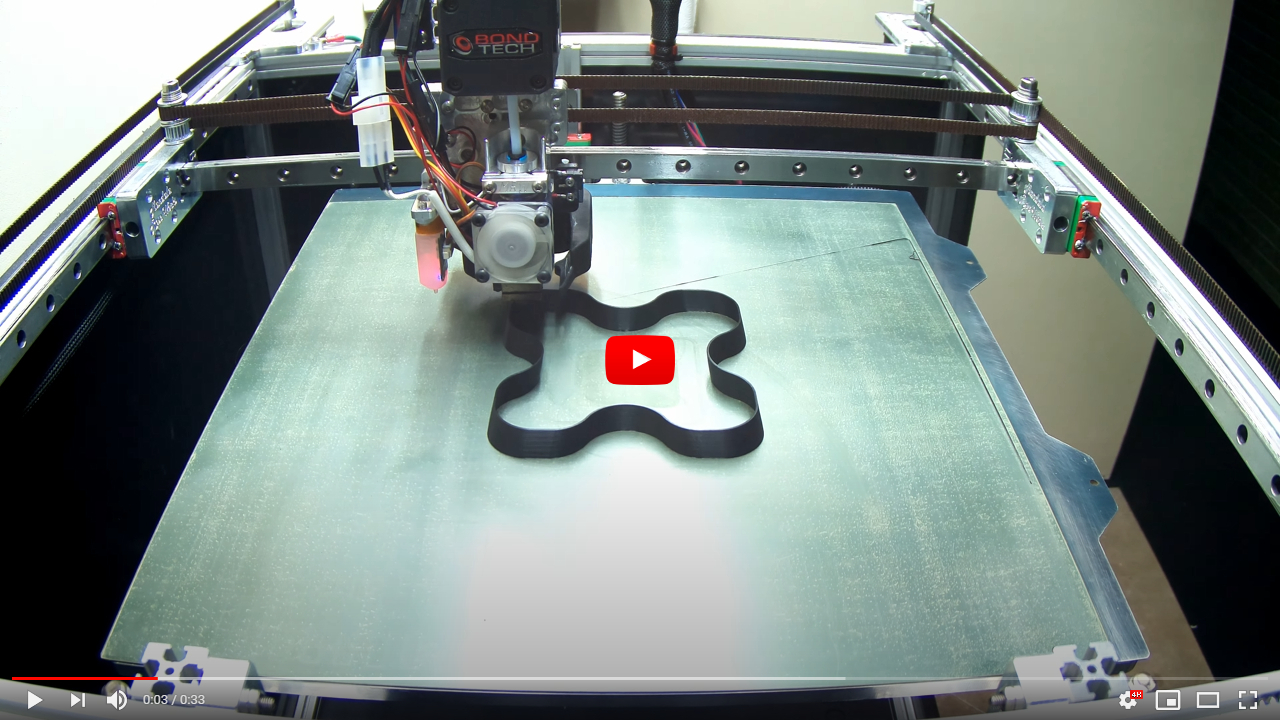](https://www.youtube.com/watch?v=bqkPgWrF3Eo "example output")
# Why Stills?
Pi support hardware encoding h.264 video, but the encoder is limited to a resolution of 1080p or less. Software based encoding is possible on a Pi, but it's processing intensive when high resolution and high quality is wanted, and thus not well suited to lower end Pi.
stills have a wider range of encoders and quality options available. They are only limited by the resolution of the sensor, and the storage capacity of the SD card used. In short, stills allow for higher resolution and higher quality video, but require the additional step of post processing in a 3rd party application.
# How It Works
*gLapse* is a simple [polling](https://en.wikipedia.org/wiki/Polling_(computer_science)) application, It polls the printer looking for [M291](https://duet3d.dozuki.com/Wiki/Gcode#Section_M291_Display_message_and_optionally_wait_for_response) codes. When it encounters an appropriate code, it performs the action dictated by the code, and then sends an [M292](https://duet3d.dozuki.com/Wiki/Gcode#Section_M292_Acknowledge_message) back to the printer to continue printing.
#### Codes
- When *gLapse* encounters this code, it will create a new folder on the Pi in preparation for capturing a new sequence of images. The folder name will be in timestamp format `YYYY-MM-DD-HH-MM-SS.ffffff`. All captured images will be written to this folder until *gLapse* is restarted, or another `gLapseInitialize` message is received.
```
M291 p"gLapseInitialize" S2
```
- When *gLapse* encounters this code, it will capture an image and write it to the directory associated with the current image sequence.
```
M291 P"gLapseCapture" S2
```
#### Basic Usage Example
- Place this line in the start-up G-code of a print you want to capture a time lapse of.
```
M291 p"gLapseInitialize" S2
```
- Place the following 2 lines of code in the prints stat, layer change, extruder switch, or end G-code.
```
M400 ; wait for previous moves to finish
M291 P"gLapseCapture" S2
```
#### Advanced Usage Example
- Because *gLapse* is triggered by a simple M-code command, it allows you to completely customize how your printer acts during image capture. You are only limited bye The G and M codes supported by your printer. The following example moves the print head out of the way before an image capture.
```
M400 ; wait for previous moves to finish
G60 S0 ; save the printer heads current coordinates to memory slot 0
G0 X0 Y0 ; rapid to X0 Y0 or any other location you choose
M400 ; wait for previous moves to finish
M291 P"gLapseCapture" S2
G0 R0 ; move the printer head to the coordinates stored in memory slot 0
```
# Installation
1. [Ensure the camera module is properly connected to the Raspberry Pi](https://projects.raspberrypi.org/en/projects/getting-started-with-picamera/2)
2. [Ensure the operating system is up to date, and the camera interface is enabled](https://www.raspberrypi.org/documentation/configuration/camera.md)
3. Install the [Picamera](https://picamera.readthedocs.io/en/release-1.13/) Python module
```
sudo apt-get install python3-picamera
```
4. Install pip to handle loading Python packages not available in the Raspberry Pi OS archives
```
sudo apt install python3-pip
```
5. Install the [Tornado framework](https://www.tornadoweb.org/en/stable/)
```
sudo pip3 install tornado
```
6. Install [pycurl](http://pycurl.io/docs/latest/index.html)
```
sudo pip3 install pycurl
```
7. Donwload *gLapse*, and copy it to your Raspberry Pi
# configuration
open settings.py and edit the dictionaries as needed.
#### printerSettings - holds the settings related to the printer
```python
printerSettings = {
'printerbaseUrl' : 'http://192.168.1.27/',
'printerpassword' : 'reprap',
'printerType' : 'standAloneDuet'
}
```
- **printerbaseUrl** - The ip address/domain associated with the printer. This must end with a `/`
- **printerpassword** - The password that should be used when connecting to the printer. If you have not changed the password, leave the default setting of `reprap` as is.
- **printerType** - Currently only standalone Duet boards are supported so this setting should not be changed. In the future support for Duet boards linked to SBCs will be add as the api matures.
#### miscellaneousSettings - holds general application settings
```python
miscellaneousSettings = {
'capturesDirectory' : '/home/pi/captures/',
'pollingInterval' : 100,
'wait' : 0,
'cameraWarmup' : 2
}
```
- **capturesDirectory** - The directory that all sequence directories and the images associated with them will be placed in. This must end with a `/`. The directoy path can be absolute, or relative to main.py.
- **pollingInterval** - The number of milliseconds that should elapse between polling requests to the printer. If a request takes long that the settings value, subsequent requests will be skipped until the current one completes or times out. While intervals as low as 50ms will work, an interval of 100 to 250ms is recommend, to reduce load on the Pi and Duet.
- **wait** - How many seconds after start-up should the application wait before trying to connect to the printer. This setting is useful if the Printer and Pi run off the same power supply, and the Pi starts up faster than the printer.
- **cameraWarmup** - the number of seconds that should elapse between cameraWarmupSettings being set and cameraSettings being set.
#### initialCameraSettings - holds the settings used to initailize Picamera
```python
initialCameraSettings = {
'sensor_mode' : 3,
'resolution' : '3840x2160',
'framerate' : 10
}
```
While none of the settings are required, and several more are possible, it's recommended that the 3 above always be set. Please refer to the Pi camera documentation on what settings are available, and what their possible values are.
- [sensor modes, maximum resolutions, and frame rates for the various camera modules.](https://www.raspberrypi.org/documentation/raspbian/applications/camera.md)
- [Documentation on the settings available while initializing Picamera](https://picamera.readthedocs.io/en/release-1.13/api_camera.html#picamera.PiCamera)
#### cameraWarmupSettings - holds the settings that are set immediately after Picamera has been initialized
```python
cameraWarmupSettings = {
'iso' : 100,
'shutter_speed' : 16667
}
```
While cameraWarmupSettings can be empty, setting at least `iso` is recommended. Please refer to the Picamera documentation on what settings are available, and what their possible values are.
- [Picamera settings](https://picamera.readthedocs.io/en/release-1.13/api_camera.html#picamera.PiCamera.ISO)
#### cameraSettings - holds the settings that are set after cameraWarmupSettings have been set and the camera has warmed up.
```python
cameraSettings = {
'exposure_mode' : 'off',
'awb_mode' : 'off',
'awb_gains' : ((779/256),(119/64)),
'sharpness' : 40,
'contrast' : 40,
'saturation' : 0
}
```
cameraSettings can contain the exact same settings as cameraWarmupSettings. If you don't need the camera to warm-up before applying settings, cameraSettings cane be empty.
- [why you would might want to let the camera warm-up](https://picamera.readthedocs.io/en/release-1.13/recipes1.html#capturing-consistent-images)
#### cameraCaptureSettings - holds the settings that are used by picamera when capturing an image
```python
cameraCaptureSettings = {
'format' : 'jpeg',
'quality' : 100,
}
```
Again while several settings exist, the only one that is required is `format`. Please refer to the Picamera capture documentation on what settings are available, and what their possible values are.
- [Picamera capture settings](https://picamera.readthedocs.io/en/release-1.13/api_camera.html#picamera.PiCamera.capture)
# Running
- from the terminal
```
python3 main.py
```
- [at startup](https://www.dexterindustries.com/howto/run-a-program-on-your-raspberry-pi-at-startup/)
* An rc.local example!
```
sudo python3 /home/pi/code/gLapse/main.py > /home/pi/code/gLapse/log.txt 2>&1 &
```
# Post-processing
Far more video editing/creation tools exist than I could ever possibly hope to cover here. With that being said, if you don't already have a video editing tool you prefer, I'd recommend using [FFmpeg](https://ffmpeg.org/download.html) it's a free yet vary powerful tool that will run on Windows, Mac, and Linux. Even though I use a more expensive NLE for regular video editing I still use FFmpeg regularly. FFmpeg is perfect for tasks such as stitching a bunch of stills together into a video.
The simplest way to render a video from a sequence of *gLapse* stills is as follows.
- Download a sequence directory to your desktop, and then copy the ffmpeg executable into it.
- Open a terminal window inside the sequence directory and run one of the following commands.
- An h.264 encoded video
```
ffmpeg -r 30 -i "%06d.jpeg" -c:v libx264 -preset slow -crf 15 -r 30 -y -v quiet -stats test.mp4
```
- An h.265 encoded video
```
ffmpeg -r 30 -i "%06d.jpeg" -c:v libx265 -preset slow -crf 15 -r 30 -y -v quiet -stats test.mp4
```
- additonal [h.264](https://trac.ffmpeg.org/wiki/Encode/H.264) documentation
- additonal [h.265](https://trac.ffmpeg.org/wiki/Encode/H.265) documentation
#### Hardware Accelerated Rendering
If you have a modern NVIDEA graphics card, FFmpeg can tap into the [video encoding api](https://developer.nvidia.com/nvidia-video-codec-sdk) to drastically decrease the time required to encode a video.
- An h.264 encoded video
```
ffmpeg -r 30 -i "%06d.jpeg" -c:v h264_nvenc -preset slow -profile:v high -level 5.1 -b:v 0 -cq 17 -r 30 -y -v quiet -stats test.mp4
```
- An h.265 encoded video
```
ffmpeg -r 30 -i "%06d.jpeg" -c:v hevc_nvenc -preset slow -profile:v main10 -level 6.0 -tier high -b:v 0 -cq 17 -r 30 -y -v quiet -stats test.mp4
```
# Licencing
- [Picamera](https://github.com/waveform80/picamera/blob/master/LICENSE.txt)
- [Tornado](https://github.com/tornadoweb/tornado/blob/master/LICENSE)