Ecosyste.ms: Awesome
An open API service indexing awesome lists of open source software.
https://github.com/davet2001/smile-o-meter
Smile measuring device with bargraph LED display for Raspberry Pi
https://github.com/davet2001/smile-o-meter
Last synced: about 13 hours ago
JSON representation
Smile measuring device with bargraph LED display for Raspberry Pi
- Host: GitHub
- URL: https://github.com/davet2001/smile-o-meter
- Owner: davet2001
- License: gpl-3.0
- Created: 2021-11-07T23:23:52.000Z (about 3 years ago)
- Default Branch: main
- Last Pushed: 2022-10-12T14:50:48.000Z (about 2 years ago)
- Last Synced: 2024-11-09T18:30:22.643Z (about 2 months ago)
- Language: Python
- Size: 31.3 KB
- Stars: 0
- Watchers: 1
- Forks: 0
- Open Issues: 0
-
Metadata Files:
- Readme: README.md
- License: LICENSE
Awesome Lists containing this project
README
# Smile-O-Meter
Smile measuring device with bargraph LED display for Raspberry Pi

```
:) = 9
:| = 5
:( = 1
```
## The Problem
Lots of video calls lately, and everyone looking at eachothers faces. But for some people (e.g. me), the thinking/concentrating face can look quite grumpy. RBF is another acronymn sometimes used here. Overall, I want to retrain myself to be cheerful on calls.
## The Solution
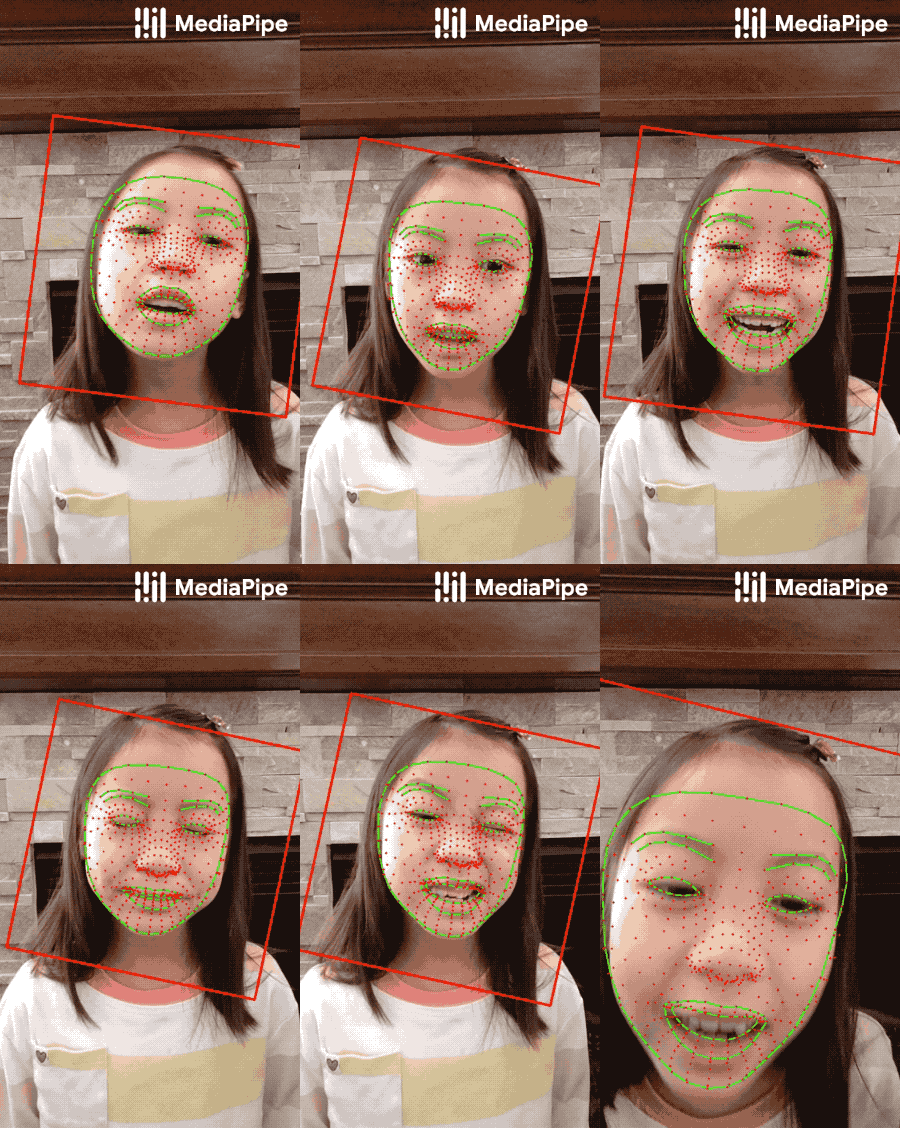
A pre-trained mediapipe model https://google.github.io/mediapipe/solutions/face_mesh.html is used to generate a continous face mesh from a camera video feed. This is fed into a machine-learning model, set up to perform a linear regression to determine the closest smile index (1-9) to the face mesh provided. This index is then displayed on the bar graph LED. The raspberry pi is configured to run this script at startup.
In addition a button is provided - if held down for >3seconds, it enters a training mode, where the user poses 9 times to collect new data, instructed by flashing the various LEDs. It is up to the user to decide how sad/happy the extremes are. At the end the machine learning algorithm does its retraining and starts operating with the new model. This model is saved to the SD card ready for the next time it is run.
Overall you get a small box with a camera on it and some LEDs which tells you how smiley you are. It is silent (fanless) and doesn't need any internet connection.
## Hardware needed
- Raspberry Pi (I used RPi4, which seems just powerful enough, so wouldn't recommend any lower).
- Raspberry Pi camera rev1.3 (the cheap one) connected by ribbon cable [Aliexpress](https://www.aliexpress.com/item/32986293504.html).
- A custom made piece of stripboard with a hole cut in it for the camera.
- A dual row connector
- A bargraph LED chip (Red,Yellow,Green,Blue), e.g. from [Aliexpress](https://www.aliexpress.com/item/1005003188228334.html)
- Raspberry pi case to mount it in (I used [this one from Aliexpress](https://www.aliexpress.com/item/4000208371704.html) but without the screen plugged in).
Please take this document as a guide and general description rather than a step-by-step instruction.
## Operating Instructions
On startup the device will self test the LEDS then check for an existing trained model file (.pkl). If it finds one, it will immediately start face recognition using an attached camera. Using the trained model it will select the closest maching smile index to the first face identified in the image and display the result on the bargraph.
If no trained model is identified, teaching mode is initiated.
### Teaching - Collecting training data
Teaching mode is initiated on startup automatically if no trained model is found.
Datacollection/training is indicated by the last (blue) LED. Teaching mode can be initiated by pressing and holding the PCB button for >3 seconds.
The blue LED illuminates to indicate data collection is starting. Data collection then proceeds as follows:
- Each smile index is trained in turn, starting with the lowest smile index, i.e. the saddest (red).
- You will need to pace yourself to define 9 different smile levels increasing in happiness.
- The machine learning is looking at all facial features, eyes, cheeks etc, so make your expressions as genuine as possible.
- The LED starts fast flashing, to indicate time to adopt your pose and get ready for data collection.
- After 5 seconds, the LED goes steady. Live data is being collected. Hold your smile pose, and move your head around/tilting/moving forwards/backwards etc to give a range of possible data.
- After 10 more seconds the next LED starts flashing, get ready to adopt smile level 2. Continue until you reach smile level 9.
- Best results will be achieved with good lighting.
### Teaching - Training based on model data
Once complete the RPi will start training its model based on the data you collected. This is indicated by a fast flashing blue LED.
It is computationally intensive for the RPi, it may take 10-20seconds, the RPi will get hot (heatsink is a good idea).
After teaching has finished, the blue LED stops flashing, and the device goes into normal operation mode.
### Other
During normal operation, if no face is identified, no LEDs are illuminated.
## Future
Possible future additions to this:
- Share the smile index via MQTT or similar and track it (could be used during the day, not necessarily at meetings).