https://github.com/deepmancer/canada-visa
Ready-to-use LaTeX templates for Canada Study Permit key documents, including Client Information, Proof of Financial Support, and Cover Letters.
https://github.com/deepmancer/canada-visa
application-documents canada easy-to-setup latex latex-document latex-template ready-to-use student-visa study-permit template template-repository visa visa-application
Last synced: 5 months ago
JSON representation
Ready-to-use LaTeX templates for Canada Study Permit key documents, including Client Information, Proof of Financial Support, and Cover Letters.
- Host: GitHub
- URL: https://github.com/deepmancer/canada-visa
- Owner: deepmancer
- License: apache-2.0
- Created: 2024-11-05T15:49:41.000Z (over 1 year ago)
- Default Branch: main
- Last Pushed: 2024-12-24T16:06:22.000Z (over 1 year ago)
- Last Synced: 2025-05-29T10:44:52.735Z (about 1 year ago)
- Topics: application-documents, canada, easy-to-setup, latex, latex-document, latex-template, ready-to-use, student-visa, study-permit, template, template-repository, visa, visa-application
- Language: TeX
- Homepage:
- Size: 9.3 MB
- Stars: 3
- Watchers: 1
- Forks: 0
- Open Issues: 0
-
Metadata Files:
- Readme: README.md
- License: LICENSE
Awesome Lists containing this project
README
# 🍁 Canada Visa Documents LaTeX Templates


> Ready-to-use LaTeX templates for creating professional documents required for the Canadian Study Permit visa application. Impress Visa Officers with perfectly organized and formatted documents that make a strong impact.
After spending six intensive months working on my own Study Permit application for a funded Master’s in Computer Science, I understand how challenging this process can be. These templates are the result of hours spent researching requirements, reviewing every detail, and ensuring nothing was overlooked. If you are feeling overwhelmed by the paperwork, know that you are not alone—I have been there as well. These templates are the guide I wish I’d had when I began, and I hope they will make the process smoother for you.
Good luck with your application, friends! ✨🤞
---
## 📌 Quick Links
| [Source Code](https://github.com/deepmancer/canada-visa) | [Website](https://deepmancer.github.io/canada-visa/) |
---
## 📖 Table of Contents
- [🍁 Canada Visa Documents LaTeX Templates](#-canada-visa-documents-latex-templates)
- [📖 Table of Contents](#-table-of-contents)
- [✨ Key Features](#-key-features)
- [💡 Overview](#-overview)
- [🖼️ Document Previews](#️-document-previews)
- [🔰 Getting Started](#-getting-started)
- [🌿 Option 1: Using Overleaf (Recommended)](#-option-1-using-overleaf-recommended)
- [🖥️ Option 2: Local Setup](#️-option-2-local-setup)
- [🎨 Customizing Templates](#-customizing-templates)
- [✏️ Personalizing Documents](#️-personalizing-documents)
- [💼 Client Information](#-client-information)
- [💰 Proof of Means of Financial Support](#-proof-of-means-of-financial-support)
- [➕ Adding New Items (Optional)](#-adding-new-items-optional)
- [New Sections and Chapters](#new-sections-and-chapters)
- [New Attachments and Supporting Files](#new-attachments-and-supporting-files)
- [⚙️ Compiling Your Documents](#️-compiling-your-documents)
- [❓ New to LaTeX? Don't Worry! Read This!](#-new-to-latex-dont-worry-read-this)
- [🖋️ Text Formatting](#️-text-formatting)
- [📌 Footnotes](#-footnotes)
- [📎 Including Images and PDFs](#-including-images-and-pdfs)
- [🔖 Referencing Sections, Figures, and Tables](#-referencing-sections-figures-and-tables)
- [🔗 Useful Links \& Further Reading](#-useful-links--further-reading)
- [📝 License](#-license)
- [✨ Contributing](#-contributing)
- [📬 Support](#-support)
---
## ✨ Key Features
- 📋 **Comprehensive Templates**: Access all essential visa application templates in one place, including:
- 💼 *Client Information*
- 💰 *Proof of Means of Financial Support*
- ✍️ *Cover Letters (Both Financial and General)*
- 🎨 **Professional Formatting**: Present documents with clean, consistent layouts to enhance credibility.
- 🔄 **Easily Customizable**: Personalize your application with simple variable-based settings.
- ⚡ **Quick and Easy Setup**: Get started in minutes using Overleaf or local installation.
- 📱 **Modern Tool Support**: Compatible with LaTeX editors like VS Code and Overleaf.
## 💡 Overview
The repository contains two main documents:
- **💼 Client Information**: Detailing your personal and academic information, study plan, and curriculum vitae.
- **💰 Proof of Means of Financial Support**: Demonstrating your ability to fund your first year of studies in Canada.
Both documents and their supporting files are organized into separate directories for easy management. Below is an overview of the directory structures:
```plaintext
📂 client-information/
├── client-information.tex # Main document
├── cover-letter.tex # Cover letter
├── titlepage.tex # Title page
├── configuration/
│ ├── variables.tex # Personal variables and metadata
│ └── ...
└── sections/
├── study-plan.tex
├── curriculum-vitae.tex
└── ...
📂 proof-of-financial-support/
├── proof-of-financial-support.tex # Main document
├── cover-letter.tex # Cover letter
├── titlepage.tex # Title page
├── configuration/
│ ├── variables.tex # Financial variables and metadata
│ └── ...
└── sections/
├── first-year-expenses-funding.tex
├── bank-statements.tex
└── ...
```
Supporting documents like identification, property deeds, and financial statements are stored in the [`application-docs`](application-docs) directory.
```plaintext
🗃️ application-docs/
├── applicant/
| ├── curriculum-vitae.pdf
│ ├── letter-of-job-offer.pdf
│ ├── canadian-institution/
│ │ ├── letter-of-acceptance.pdf
│ │ ├── letter-of-scholarship.pdf
│ | └── ...
│ ├── funds/
│ │ ├── bank-account/
│ │ ├── property-deeds/
│ ├── employment/
│ ├── identification/
│ └── ...
│
└── sponsor/
├── letter-of-undertaking.pdf
├── funds/
└── ...
```
---
## 🖼️ Document Previews
| Type | Client Information | Proof of Means of Financial Support |
|----------------------|----------------------------------------------------------------------------------------------------------------------------------------------------------------------|--------------------------------------------------------------------------------------------------------------------------------------------------------------------------|
| **Title Page** | [ ](https://raw.githubusercontent.com/deepmancer/canada-visa/main/assets/samples/cl-titlepage.png) | [
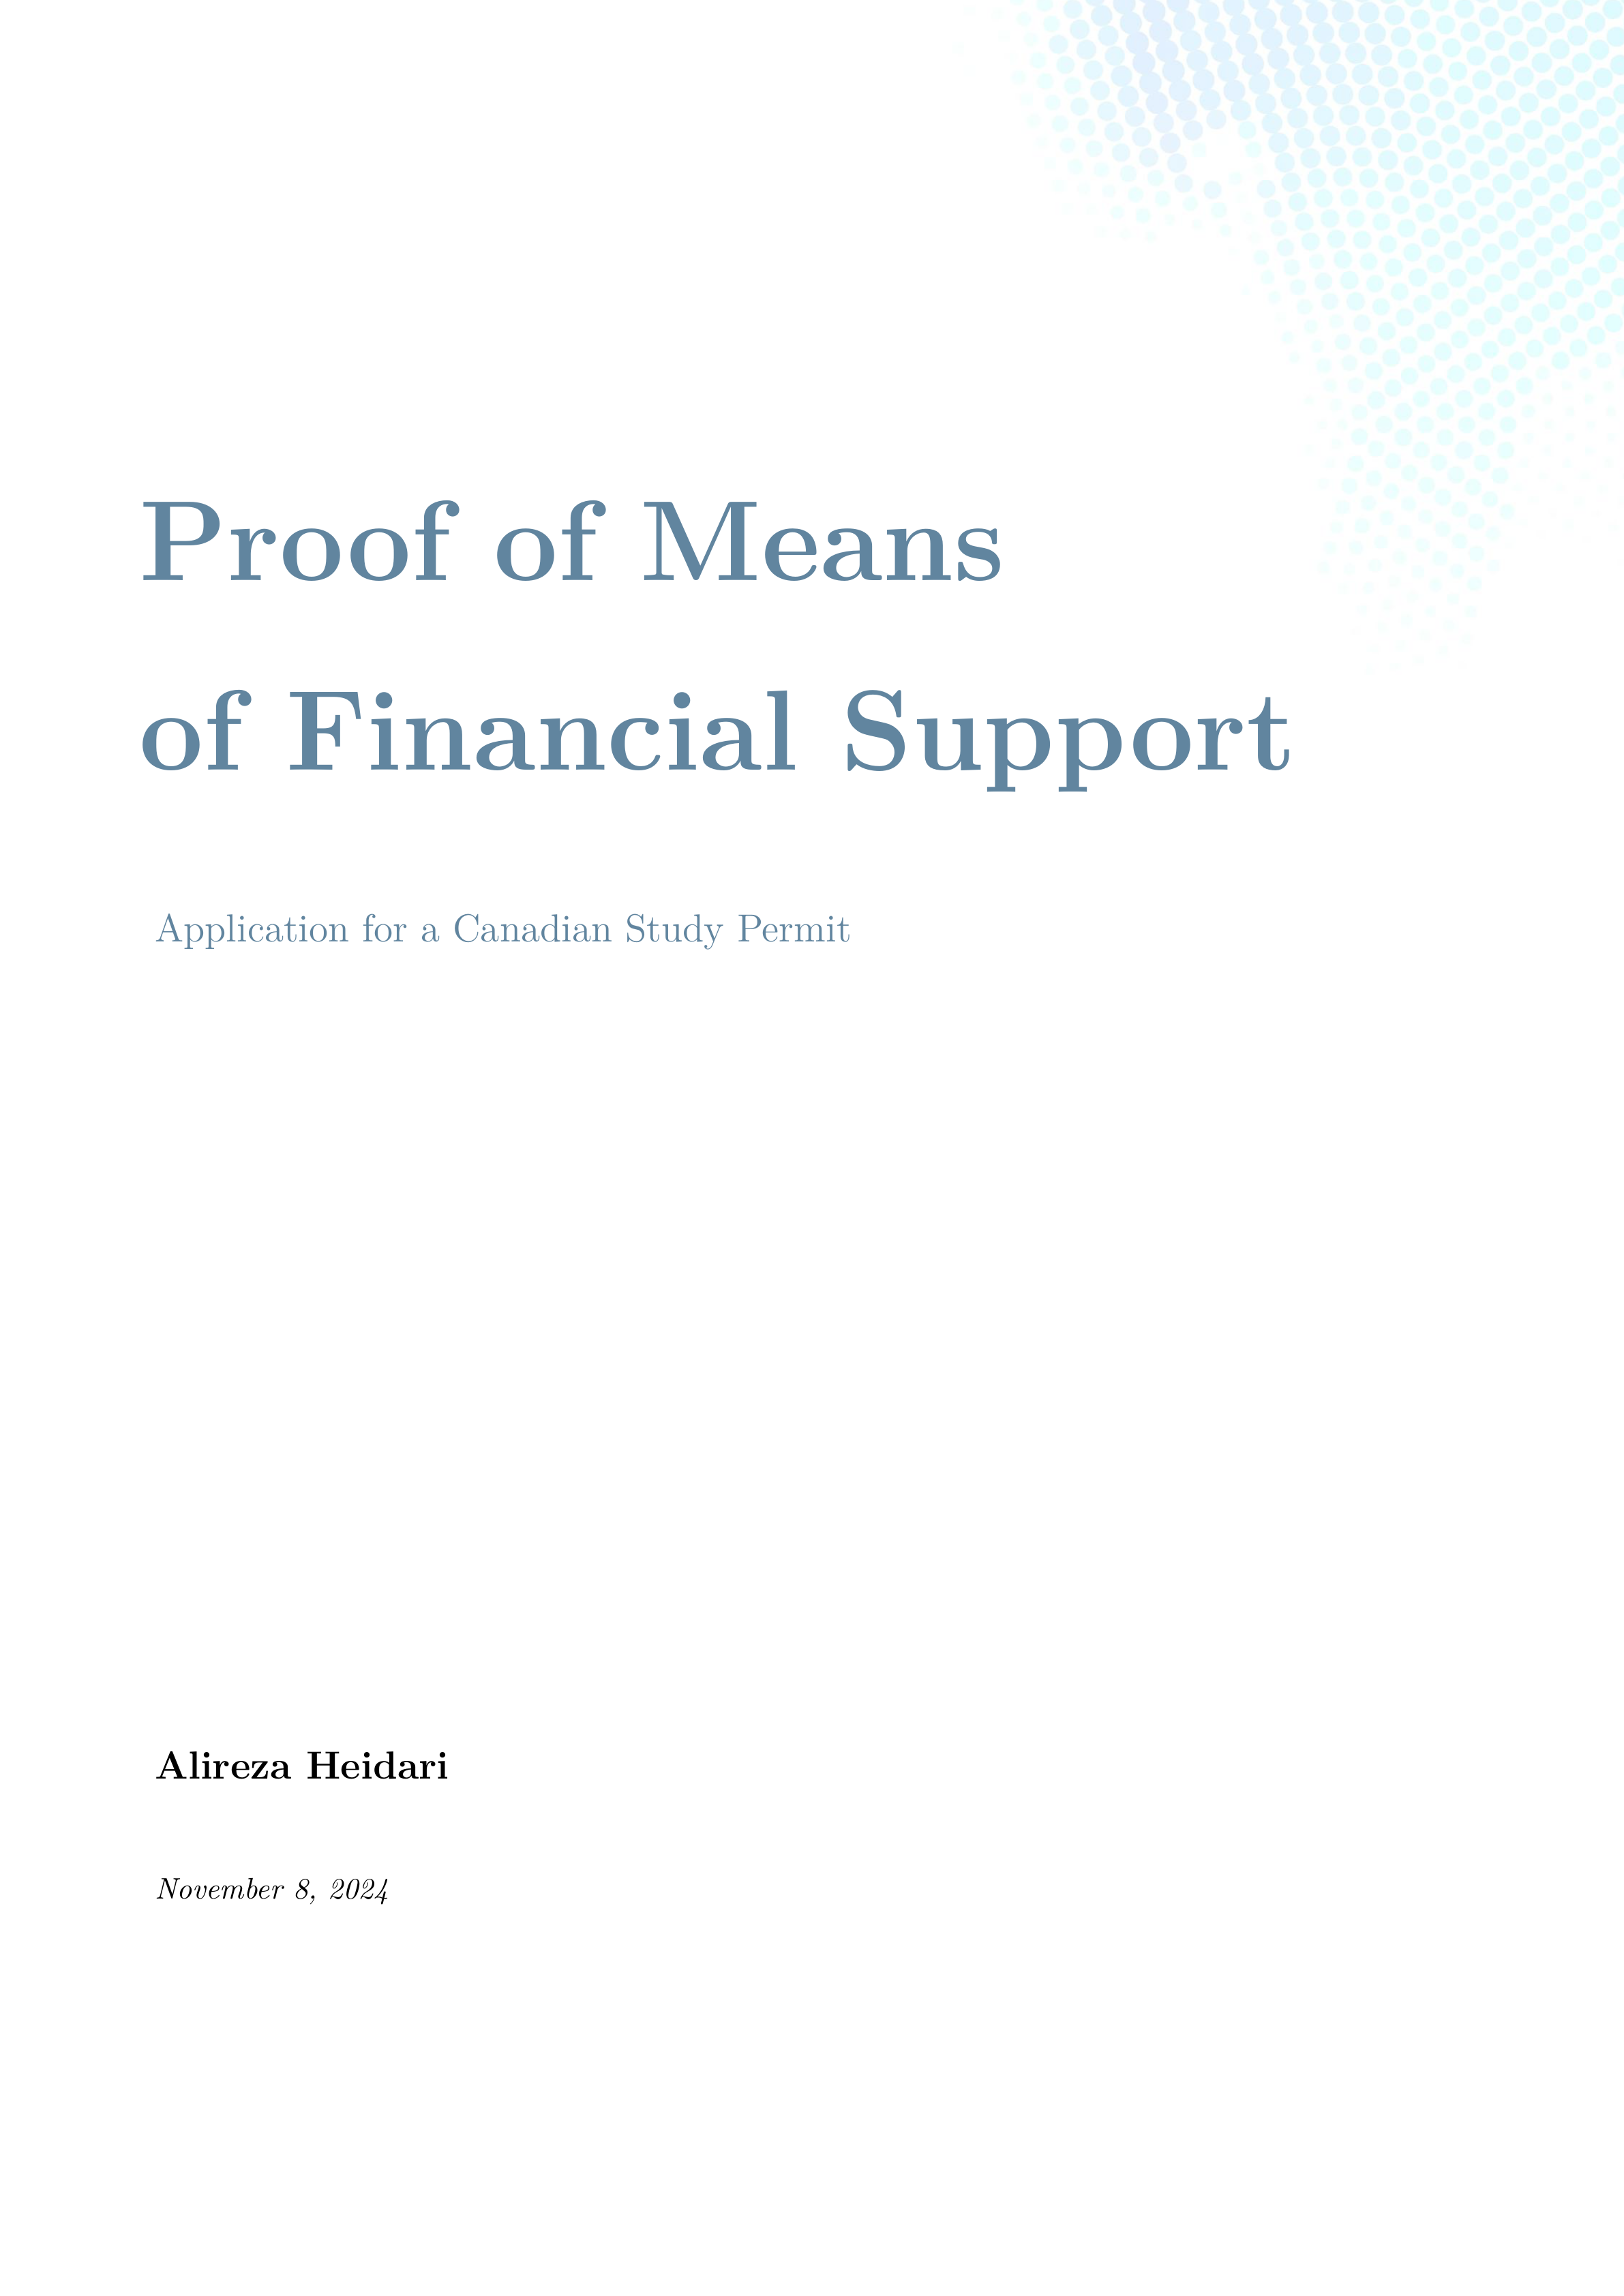 ](https://raw.githubusercontent.com/deepmancer/canada-visa/main/assets/samples/pmfs-titlepage.png) |
| **Cover Letter** | [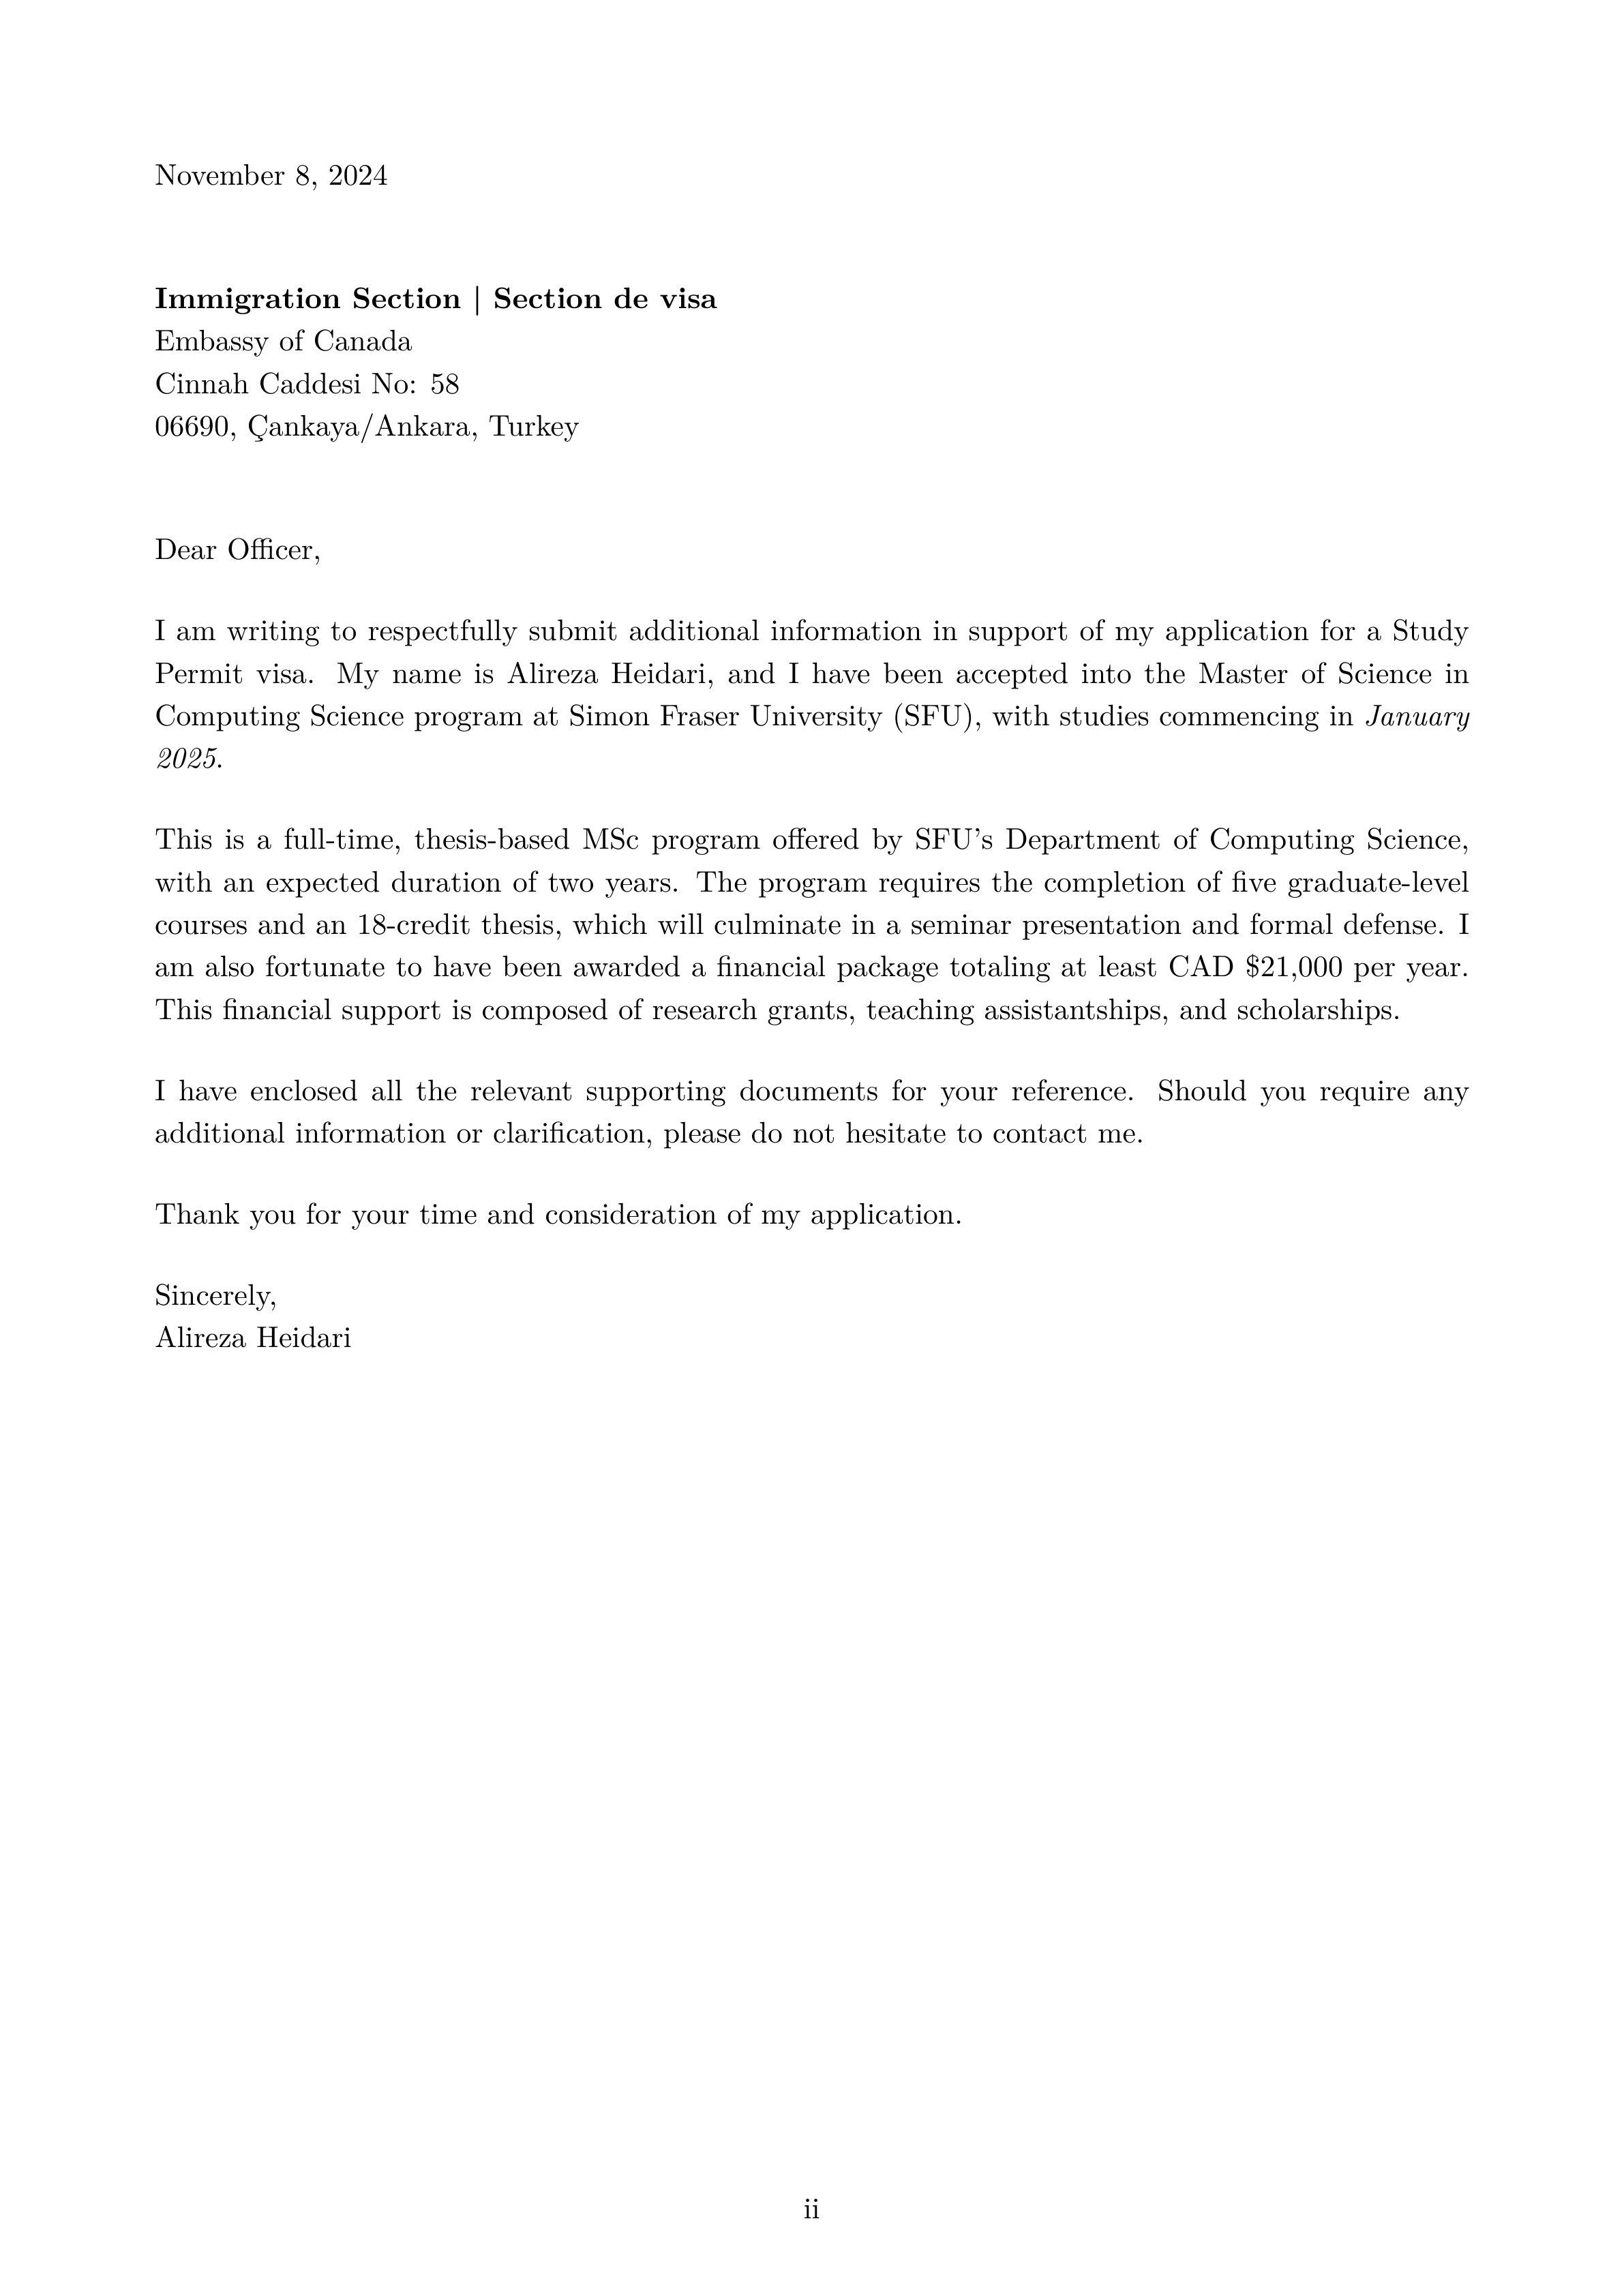 ](https://raw.githubusercontent.com/deepmancer/canada-visa/main/assets/samples/cl-cover-letter.png) | [
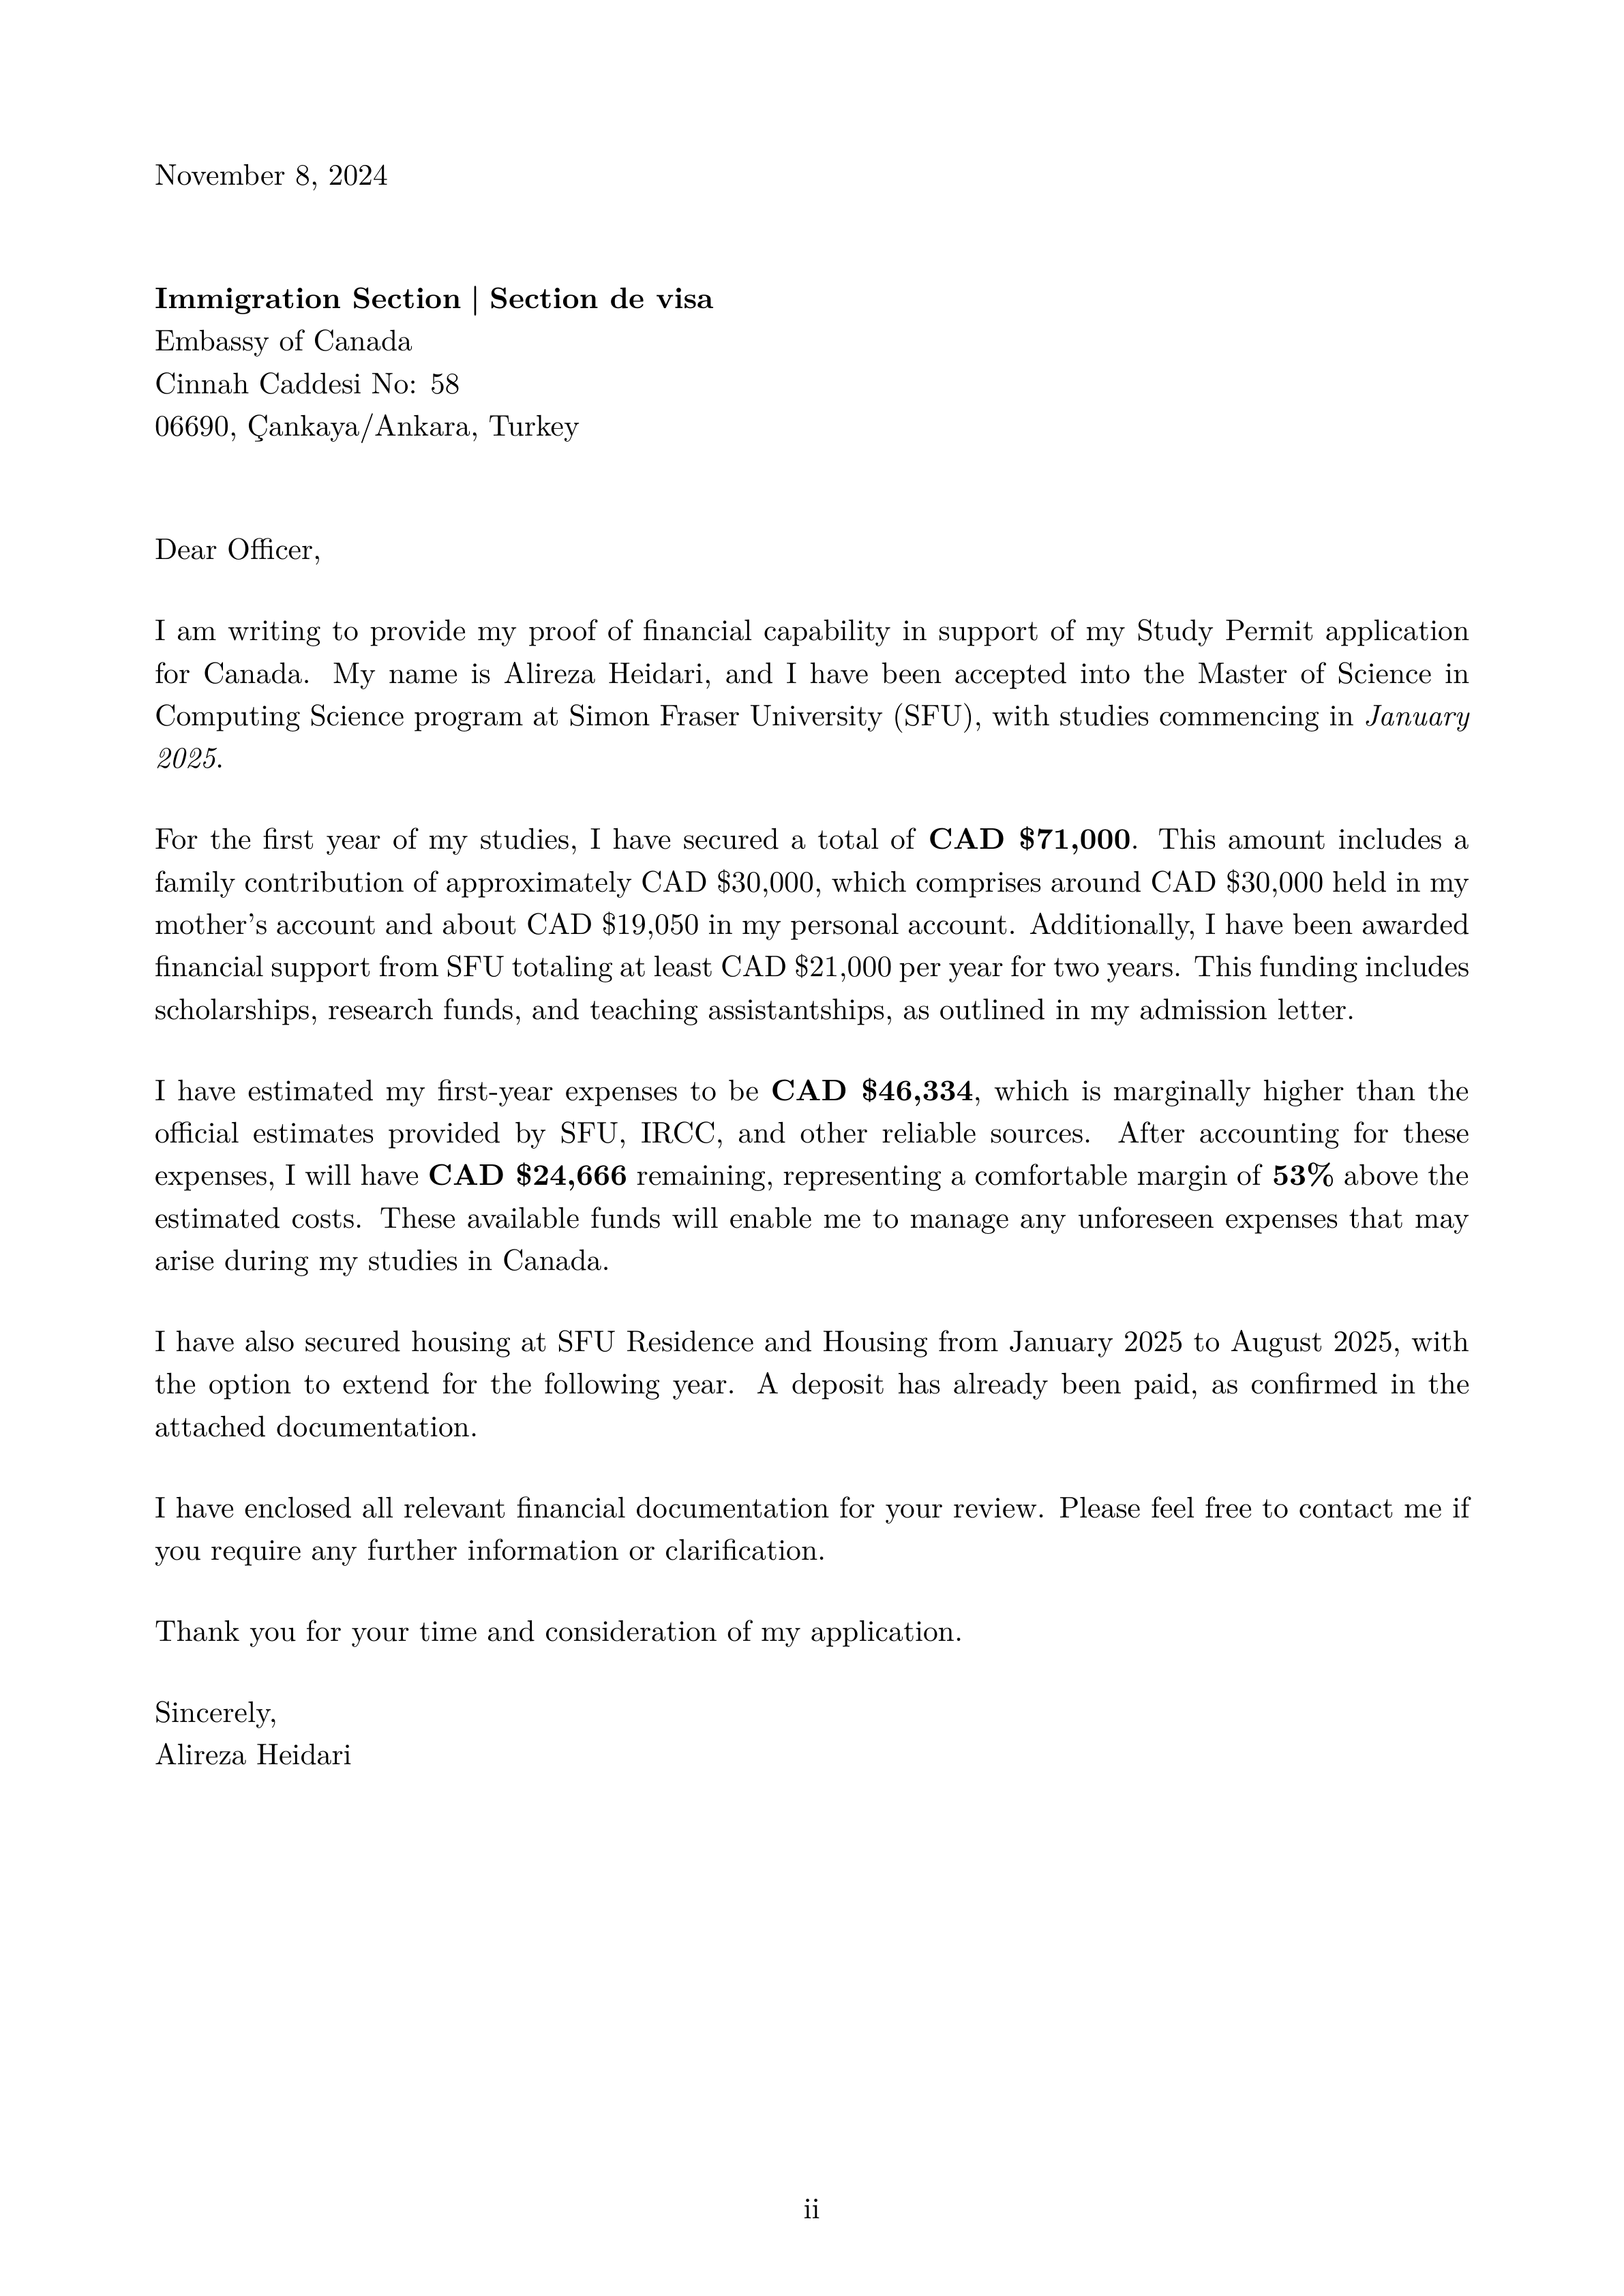 ](https://raw.githubusercontent.com/deepmancer/canada-visa/main/assets/samples/pmfs-cover-letter.png) |
| **Table of Contents**| [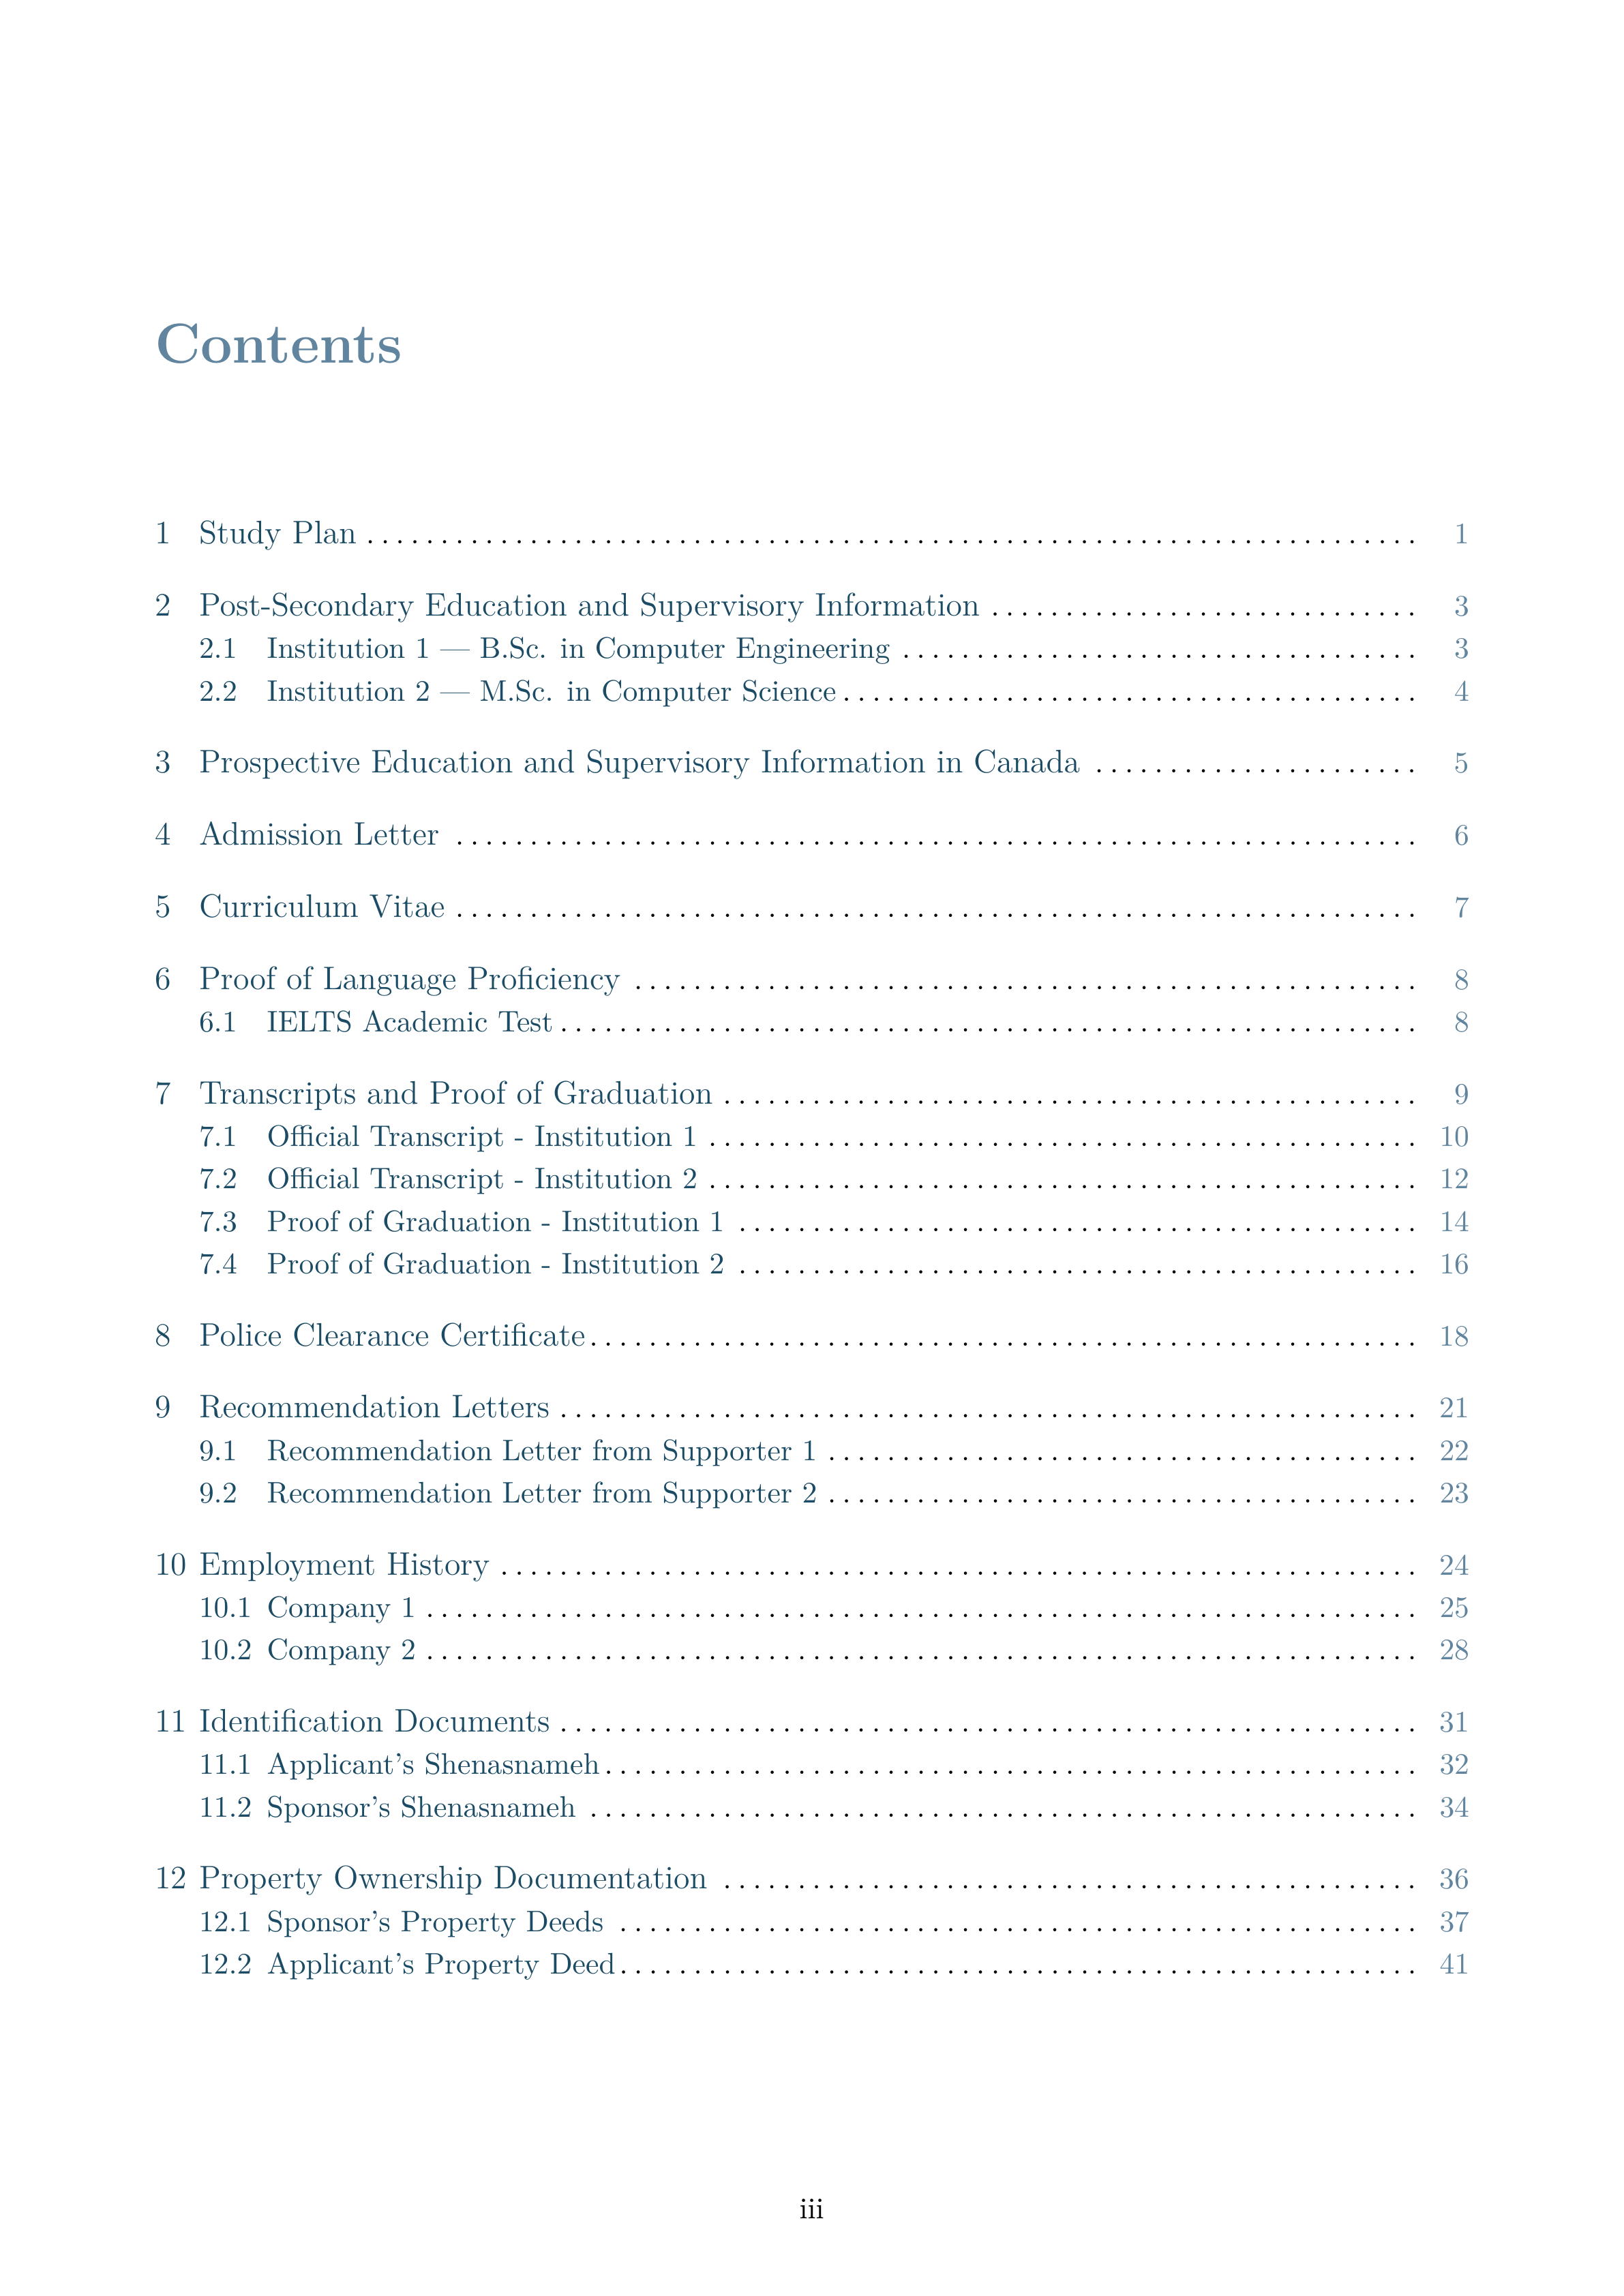 ](https://raw.githubusercontent.com/deepmancer/canada-visa/main/assets/samples/cl-table-of-content.png) | [
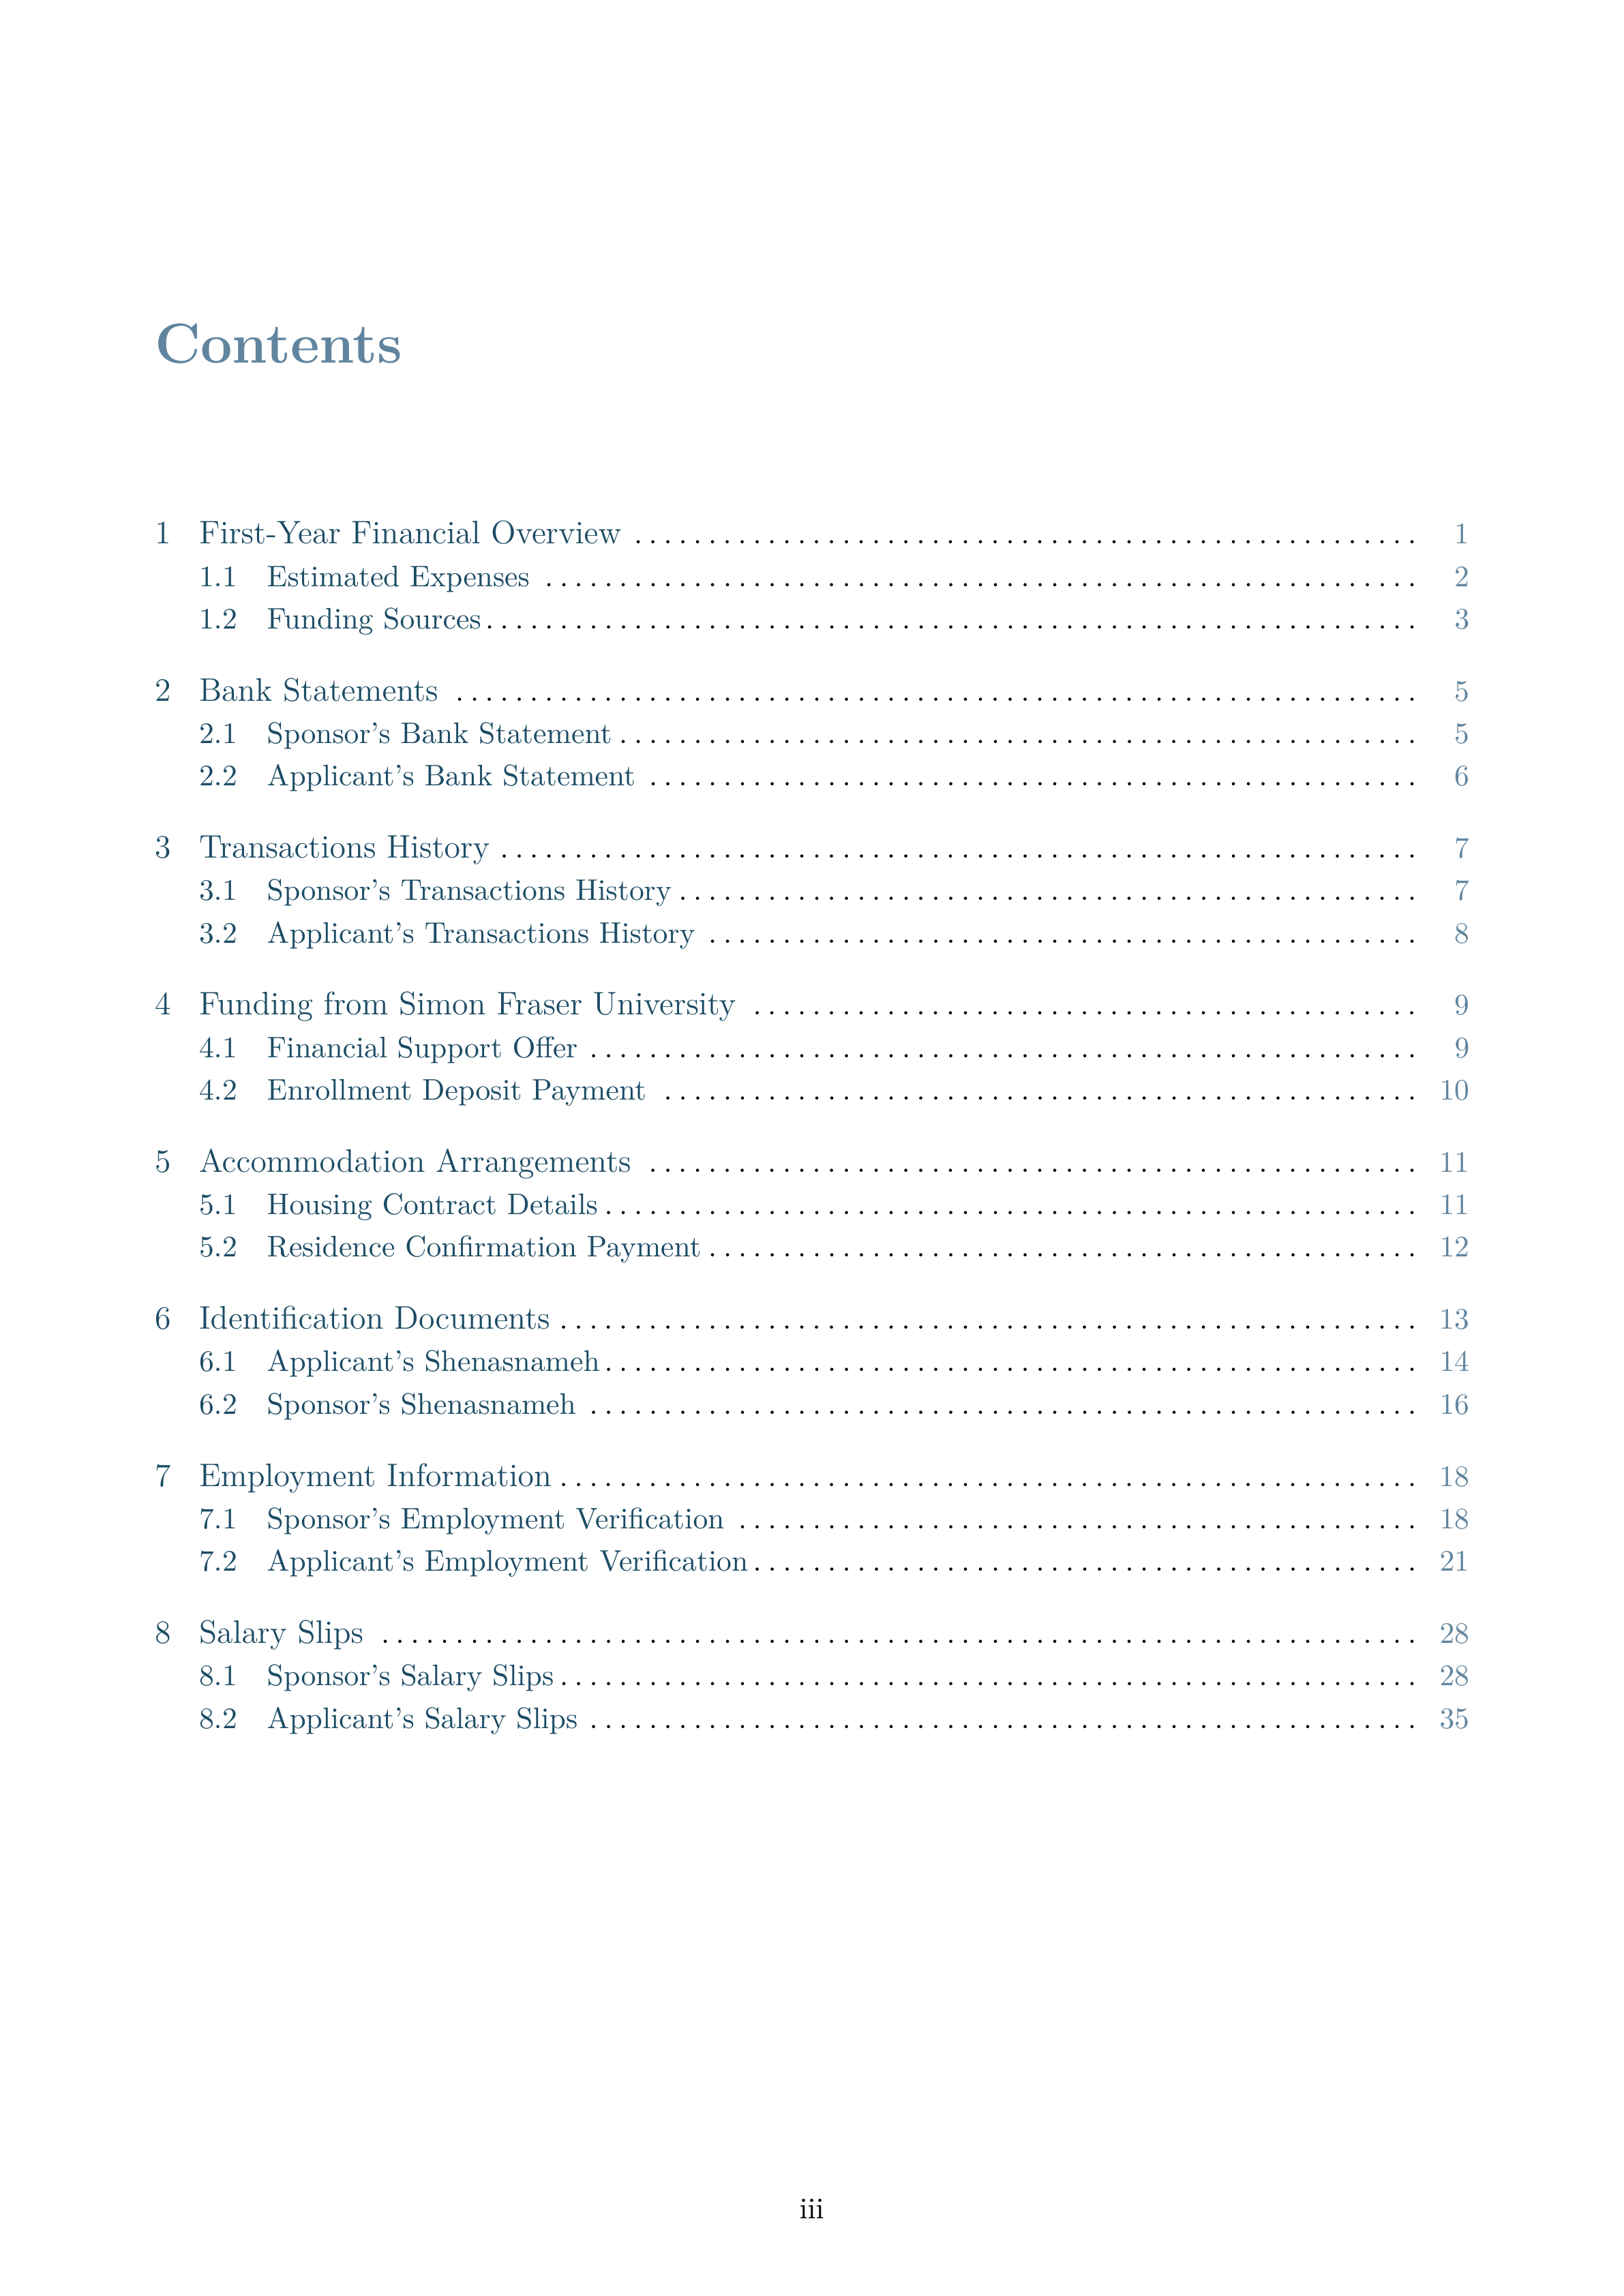 ](https://raw.githubusercontent.com/deepmancer/canada-visa/main/assets/samples/pmfs-table-of-content.png) |
---
## 🔰 Getting Started
Get started quickly with Overleaf—just a few easy steps and you'll be ready to edit:
### 🌿 Option 1: Using Overleaf (Recommended)
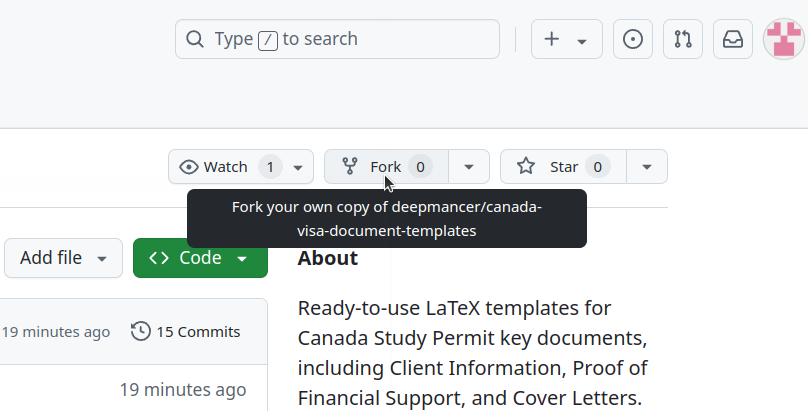
1. 🍴 **Fork this repository** on GitHub by clicking the [Fork button](https://github.com/deepmancer/canada-visa/fork).
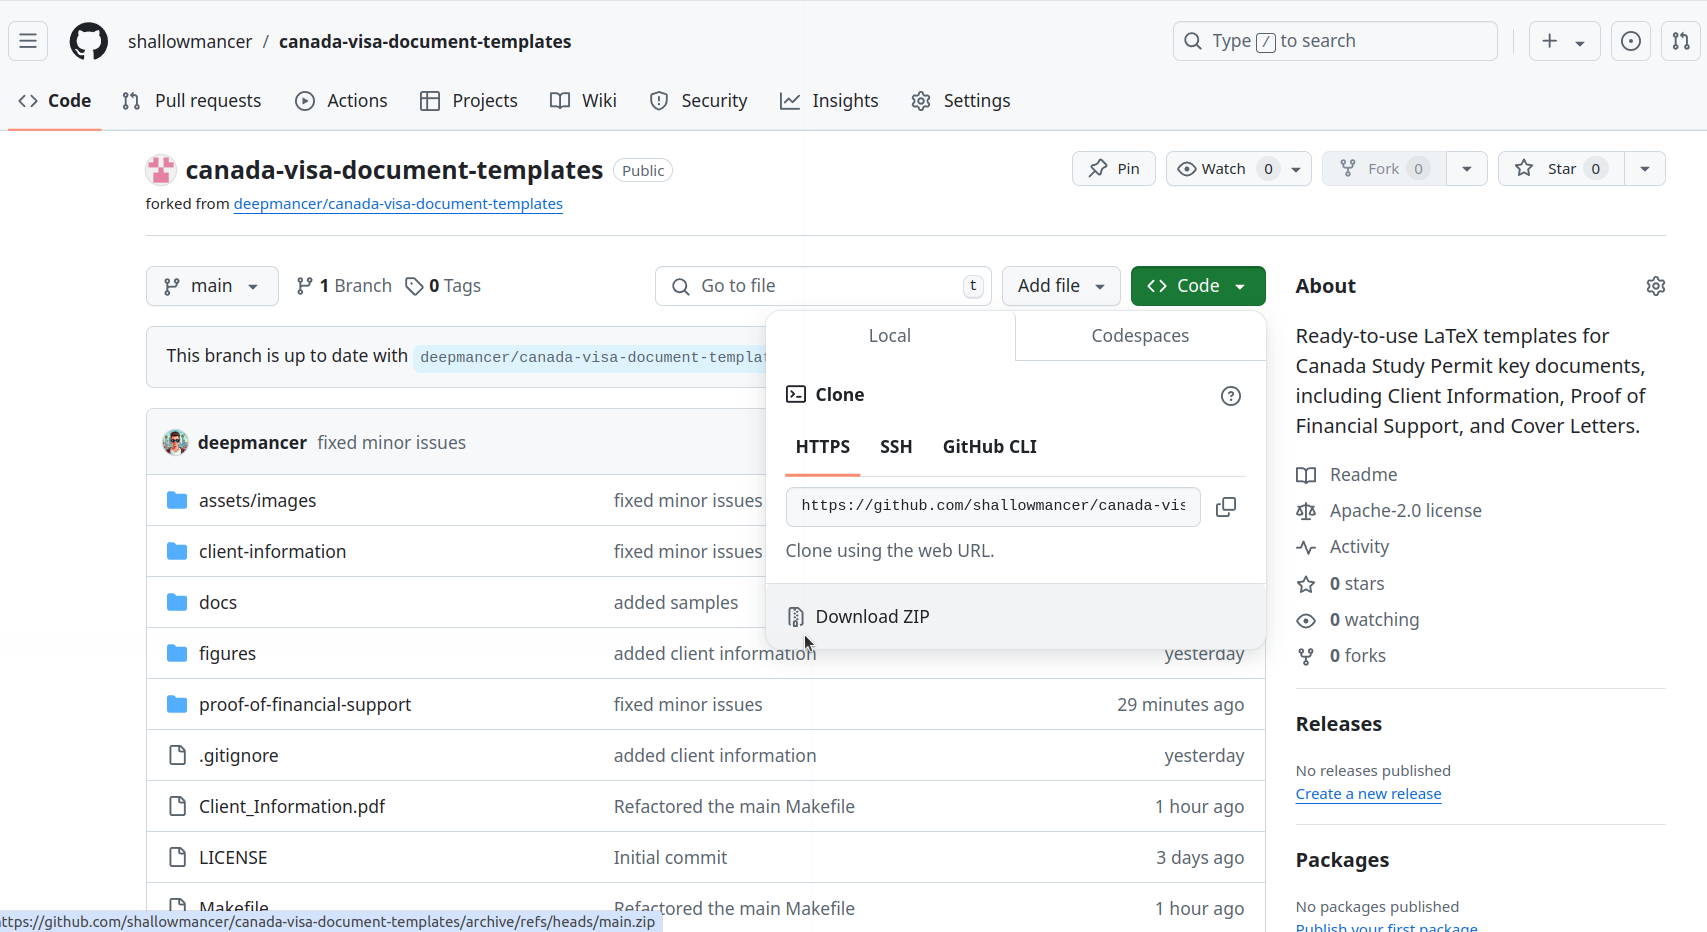
2. 📥 **Download your forked repository** as a ZIP file.
- Navigate to your forked repository.
- Click on **Code** → **Download ZIP**.
3. 🌐 Open [Overleaf](https://www.overleaf.com).
4. 🔑 **Create an account or log in** with Google or email for free.
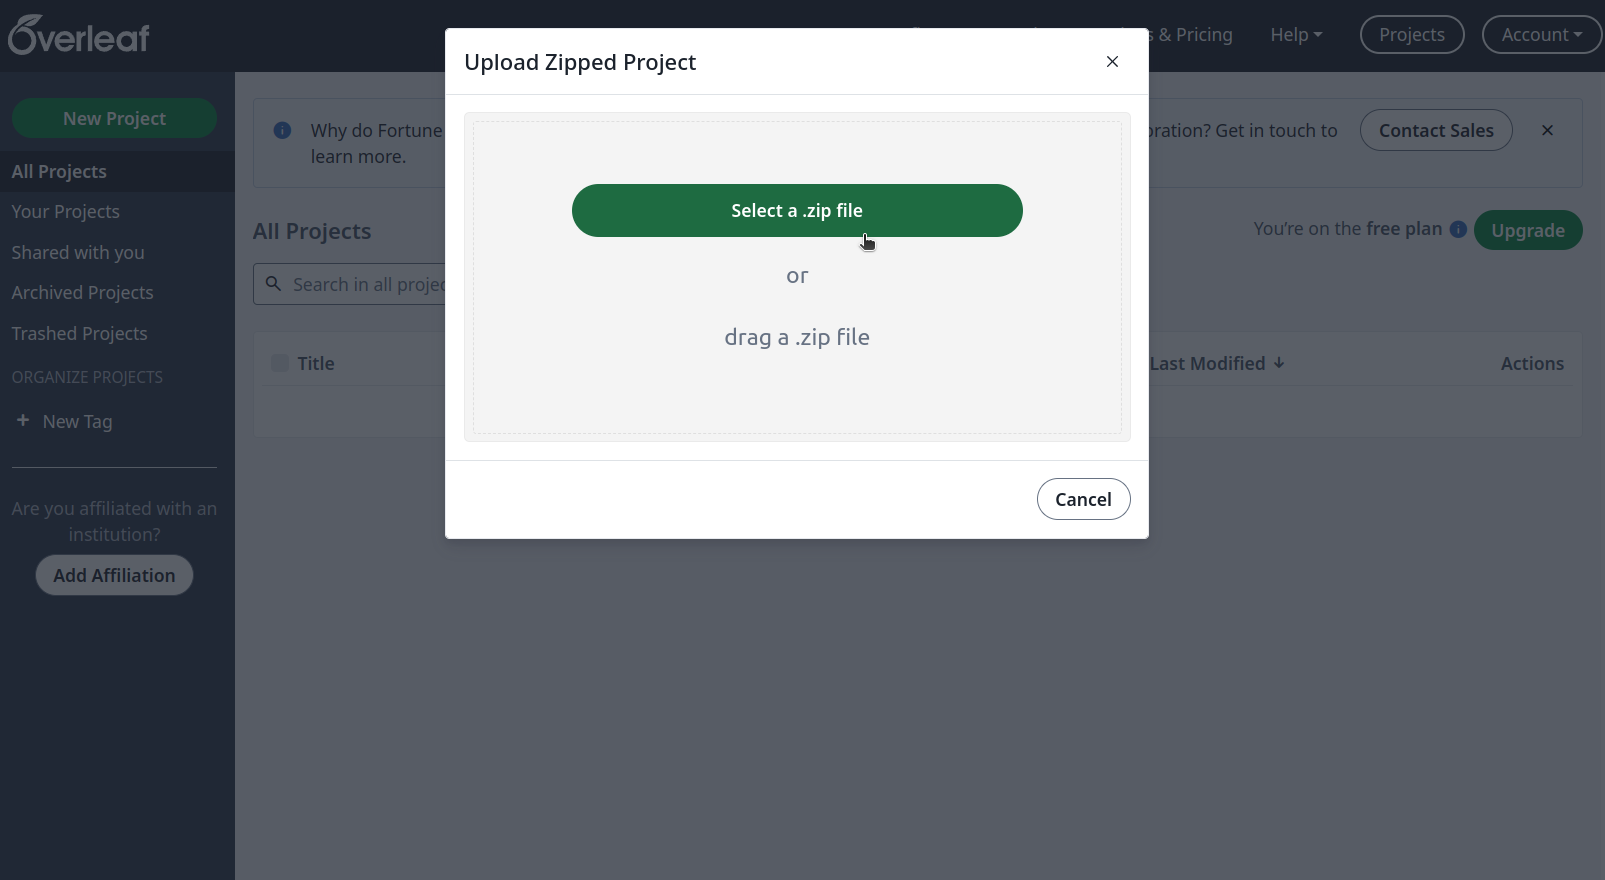
5. 🔗 In Overleaf, go to **"New Project"** → **"Upload Project"** and upload the downloaded ZIP file.
6. ✏️ Start editing in Overleaf’s user-friendly, web-based LaTeX editor.
For a detailed guide, expand the steps below:
📜 Step-by-Step Walkthrough
1. 🍴 **Fork the Repository on GitHub**:
- Go to the GitHub repository and click on **"Fork"** to create your own copy.
-
2. 📥 **Download Your Forked Repository**:
- In your forked repository, click **"Code"** → **"Download ZIP"** to save it locally.
-
3. 🌐 **Open Overleaf and Start a New Project**:
- Log in to Overleaf, then click **"New Project"**.
-
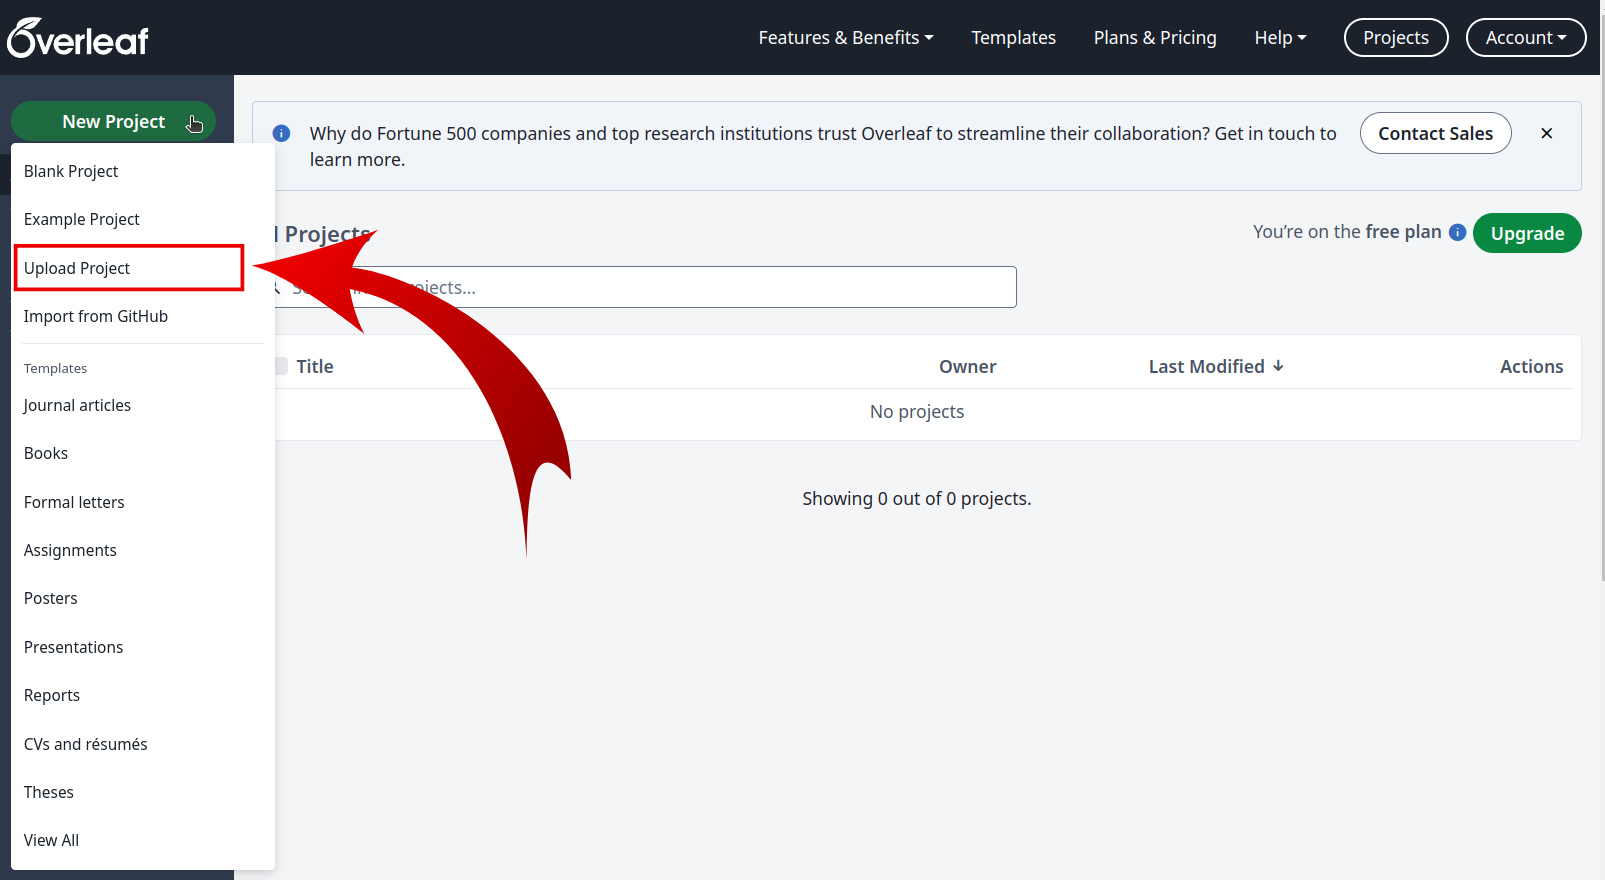
4. 🔼 **Upload Your ZIP File to Overleaf**:
- Select **"Upload Project"** and choose the ZIP file you just downloaded.
-
5. ✏️ **Start Editing in Overleaf**:
- Your project is set up—dive right in and edit your LaTeX files directly in Overleaf’s online editor.
-
6. 📄 **Download Your Compiled PDF**:
- When you’re done, compile your project and download the finished PDF.
-
### 🖥️ Option 2: Local Setup
1. 📥 **Clone this repository** to your local machine:
```bash
git clone https://github.com/your-username/canada-visa.git
```
2. 📦 **Install a LaTeX distribution** (TeX Live recommended).
3. 📝 **Edit the templates** to include your information.
4. ⚙️ **Compile** using your preferred LaTeX editor or command line.
---
## 🎨 Customizing Templates
Personalize each template to fit your unique application by following these guidelines.
### ✏️ Personalizing Documents
#### 💼 Client Information
The `client-information` document contains all personal and academic details essential for your visa application.
**Steps to Customize:**
1. **Update Personal Variables**:
Edit [`configuration/variables.tex`](client-information/configuration/variables.tex) to set your personal information and document metadata.
```latex
% configuration/variables.tex
% ---- Metadata Variables ----
\newcommand{\documentTitle}{Client Information}
\newcommand{\documentSubject}{Canada Study Permit Visa Application}
% ---- Applicant's Information ----
\newcommand{\applicantName}{Your Full Name}
\newcommand{\applicantPhone}{Your Phone Number}
\newcommand{\applicantEmail}{your.email@example.com}
```
2. **Edit the Cover Letter**:
Personalize the cover letter by editing [`cover-letter.tex`](client-information/cover-letter.tex). Ensure the recipient's details are set in [`variables.tex`](client-information/configuration/variables.tex) under `\coverLetterRecipient`.
```latex
% cover-letter.tex
\thispagestyle{plain}
\today\\
\coverLetterRecipient
Dear Officer,
% ... rest of the letter ...
```
3. **Modify the Sections**:
Each section is modular and can be edited individually in the [`sections/`](client-information/sections) directory. For example, to edit the study plan:
```latex
% study-plan.tex
\chapter{Study Plan}\label{chap:study-plan}
\section*{Background}
% Your personalized content here
```
4. **Include or Exclude Sections**:
In [`client-information.tex`](client-information/client-information.tex), manage which sections are included by adding or commenting out `\input{}` lines.
```latex
% client-information.tex
% ... preamble ...
\input{./sections/study-plan} % Include study plan
\input{./sections/curriculum-vitae} % Include curriculum vitae
% \input{./sections/language-proficiency} % Exclude language proficiency
```
#### 💰 Proof of Means of Financial Support
The `proof-of-financial-support` document demonstrates your financial ability to support your studies in Canada.
**Steps to Customize:**
1. **Set Financial Variables**:
Edit [`configuration/variables.tex`](proof-of-financial-support/configuration/variables.tex) to reflect your financial details.
```latex
% configuration/variables.tex
% ---- Funding Variables ----
\newcommand{\totalFunds}{\$50,000} % Total available funds
\newcommand{\universityFunds}{\$15,000} % University-provided funds
\newcommand{\selfFunds}{\$20,000} % Personal funds
\newcommand{\sponsorFunds}{\$15,000} % Sponsor's funds
% ---- Expense Variables ----
\newcommand{\totalExpenses}{\$40,000} % Total estimated expenses
\newcommand{\totalLivingExpenses}{\$30,000} % Total living expenses
\newcommand{\totalEducationExpenses}{\$10,000} % Total education expenses
```
2. **Edit the Cover Letter**:
Personalize the financial cover letter in [`cover-letter.tex`](proof-of-financial-support/cover-letter.tex).
```latex
% cover-letter.tex
\thispagestyle{plain}
\today\\
\coverLetterRecipient
Dear Officer,
% ... rest of the letter ...
```
3. **Modify the Financial Sections**:
Customize each financial section to accurately reflect your situation. For example, to update your expenses:
```latex
% first-year-expenses-funding.tex
\section{First Year Expenses and Funding}
My total available funds for my first year in Canada amount to ...
```
4. **Include or Exclude Sections**:
In [`proof-of-financial-support.tex`](proof-of-financial-support/proof-of-financial-support.tex), manage sections using `\input{}` commands.
```latex
% proof-of-financial-support.tex
% ... preamble ...
\input{./sections/first-year-expenses-funding} % Include expenses and funding
\input{./sections/bank-statements} % Include bank statements
% \input{./sections/housing-arrangements} % Exclude housing arrangements
```
---
### ➕ Adding New Items (Optional)
#### New Sections and Chapters
To further personalize the documents, you can add new sections or chapters.
**Example: Adding a "Volunteer Experience" Section**
1. **Create the New Section File**:
In the appropriate `sections` directory, create a file named `volunteer-experience.tex`.
```latex
% volunteer-experience.tex
\chapter{Volunteer Experience}\label{chap:volunteer-experience}
% Content detailing your volunteer work
```
2. **Include the New Section**:
Add the new section to your main document file.
```latex
% client-information.tex
% ... previous inputs ...
\input{./sections/volunteer-experience} % Add Volunteer Experience section
```
3. **Compile and Review**:
Ensure the document compiles correctly and the new section appears as intended.
---
#### New Attachments and Supporting Files
Place your personal attachments, such as scans of identification documents or financial statements, in the [`application-docs`](application-docs) directory. Update the file paths in your LaTeX files to point to your own documents. For example, to include a scan of your passport:
```latex
% identification-documents.tex
\chapter{Identification Documents}\label{chap:identification-documents}
\begin{figure}[H]
\centering
\includegraphics[page=1, width=0.8\textwidth]{../application-docs/applicant/identification/passport-scan.pdf}
\caption{Scan of Passport Document (Page 1)}
\label{fig:passport-scan}
\end{figure}
```
---
### ⚙️ Compiling Your Documents
Compile the documents using Overleaf or a local LaTeX distribution.
- 🌿 **Using Overleaf**: Click **Recompile** or press **Ctrl+Enter**.
- 🖥️ **Locally**:
- Navigate to the project directory.
- Run `make` to compile the documents. Available commands:
```bash
make all # Compile all documents
make client # Compile the client information document
make proof # Compile the proof of financial support document
make clean # Clean up generated files
```
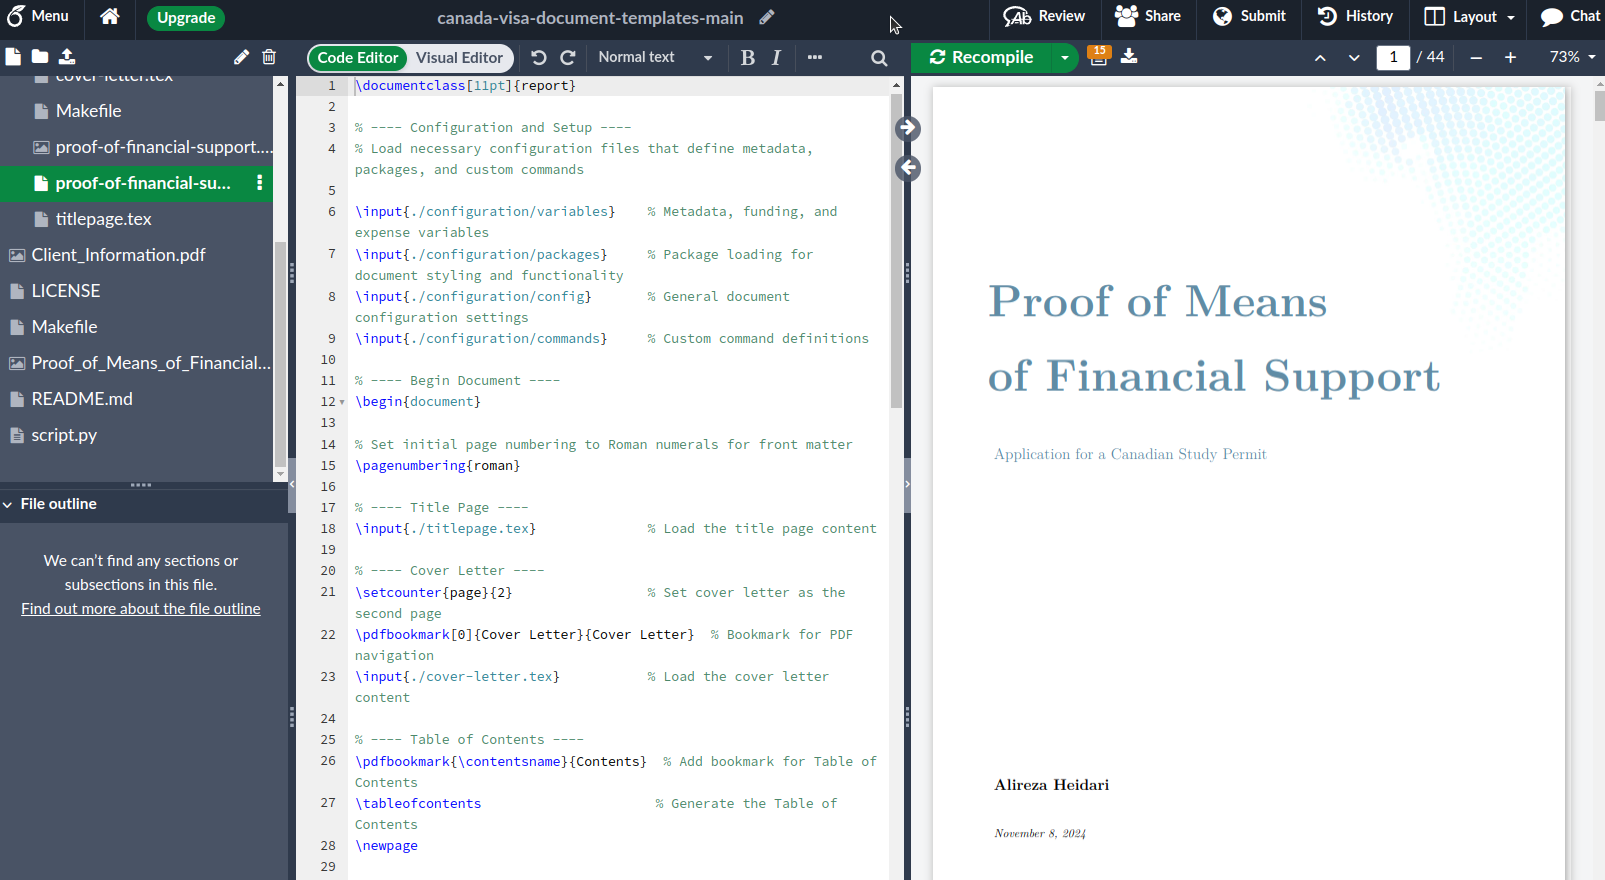
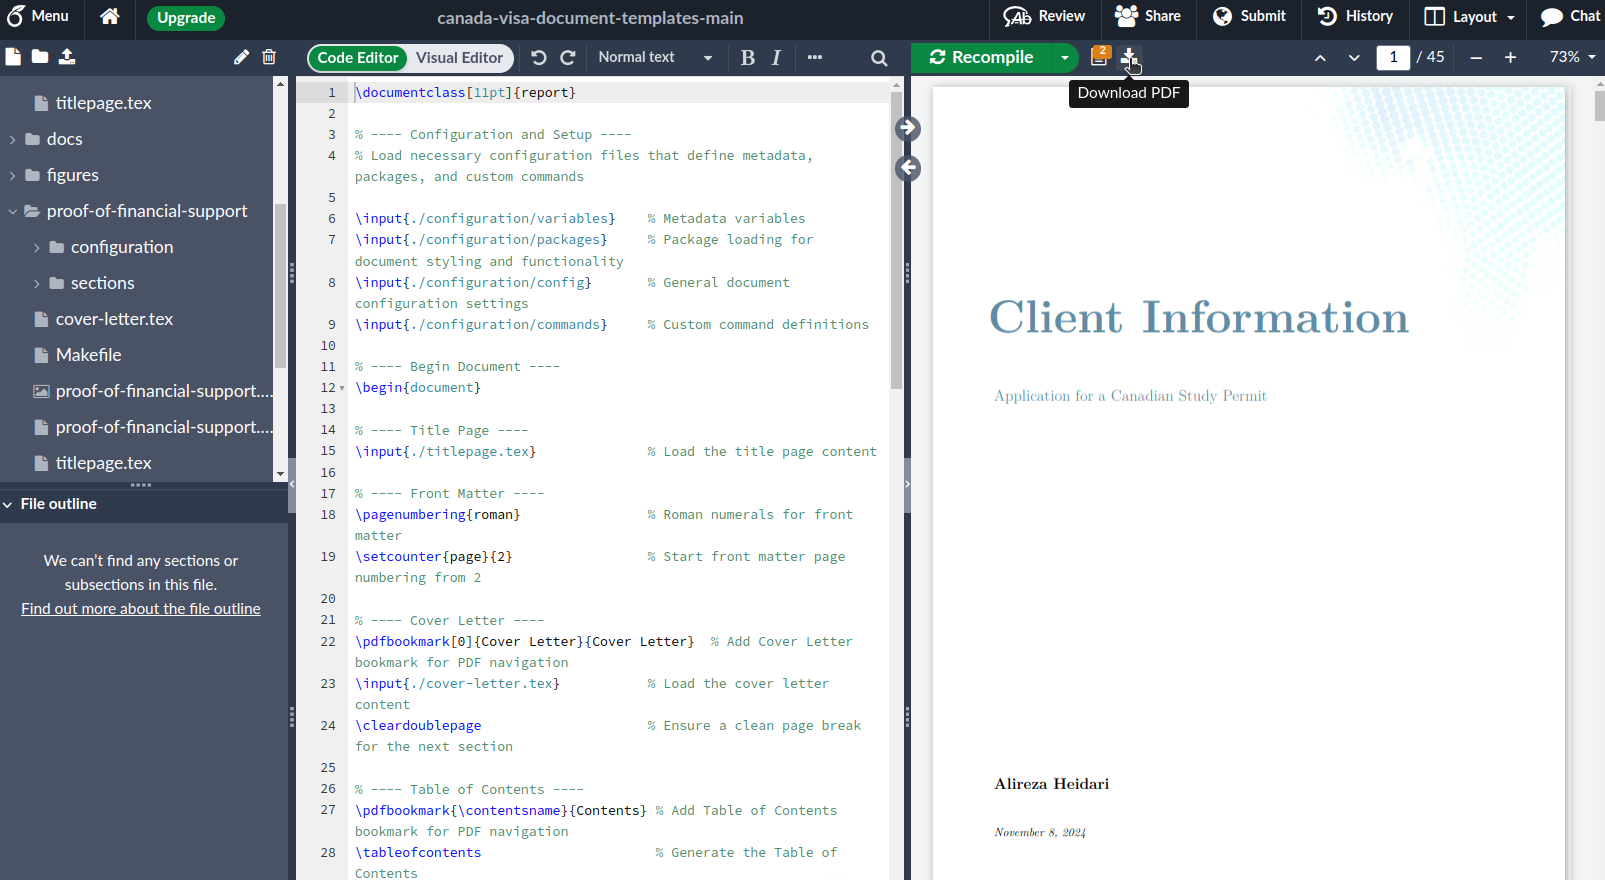
- Open and review the generated PDFs: `Proof_of_Means_of_Financial_Support.pdf` and `Client_Information.pdf`!
---
Done! Your documents are ready for submission. 🎉
---
## ❓ New to LaTeX? Don't Worry! Read This!
With just these few simple commands, you can customize your documents effortlessly without facing problems 99% of the time! Let's explore the essentials:
### 🖋️ Text Formatting
| **Effect** | **LaTeX Command** |
|-----------------|---------------------------------------------|
| **Bold text** | `\textbf{Bold Text}` |
| *Italic text* | `\textit{Italic Text}` |
| Underline text | `\underline{Underlined Text}` |
| Hyperlink | `\href{https://www.google.com}{Link}` |
- *Latex Code*:
```latex
I want to pursue a \textbf{Ph.D.} in \textit{CS} at \underline{UBC} (\href{https://www.ubc.ca}{program website}).
```
- *Output*:
> I want to pursue a **Ph.D.** in *CS* at UBC ([program website](https://www.ubc.ca)).
---
### 📌 Footnotes
- *Latex Code*:
```latex
My paper was published in a Q1-ranked conference\footnote{Among the top 25\% of conferences in the field.} in 2019.
```
- *Output*:
> My paper was published in a Q1-ranked conference¹ in 2019.

---
### 📎 Including Images and PDFs
- **Displaying PDFs**:
- **Option 1: A Page at a Time**
```latex
\begin{figure}[h]
\centering
\includegraphics[page=1, width=0.65\textwidth]{path/to/your-file.pdf}
\caption{Description of the displayed PDF page}
\label{fig:pdf-sample-page-1}
\end{figure}
```
- *File Path*: Replace `path/to/your-file.pdf` with the actual file path.
- *Page Selection*: Adjust `page=1` to the specific page you wish to display (e.g., `page=2`).
- *Caption*: Update `\caption{...}` with a clear and relevant description.
- **Option 2: Multiple Pages**
```latex
\includepdf[pages=-, width=0.65\textwidth, pagecommand={}]{path/to/your-file.pdf}
```
- *All Pages*: Use `pages=-` to include all pages of the PDF.
- *Specific Pages*: List selected pages with `pages={1,3,5}` to include only specific pages.
- *No Captions or Labels*: This method excludes captions and labels.
- **Displaying Images**:
```latex
\begin{figure}[h]
\centering
\includegraphics[width=0.65\textwidth]{path/to/your-image.png}
\caption{Caption of the image}
\label{fig:image-sample}
\end{figure}
```
- *File Path*: Replace `path/to/your-image.png` with the actual file path of the image.
- *Image Size*: Modify `width` to adjust the image size.
- *Caption and Label*: Add a meaningful `\caption{...}` and a unique `\label{...}` for easy referencing.
- **Rotating Figures**:
To rotate a figure, use the `angle` parameter like this:
```latex
\includegraphics[angle=270, width=0.65\textwidth]{path/to/your-image.png} % For images (PNG, JPEG, etc.)
\includegraphics[angle=270, page=2, width=0.65\textwidth]{path/to/your-file.pdf} % For PDFs
```
- *Rotation Angle*: Set `angle=270` to rotate the image by 270 degrees (adjust as needed).
---
### 🔖 Referencing Sections, Figures, and Tables
| **Element** | **Set Label** | **Reference** | **Example** |
|----------------|--------------------------|-----------------------|--------------------------------------|
| **Chapter** | `\label{chap:label}` | `\ref{chap:label}` | `See Chapter~\ref{chap:study-plan}` |
| **Section** | `\label{sec:label}` | `\ref{sec:label}` | `See Section~\ref{sec:background}` |
| **Subsection** | `\label{subsec:label}` | `\ref{subsec:label}` | `See Subsection~\ref{subsec:details}`|
| **Figure** | `\label{fig:label}` | `\ref{fig:label}` | `Refer to Figure~\ref{fig:sample}` |
| **Table** | `\label{tab:label}` | `\ref{tab:label}` | `As shown in Table~\ref{tab:data}` |
**Example**:
- *Step 1: Labeling*:
```latex
\chapter{Study Plan}\label{chap:study-plan}
\section{Background Information}\label{sec:background}
My background is summarized in the following table:
\begin{table}[H]
\centering
\begin{threeparttable}
\caption{Background Summary}
\label{tab:background-summary}
\begin{tabularx}{0.65\textwidth}{|X|X|}
% Table content here
% ...
\end{tabularx}
\end{threeparttable}
\end{table}
```
- *Step 2: Referencing*:
```latex
In Chapter~\ref{chap:study-plan}, I discuss my background information in Section~\ref{sec:background}. The summary is presented in Table~\ref{tab:background-summary}.
```
*Output*:
> In Chapter 1, I discuss my background information in Section 1. The summary is presented in Table 1.
---
### 🔗 Useful Links & Further Reading
The following resources can help you get started:
- 📘 [DataCamp: LaTeX Cheat Sheet](https://www.datacamp.com/cheat-sheet/latex-cheat-sheet) - A quick reference guide for LaTeX commands and syntax.
- 🚀 [Overleaf: Learn LaTeX in 30 minutes](https://www.overleaf.com/learn/latex/Learn_LaTeX_in_30_minutes) - A concise tutorial to get you up and running with LaTeX.
- 🎬 [Overleaf: LaTeX video tutorial for beginners](https://www.overleaf.com/learn/latex/LaTeX_video_tutorial_for_beginners_(video_1)) - A series of brief videos covering the basics of LaTeX.
LaTeX is powerful, but it doesn't have to be complicated!
---
## 📝 License
This project is licensed under the [Apache License 2.0](LICENSE). See the [LICENSE](LICENSE) file for details.
---
## ✨ Contributing
Contributions are welcome! Please feel free to submit a [pull request](https://github.com/deepmancer/canada-visa/pulls).
---
## 📬 Support
If you have any questions or need assistance, please open an [issue](https://github.com/deepmancer/canada-visa/issues).
---
⭐ If you found this helpful, please consider [starring the repository](https://github.com/deepmancer/canada-visa/stargazers) to help others discover it!