https://github.com/devanshtangri/iot-camera-bot
A DIY Raspberry Pi-powered robot car controlled through a web browser interface with real-time video streaming. Built using Flask, WebSockets, GPIO, and Picamera2 — no external controllers or apps needed!
https://github.com/devanshtangri/iot-camera-bot
flask iot linux night-vision night-vision-camera python3 raspberry-pi raspberrypi remote-control web-controlled-robot website wifi
Last synced: 3 months ago
JSON representation
A DIY Raspberry Pi-powered robot car controlled through a web browser interface with real-time video streaming. Built using Flask, WebSockets, GPIO, and Picamera2 — no external controllers or apps needed!
- Host: GitHub
- URL: https://github.com/devanshtangri/iot-camera-bot
- Owner: devanshtangri
- License: mit
- Created: 2025-08-01T07:25:21.000Z (11 months ago)
- Default Branch: main
- Last Pushed: 2025-08-11T14:00:38.000Z (11 months ago)
- Last Synced: 2025-08-11T15:12:08.975Z (11 months ago)
- Topics: flask, iot, linux, night-vision, night-vision-camera, python3, raspberry-pi, raspberrypi, remote-control, web-controlled-robot, website, wifi
- Language: HTML
- Homepage:
- Size: 9 MB
- Stars: 0
- Watchers: 0
- Forks: 0
- Open Issues: 0
-
Metadata Files:
- Readme: README.md
- License: LICENSE
Awesome Lists containing this project
README
# IoT-Camera-Bot
A DIY Raspberry Pi-powered robot car controlled through a web browser interface with real-time video streaming. Built using Flask, WebSockets, GPIO, and Picamera2 — no external controllers or apps needed!
## Table of Contents
- [About the project](#about-the-project)
- [Dependencies](#dependencies)
- [How it works?](#how-it-works)
- [Enable as a Service](#enabling-script-as-a-service-to-start-at-boot)
## About the project
This project runs on a Raspberry Pi Zero 2 W with Raspberry Pi OS 64-bit installed. Despite its small size and low power usage, this Pi packs enough performance to handle a basic video stream and control a 4WD robotic car.

To ensure a smooth and steady video feed, I don't rely on the Pi's internal Wi-Fi. Instead, I use a TP-Link AC1300 USB Wi-Fi adapter, which supports 5GHz networks. This allows a faster and more stable connection between the Raspberry Pi and my home network.

The Raspberry Pi connects to my home Wi-Fi using the TP-Link adapter, not the built-in one. I initially used the desktop GUI to set it up, but later switched to CLI-only mode to improve performance by freeing up resources.
## Dependencies
Here are the packages required to run this script
```
sudo apt update && sudo apt install -y \
python3 \
python3-flask \
python3-picamera2 \
libcamera-dev \
python3-pil \
python3-numpy \
python3-gpiozero \
python3-rpi.gpio
```
With Raspberry Pi OS Bookworm or later, the "enable camera" option in `raspi-config` has been removed, so make sure you have a working camera that you can access via
```
rpicam-hello
```
## How it works?
The video feed isn’t technically a live stream. Here's what happens: the camera captures raw frames, which are not natively web-compatible. Each frame is converted to MJPEG format and served in sequence through a browser. So you're actually watching a rapid slideshow of JPEGs, not a continuous video.

The bot uses a night vision camera, but any standard Pi-compatible cam should work. I'm using an L298N motor driver to drive a 4WD chassis. Motors on the left and right sides are paired for control simplicity. Power comes from a 2S 18650 battery pack, providing 8.4V. Due to voltage drop (~2V) across the BJT-based L298N, a higher input voltage helps maintain motor speed. If you're prioritizing efficiency, consider switching to a MOSFET-based H-bridge. The Pi itself draws power from a separate 5V power bank module to keep things stable.
## Youtube Video (Bot in Action)
[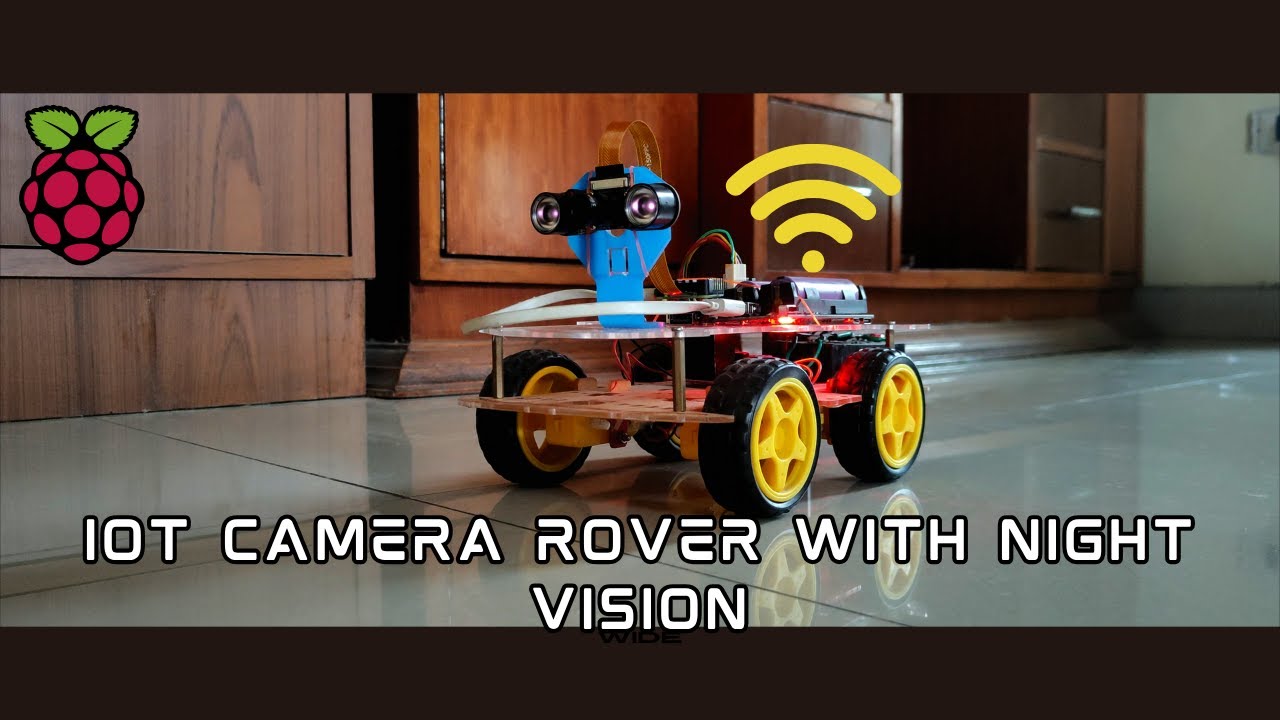](https://www.youtube.com/watch?v=E3UKFRwnvDQ)
## Enabling script as a service to start at boot
To make the project plug-and-play, I created a systemd service that automatically starts the main control script at boot. This way, the Pi is ready to go without needing SSH or manual intervention every time.
Create a service file
```
sudo nano /etc/systemd/system/remote.service
```
Paste this template and replace the path for your case
```
[Unit]
Description=Bot Script
After=network.target
[Service]
WorkingDirectory=/path/to/your/clone
ExecStart=/usr/bin/python3 /path/to/your/clone/remote.py
User=root
Restart=always
[Install]
WantedBy=multi-user.target
```
Reload systemctl and enable the service
```
sudo systemctl daemon-reload && sudo systemctl enable remote.service
```
Finally, start the script
```
sudo systemctl start remote
```
The script hosts web server on port 80 by default but if you want to change it, you can set that in line 78 in remote.py