Ecosyste.ms: Awesome
An open API service indexing awesome lists of open source software.
https://github.com/devenes/php-beanstalk
Elastic Beanstalk PHP Application Deployment on AWS
https://github.com/devenes/php-beanstalk
auto-scaling-group aws aws-cloudformation elastic-beanstalk elastic-beanstalk-applications elastic-beanstalk-environments elastic-beanstalk-server elastic-beanstalk-worker elasticbeanstalk elasticbeanstalk-deployment php
Last synced: about 5 hours ago
JSON representation
Elastic Beanstalk PHP Application Deployment on AWS
- Host: GitHub
- URL: https://github.com/devenes/php-beanstalk
- Owner: devenes
- Created: 2022-03-19T10:59:13.000Z (almost 3 years ago)
- Default Branch: main
- Last Pushed: 2022-03-19T23:41:15.000Z (almost 3 years ago)
- Last Synced: 2024-11-09T07:35:03.608Z (about 2 months ago)
- Topics: auto-scaling-group, aws, aws-cloudformation, elastic-beanstalk, elastic-beanstalk-applications, elastic-beanstalk-environments, elastic-beanstalk-server, elastic-beanstalk-worker, elasticbeanstalk, elasticbeanstalk-deployment, php
- Language: CSS
- Homepage:
- Size: 385 KB
- Stars: 0
- Watchers: 2
- Forks: 0
- Open Issues: 0
-
Metadata Files:
- Readme: README.md
Awesome Lists containing this project
README
        # Elastic Beanstalk PHP Application Deployment


## Part 1 - Launch an Application

- First download the php-v1.zip and php-v2.zip files from GitHub and share them via Slack.

- Go to `Elastic Beanstalk` service on AWS console.

- Click `Create Application`.

- Enter your application name `MySampleApp`. (You can also add Application tags if you need.)

- Select `PHP` for Platform, `PHP 8.0.13 running on 64bit Amazon Linux 2` for Platform Branch and `(Recommended)` for Platform Version.

- Select `Upload your code` for Application code.

- Type `mysampleapp-source-V1` for Version label and select Local file. Then click choose file and upload php-v1.zip file.

  Check File successfully uploaded to be sure.

- Click `Create Application`.

- Wait for Elastic Beanstalk to create the environment for the application. Show the resources being created and listed on the console.

- After the creation of the environment click the link (Application URL) and show the Web Page.

- From the left-hand menu show the app and env menus, talk about them. Click on the tabs like `Configuration`, `Monitoring` etc. and explain them.

- Go to `EC2` service on AWS console and show the resources

- Instances,

- Load Balancers,

- ASG,

- CloudFormation

- S3 bucket

  created by Elastic Beanstalk.

- Show that even you copy and paste the public IP of the instace created by EB nothing happened in browser. Explian the security group and source part of it.

## Part 2 - Update the Application

### Step 1 - Update the Application

- Go to `Elastic Beanstalk` service on AWS console.

- Explain the deployment policies:

https://blog.shikisoft.com/which_elastic_beanstalk_deployment_should_you_use/

- Click `Mysampleapp-env` on the left hand menu, and click `Upload and deploy` to update the application. (You can also click `Application versions` on the left hand menu, and then click `Upload` to update but you have to deploy it manually)

```bash

- Choose file           : php-v2.zip

- Version label         : mysampleapp-source-V2

- Deployment Preferences : Keep it as is `All At Once`

```

- Wait for Elastic Beanstalk to update the application.

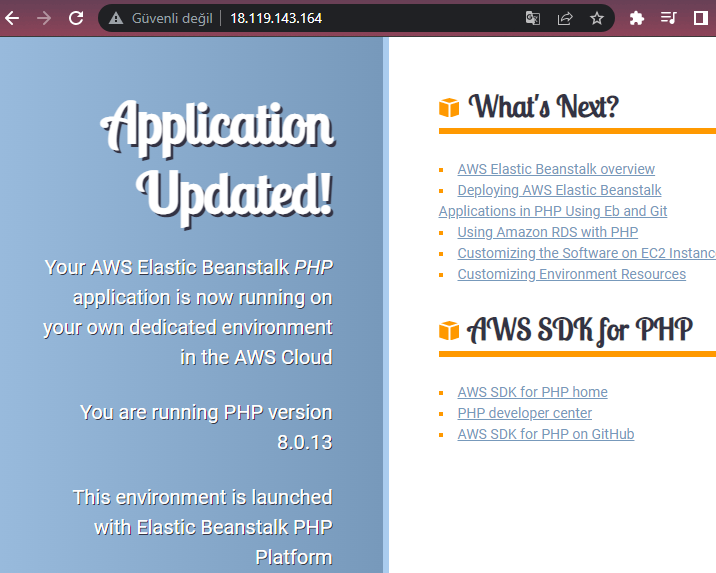
- After the update completed click the link (Application URL) and show the Updated Web Page.

- Click `Mysampleapp` >> `Application versions` and show we have one app but two versions.
