https://github.com/devhoangkien/auth-agent-anineplus
https://github.com/devhoangkien/auth-agent-anineplus
Last synced: about 2 months ago
JSON representation
- Host: GitHub
- URL: https://github.com/devhoangkien/auth-agent-anineplus
- Owner: devhoangkien
- Created: 2026-03-11T07:40:30.000Z (5 months ago)
- Default Branch: main
- Last Pushed: 2026-03-11T07:40:51.000Z (5 months ago)
- Last Synced: 2026-03-11T14:31:52.711Z (5 months ago)
- Language: TypeScript
- Size: 82 KB
- Stars: 0
- Watchers: 0
- Forks: 0
- Open Issues: 0
-
Metadata Files:
- Readme: README.md
Awesome Lists containing this project
README
# OpenAuth Server
[](https://deploy.workers.cloudflare.com/?url=https://github.com/cloudflare/templates/tree/main/openauth-template)
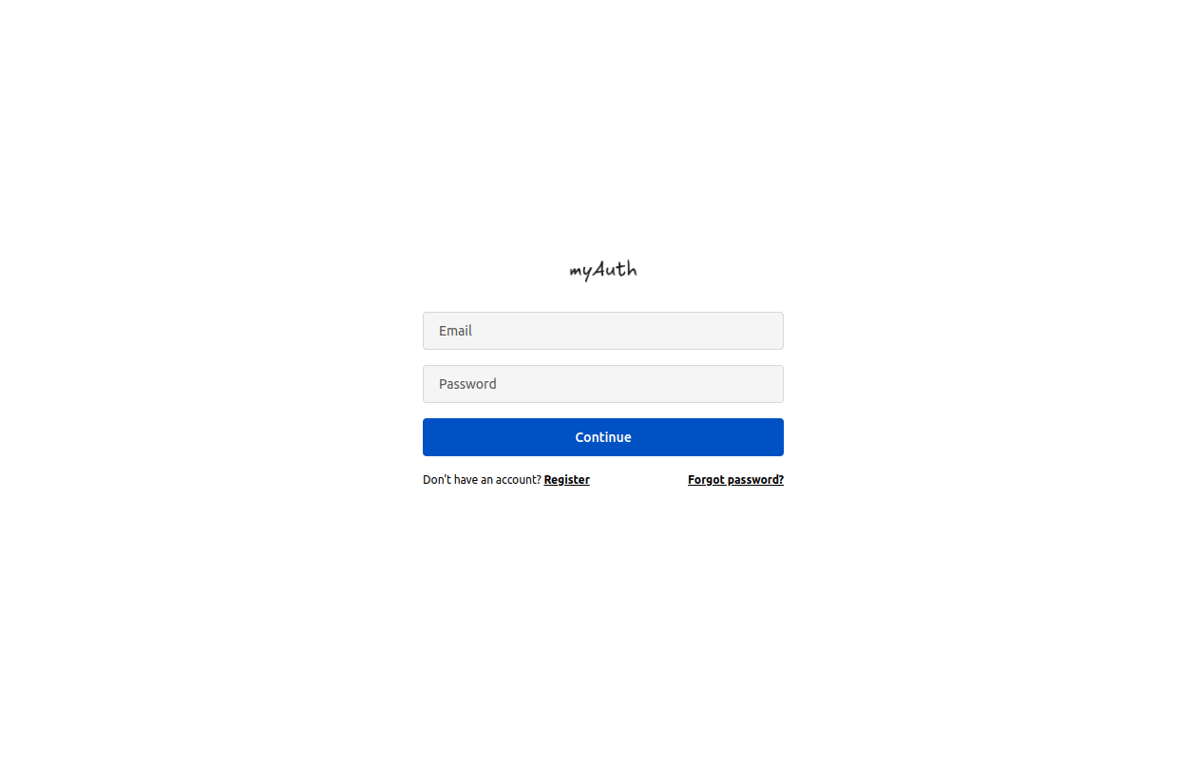
[OpenAuth](https://openauth.js.org/) is a universal provider for managing user authentication. By deploying OpenAuth on Cloudflare Workers, you can add scalable authentication to your application. This demo showcases login, user registration, and password reset, with storage and state powered by [D1](https://developers.cloudflare.com/d1/) and [KV](https://developers.cloudflare.com/kv/). [Observability](https://developers.cloudflare.com/workers/observability/logs/workers-logs/#enable-workers-logs) is on by default.
> [!IMPORTANT]
> When using C3 to create this project, select "no" when it asks if you want to deploy. You need to follow this project's [setup steps](https://github.com/cloudflare/templates/tree/main/openauth-template#setup-steps) before deploying.
## Getting Started
Outside of this repo, you can start a new project with this template using [C3](https://developers.cloudflare.com/pages/get-started/c3/) (the `create-cloudflare` CLI):
```bash
npm create cloudflare@latest -- --template=cloudflare/templates/openauth-template
```
A live public deployment of this template is available at [https://openauth-template.templates.workers.dev](https://openauth-template.templates.workers.dev)
## Setup Steps
1. Install the project dependencies with a package manager of your choice:
```bash
npm install
```
2. Create a [D1 database](https://developers.cloudflare.com/d1/get-started/) with the name "openauth-template-auth-db":
```bash
npx wrangler d1 create openauth-template-auth-db
```
...and update the `database_id` field in `wrangler.json` with the new database ID.
3. Run the following db migration to initialize the database (notice the `migrations` directory in this project):
```bash
npx wrangler d1 migrations apply --remote openauth-template-auth-db
```
4. Create a [kv namespace](https://developers.cloudflare.com/kv/get-started/) with a binding named "AUTH_STORAGE":
```bash
npx wrangler kv namespace create AUTH_STORAGE
```
...and update the `kv_namespaces` -> `id` field in `wrangler.json` with the new namespace ID.
5. Deploy the project!
```bash
npx wrangler deploy
```
6. And monitor your worker
```bash
npx wrangler tail
```