Ecosyste.ms: Awesome
An open API service indexing awesome lists of open source software.
https://github.com/devsrijit/personal-website-2.0
A personal website built with Next.js, featuring a blog and resume section.The site dynamically fetches data from data/portfolio.json and includes a responsive design.
https://github.com/devsrijit/personal-website-2.0
analytics-tracking blog dynamic nextjs personal-website portfolio portfolio-template portfolio-website resume seo-friendly seo-optimization tailwind template ui vercel
Last synced: 3 days ago
JSON representation
A personal website built with Next.js, featuring a blog and resume section.The site dynamically fetches data from data/portfolio.json and includes a responsive design.
- Host: GitHub
- URL: https://github.com/devsrijit/personal-website-2.0
- Owner: DevSrijit
- Created: 2024-01-11T15:12:39.000Z (10 months ago)
- Default Branch: main
- Last Pushed: 2024-05-04T10:23:38.000Z (7 months ago)
- Last Synced: 2024-05-05T08:35:55.279Z (7 months ago)
- Topics: analytics-tracking, blog, dynamic, nextjs, personal-website, portfolio, portfolio-template, portfolio-website, resume, seo-friendly, seo-optimization, tailwind, template, ui, vercel
- Language: JavaScript
- Homepage: https://srijit.life
- Size: 462 KB
- Stars: 0
- Watchers: 1
- Forks: 0
- Open Issues: 0
-
Metadata Files:
- Readme: README.md
Awesome Lists containing this project
README
# Personal Website with Blog and Resume


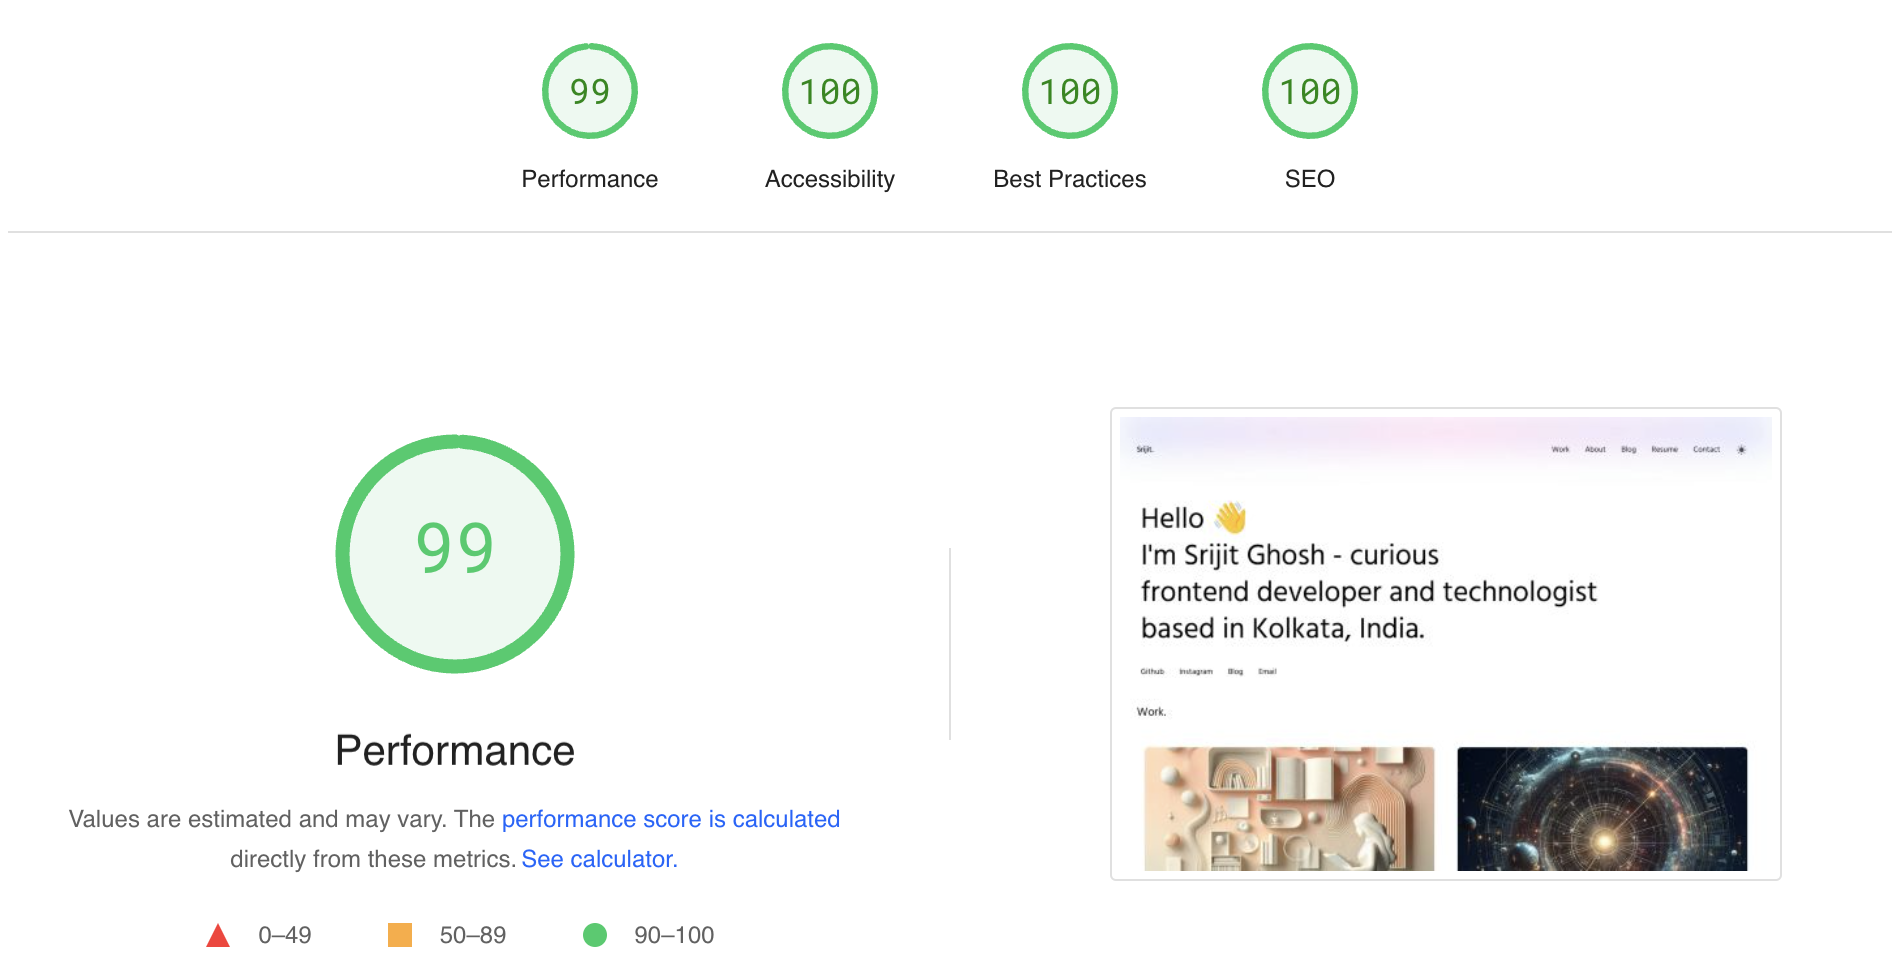
This is a personal website built using Next.js, a React framework for building server-side rendered and static websites. The site includes features like a blog and resume section. It dynamically fetches data from `data/portfolio.json` to populate the content. It is designed to be easy to edit and customize. It is heavily SEO optimized and almost has a 100% score on core web vitals and lighthouse for all of the 4 criterias (Performance 99%, Accessibility 100%, Best Practices 100% & SEO 100%).

## Features
- **Server-side rendering**: The site is built using Next.js, which enables server-side rendering for improved performance and SEO.
- **Dynamic routing**: The site uses dynamic routing to generate pages for each blog post based on the slug.
- **Markdown support**: The blog posts are written in Markdown format, making it easy to write and format content.
- **API routes**: The site includes API routes for creating, editing, and deleting blog posts. These routes are only accessible in the development environment.
- **Image handling**: The site uses the Next.js `Image` component to handle image optimization and lazy loading.
- **Animation**: The site includes animations using the `framer-motion` library to create smooth transitions and effects.
- **Cursor**: The site includes a custom cursor that adds a unique visual element.
- **Social media integration**: The site includes social media icons for easy sharing and following on various platforms.
- **Responsive design**: The site is designed to be responsive and optimized for different screen sizes.
- **Dark mode**: The site includes a dark mode toggle that can be used to switch between light and dark themes.
- **Calendly Integration**: The site includes a Calendly button that can be used to schedule meetings.
## Installation
1. Clone the repository: `git clone https://github.com/devsrijit/personal-website-2.git`
2. Navigate to the project directory: `cd personal-website-2`
3. Install dependencies: `npm install`
4. Start the development server: `npm run dev`
5. Open your browser and visit `http://localhost:3000` to view the site.
6. Edit `data/portfolio.json` to add your own content.
7. Put your own calendly URL in `components/Footer/index.js` to enable the Calendly button.
8. Edit `public/sitemap.xml` to add your own domain.
9. Create an environment variable called `NEXT_PUBLIC_GA_ID` in `.env.local` and set it to your Google Analytics Measurement ID to enable Google Analytics.
## Usage
- To create a new blog post, click on the "Add New Post +" button in the bottom right corner of the page. This feature is only available in the development environment.
- To edit a blog post, click on the "Edit this blog" button at the bottom of the blog post page. This feature is only available in the development environment.
- To delete a blog post, click on the "Delete" button at the bottom of the blog post page. This feature is only available in the development environment.
- Apart from the blogs, all of the data on the website can be edited through the edit data button on the pages when in development mode.
## Contributing
Contributions are welcome! If you find any issues or have suggestions for improvements, please create a new issue or submit a pull request.
## License
This project is licensed under the [MIT License](LICENSE).