https://github.com/dielduarte/gatsby-starter-delog
https://github.com/dielduarte/gatsby-starter-delog
Last synced: 4 months ago
JSON representation
- Host: GitHub
- URL: https://github.com/dielduarte/gatsby-starter-delog
- Owner: dielduarte
- License: mit
- Created: 2020-04-23T03:15:36.000Z (about 6 years ago)
- Default Branch: main
- Last Pushed: 2023-01-11T21:49:22.000Z (over 3 years ago)
- Last Synced: 2025-09-07T03:37:40.912Z (10 months ago)
- Language: HTML
- Size: 21.3 MB
- Stars: 2
- Watchers: 1
- Forks: 0
- Open Issues: 2
-
Metadata Files:
- Readme: README.md
- License: LICENSE
Awesome Lists containing this project
README
[](https://app.netlify.com/sites/delog-w3layouts/deploys)
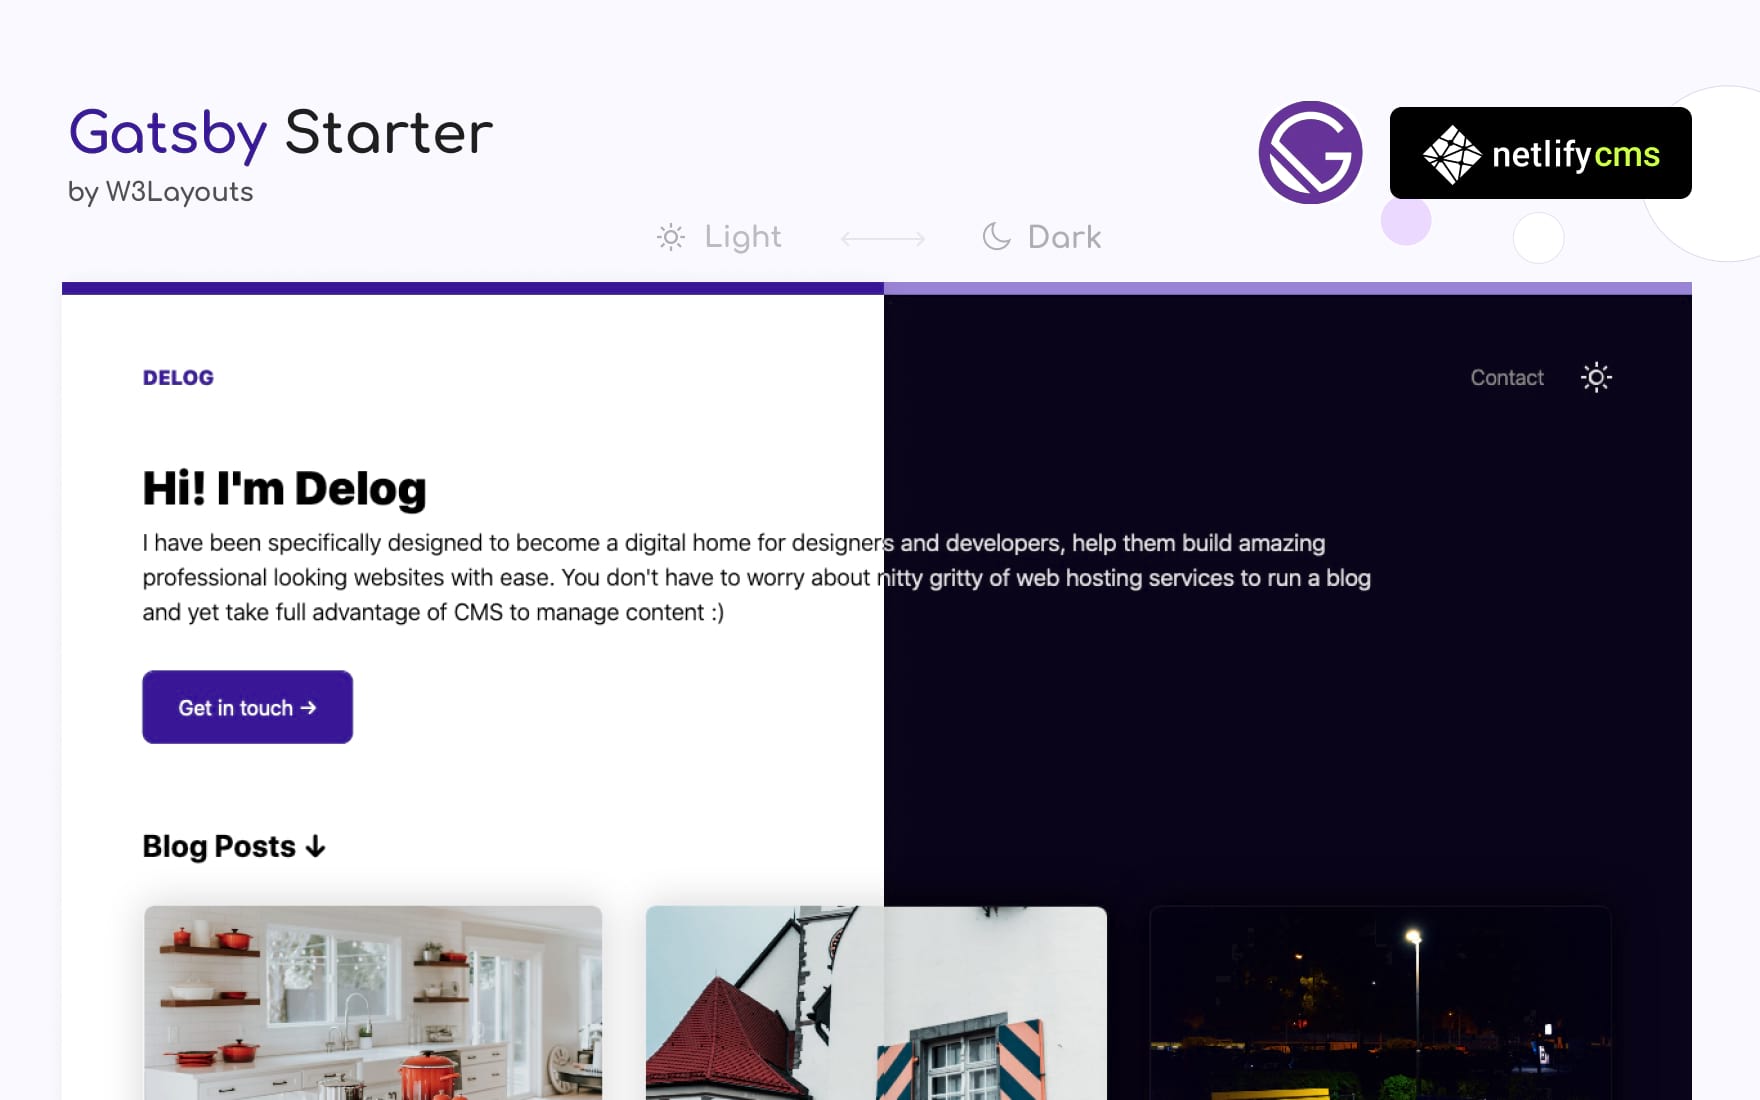
# Delog - Blog for Developer and Designer
This simple website built with GatsbyJS and Netlify CMS. Deploys on netlify with single click. This Starter is sponsered by [W3Layouts](https://w3layouts.com).
[](https://delog-w3layouts.netlify.com/)
[](https://app.netlify.com/start/deploy?repository=https://github.com/W3Layouts/gatsby-starter-delog)
Instructions also available at W3Layouts [Delog Launch Article](https://w3layouts.com/articles/delog-gatsby-starter-netlify-cms/).
## Features
- Built with GatsbyJS and Netlify CMS
- Option to Add, Edit, Update and Delete posts via Netlify CMS
- SEO friendly - Option to Add meta description
- In-built contact form powered by [W3Layouts](https://w3layouts.com)
- Comes with dark mode
---
## Documentation
* Once you hit "[Deploy to Netlify](https://app.netlify.com/start/deploy?repository=https://github.com/W3Layouts/gatsby-starter-delog)"
* Connect Github
* Enter Repository Name
* And your site starts build process. After the build process your website is live
### Changing repositary URL for Netlify CMS access
You need to change repo URL to your own `repo` at delog/static/admin/config.yml, for example `username/repo-name`
### Creating Github OAuth Client ID
* Goto Github [Developer Settings](https://github.com/settings/developers)
* **New OAuth**
* Enter Application name
* Homepage URL as Netlify URL
* And **Authorization callback URL** to `https://api.netlify.com/auth/done`)
* Once Client ID and Secret token is generated configure same in [Netlify Access Control](#accessing-netlify-cms-admin) as described.
### Accessing Netlify CMS Admin
* Goto your Netlify site admin
* Goto **Access Control** > **OAuth** then **Install Provider** you need to select provider as `Github` as add `Client ID` and `Secret`
* Your Netlify CMS is ready. Goto you netlify site URL and append `/admin/`. for example `example.netlify.com/admin/`, You will see login with Github button.
### Managing Blog Posts in Netlify CMS
* Once logged in you will find all the blog post listed here.
* You can create, edit, update and delete like any CMS
### Editing Meta Data
Goto `gatsby-config.js`. Here you can edit following details
* Title
* Description
* Site URL
* Homepage Title
* Homepage Description
* W3Layouts Contact form domain verification key
* and google analytics tracking id
I hope you build a great website with Delog. If you like it please spread the word, Feel free to contribute and raise a pull request :)
For issues,feedback on enhancement or sharing your new awesome website built with delog. [Create New Issue](https://github.com/W3Layouts/delog/issues/new) Here
### Upcoming Features Roadmap
- [ ] Pagination for Blog
- [ ] Social Icons
- [x] Dark Mode
## Change log
- Dark Mode (April 21, 2020)
- Official Launch (March 14, 2020)