Ecosyste.ms: Awesome
An open API service indexing awesome lists of open source software.
https://github.com/dokeeffe/indi-aldiroof
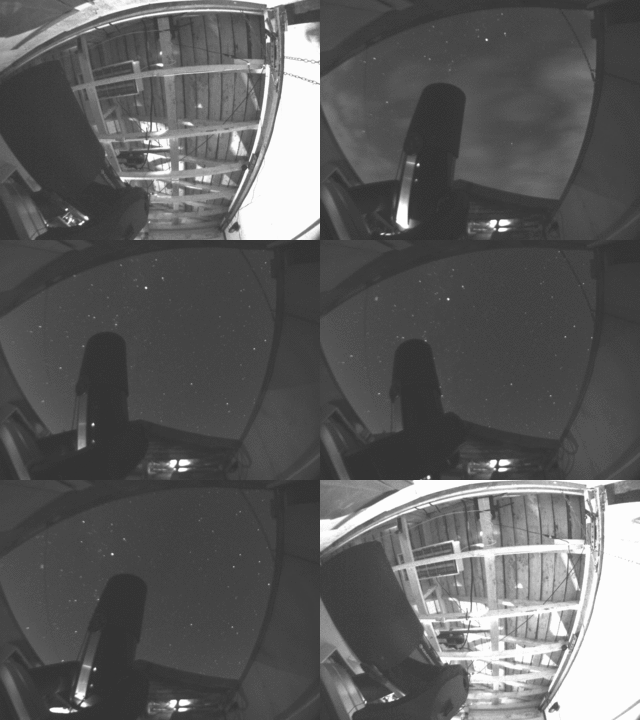
Arduino powered motor controller and an INDI driver for an astronomical observatory roof powered by an Aldi special 550w electric hoist
https://github.com/dokeeffe/indi-aldiroof
Last synced: 3 months ago
JSON representation
Arduino powered motor controller and an INDI driver for an astronomical observatory roof powered by an Aldi special 550w electric hoist
- Host: GitHub
- URL: https://github.com/dokeeffe/indi-aldiroof
- Owner: dokeeffe
- Created: 2015-09-21T21:44:12.000Z (about 9 years ago)
- Default Branch: master
- Last Pushed: 2024-05-30T19:33:22.000Z (6 months ago)
- Last Synced: 2024-07-16T13:05:20.368Z (4 months ago)
- Language: CMake
- Homepage:
- Size: 2.88 MB
- Stars: 12
- Watchers: 6
- Forks: 4
- Open Issues: 4
-
Metadata Files:
- Readme: README.md
Awesome Lists containing this project
README
An INDI (http://indilib.org/) driver and arduino firmware to control a roll off roof of an astronomical observatory.

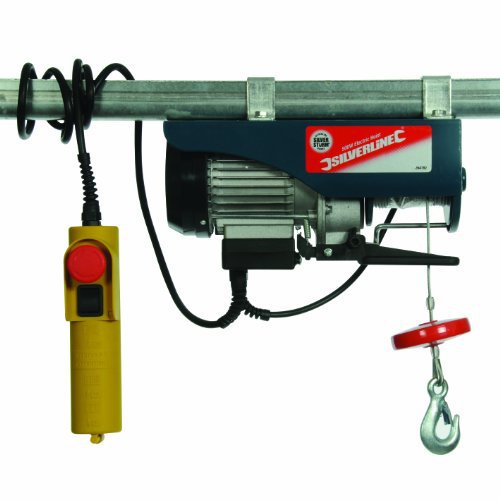
The roof is powered by a 550W electric hoist purchased from Aldi.
The arduino controls 4 relays connected to the hoist's hand controller which override the manual switch.
The indi driver comminicates with the arduino using the frimata protocol.
# Hardware Parts List
1. Electric hoist reworked to open and close the roof.
1. Arduino Micro (to install firmware on)
2. 4 X 30A relays http://www.dx.com/p/30a-250v-relay-module-red-blue-216873#.Vgg9-xNViko
3. Project box (to contain arduino and relays)
4. Linux machine running indi server (install the driver on).
# Building / Installing Software
1. Flash the firmware to your arduino using the arduino ide.
2. Build and install the driver on the machine running indi server.
# Wiring relays to the hoist switch
Relays were wired into the hoist's hand controller switch to allow both manual operation via the switch and operation from the arduino.
WARNING: Never operate the switch using both the relays and manual switch at the same time as it may result in a 220v short circuit.
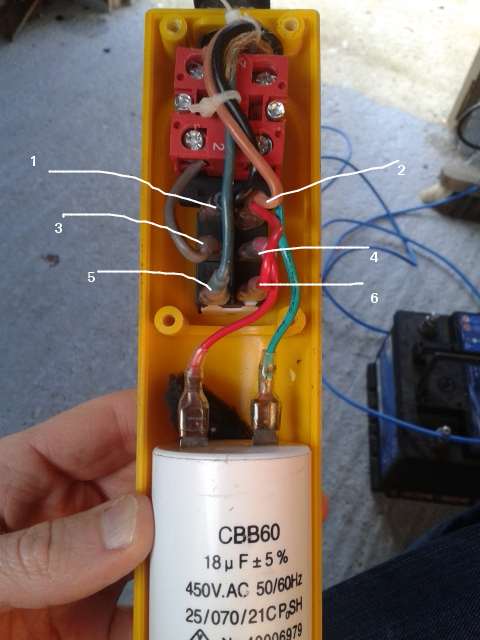
The photo below shows the hoist's hand controller switch with 6 numbered pins.
The centre 2 pins (3 and 4) provide supply to either 1 and 2 or 5 and 6 depending on what way the switch is pressed.
4 relays were wired into this switch to override it.

The wiring diagram below shows the same switch on the right hand side. The centre shows the 4 relays and the left shows the arduino micro.
The 2 limit switches are also shown attached to pins 8 and 9. See the arduino firmware sketch code for more details.

The photo below shows the finished enclosure containing the arduino and 4 relays.

2. TODO: Photos of hoist in roof
