https://github.com/dynobo/myhumbleself
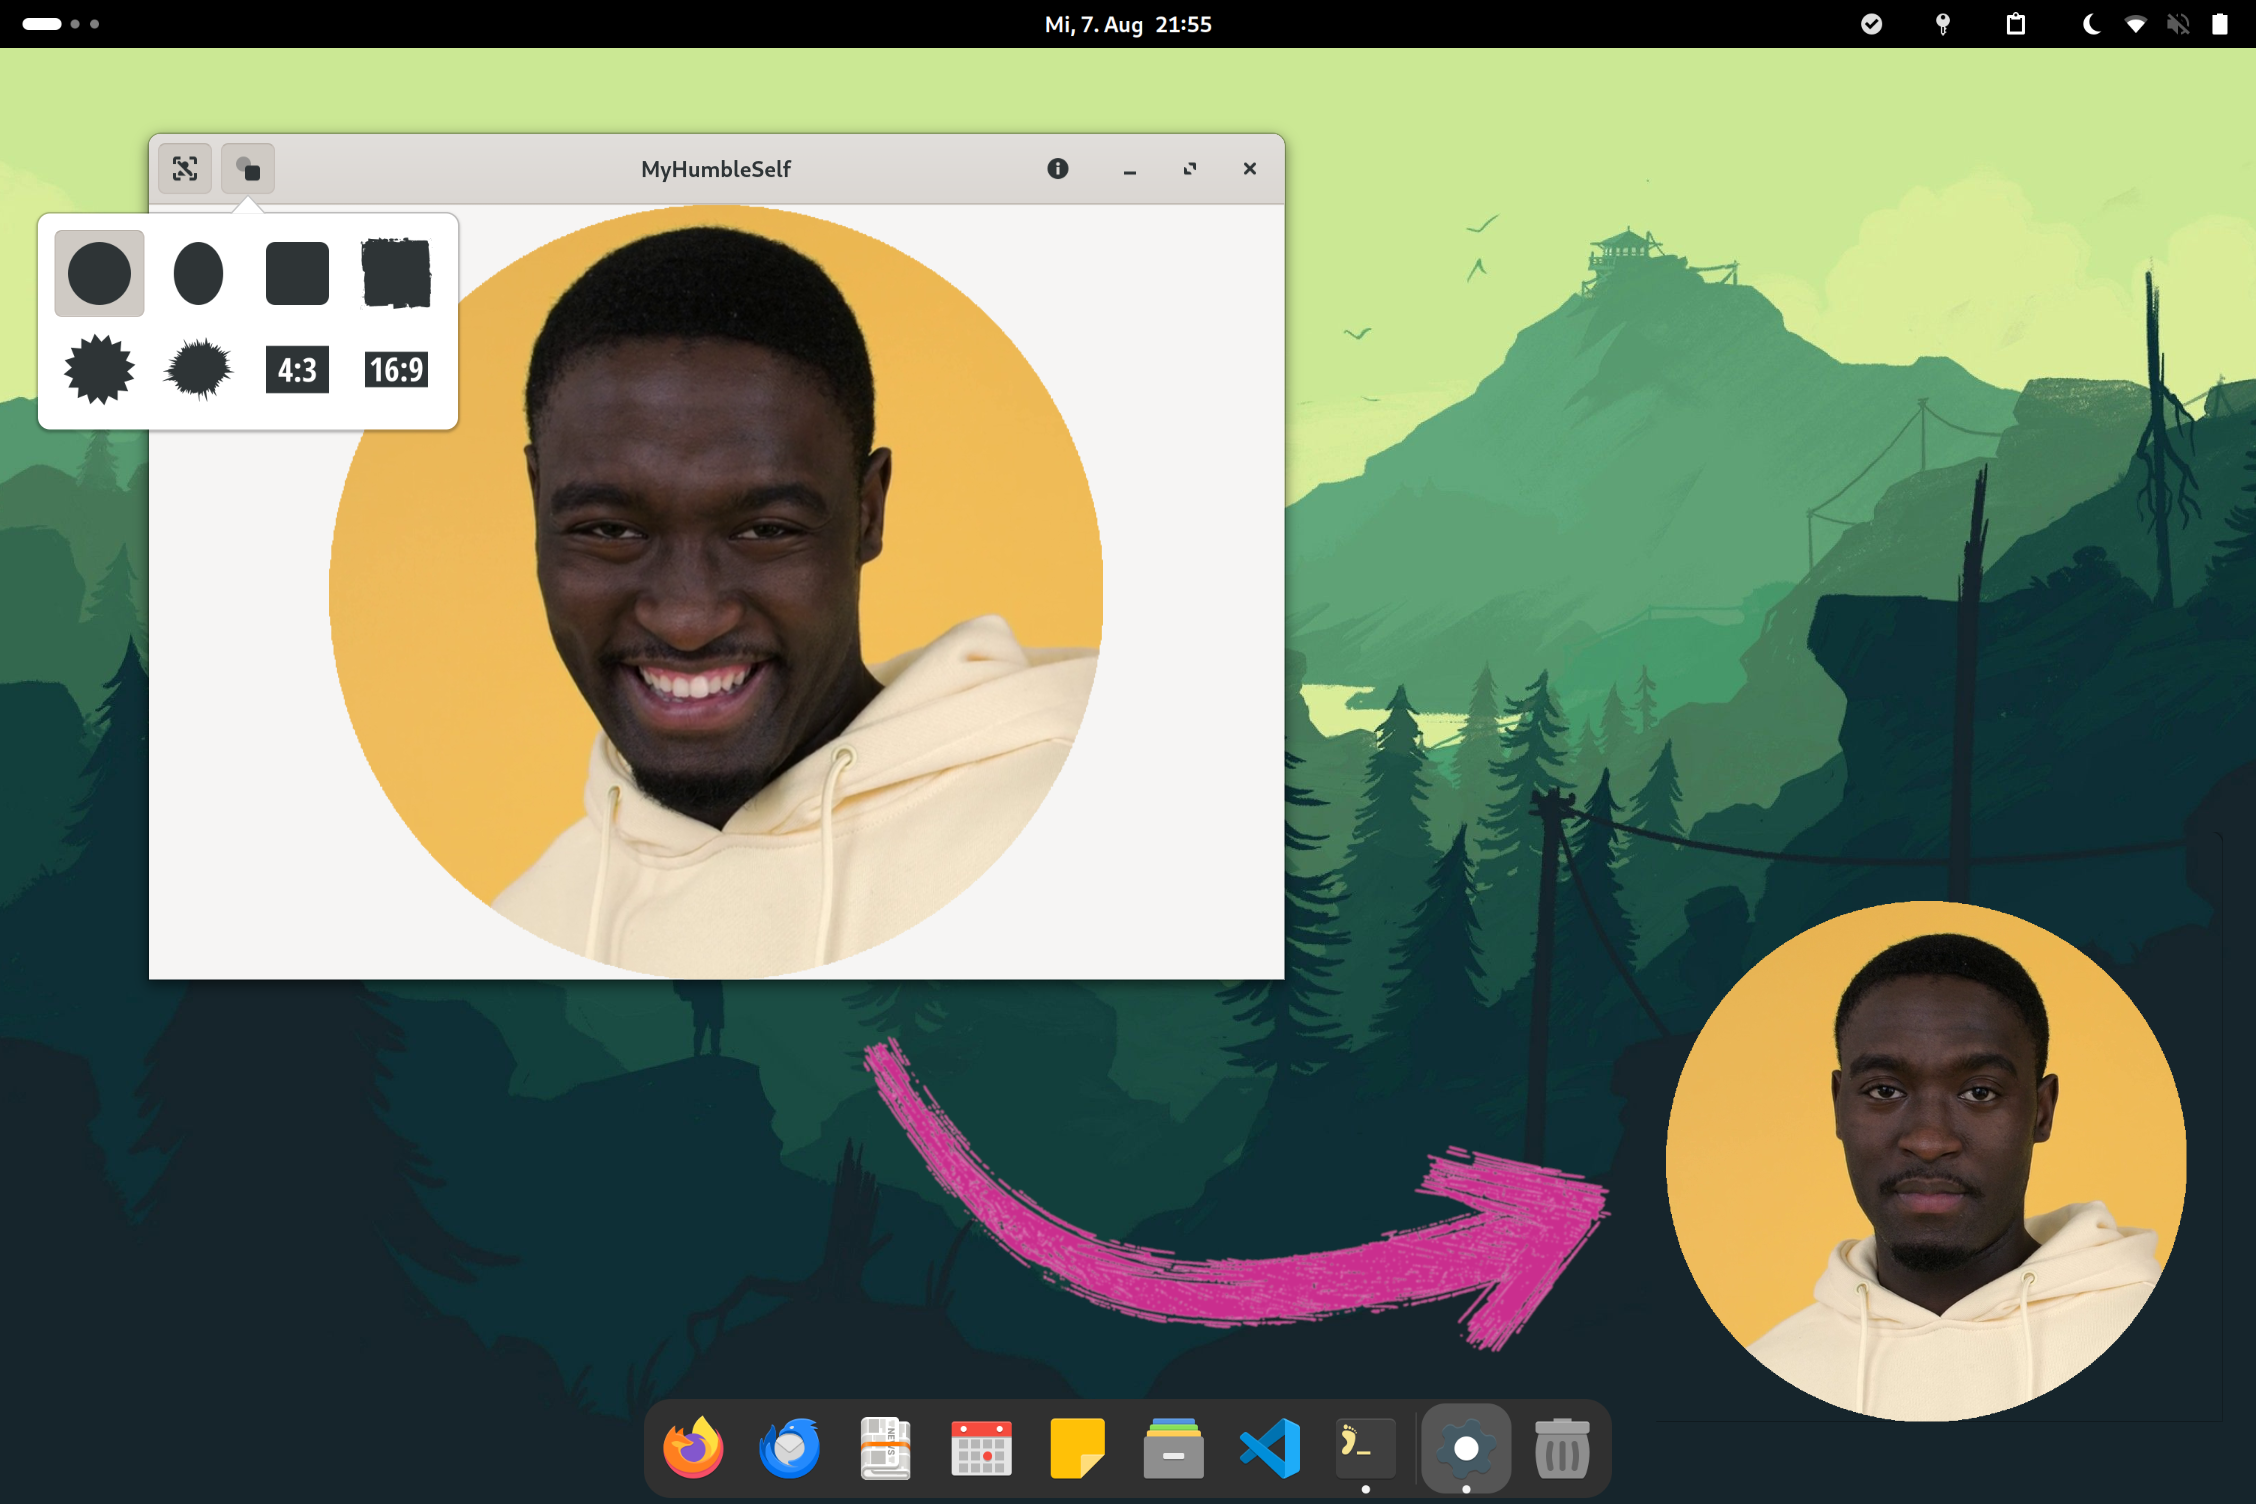
Show your webcam image on your desktop during presentations or screencasts. (Linux :penguin:)
https://github.com/dynobo/myhumbleself
linux presentation screencast utility webcam
Last synced: 6 months ago
JSON representation
Show your webcam image on your desktop during presentations or screencasts. (Linux :penguin:)
- Host: GitHub
- URL: https://github.com/dynobo/myhumbleself
- Owner: dynobo
- License: gpl-3.0
- Created: 2024-07-23T11:28:11.000Z (about 2 years ago)
- Default Branch: main
- Last Pushed: 2024-09-01T08:06:23.000Z (almost 2 years ago)
- Last Synced: 2025-09-30T07:22:45.133Z (10 months ago)
- Topics: linux, presentation, screencast, utility, webcam
- Language: Python
- Homepage:
- Size: 29 MB
- Stars: 0
- Watchers: 1
- Forks: 0
- Open Issues: 7
-
Metadata Files:
- Readme: README.md
- Changelog: CHANGELOG.md
- License: LICENSE
Awesome Lists containing this project
README
# MyHumbleSelf
**Show your webcam image on your desktop during presentations or screencasts. (Linux
only 🐧)**




## Installation
- [Python Package from PyPi](https://pypi.org/project/myhumbleself/) and its
[prerequisites](#prerequisites)!
## Usage
✨
**[Watch the screencast](https://raw.githubusercontent.com/dynobo/myhumbleself/main/resources/screencast.webm)**
✨
**Quick start:**
- Launch MyHumbleSelf
- Resize the window and move it to the desired location
- Set it to "always on top" via your window manager (right-click on titlebar)
- Hover the webcam image and click the "eye"-button on top right to hide the window
controls
**Some notable features:**
- Use face tracking to keep your head in the center
- Choose from a variety of shape-masks to add some style
## Frequently Asked Questions
**1) How can I display my webcam stream in MyHumbleSelf _and_ in a video conferencing
tool at the same time?**
You can use [v4l2loopback](https://github.com/umlaeute/v4l2loopback) to create a virtual
webcam that you can access by multiple applications at the same time.
**2) What should I do if I need more features?**
If you think it is an important basic feature, open a
[feature request](https://github.com/dynobo/myhumbleself/issues/new). Otherwise,
consider using a tool like [OBS Studio](https://obsproject.com/), which is much more
powerful (but a bit more difficult to use).
## Contributing
You are very welcome to contribute to this project! However, before you invest a lot of
time in a contribution, it might be worth
[sharing your idea in advance](https://github.com/dynobo/myhumbleself/issues) to avoid
an unnecessary disappointment.
### Development Setup
- Python 3.12+
- GTK 4.6+ and related dev packages:
```sh
sudo apt-get install \
libgirepository1.0-dev \
libcairo2-dev \
python3-gi \
gobject-introspection \
libgtk-4-dev
```
**Setup your version of the repository:**
1. [Fork the project's repository](https://github.com/dynobo/myhumbleself/fork).
2. Copy your fork to the local file system: \
`git clone https://github.com//myhumbleself.git`
**Setup Virtual Environment:**
1. Navigate into the repository root directory: \
`cd myhumbleself`
2. Create the virtual environment: \
`python -m venv .venv`
3. Activate the environement: \ `source .venv/bin/activate`
**Install dependencies:**
1. Install the package, it's dependencies, and development dependencies in editable
mode: \
`pip install -e '.[dev]'`
2. Verify installation by launching MyHumbleSelf: \
`python myhumbleself/app.py`
**Run checks and tests:**
1. Run all project checks locally, to verify a correct setup of the dev environment: \
`pre-commit run --all-files`
2. You should run those checks before doing any `git commit` to ensure your change
doesn't break anything. You can do this automatically by installing them as git hook:
\
`pre-commit install`
## Design Principles
- **No network connection**
Everything should run locally without any network
communication.
- **Simplicity**
Focus on key features. Keep the UI simple. Avoid text in the UI if
possible.
- **Dependencies**
The less dependencies, the better.
## Certification