Ecosyste.ms: Awesome
An open API service indexing awesome lists of open source software.
https://github.com/enjoy-binbin/django-blog
:yum: A blog system based on python3.6 and Django2.1
https://github.com/enjoy-binbin/django-blog
blog django django-blog python python3
Last synced: 2 months ago
JSON representation
:yum: A blog system based on python3.6 and Django2.1
- Host: GitHub
- URL: https://github.com/enjoy-binbin/django-blog
- Owner: enjoy-binbin
- License: mit
- Created: 2019-02-21T13:51:02.000Z (almost 6 years ago)
- Default Branch: master
- Last Pushed: 2022-12-08T06:35:27.000Z (about 2 years ago)
- Last Synced: 2024-11-01T08:42:21.466Z (3 months ago)
- Topics: blog, django, django-blog, python, python3
- Language: Python
- Homepage:
- Size: 6.21 MB
- Stars: 83
- Watchers: 2
- Forks: 19
- Open Issues: 5
-
Metadata Files:
- Readme: README.md
- License: LICENSE
Awesome Lists containing this project
README
# BinBlog
### [Blog演示地址](http://106.52.13.199/), 后续基本迁移到[语雀](https://www.yuque.com/binbintongxuezhu/oxbcl9)了
基于 `python3.6` 和 `Django2.2`的博客系统
- [English_README](./README_EN.md)
[](https://github.com/enjoy-binbin/Django-blog/blob/master/LICENSE) [](https://travis-ci.org/enjoy-binbin/Django-blog) [](https://codecov.io/gh/enjoy-binbin/Django-blog) [](https://coveralls.io/github/enjoy-binbin/Django-blog?branch=master) [](https://requires.io/github/enjoy-binbin/Django-blog/requirements/?branch=master)
### 其他说明:
0. 博客部署请参考`docker-compose.yml`文件说明, 原`docker`目录下的说明已经过时, 如需联系可以直接email我
1. 以前第一版django-blog。基于Django1.9的pyblog,前端自己设计的/捂脸。不维护了的
2. 对于使用Docker部署,可以看docker目录下的文件或者看Docker-djangoblog仓库。
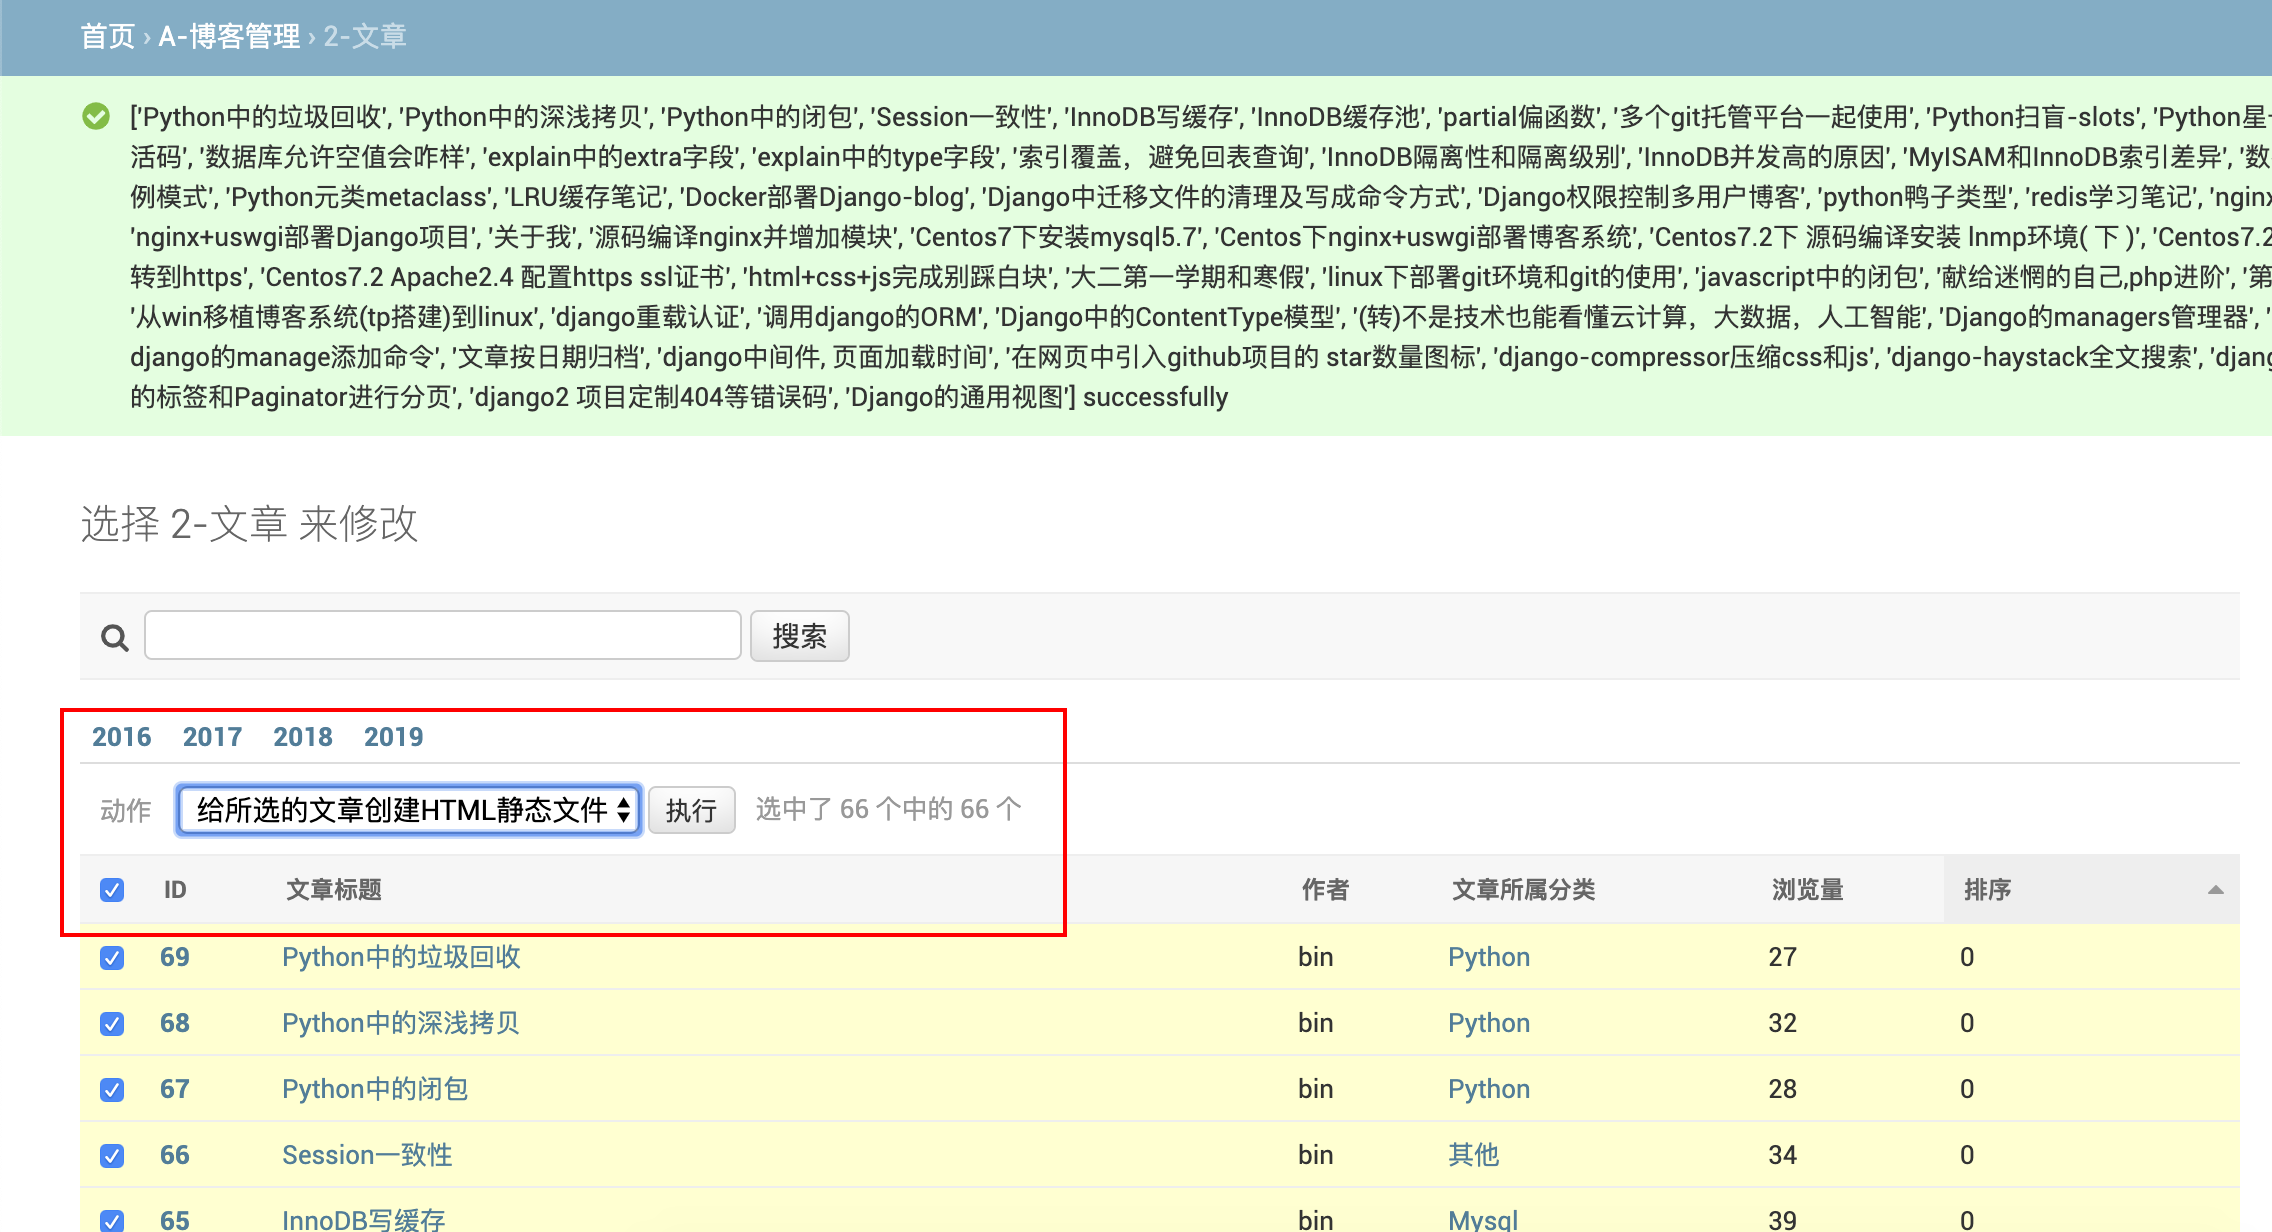
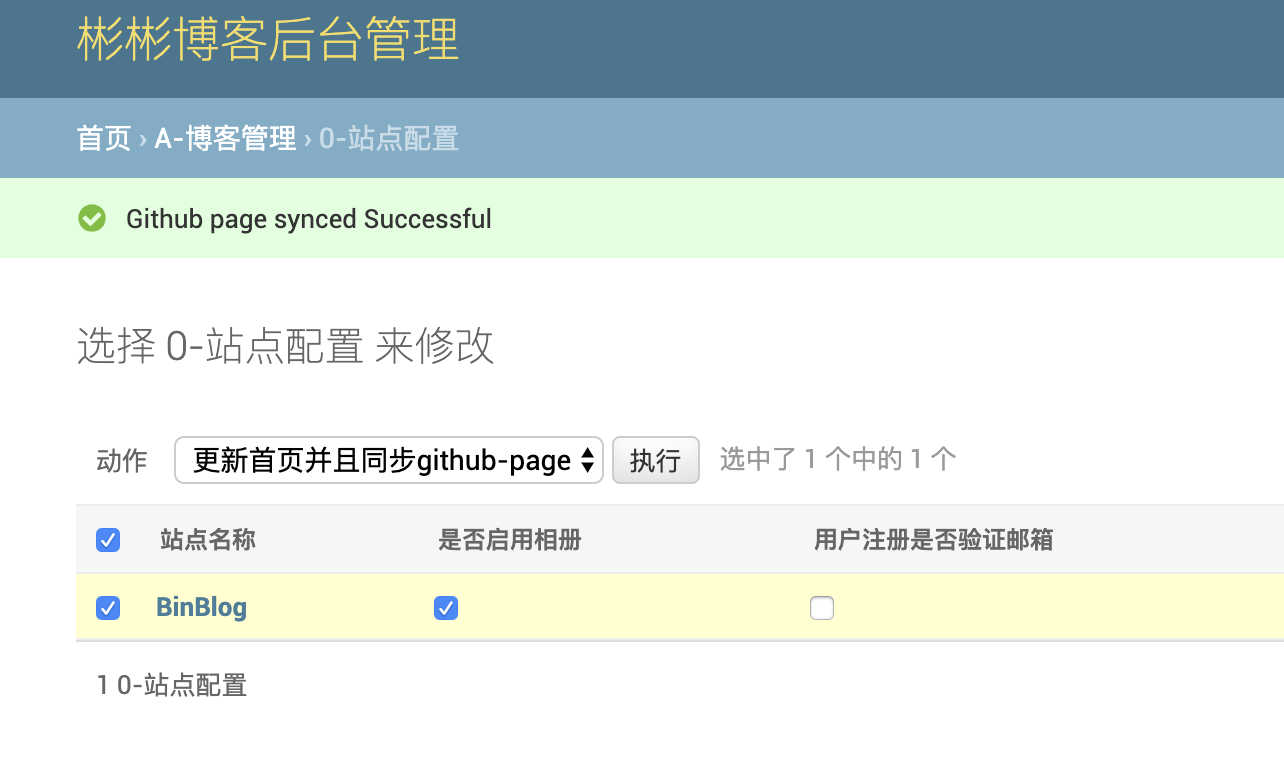
3. 抛弃亚马逊云部署了,使用github page纯静态页面部署,本地开发一键生成HTML文件并进行github push. (演示图看最下,站点看首页)
### 本地开发环境
1. win10 64位
2. 后端技术栈:Python3.6、Django2.2、Djangorestframework 3.9、Celery4
3. 数据库:持久化Mysql,缓存Memcache,消息队列Redis
4. 前端技术栈:Jquery、Bootstrap
5. 开发工具:PyCharm 2018.1
6. admin后台: `fake_admin fake_admin`
7. 线上环境: AWS ,Ubuntu18.04,Nginx+(gunicorn or uwsgi),Mysql5.7,Python3.6(站点已停)
8. 线上代码不同步的,一直在本地开发鼓捣
## 主要功能
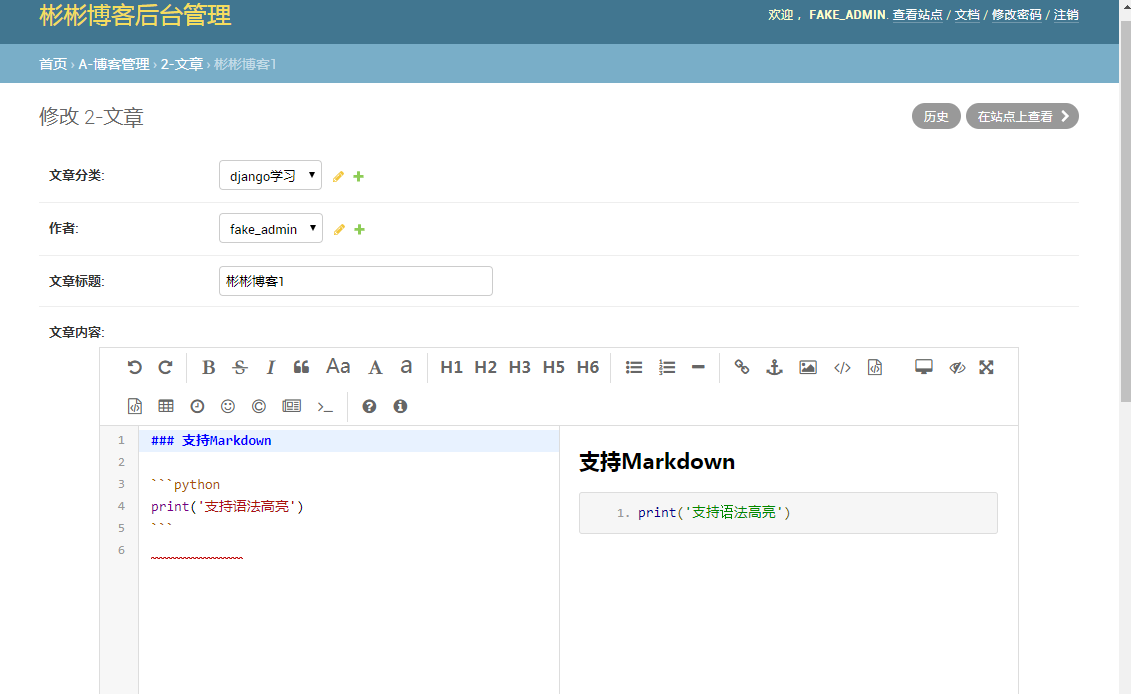
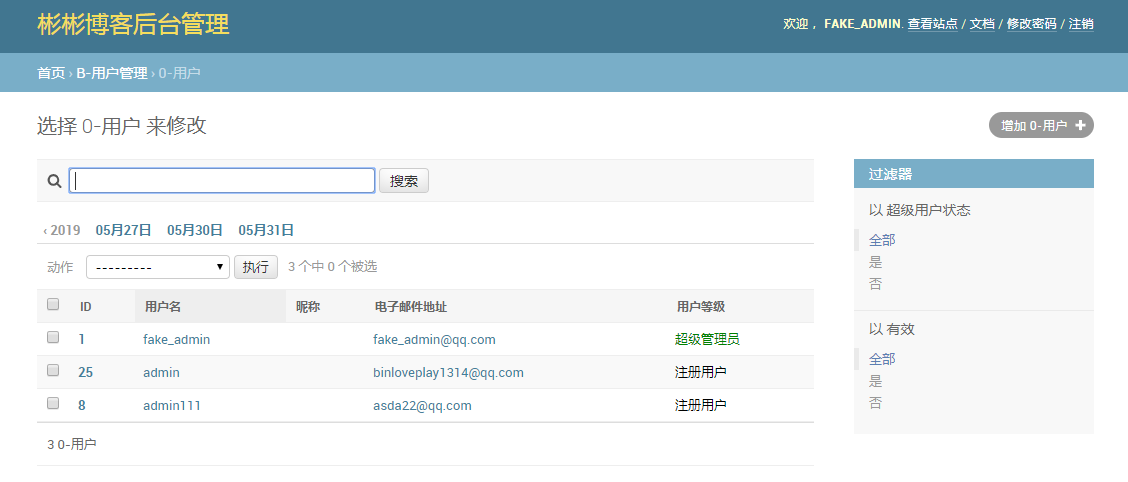
* 二次开发的admin后台管理系统,轻松进行站点配置
* 文章分类,文章,文章标签,相册图片的增删改查,展示,文章搜索
* 文章编辑支持 `Markdown ` , 文章详情支持`Markdown`,支持代码高亮
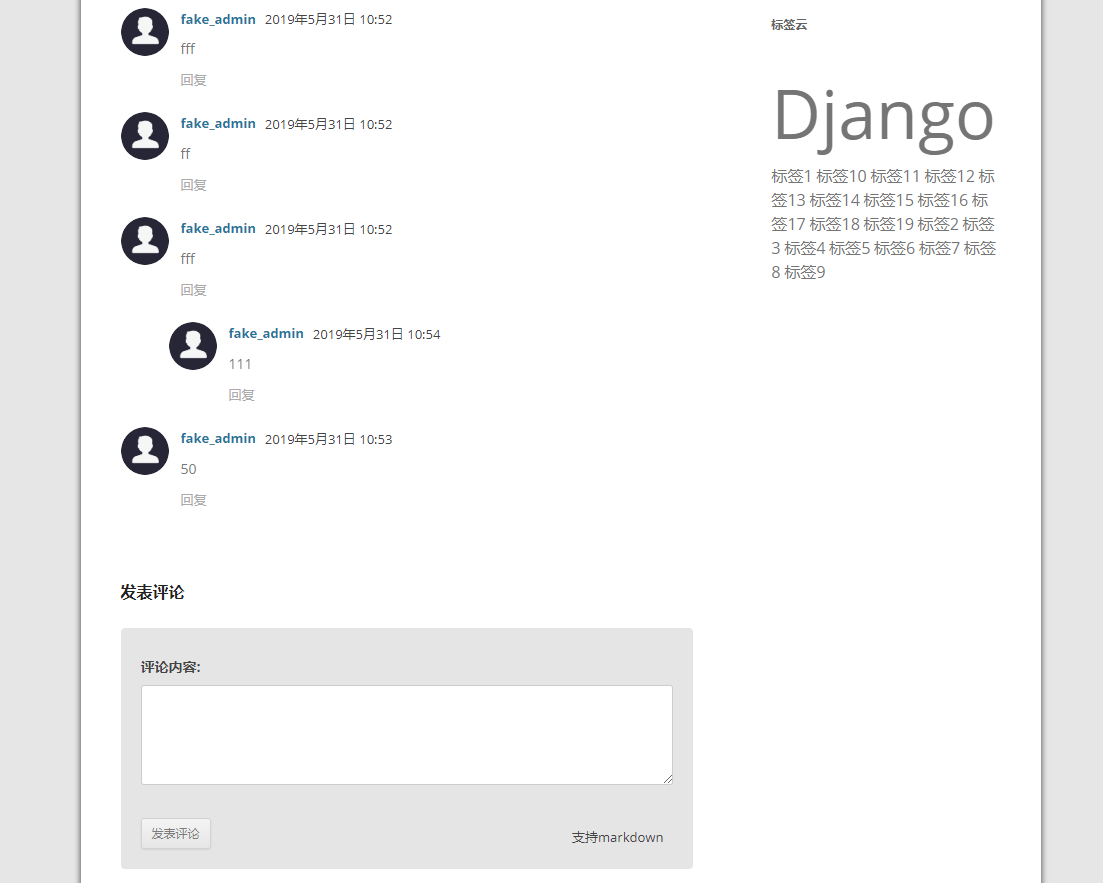
* 支持文章列表分页(写入缓存),文章评论留言
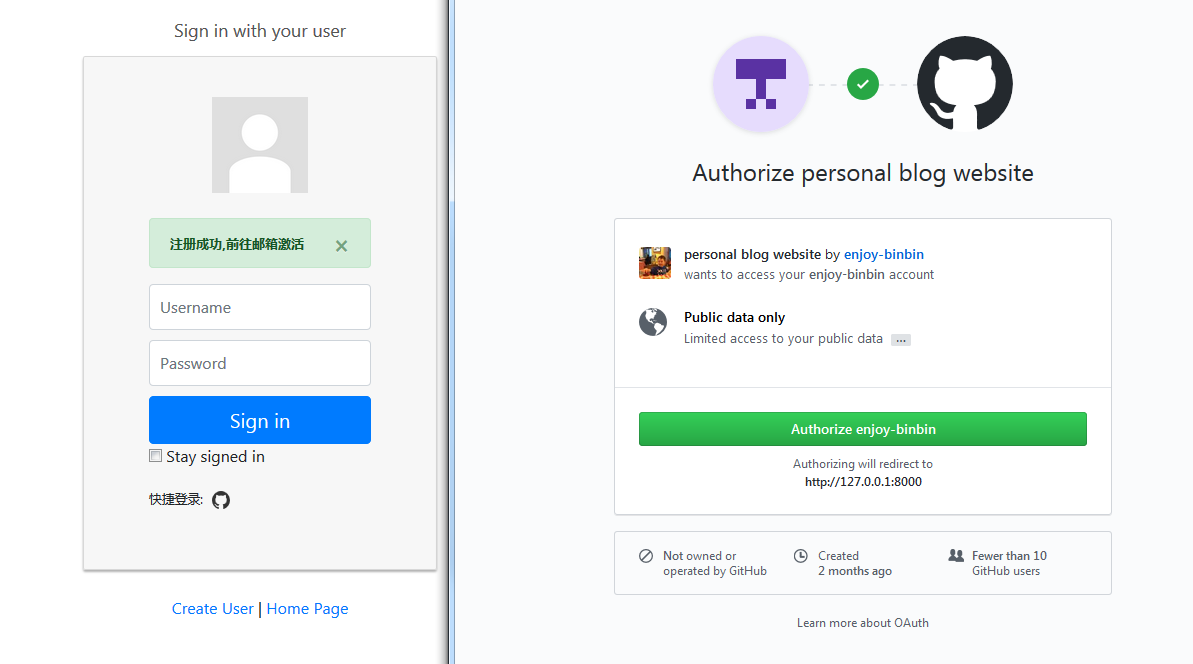
* 用户注册登陆(可选邮箱验证),支持github oauth登陆
* 右侧侧边栏功能,最热文章,最新文章,标签云
* 文章根据添加时间进行归档
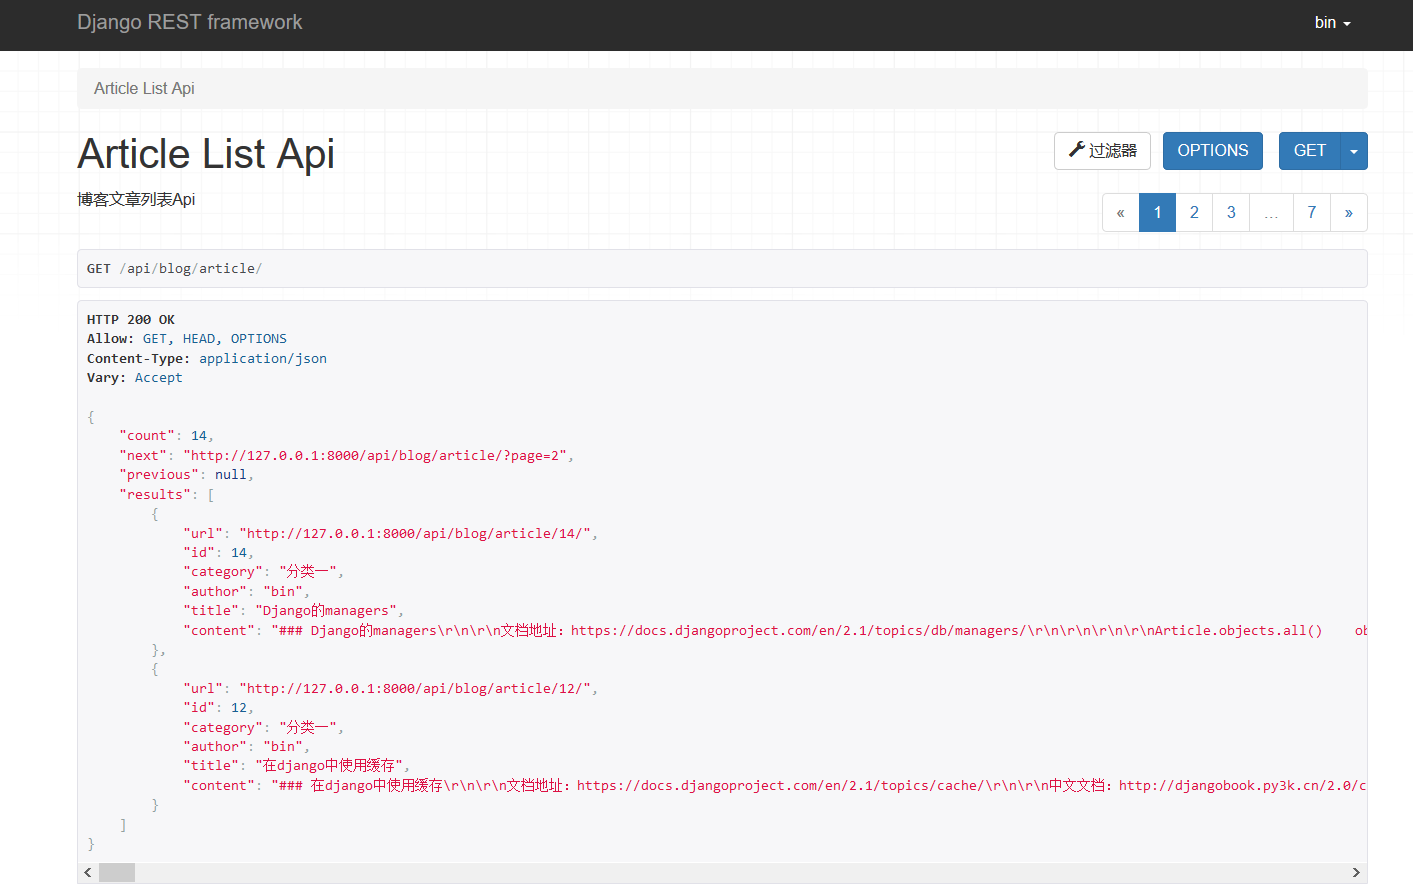
* 使用Djangorestframework对博客进行API开发(在blog/api目录下)
* 使用logging记录错误日志,使用celery+redis进行一些异步任务的调度
* 增加伪多用户博客系统,用户注册可以拥有对自己文章的增删改查操作,可以写文章
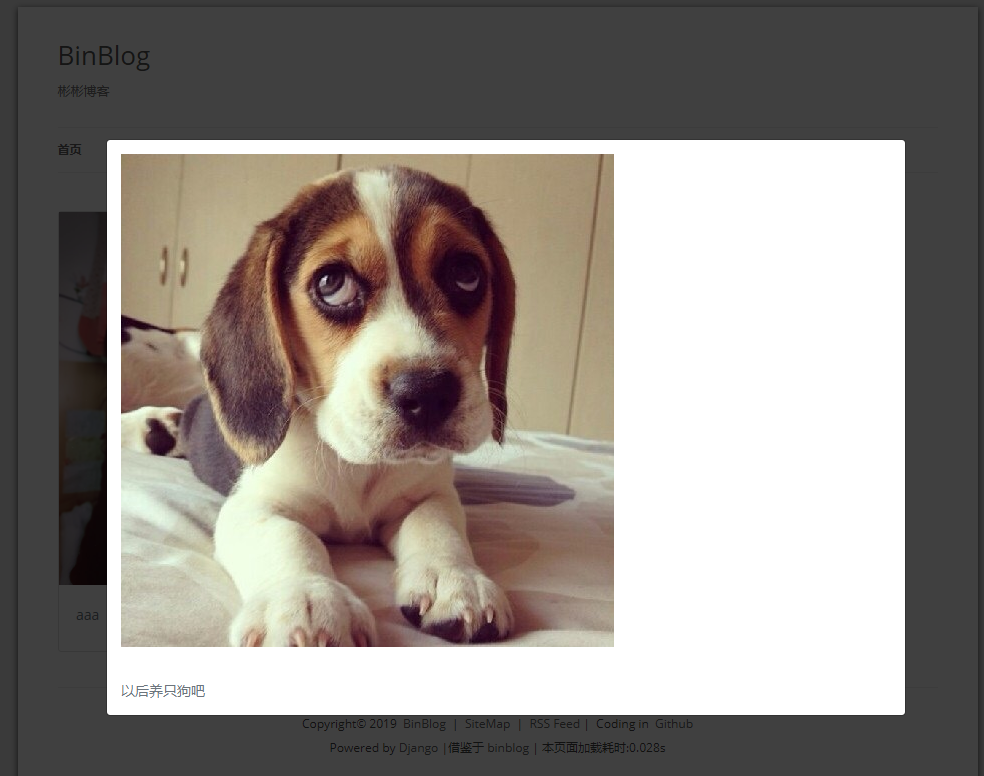
* 相册功能,有两种样式,不喜欢的可以在admin设置里关闭,或者选其一,在base/nav.html里修改
* 根据文章内容分类,使用模板生成简单的HTML文件,并且推送到github page托管
## 使用到
* djangorestframework和 restframework-jwt进行API学习开发
* django通用视图,ListViewDetailView,FromView,RedirectView
* admin的扩展,ModelAdmin扩展,SimpleListFilter自定义过滤器,二次开发
* 自定义LoginView,RegisterView,LogoutView,部分django自带auth用法
* context_processors自定义模板全局变量
* 侧边栏编辑页 TextFields使用 `pagedown` 支持 `markdown`
* 文章内容使用 `mdeditor`支持`markdown`和`图片上传`
* templatetags 自定义模板标签 tags,支持markdown,代码高亮
* 使用haystack和whoosh实现的全文文章搜索功能
* slug的用法
* 使用django-compress压缩css/js
* django简单中间件的编写,显示页面加载时间
* 使用django的sitemap功能
* python-memcached对网站的部分信息缓存
* 自定义django.manage命令,create_fake_data,生成测试数据,clear_migrations清理迁移文件
* django中使用logging模块、message模块
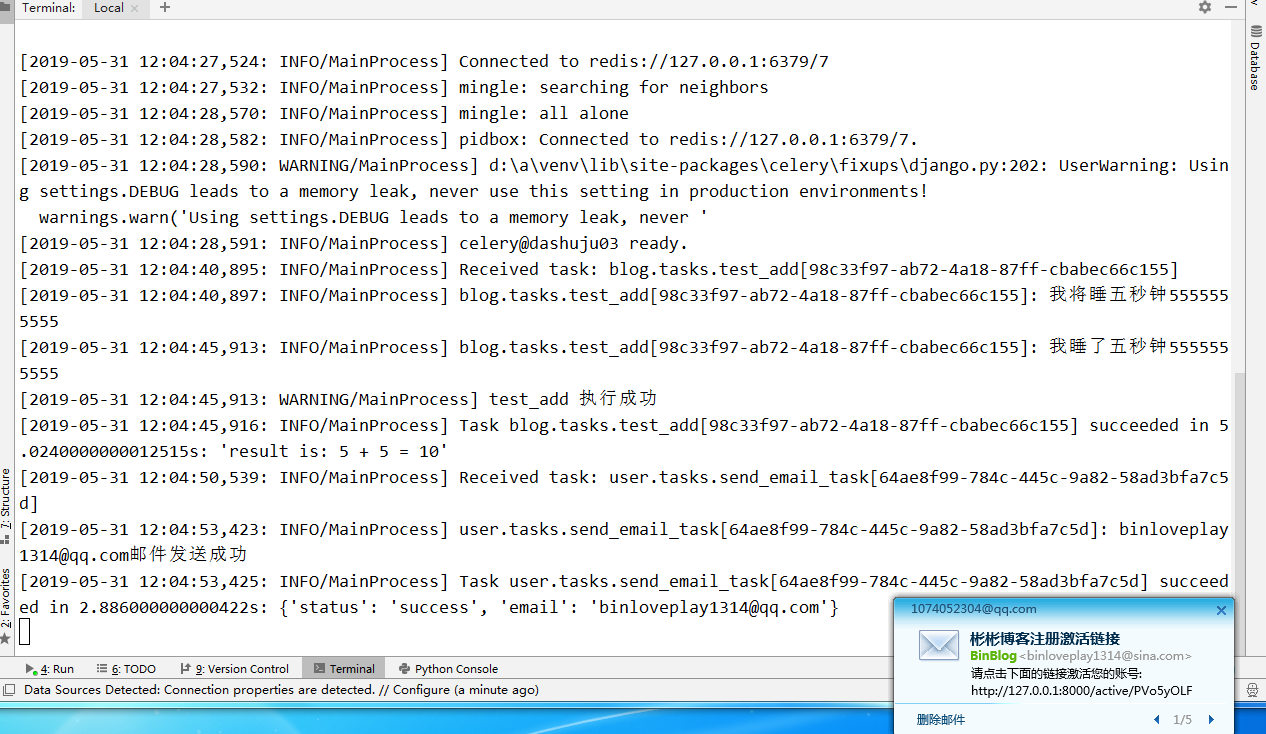
* 使用celery+redis进行异步的邮件发送
## 安装
1. 安装依赖(最好新建个虚拟环境),两种方式都可以,前者豆瓣源好记住,后者阿里源包更齐全的感觉
* pip install -Ur requirements -i https://pypi.douban.com/simple
* pip install -i https://mirrors.aliyun.com/pypi/simple -r requirements.txt
2. 配置设置将settings.py.example改成 settings.py
* 自行修改 `binblog/settings.py` 里的数据库配置:
```
DATABASES = {
'default': {
'ENGINE': 'django.db.backends.mysql',
'NAME': 'blog', # 数据库名称, 需要自己手动创建, 编码指定为utf8
# create database blog default character set utf8 collate utf8_general_ci;
'USER': 'root', # 数据库账号
'PASSWORD': '123456', # 数据库密码
'PORT': 3306, # 数据库端口, 默认为3306
'HOST': '127.0.0.1', # 数据库地址
'TEST': {
'NAME': 'test_db', # 测试数据库名称
'CHARSET': 'utf8', # 测试数据库编码
'COLLATION': 'utf8_general_ci'
}
}
}
```
* 创建数据库 `create database binblog;`
* 在终端下进行数据迁移:
```
./manage.py makemigrations
./manage.py migrate
```
* 创建测试数据 `./manage.py create_fake_data`
* 根据需要使用Navicat导入目录下的 sql文件
`./ manage.py createsuperuser`
* 运行 `./manage.py runserver 8000`
* 浏览器打开 `127.0.0.1:8000`
3. 配置项(更多设置看settings和blog.model.Setting模型)
### 持续学习,源码中有大量注释,适合有Django基础的童鞋~
### 感谢观看和star,欢迎提issue
#### 部分演示图,没同步到线上环境的

