Ecosyste.ms: Awesome
An open API service indexing awesome lists of open source software.
https://github.com/esunr/clash-sub-builder
辅助生成规则完善的 Clash 代理配置,支持上传到 gist 生成订阅链接
https://github.com/esunr/clash-sub-builder
clash clashmeta subconvert v2ray xray
Last synced: 2 days ago
JSON representation
辅助生成规则完善的 Clash 代理配置,支持上传到 gist 生成订阅链接
- Host: GitHub
- URL: https://github.com/esunr/clash-sub-builder
- Owner: EsunR
- Created: 2023-07-20T09:17:09.000Z (over 1 year ago)
- Default Branch: main
- Last Pushed: 2024-12-11T09:36:25.000Z (about 2 months ago)
- Last Synced: 2025-01-24T12:07:44.964Z (9 days ago)
- Topics: clash, clashmeta, subconvert, v2ray, xray
- Language: JavaScript
- Homepage:
- Size: 5.05 MB
- Stars: 88
- Watchers: 2
- Forks: 25
- Open Issues: 2
-
Metadata Files:
- Readme: README.md
Awesome Lists containing this project
README
# 1. 介绍
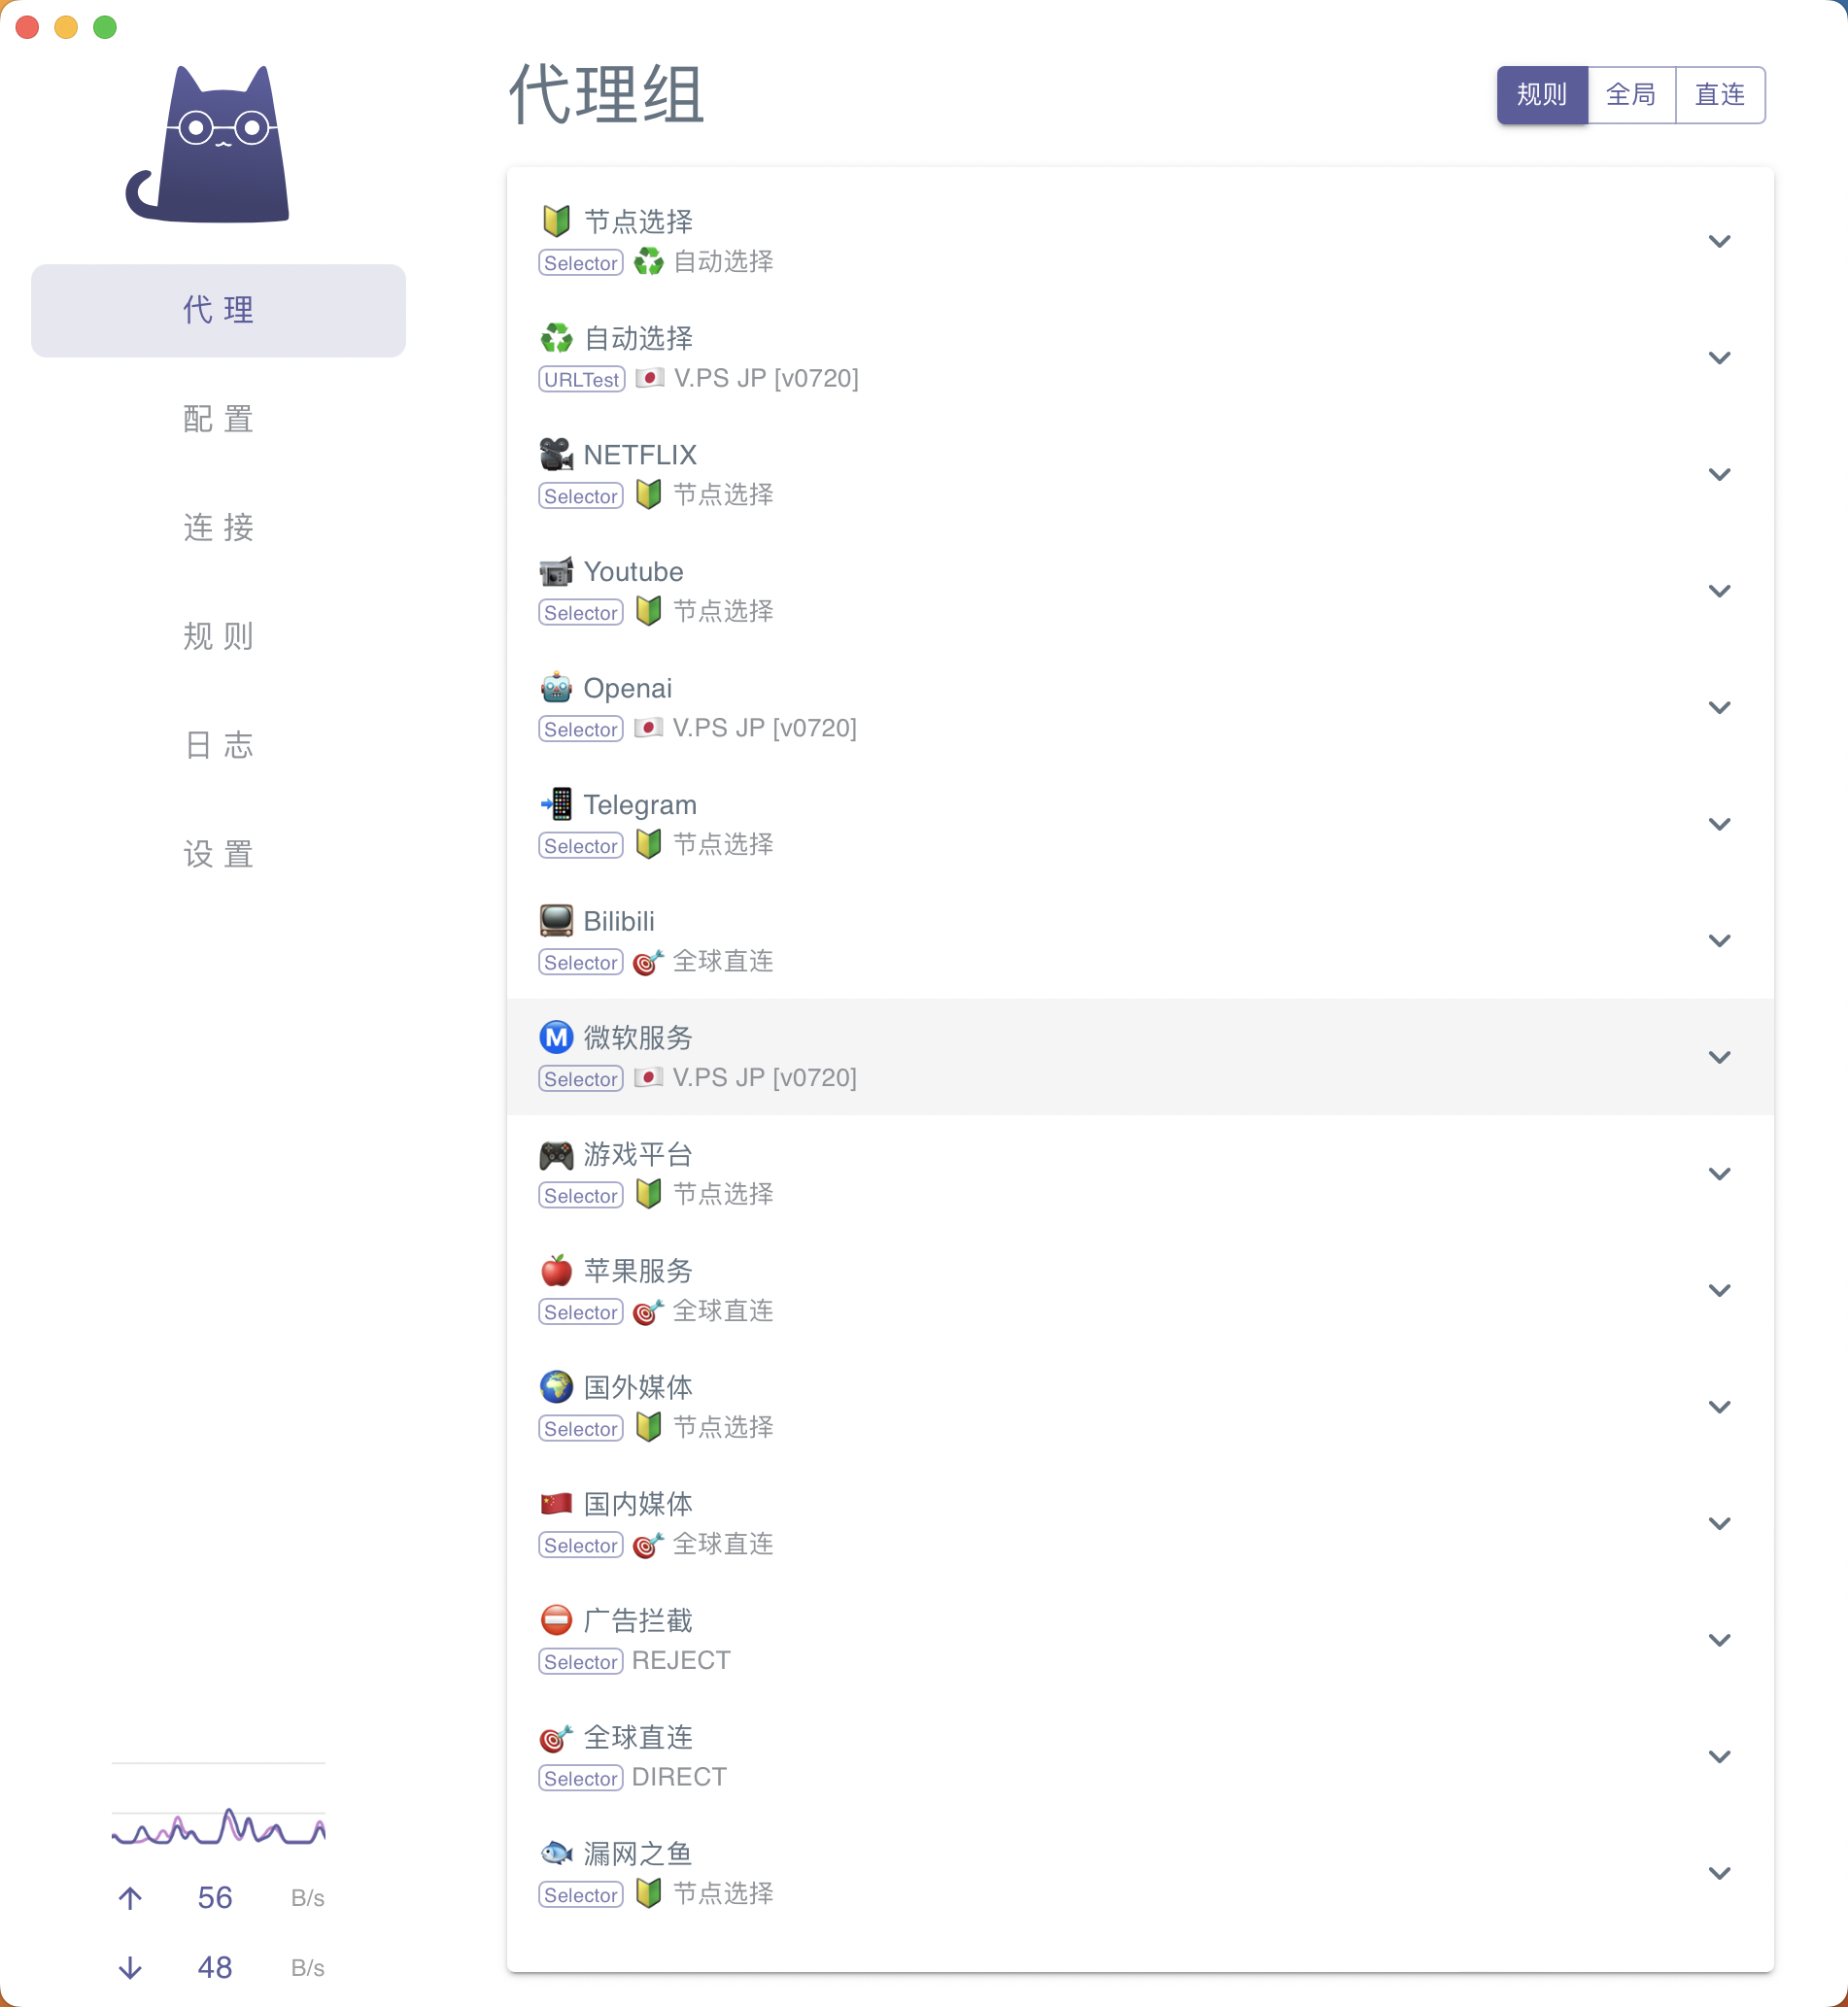
本项目用于根据配置规则来自动生成 Clash 配置文件,同时支持将配置文件上传到 gist 作为订阅链接使用。
规则片段来自 [ACL4SSR](https://github.com/ACL4SSR/ACL4SSR),创建了常用的订阅分组,如下:
> 项目灵感来自 [subconvert](https://github.com/tindy2013/subconverter),由于 subconvert 不支持 vless 订阅而放弃使用,但是本项目**只关注 Clash 配置文件**的生成(是一个非常腊鸡的脚本),没有 subconvert 那么强大的订阅规则互相转换功能。
# 2. 使用方式
首先(给本项目一个 star 😘),创建一个新的代码库并导入本项目的代码,推荐直接使用 Github 的仓库导入功能:
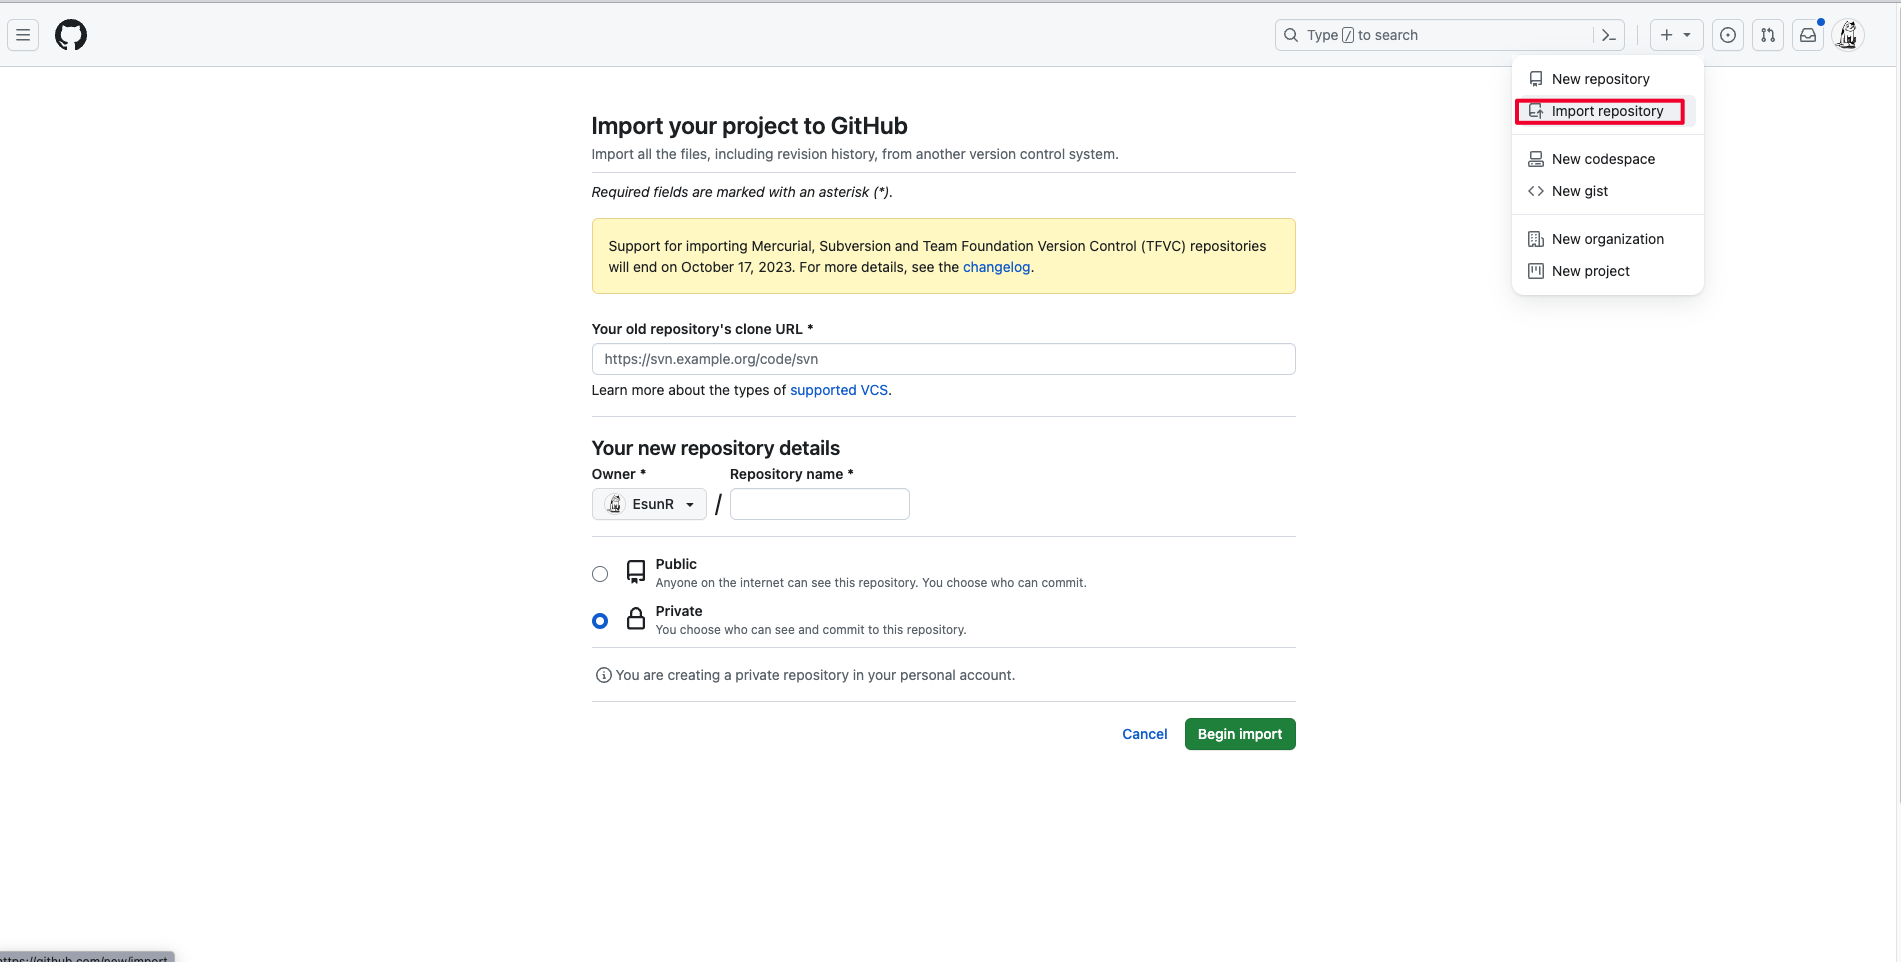
> 仓库源输入:https://github.com/EsunR/clash-sub-builder.git
**记得把仓库设置为 private**,你也不想让你的节点信息暴露给别人吧,然后按照下面的步骤执行。
## 2.1 填写节点信息
> 如果你之前使用的是机场订阅,可以直接用浏览器打开机的订阅链接,复制页面上的内容,覆盖掉 `/config/template.yml` 中的内容即可,然后跳过这一节
编辑 `/config/template.yml` 的 Clash 订阅模板,将你的节点信息写入到 proxies 里,你也可以在此添加其他配置,添加了节点信息的模板示例如下:
```yml
mixed-port: 7890
allow-lan: true
mode: Rule
log-level: info
external-controller: :9090
proxies:
- name: Demo VPS 1
server: www.example.com
port: 443
type: vmess
uuid: xxx-xxx-xxx-xxx
alterId: 0
cipher: auto
tls: true
skip-cert-verify: true
network: ws
ws-opts:
path: /download
udp: true
proxy-groups:
rules:
```
如果你需要创建多套模板,可以在 `/config` 目录下创建多个以 `template` 为开头的模板文件,如 `template_reality.yml`、`template_hysteria2.yml`,脚本会将其全部读取并转换为多个订阅链接。
如果你不知道如何编写 Clash 订阅节点的配置,可以参考:
- [Clash 节点配置官方文档](https://dreamacro.github.io/clash/zh_CN/configuration/outbound.html#outbound-%E5%87%BA%E7%AB%99)
- [Clash.meta 节点配置官方文档](https://wiki.metacubex.one/config/proxies/)
## 2.2 上传配置到 gist 生成订阅链接
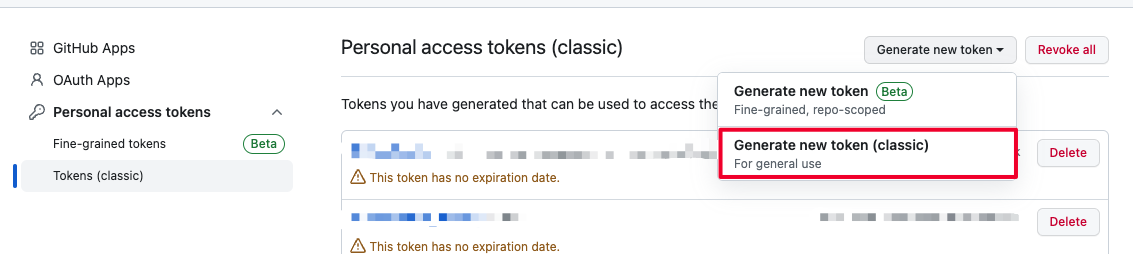
### 获取 Github Token
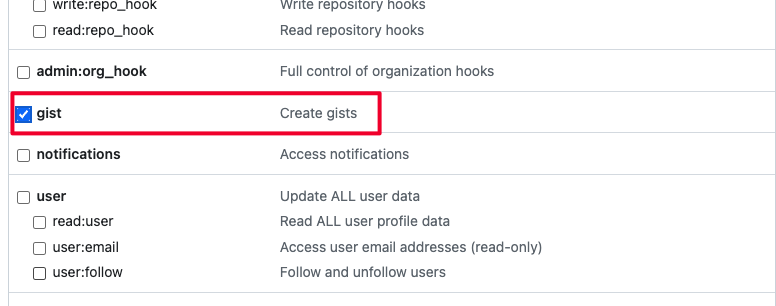
首先,访问 https://github.com/settings/tokens 来生成一个 gist 的授权 Token:
勾选无过期限制:
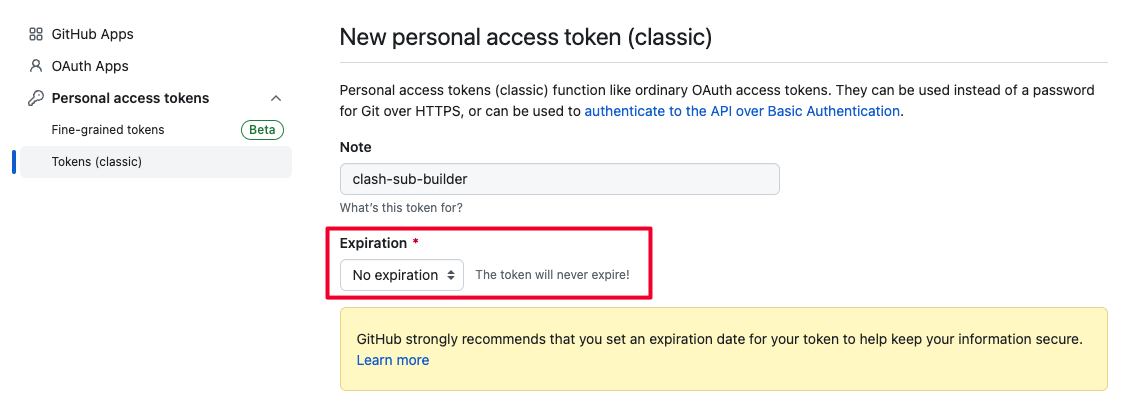
只勾选 gist 权限:
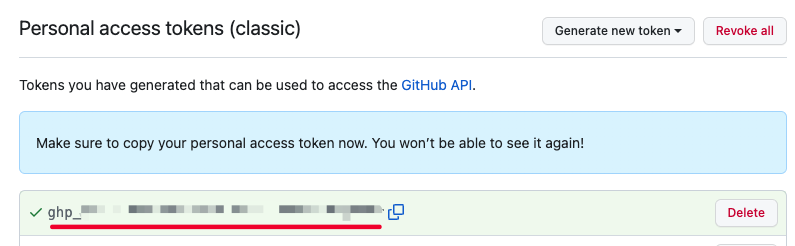
然后复制生成的以 `ghp_` 开头的 token:
### 获取 gist id
想要把生成的 Clash 订阅推送到 gist 上,就需要现在 gist 上创建一个 gist 项目。
访问 https://gist.github.com/ 然后创建一个空项目:
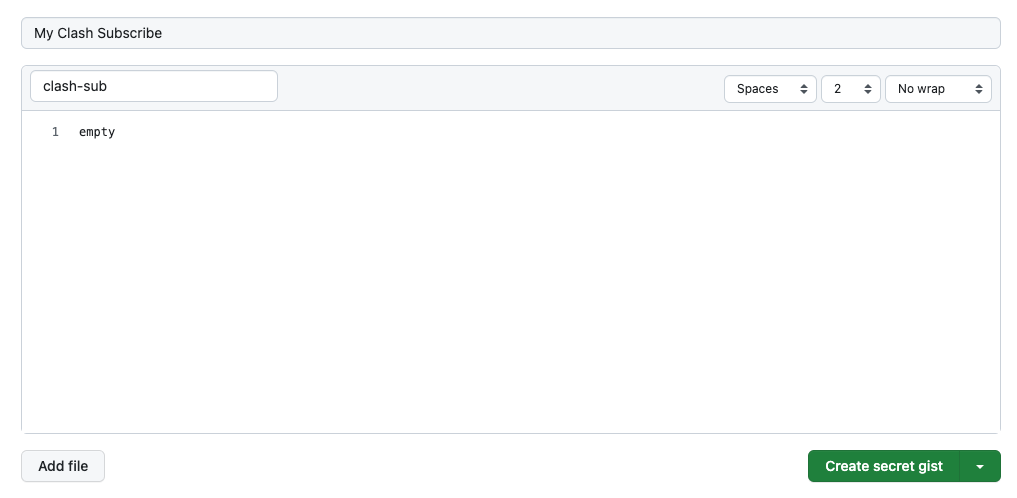
创建完成后,复制浏览器中的这段路径,即为 gist id:

### 完善信息
经过上面两个步骤,我们已经拿到了 github token 和 gist id,打开 `/config/gist.toml` 完善配置文件:
```
[[common]]
token = 这里输入 github token
id = 这里输入 gist id
```
> 如果你不想明文写在配置文件里,可以使用在 Github Action 中创建环境变量,其对应的环境变量分别为 `GIST_TOKEN`、`GIST_ID`。
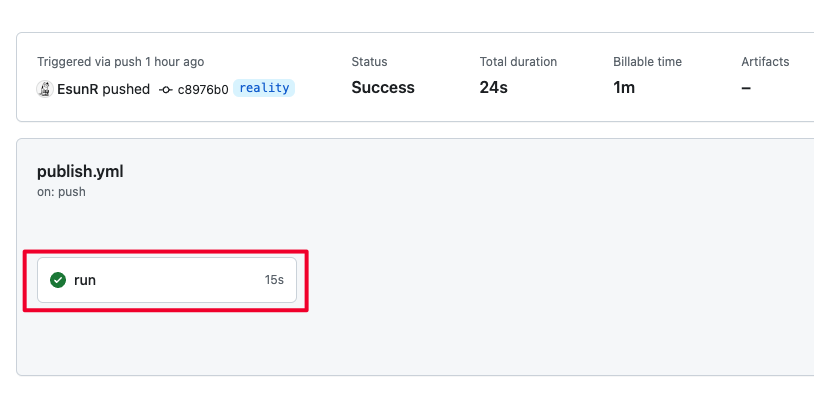
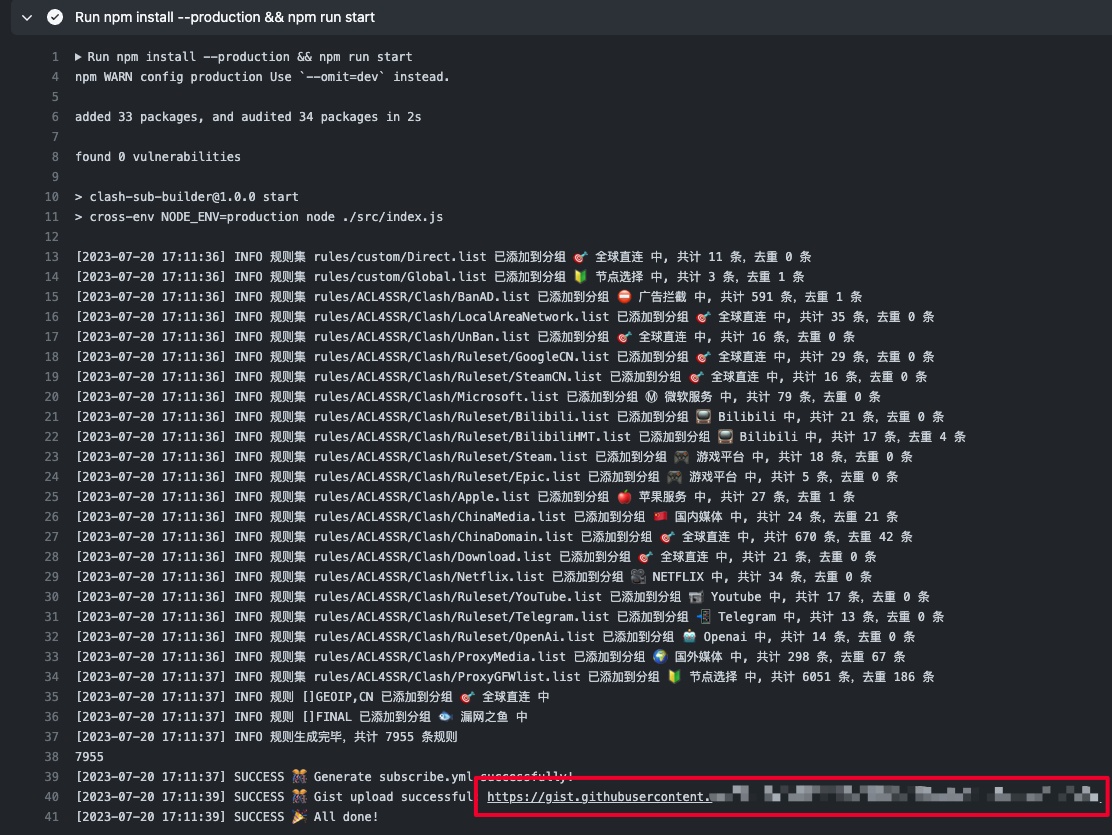
### 推送代码到 Github 上并获取订阅链接
提交到代码变更到你的仓库中,然后就会触发 Github Action 自动生成 Clash 订阅,并发布配置文件到 gist 上,你可以在 Github Action 的输出日志中查看订阅地址:
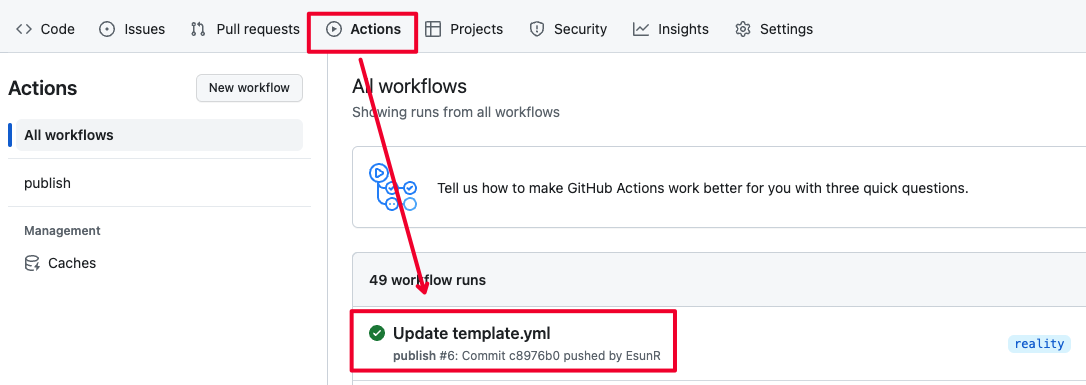
后续每次更新节点配置或者规则,提交代码后 Github Action 就会自动帮你更新配置!
> PS: Gist 无法在中国大陆正常访问,你可以使用 Vercel 或者 Cloudflare 来搭建一个建议的代理服务代理到你的订阅链接上
# 3. 变更配置
如果你不满足预设的配置,你可以在 `config/groups.toml` 中修改或新增配置组,还可以在 `config/rulesets.toml` 中修改每个配置组的规则。
如果你只想简单的补充规则,可以在 `rules/custom/Direct.list` 添加走直连规则,在 `rules/custom/Global.list` 中添加走代理的规则。这两个文件中的规则优先级会被设置为最高。
# 4. 本地运行
如果你不想在 Github Action 中执行发布,也可以选择在本地运行。
首先准备好 node 环境(v18),然后安装项目依赖:
```sh
npm install
```
如果只想生成 Clash 配置文件,而不想上传到 gist,可以执行:
```sh
npm run dev
```
生成的配置文件可以在根目录找到(subscribe.yml)。
如果需要上传到 gist,则执行:
```
npm run start
```
# 5. 同步本仓库的更新
> 注意:需要掌握一定的 git 相关知识,否则请手动覆盖代码进行更新
降本项目的 git 源设置为 upstream:
```sh
git remote add upstream https://github.com/EsunR/clash-sub-builder.git
```
从 upstream 拉取最新代码:
```sh
git fetch upstream
git merge upstream/main
```